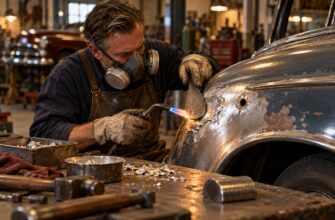
A panel can appear firmly bonded, then lift at an edge or crack along a joint after temperature changes and vibration. The visible failure may start with surface contamination, an unsupported edge, an unsuitable adhesive, or a bondline squeezed almost dry.
Reliable structural bonding treats the adhesive, joint design, and installation process as one system. A structural adhesive may reduce or replace mechanical joining in a qualified application, but it is not a universal substitute for welds or bolts. Load direction, panel movement, surface condition, cure, and service exposure all need to be defined before installation.
- When a bonded panel joint is structural
- Epoxy or polyurethane: match the adhesive to the panels
- Prepare the substrate, not just the adhesive
- Apply, position, and support the panel through cure
- Why panel bonds fail at edges and seams
- Verify the joint and plan for its service life
- Frequently asked questions
- What is the best adhesive for bonding car panels?
- What should I check before using a two-part panel adhesive cartridge?
- How should excess adhesive at a visible seam be handled?
When a bonded panel joint is structural
A bonded panel joint is structural when the adhesive is intended to carry service loads and the joint has been designed around that function. The bond area, load path, edge details, bondline thickness, and cure condition must suit the actual panels and adhesive. A general-purpose mounting adhesive is not automatically suitable for a load-bearing connection.
A broad bonded area can distribute shear loads more evenly than a small point connection. Exposed edges create a different risk: they can concentrate peel forces when a panel flexes, is struck, or expands at a different rate from its support. Edge geometry and restraint therefore matter alongside the adhesive’s reported strength.
Some adhesive joints can meet structural requirements, but equivalence to welded or bolted joints depends on application-specific design, qualification, bondline control, and cure. Reported shear strength of roughly 15–35 MPa is conditional on the product, test method, joint design, and surface preparation; it is not a panel-joint rating.
Before approving the method, define whether the joint carries static load, vibration, impact, peel, or repeated thermal movement. The adhesive data sheet should be read together with the joint detail and substrate instructions. If the consequence of failure is significant, engineering approval or a combined adhesive-and-fastener system may be appropriate.
Epoxy or polyurethane: match the adhesive to the panels
Adhesive family selection starts with the movement, stiffness, and exposure requirements of the assembly. Actual properties and compatibility remain product-specific, especially for coated or treated substrates.
| Adhesive family | Useful properties | Typical selection priority | Key cautions |
|---|---|---|---|
| Structural epoxy | Generally stiffer and selected for high-strength joints | Rigid panels, controlled movement, and high load transfer where the approved system supports it | Lower movement accommodation can increase stress in large panels. Confirm compatibility with galvanized steel, painted metal, and composites. |
| Structural polyurethane | Generally offers greater movement accommodation and vibration tolerance | Panels exposed to vibration, flexing, or differential thermal movement | Peak strength and stiffness may differ from epoxy. Use only within the manufacturer’s approved substrate, primer, and environmental system. |
Compatibility is determined for the actual substrate or coating, adhesive, preparation, and any specified primer. No adhesive family is universally suitable for every panel. Check moisture, UV, temperature, and fire requirements against the complete approved bonding system.
Prepare the substrate, not just the adhesive
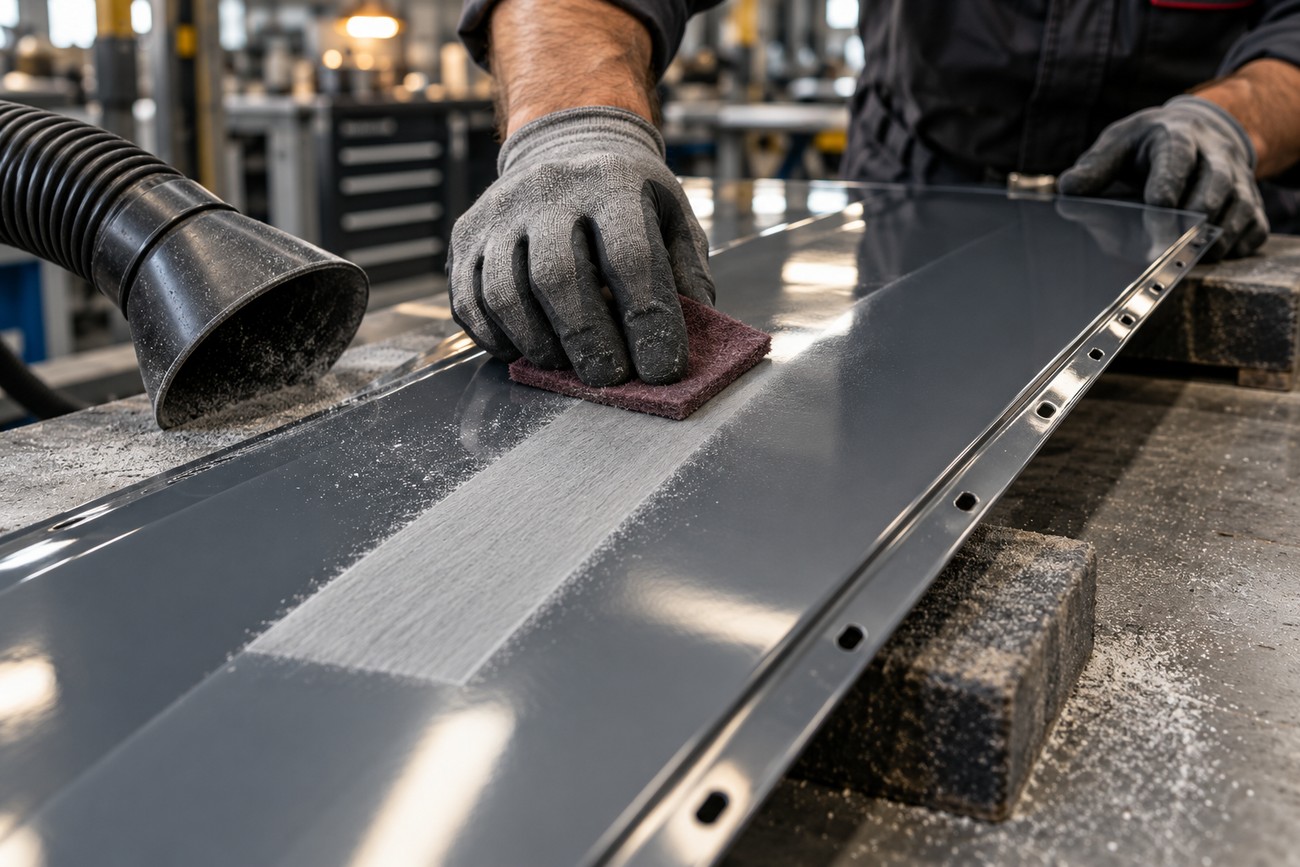
Start by identifying the surface that will actually receive the adhesive. A panel may be bare metal, galvanized steel, paint, powder coating, laminate, composite, concrete, or a weak surface layer over one of these materials. Follow the adhesive maker’s preparation schedule for that exact condition.
Remove dirt, oil, dust, loose coating, rust, and unstable oxides as specified. Where required, abrade the surface to create a controlled micro-roughness, then remove the residue with the approved cleaning method. A clean-looking surface is not proof of adhesion, and a mirror-polished surface may provide less useful mechanical keying than a light, consistent abrasive profile.
Cleaning a galvanized panel does not validate adhesion to its particular coating-and-primer system. The complete combination of galvanized surface, treatment, primer, and adhesive needs confirmation from the product instructions or a representative test.
Galvanized, painted, and composite surfaces require product-specific compatibility and preparation checks. Do not abrade through a specified coating simply to create a visible scratch pattern; the coating may be part of the approved system. Use a compatible primer where the system calls for one, and observe its application and open-time limits.
Damp porous substrates such as concrete or masonry need product-specific checks for moisture, surface strength, and vapor movement. Degreasing alone is inadequate for many metals and coatings. The objective is a stable, chemically compatible surface with no weak layer between the adhesive and the panel.
Apply, position, and support the panel through cure
Check storage conditions, cartridge preparation, mixing, nozzle use, and working time before dispensing. Two-component products must be mixed in the specified ratio and should not be used after the usable working time has passed. Discard unmixed or poorly mixed material rather than placing it in a load-bearing joint.
Apply the specified coverage and maintain the adhesive maker’s bondline thickness for the joint. An almost dry joint can lack continuity and movement capacity, while an excessively thick joint can introduce unnecessary movement, cure, and stress-control problems. Do not assume that a universal bead pattern or gap dimension suits every panel.
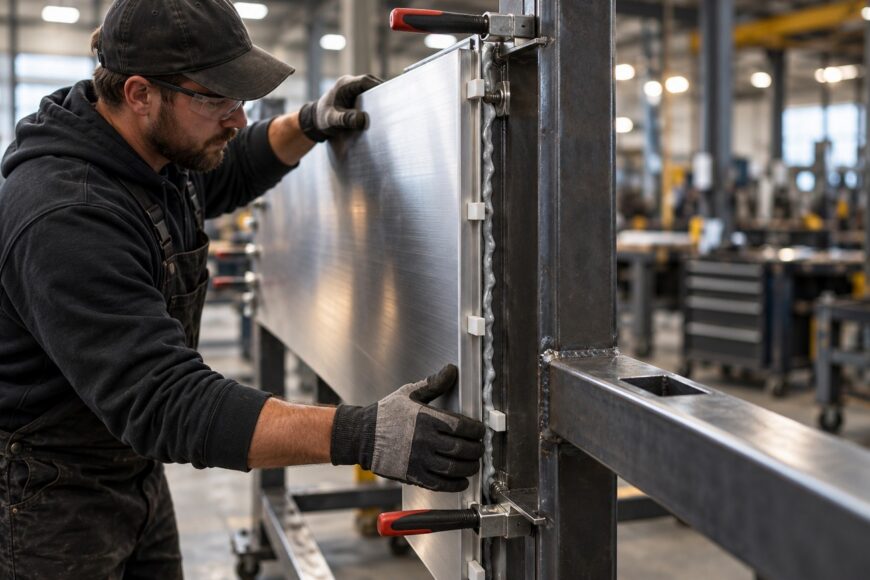
Position the panel within the adhesive’s working time, then hold it against movement without squeezing the adhesive out of the designed bond area. Temporary supports, clamps, or fixtures must distribute pressure without distorting the panel. Keep the assembly stable until the product has reached the specified handling or fixture strength.
Initial set may occur within minutes, while full strength commonly takes 24–48 hours under specified conditions. Actual cure time depends on the product, temperature, humidity where relevant, bondline condition, and joint size. Cold conditions or bondline conditions can change the schedule, so “24 hours” should not be treated as an automatic release time.
Why panel bonds fail at edges and seams
Edge lift usually points to one or more of these problems: peel-prone geometry, inadequate support, or poor adhesion at the edge. A high shear-strength figure does not describe resistance to peel. Inspect whether the adhesive reached the edge as specified, whether the panel moved during cure, and whether the edge was contaminated or left without adequate contact.
Cracking at a seam can result from a joint that is too stiff for the movement of the panels, especially where large panels experience thermal cycling or vibration. Structural epoxy may provide high stiffness and strength, while a structural polyurethane may better accommodate movement, subject to its product specifications. Neither choice corrects unsuitable geometry or insufficient bond area.
Blistering or loss of adhesion after winter exposure can involve moisture, inadequate surface preparation, trapped contamination, or freeze-thaw movement. Damp porous substrates require particular caution. The adhesive, primer, panel, and support must be assessed together rather than assigning every failure to the nominal strength of the adhesive.
Use a short troubleshooting order: inspect the failure location, check the surface and primer records, review bondline continuity and support during cure, then compare temperature and moisture exposure with the approved service limits. This sequence separates an installation defect from a design or material-selection problem.
Verify the joint and plan for its service life
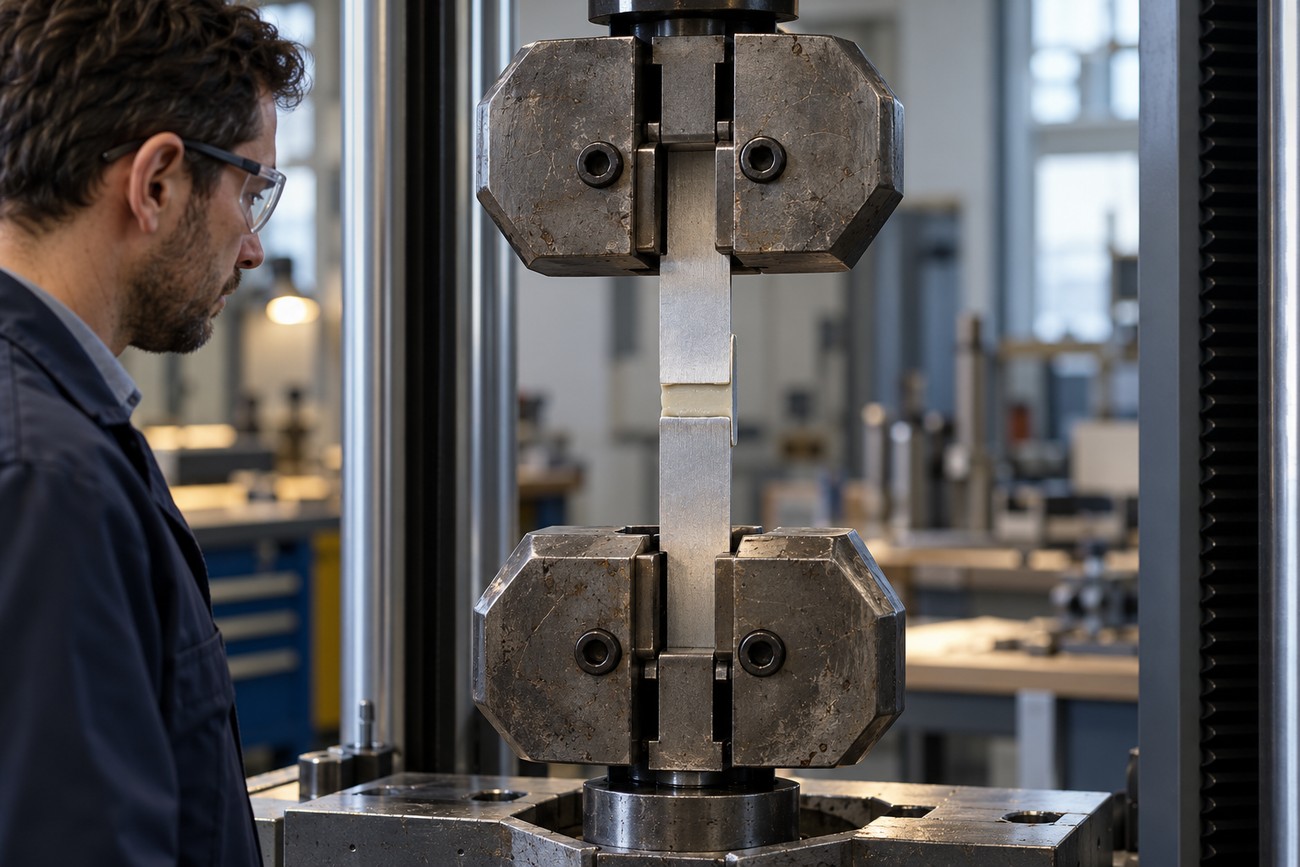
Visual inspection can confirm visible coverage, gaps, voids, contamination, squeeze-out, and edge defects. It cannot by itself establish bond strength. A sound-looking surface may conceal poor wetting or a weak interface, especially on coated or treated panels.
Where failure has significant consequences, use representative test coupons and application-appropriate qualification or inspection methods. These may include adhesion-strength testing, assessment of resistance to erosion or environmental exposure, and documented checks of preparation, primer, mixing, bondline, and cure. The coupon should represent the actual substrate and surface system.
Moisture, UV exposure, service temperature, and fire performance must be checked for the specific adhesive and assembly. No single generic service range or rating applies to all structural adhesives. Protection from weather may be part of the design, and an external joint may require sealing or a finish system approved for the adhesive.
Bonded panels can also be difficult to remove without damage, which affects repair planning and replacement. Adhesive bonding is not automatically equivalent to welding or bolting without a designed and qualified joint. Seek engineering approval when loads, fire performance, vehicle safety, façade retention, or uncertain substrate conditions make failure consequential; a combined adhesive-and-fastener system may then provide the required risk control.
Frequently asked questions
The right panel adhesive depends on the vehicle or assembly, the panel location, the substrate, and the approved joint design. Product handling also affects the result, particularly with two-part cartridges. Excess adhesive at a visible seam should be managed according to the product’s timing and finishing instructions.
What is the best adhesive for bonding car panels?
There is no universal strongest-product ranking for car panels. The vehicle manufacturer’s repair procedure, the panel location, the substrate and coating, and the specified adhesive determine whether bonding is permitted. A body panel may be cosmetic, semi-structural, or part of a load path, and the repair method must match that classification.
Use an automotive panel-bonding product only where the vehicle maker’s procedure permits that method and specifies the joint. If the procedure requires welding, rivets, a particular adhesive, or a combined system, changing the method can affect crash performance, corrosion protection, and warranty compliance.
What should I check before using a two-part panel adhesive cartridge?
Check the shelf life, storage condition, cartridge integrity, required mixing ratio, and the correct mixing nozzle. Confirm that the cartridge and nozzle are approved for the product, and calculate whether the working time is sufficient for preparation and positioning. A material that has been stored incorrectly or mixed incompletely should not be used in a consequential joint.
How should excess adhesive at a visible seam be handled?
Follow the product’s timing and finishing instructions. Remove or tool cosmetic squeeze-out only when the adhesive is within the stated cleanup window and the process will not disturb the panel or bondline.
Do not remove adhesive that forms part of the specified joint or edge seal. If the seam has already cured, use only an approved removal method and check whether cutting it could damage the panel, coating, or bond. Cosmetic cleanup and joint performance are separate decisions.