A fender can look installed while its gaps, corrosion protection, clips, and noise control are wrong. A door may rub against the panel, water may reach wiring behind a missing liner clip, and an unsealed edge can begin rusting long before the defect becomes visible.
The choice of panel sets the starting point for the repair. An accurately fitting OEM-quality fender usually reduces adjustment and corrosion risk, while a cheap aftermarket part may require more preparation, replacement hardware, and paint work than its purchase price suggests. Correct installation depends on dry-fitting, aligning the complete front end, and protecting hidden surfaces before the area is closed.
- Choose a Replacement Fender That Can Actually Fit
- Dry-Fit the Whole Front End Before Final Installation
- Align and Tighten the Fender Without Distorting It
- Protect Every Edge, Seam, and Hidden Cavity Against Rust
- Paint for Color Match, Edge Coverage, and Durability
- Restore Liners, Seals, Wiring, and Noise Control
- Perform a Final Gap, Movement, and Road-Noise Check
- Frequently asked questions
- How long should it take to replace a fender?
- How can I tell whether an aftermarket fender should be returned before painting?
- How can I make an aftermarket fender fit well?
Choose a Replacement Fender That Can Actually Fit
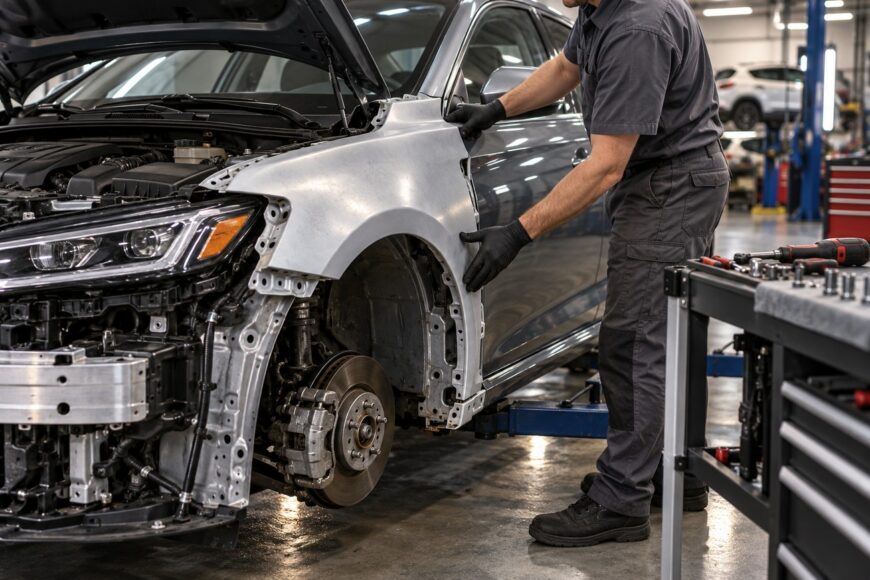
Catalog or VIN compatibility confirms the intended vehicle application; it does not guarantee correct geometry, hole placement, contour, metal thickness, or corrosion protection. Most modern passenger-car fenders are bolt-on panels secured around the perimeter with 6–12 bolts or screws, with additional spot welds or rivets near the pillar and rocker area. A small mismatch at one flange can affect the hood, door, lamp, bumper, and wheel-arch relationships.
| Panel type | Fit consistency | Corrosion protection | Preparation and long-term risk |
|---|---|---|---|
| OEM | Usually closest to the vehicle’s original geometry and hole locations | Often partially or fully galvanized, with the original coating system still requiring proper repair protection | Generally lower adjustment risk; usually the strongest choice when fit and durability are priorities |
| Reputable aftermarket | Can fit well, but inspection and dry-fitting remain necessary | Varies by manufacturer and may require additional edge, seam, and cavity protection | Moderate risk; hardware, contours, and liner mounts must be checked before painting |
| Low-cost replica | Greater risk of misplaced holes, distorted flanges, or an incorrect contour | Many are plain steel with minimal phosphate or transport primer rather than full galvanic protection | Higher preparation and corrosion risk; users report that some develop corrosion within 1–3 years when protection is inadequate |
OEM fenders are often partially or fully galvanized, whereas many inexpensive replicas are plain steel with minimal phosphate or transport primer. A label such as “reinforced primer” does not provide the same protection as galvanization, primer, paint, seam sealing, and cavity treatment. Inspect the panel’s edges, seams, mounting flanges, and reinforcement points before accepting it for paint.
Insurance and dealer standards generally expect a new fender to be installed without rough reshaping of its edges. If the panel needs hammering, forced slotting, or extensive hole relocation to approach the body shape, treat it as a defective or unsuitable part and return it where possible. A low purchase price loses its advantage when the repair adds labor, repainting, corrosion treatment, and future correction.
Remove the original panel carefully enough to identify every transferred component. Plastic brackets, reinforcements, seals, liner mounts, and insulation may be specific to the vehicle and may improve fit and noise control when moved to the replacement panel. Mark their positions and compare the new panel before applying primer or paint.
Dry-Fit the Whole Front End Before Final Installation
Photograph the original panel position before disassembly, including the gaps at the hood, door, headlamp, bumper, rocker, and wheel arch. These images provide a practical reference when the original panel is damaged or when the replacement has several possible adjustment positions. Remove or loosen the panel as required, then inspect the underlying mounting points for distortion before trial assembly.
Fit the fender with the hood, door, headlamp, bumper, and wheel-arch liner in place or loosely attached. Experienced body technicians often assemble these parts in a rough configuration before final paint and tightening because one panel can change the apparent position of the others. Factory-style gaps between the fender, hood, and door are commonly about 3–5 mm; consistent spacing matters more than one exact measurement.
Front-end gaps are a system. Aligning the fender against the hood, headlamp, bumper, and door together prevents one panel from being forced to compensate for a misplaced lamp, bumper bracket, door hinge, or latch.
Check the door relationship separately from the fender. The door gap may also involve hinge or latch adjustment, so forcing the fender inward can create a tight edge while leaving the door itself misaligned. Match the lamp and bumper contours, then check the hood line and the transition into the rocker and wheel arch.
Stop the installation if holes do not line up, a flange is distorted, or the contour cannot be aligned without force. Do not solve those problems with heavy hammering after the panel has been painted. Recheck the part number, compare it with the original panel, and return the replacement if its geometry remains wrong after the vehicle’s mounting points have been verified.
Align and Tighten the Fender Without Distorting It
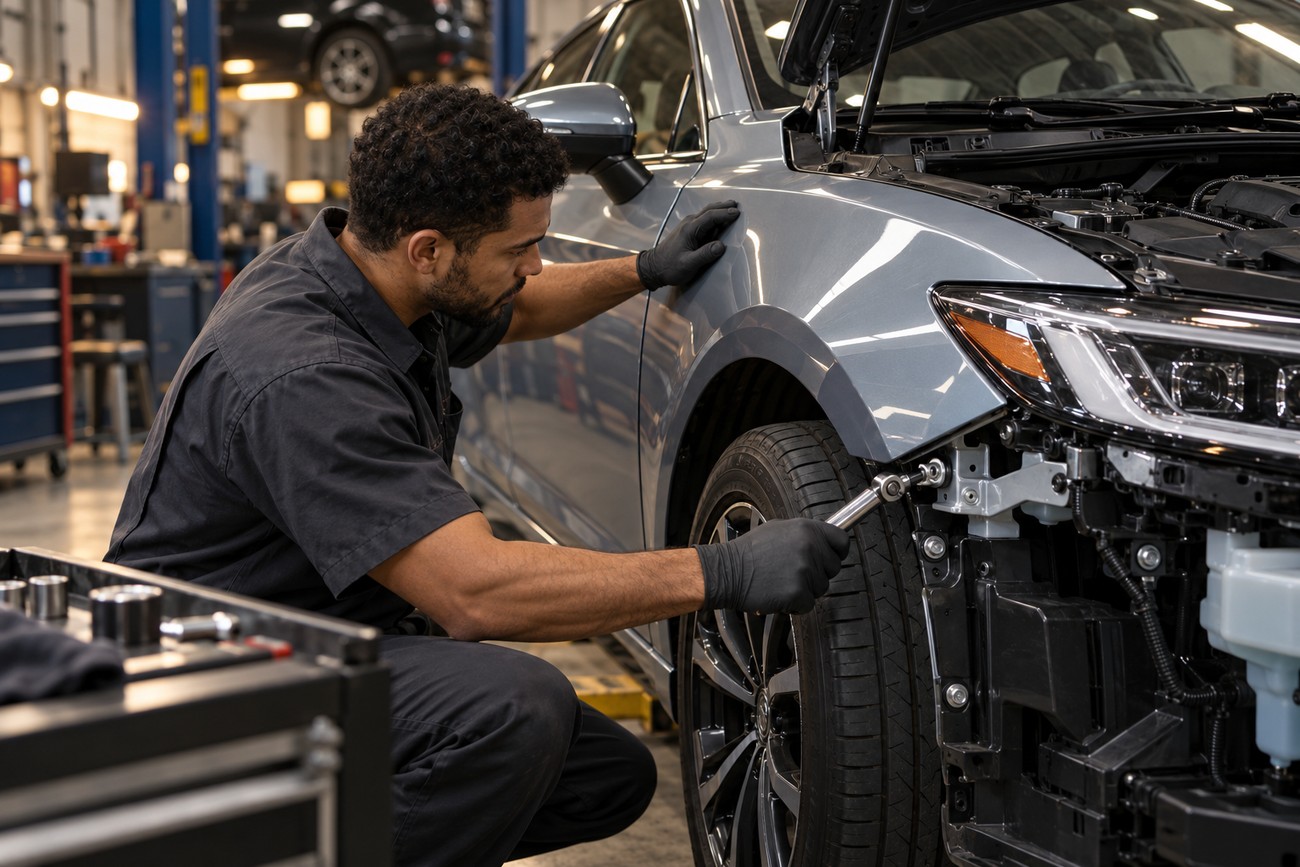
Begin with the relationships that control the visible body lines: establish the door and hood gaps, match the headlamp and bumper edges, and then refine the wheel-arch and rocker edges. Keep the fasteners loose enough for controlled movement while you compare both sides of the vehicle. Progressive adjustment is easier when the entire front end remains assembled.
Tighten the fasteners gradually after the panel sits correctly. Typical fender fastener torque is approximately 5–10 N·m for M6–M8 hardware, depending on the vehicle and service manual. Use the manufacturer’s specification whenever it is available, because tightening by feel can deform the thin panel around a fastener point.
Overtightening can create dimples, pull a flange inward, and shift the gaps as the panel is secured. Check the edge after each group of fasteners rather than tightening every point fully in one pass. A washer, clip, or spacer installed in the wrong position can produce the same symptom as a bad panel, so compare the hardware layout with the original assembly.
Formal body-repair standards recommend new original fasteners and clips. Technicians sometimes reuse serviceable original or universal hardware, but each piece should be checked for corrosion, damaged threads, loss of tension, and correct engagement. Replace hardware when the vehicle’s service information requires it or when a clip no longer holds the panel firmly.
Protect Every Edge, Seam, and Hidden Cavity Against Rust
Factory transport primer is not automatically a finished corrosion system. Prepare any bare or damaged metal according to the coating manufacturer’s process, then provide suitable primer and paint coverage at edges, mounting areas, and repaired surfaces. Galvanized metal still requires intact primer, paint, seam sealing, and cavity protection.
Factory repair procedures call for seam sealer or mastic at joints, plus wax- or oil-based preservation inside relevant cavities and seams after fender replacement. Include fastener zones, inner flanges, pillar and rocker connections, and the wheel-arch lip. Protecting only the visible lower edge leaves other paths for water and salt.
Cutting, sanding, drilling, or aggressive fitting can damage a zinc layer. A thin or damaged zinc layer does not replace proper primer, paint, seam sealing, and cavity protection. Marketing terms such as “reinforced primer” describe neither the complete coating system nor the condition of every hidden surface.
Keep drain paths open while sealing the assembly. Excess material that blocks drainage can retain moisture behind the panel, while an unsealed joint can draw water into a cavity through capillary action. Allow the specified products to cure before exposing the area to road spray or reinstalling components that could disturb the seal.
Paint for Color Match, Edge Coverage, and Durability
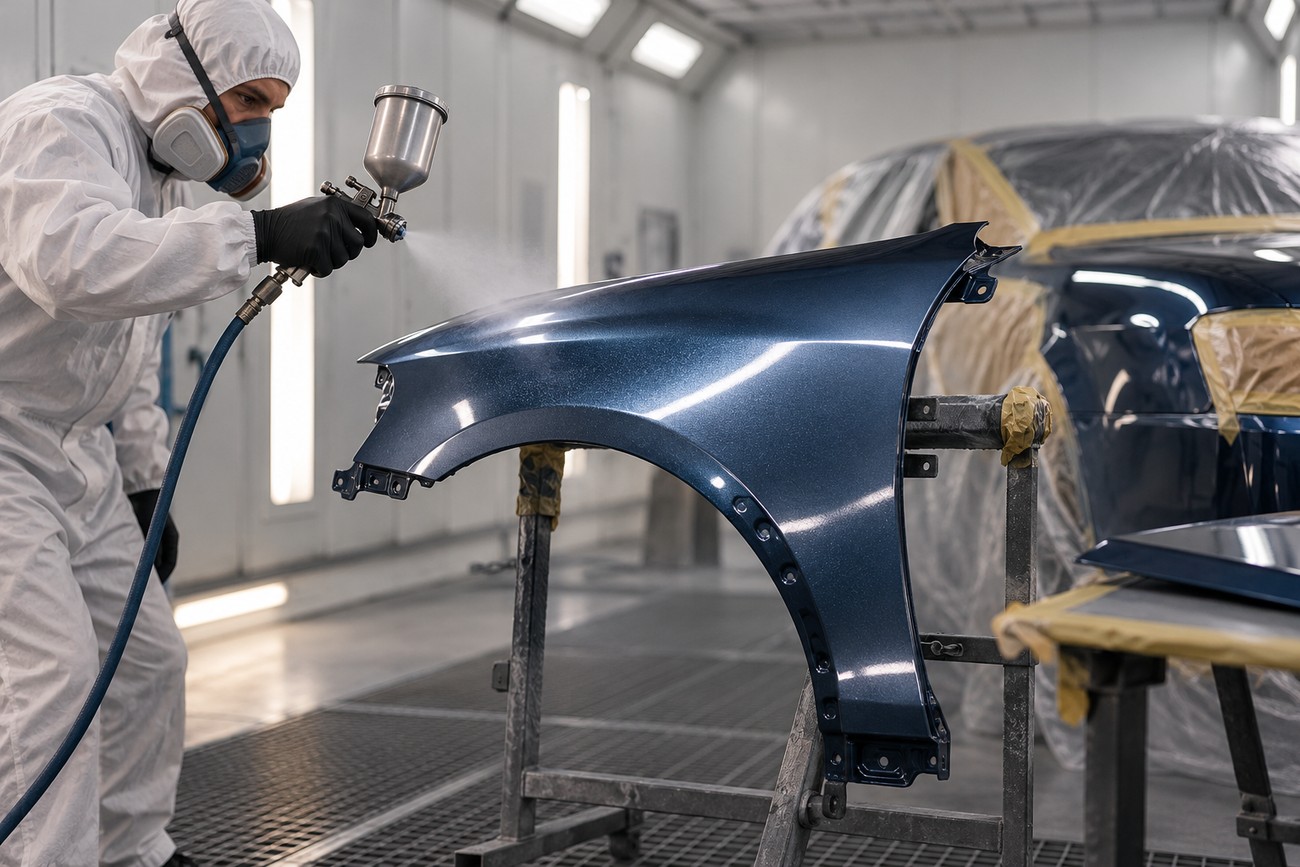
A correctly aligned panel can still look like a poor repair if its color transition is visible. Metallic and pearl finishes are especially sensitive to spray technique, orientation, and the condition of the adjacent panels. Painting the replacement fender separately can create a visible color patch, even when the same base color is used.
Prepare the panel’s edges, seams, and mounting areas for the complete coating process. Leaving transport primer or bare metal at a flange creates a corrosion risk and may allow moisture to travel under the finish. Masking and coating must also preserve the areas where seam sealer and cavity protection will be applied.
Where the color and finish require it, controlled blending into the adjacent door, hood, or other panel can make the transition less noticeable. The decision depends on the paint system, finish, vehicle condition, and shop procedure. A spray-out or color check before final application can reveal a mismatch while correction remains practical.
Inspect the painted panel under consistent lighting after curing. Look along the wheel-arch lip, bolt edges, lamp opening, and rocker flange for thin coverage, dry spray, runs, or exposed substrate. The final visual standard depends on both uniform panel gaps and a consistent color transition with adjacent panels.
Restore Liners, Seals, Wiring, and Noise Control
Reinstall the wheel-arch liner, splash shields, factory clips, seals, insulation, and any reinforcements transferred from the original panel. Missing wheel-arch clips and seals can direct dirt and water toward wiring and electrical connectors. They can also allow the liner to move into the tire path or rub against the fender.
Inspect the hidden area before closing it. Look for pinched wiring, damaged sensor mounts, broken liner brackets, displaced insulation, and fasteners left behind in the cavity. A replacement panel with different thickness or shape can change stiffness, vibration, and noise behavior, even when its outer contour appears acceptable.
Compare the new panel with the original for reinforcement locations, seal contact, and clearance around harnesses. Transfer components only when they are undamaged and appropriate for the replacement panel. Replace broken clips rather than relying on pressure from the liner to hold the assembly in position.
Road and under-hood noise can increase when gaps, liners, seals, or insulation are incorrect. Check that the liner follows the wheel arch without folds and that seals contact their mating surfaces continuously. This inspection also helps prevent water from reaching connectors that may be difficult to access after final assembly.
Perform a Final Gap, Movement, and Road-Noise Check
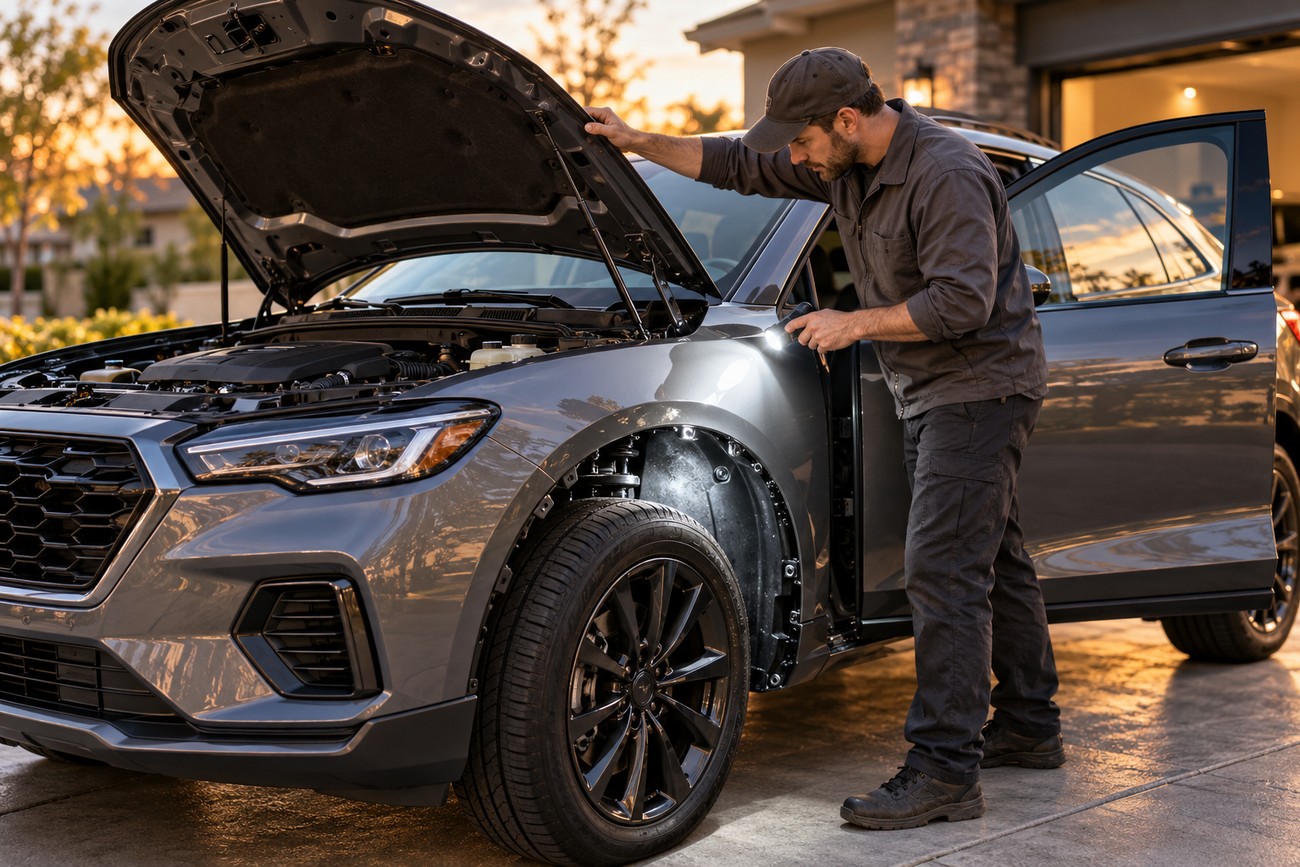
Use a practical acceptance checklist before signing off the repair. Inspect consistent gaps in the approximate 3–5 mm range around the hood and door, remembering that uniformity matters more than a single absolute measurement. Confirm that the door and hood open and close without rubbing or catching.
Check the transitions at the headlamp and bumper, then inspect the wheel-arch and rocker edges from several angles. Verify every required clip, seal, liner, splash shield, and insulation piece. Look for exposed or unsealed metal around fasteners, seams, and inner edges.
- Confirm that the door, hood, lamp, and bumper remain aligned through their full movement.
- Check that the wheel-arch liner does not contact the tire or hang away from the panel.
- Inspect wiring, sensor mounts, connectors, and insulation for pinching or displacement.
- Look for uneven gaps, panel dimples near fasteners, paint damage, and unsealed edges.
- Listen for loose trim, wheel-arch vibration, and increased under-hood or aerodynamic noise.
A short, controlled drive over uneven pavement can reveal panel settling, vibration, or increased wheel-arch noise before final sign-off. After the drive, inspect the gaps again and retighten or reposition components only according to the vehicle’s procedures. The road check supplements manufacturer procedures; it does not replace structural inspection or diagnosis of safety systems.
Incorrect panel shape or gaps can affect aerodynamic noise and, in some cases, fuel consumption, so fit is not purely cosmetic. If the gap changes after driving, the panel may have settled against a mounting point, a clip may be loose, or another front-end component may still be misaligned. Resolve that cause before accepting the repair.
Frequently asked questions
Final acceptance depends on more than whether the fender is bolted in place. Fit, paint coverage, corrosion protection, seals, wiring, and noise control all need to be checked. The following questions address common decisions before and after installation.
How long should it take to replace a fender?
There is no reliable universal time. Planning depends on whether the panel fits immediately, whether hidden damage is present, how much preparation the replacement needs, whether adjacent-panel blending is required, and how long the paint and protective materials need to cure.
Allow time for dry-fitting and final alignment even when the panel is bolt-on. A repair that appears mechanically complete may still need liner and seal replacement, corrosion treatment, a controlled road check, and a second gap inspection before approval.
How can I tell whether an aftermarket fender should be returned before painting?
Dry-fit it before applying primer or paint. Return or reject the panel if the flange cannot align, holes are misplaced, the contour does not follow the hood, door, lamp, bumper, or wheel arch, edge quality is poor, or forceful hammering and extensive slotting are needed.
Also compare reinforcement locations, liner mounts, seals, and metal thickness with the original. A panel that technically attaches but leaves a persistent gap or lacks correct support can create additional labor and corrosion risk after painting.
How can I make an aftermarket fender fit well?
Start with a complete dry-fit and inspect the vehicle’s mounting points for collision damage. Assemble the fender with the hood, door, headlamp, bumper, and liner, then adjust the whole front-end relationship rather than forcing the fender to correct a door or bumper misalignment.
Use the correct hardware, transfer compatible brackets and seals, tighten progressively to the vehicle’s specification, and reject the panel if its geometry requires rough reshaping. Final corrosion treatment, liner installation, and a post-drive gap check determine whether the improvement lasts.