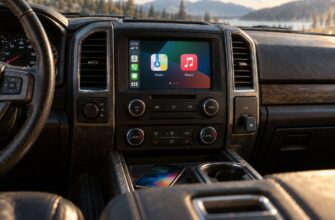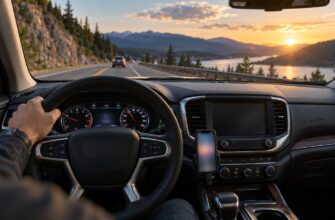
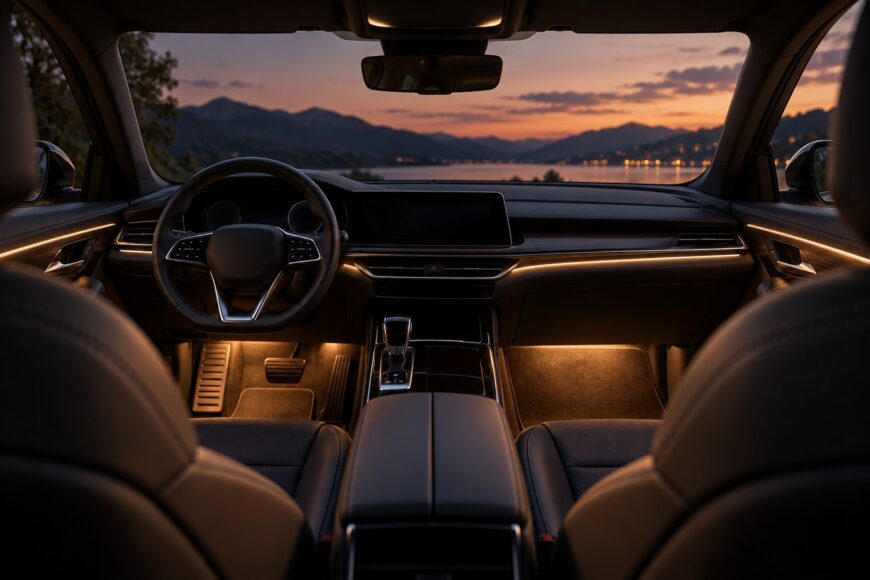
A factory-like ambient glow can make footwells and trim lines easier to see without filling the cabin with light. The result depends less on the color menu than on where the strips sit, how their wires are hidden, and whether the driver can see reflections in the glass.
A quick plug-in kit is easy to try, but loose adhesive, exposed wires, unreliable apps, and glare can make it feel temporary. Poor power choices can also drain a parked car’s battery or complicate an electrical warranty claim. A protected, concealed installation takes longer, yet it gives you more control over the finish and makes faults easier to trace.
- Choose the Right Ambient Lighting Kit and Layout
- Check Legality, Power, and Warranty Risk Before Wiring
- Prepare the Interior, Tools, and Adhesive Surfaces
- Route and Mount the Strips Without Visible Wires
- Connect the Controller and Power the System Safely
- Set Brightness and Color for Comfortable Driving
- Avoid the Failures Cheap Kits Hide
- Test, Reassemble, and Keep the Installation Reversible
- Frequently asked questions
- How hard is it to install ambient lighting in a car?
- How do you install interior car LED strip lights without removing the whole interior?
- How much does professional ambient lighting installation cost?
- Can car ambient lighting drain the battery when the vehicle is parked?
- Do Bluetooth ambient-lighting kits need internet access, and what privacy risk do they have?
Choose the Right Ambient Lighting Kit and Layout
Start with the power and control arrangement that suits your car. A plug-in accessory-socket kit is the easiest to remove, though its plug and cable may remain visible. USB kits can work for a small accent if the port supplies enough power and switches off when expected. A hardwired kit offers a cleaner finish, but it calls for circuit identification, fuse protection, and more trim work.
Sketch the lighting zones before buying: front footwells, rear footwells, dash seams, door trim, or a restrained combination. Check where each wire can reach the controller without crossing a hinge, seat mechanism, or safety component. Door lighting is often the hardest zone because the wiring must pass through a moving area; if the vehicle has no suitable route, leave that zone out rather than improvise through a door seal.
For a continuous line, choose a strip and matte diffuser channel that fit the available trim gap. Exposed LEDs can show as bright points and reflect in side glass. As a guide, 120–180 LEDs/m generally produce a more even interior line than 60–90 LEDs/m, although the diffuser and viewing angle still matter. Check strip dimensions before ordering: a channel that looks slim in a listing can prevent a panel from seating properly.
Look for a stated automotive temperature range, reliable connectors, and a rating of at least IP65 for dust and splash protection, especially near damp footwear. Check whether that rating covers the connectors as well as the strip. Interior strips are generally accessories rather than regulated exterior lamps, provided the installation does not interfere with critical wiring or safety equipment. A concealed installation with routing, testing, and trim work usually takes several hours, not 10 minutes.
Check Legality, Power, and Warranty Risk Before Wiring
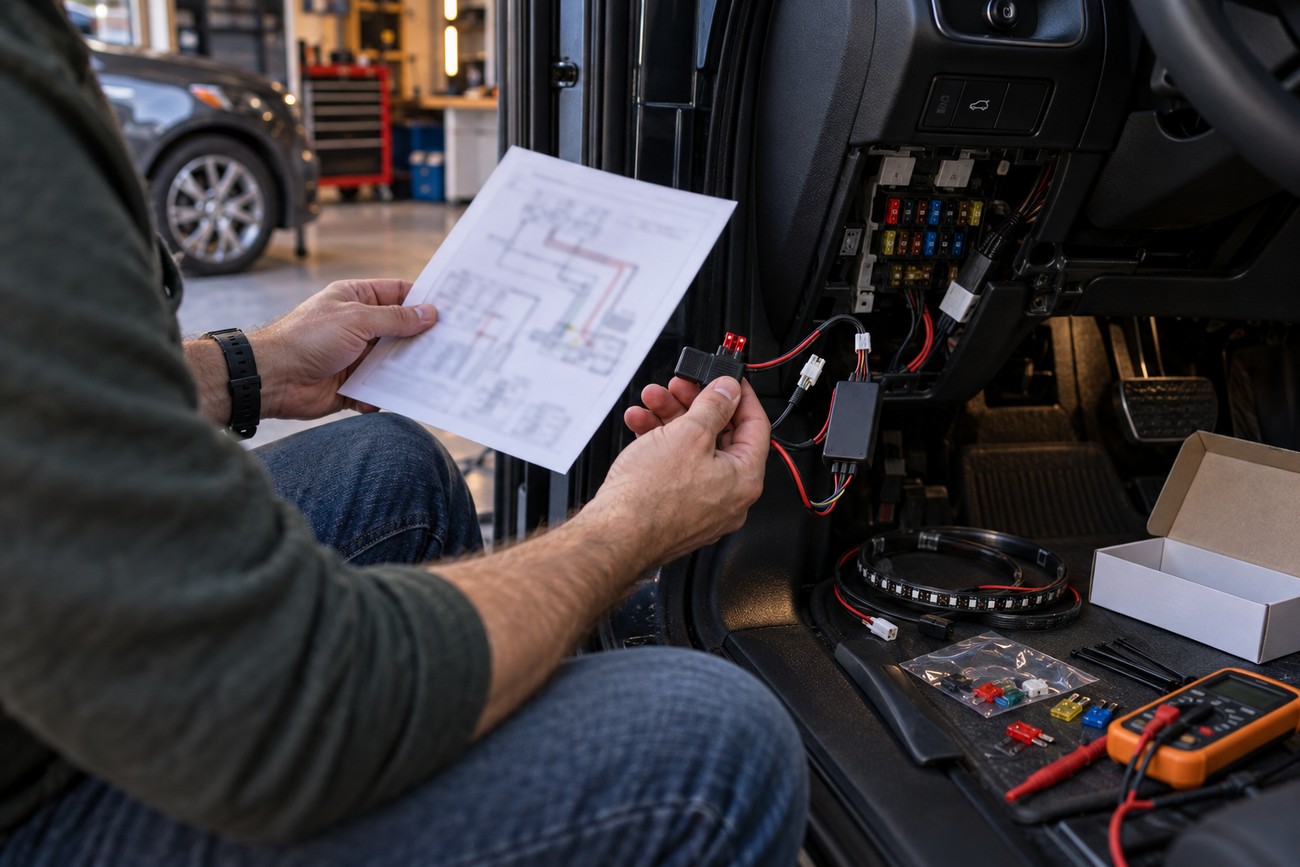
Interior ambient lighting is often permitted, but local rules and inspections still matter. Light that dazzles the driver, reflects across the windshield, imitates emergency signals, or runs distracting effects while driving may attract enforcement concerns. Keep the source out of the driver’s direct view and use a dim, static setting on the road.
Size the electrical supply from the whole kit, including every strip and the controller. Common automotive LED strips use about 3.5–7.2 W/m, or approximately 0.3–0.6 A/m; multiply the strip length by the current range, then allow for the controller and the kit’s stated maximum. An accessory socket is often rated 10–15 A, but that rating does not permit you to overload its shared circuit, exceed a plug’s rating, or run thin kit wiring without suitable protection.
A separate 3–5 A fuse is commonly recommended for an ambient-lighting circuit, provided its rating also suits the actual load and wire size. Place protection close to the power source and use a sound factory chassis ground point where the vehicle design permits it. Never run an unused lead directly from the battery into the cabin: damage to that lead could cause a short or fire before any downstream switch or controller can help.
Find out whether your proposed outlet or tap remains live after the car is parked. Long runs of lighting strip left powered with the engine off can drain a weak battery overnight, especially in winter; a controller that appears dark may still draw power. Check the vehicle documentation rather than assuming all accessory sockets behave alike.
Warranty claims need the same care. Sellers may say a kit does not affect coverage, while a dealer may dispute an electrical claim after finding harness splices or disturbed panels; the outcome depends on the vehicle, the work, and the fault. Photograph the original layout, keep factory wiring intact where possible, and choose connections you can remove without leaving damaged conductors.
Prepare the Interior, Tools, and Adhesive Surfaces
Gather plastic trim tools, a suitable electrical tester, a tape measure, cleaning cloths, isopropyl alcohol, automotive-grade adhesive or approved primer, and flexible clips or ties. Have the correct fuse and connection parts ready before opening panels. A household screwdriver can mark soft trim, while ordinary double-sided tape often releases when a parked cabin gets hot.
Bench-test the controller and every strip before hiding them. Check each color, dimming level, and connection, then gently move the leads to expose intermittent joints. Inexpensive kits may have thin conductors, weak soldering, or no clear reverse-polarity or overvoltage protection, so do not assume a segment that lights once will tolerate a poor connection. Photograph connectors and panel positions as you go.
Consult the vehicle’s trim and electrical guidance before removing parts or disconnecting power. Panels use different clips and may sit beside airbags, so stop if a piece resists or its release method is unclear. Where battery disconnection is appropriate, follow the vehicle procedure and account for any settings or systems that may need attention afterward. Keep tools away from airbag connectors and safety-critical harnesses.
Dry-fit each strip, then clean its mounting surface with isopropyl alcohol and let it dry. Suitable automotive adhesive may benefit from gentle warming with a hair dryer and a compatible primer, following the adhesive instructions; avoid overheating trim or applying primer to a visible finish without testing it. Cheap tape layers, even those marketed as premium tape, can lift after about a week in hot conditions. A clean, supported mounting surface matters more than pressing harder on unsuitable adhesive.
Route and Mount the Strips Without Visible Wires
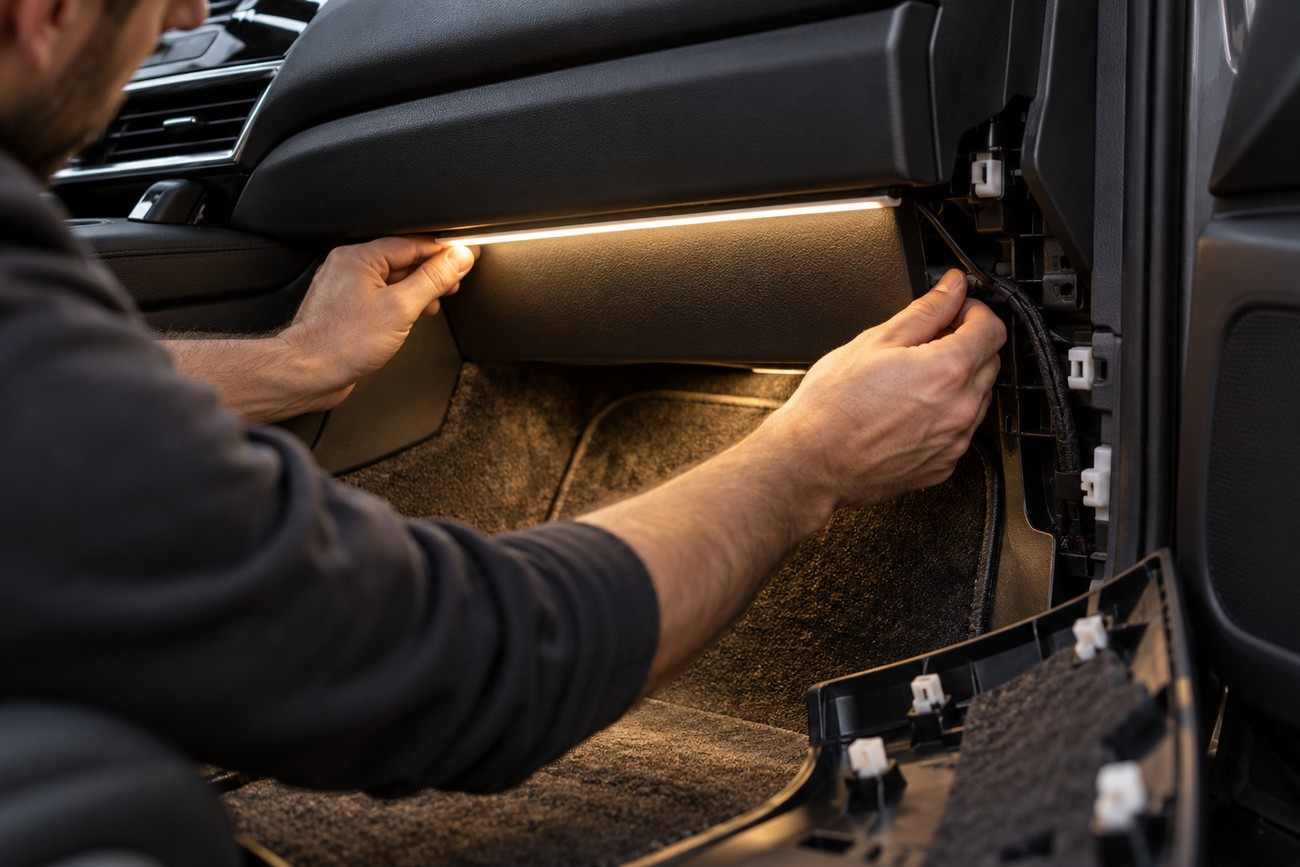
Lay out the complete route before removing trim. Place the controller where you can reach it for service without leaving it loose in a footwell, and mark the points where wires must turn or enter a channel. Remove only the panels needed to reach those points. If a proposed line requires forcing a strip into a tight seam, revise the layout before its adhesive is exposed.
Fit diffuser channels as their design requires, then mount the strips so their light washes a surface rather than shining directly at an occupant. A matte diffuser softens visible LED points, but it cannot fix a strip aimed into the driver’s eyes. Check that clips and strip edges do not prevent trim from snapping fully home.
Leave a small, flexible service loop at removable trim and support the new wire with separate light clips. Binding it tightly to a factory harness can transfer vibration into the panel and put strain on a connector the next time that panel comes off.
Keep wiring clear of seat rails and other moving seat parts, hinges, the steering column, pedals, and every airbag deployment path. Following an existing harness route can help, but do not tuck a new cable under a restraint component or pull the factory bundle into a different position. At an unavoidable edge, use appropriate abrasion protection and make sure normal panel movement cannot pinch the insulation.
Secure loose runs so passengers cannot catch them with their feet, while leaving enough flexibility for trim removal. Before closing each area, move the relevant seat or panel through its normal travel and check for contact. Refit clips in their original positions; a wire trapped behind a locating tab can leave a gap and create a rattle or squeak long after the lights appear to work.
Connect the Controller and Power the System Safely
Identify a verified power source first, then calculate the current for the complete installation. Use the strips’ specified draw where available; otherwise, the typical range of approximately 0.3–0.6 A/m provides an initial estimate that still needs checking against the controller and supply ratings. Confirm polarity with a tester rather than trusting wire color alone.
A reversible accessory connection can be sensible for a modest kit if the plug, outlet, and circuit are suitable and protected. For a hardwired installation, use a connection method intended for the vehicle and protect the added lead with a separate fuse, commonly 3–5 A when that rating fits the wire and load. Do not substitute a larger fuse to stop repeated openings. Use an appropriate factory chassis ground point, with a secure connection that will not loosen under vibration.
A suitable switched source can make the lighting turn off with the vehicle; in some cars, a verified lighting circuit can make it follow the factory lights. Modern lighting circuits may be monitored or may not have capacity for an added load, so never splice blindly into a dash-illumination wire. Keep clear of airbag, braking, steering, and other critical circuits. If the wiring diagram or test results are ambiguous, have a qualified auto electrician identify the source.
Mount the controller away from water, heater outlets, and places where it can rattle. Leave its connectors accessible without pulling on a strip, and test the system before refitting panels. Bluetooth kits deserve a full control test now: some apps lag, lose pairing, freeze, or stop working reliably after a phone operating-system update.
- Confirm every segment lights and dims without flicker or an audible controller whine.
- Check that the intended switch-off event actually removes or limits power.
- Inspect the fuse holder, connections, and controller for abnormal warmth.
- Move seats and operate nearby controls before closing the trim.
Set Brightness and Color for Comfortable Driving
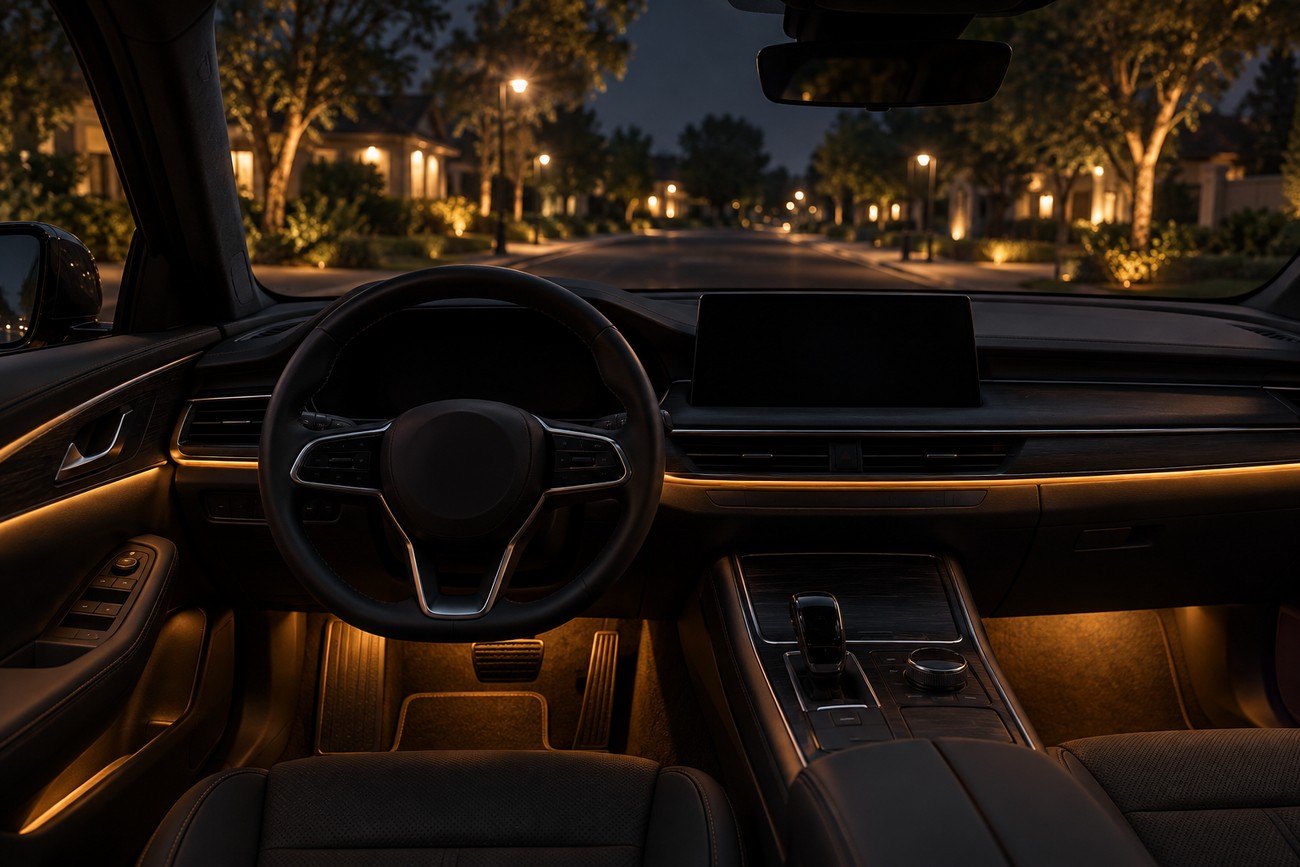
Commission the lighting from the driver’s normal seating position at night, with the vehicle stationary. A strip that looks subtle beside an open door may be prominent in peripheral vision once the cabin is dark. Check the windshield and side glass for reflections, then lower brightness or change the strip angle until the glow stays on the trim.
Use a dim, static color while driving. Rapid color changes and high-brightness RGB effects can draw attention from the road and tire the eyes rather than improve safety. Bright blue and pure white near the instrument area can also feel harsher and reduce perceived road contrast; a warmer, lower-output setting is often easier to live with.
Compare every zone at the same setting before securing the controller out of reach. Low-quality RGB strips may show visibly different shades across the cabin, particularly when strips from separate batches or controllers are mixed. Adjust what you can, but do not compensate for a mismatched rear zone by making the front brighter. The front-seat view should set the limit.
Avoid the Failures Cheap Kits Hide
Peeling usually points to surface preparation, heat exposure, or a strip being asked to bend against its adhesive. Remove failed tape, clean off residue, and remount with a suitable automotive adhesive system on a stable surface. Repeatedly pressing a loose strip back into place leaves the underlying problem unresolved, and a hanging lead can eventually pull on its connector.
Flicker or a dead segment calls for an electrical check before another app reset. Inspect connectors for looseness or corrosion, then check voltage and continuity using the kit’s instructions. Thin wires and poor solder joints can break after months of vibration. If a fuse opens again, disconnect the kit and find the fault; never treat a larger fuse as the repair.
Some controllers produce an audible whine at particular brightness or color settings. Try another setting to confirm the source, but replace a persistently noisy or unreliable controller with a compatible, adequately rated unit rather than hiding it where heat cannot escape. App freezes and lost pairing may also be controller faults. Check support and update history before buying a kit that depends on its app for basic on-off control.
Unspecified sealing lets moisture reach contacts, even when the illuminated part looks enclosed. An IP65-rated strip is a useful baseline for dust and splash protection, but exposed connectors need their own suitable protection. Real temperature tolerance matters too: cold can make plastic brittle, while heat can soften adhesive or deform a diffuser. Avoid a mounting point that sees direct sun and leaves no room for expansion.
Privacy is another kit-quality check. Many inexpensive Bluetooth controllers have weak or unclear encryption, and companion apps may request device or location data. Review permissions and the privacy policy, check whether the lights can operate offline, and prefer a controller with a usable physical control if you do not want routine lighting tied to an unsupported app.
Test, Reassemble, and Keep the Installation Reversible
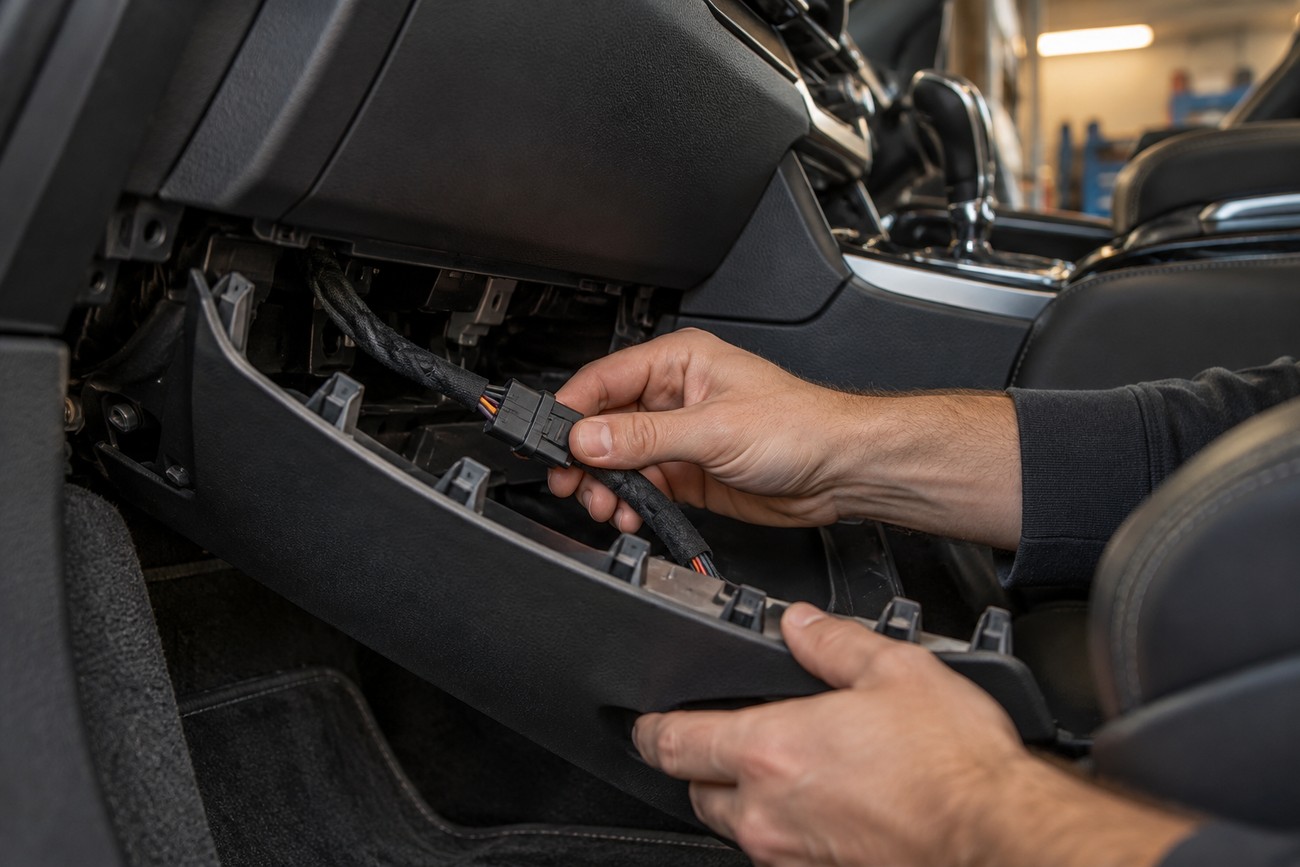
Test with the engine running and again after shutdown. Verify every lighting zone, the controller’s response, and the intended power-off behavior; then inspect connections for warmth and wires for movement or pinching. A system that works while driving may still draw from the battery while parked, especially if its controller remains awake.
Refit trim carefully, replacing damaged clips rather than forcing a panel over a cable. Operate seats, pedals, doors, and nearby switches once more, and listen for new squeaks on a short drive. Keep a record of the power source, fuse rating, connector locations, and original wiring photographs so future service does not start with guesswork.
If the battery is weak, switch the kit off or remove its fuse until you have verified its parked current draw. A blown fuse or recurring flicker needs fault-finding before the lights go back into use. If a dealer questions the installation during an electrical claim, provide the routing and connection record; reversibility helps explain the work, though it cannot guarantee a warranty outcome.
Frequently asked questions
The right approach depends on how much trim must move and how the kit gets power. The following answers help distinguish a manageable interior project from one that needs vehicle-specific electrical or trim expertise.
How hard is it to install ambient lighting in a car?
A small plug-in footwell kit is a reasonable beginner project if you can secure its wires and confirm the outlet switches off. Hidden dash and door lines are harder because trim clips, limited space, and moving parts leave little room for mistakes; hardwiring also requires confident circuit testing. A careful concealed installation usually takes several hours.
Stop and seek professional help if the route approaches an airbag or a safety-critical harness, or if you cannot identify how to release a panel. The same applies if you cannot verify the proposed power source or ground. Those are better stopping points than testing a guess with the car’s wiring.
How do you install interior car LED strip lights without removing the whole interior?
Use accessible trim edges and remove only the pieces needed to hide and support each wire run. Dry-fit one zone at a time with trim-safe tools, check where its lead will exit, and close that zone before expanding the layout. This staged approach can spare large panels while still giving connectors a reachable service path.
There is no universal route that avoids disassembly. A visible wire across a footwell or a cable pushed into an unknown seam is a poor trade for leaving a panel in place. If selective removal is not possible, choose a smaller layout with a safe, exposed but secured cable path or leave that zone unlit.
How much does professional ambient lighting installation cost?
There is no useful universal price because the kit and the finish requested can change the work substantially. Ask for quotes that separate the kit, labor, trim removal, diffuser fitting, power integration, and any diagnosis of existing wiring. Specify the same zones and control method to each installer so the quotes describe comparable jobs.
Ask where the controller and fuse will sit, whether door wiring is included, and how the installer will document or reverse the connection. A quote for plugging in footwell lights should not be compared directly with one for concealed door and dash lines.
Can car ambient lighting drain the battery when the vehicle is parked?
Yes. Long runs of lighting strip left powered with the engine off can drain a weak battery overnight, especially in winter, and a dark controller is not proof that it has shut down. After the vehicle completes its normal shutdown, verify that the chosen supply switches off and check for continuing current draw with a suitable meter if you know how to use one safely.
If you cannot confirm the result, remove the lighting fuse before leaving the car parked and have the circuit checked. Repeatedly finding a weak battery is a reason to investigate the supply and controller, not simply to turn the brightness down.
Do Bluetooth ambient-lighting kits need internet access, and what privacy risk do they have?
Bluetooth control can operate locally, but a particular kit’s app may require an account, internet connection, or permissions for setup or features. Before buying, check whether basic on-off and color controls work offline, what happens when the phone is unavailable, and whether the maker has kept the app compatible with current phone operating systems.
Review requests for location and device access and look for a clear privacy policy. Some inexpensive kits use weak or unclear Bluetooth protection while their apps may collect device or location data. If those terms are unacceptable, choose a kit with offline control and a physical switch or remote.