

Pulsing at idle, dimming when the heater or defroster switches on, and one headlight flickering are common signs of an electrical problem. The bulb is only one possible cause. A weak battery, unstable charging voltage, poor ground, or a high-resistance connector can change the voltage reaching the lamps.
Diagnosis should separate charging-system faults from voltage loss in the wiring and from LED-driver behavior. Test the battery and charging system under load, compare voltage at the battery with voltage at the headlamp connector, and inspect grounds before buying an alternator or another set of bulbs.
- What Flickering or Dim Headlights Usually Mean
- Test the Battery, Charging System, and Voltage Drop
- Fix the Fault Without Replacing the Wrong Part
- LED Bulbs, Halogens, and Compatibility Traps
- Frequently Asked Questions
- How can I check whether alternator ripple is causing the flicker?
- Why do both headlights flicker at the same time?
- Why does one headlight flicker while the other stays steady?
- Can LED headlight bulbs flicker even when the alternator is healthy?
What Flickering or Dim Headlights Usually Mean
Both headlights changing brightness together usually points toward a shared problem: battery condition, alternator output, a main ground, or a positive connection. If one lamp flickers while the other remains steady, start with that lamp’s connector, ground path, fuse, wiring, and bulb. A loose terminal can work normally while parked and open briefly over a bump.
Flicker that appears mainly at idle and improves above about 1500–2000 rpm warrants checks of the alternator, belt drive, regulator, and grounds. Dimming when the blower, heated window, or audio system is used suggests that voltage is sagging under combined load. Moisture and vibration can make a marginal connection behave intermittently, which explains why the fault may disappear after the vehicle warms up.
Halogen bulbs become visibly dimmer and more yellow as their supply voltage falls. LEDs may show sharper flicker because their driver reacts to PWM, supply variation, or the vehicle’s lamp-monitoring pulses. A phone camera can exaggerate LED flicker, so use it as a clue rather than proof of a charging fault.
Some vehicles vary alternator output as part of a smart-charging strategy, so every small brightness change is not automatically a defect. Severe, irregular, or worsening changes still deserve testing, especially if a charging warning appears or other electrical systems reset.
Test the Battery, Charging System, and Voltage Drop
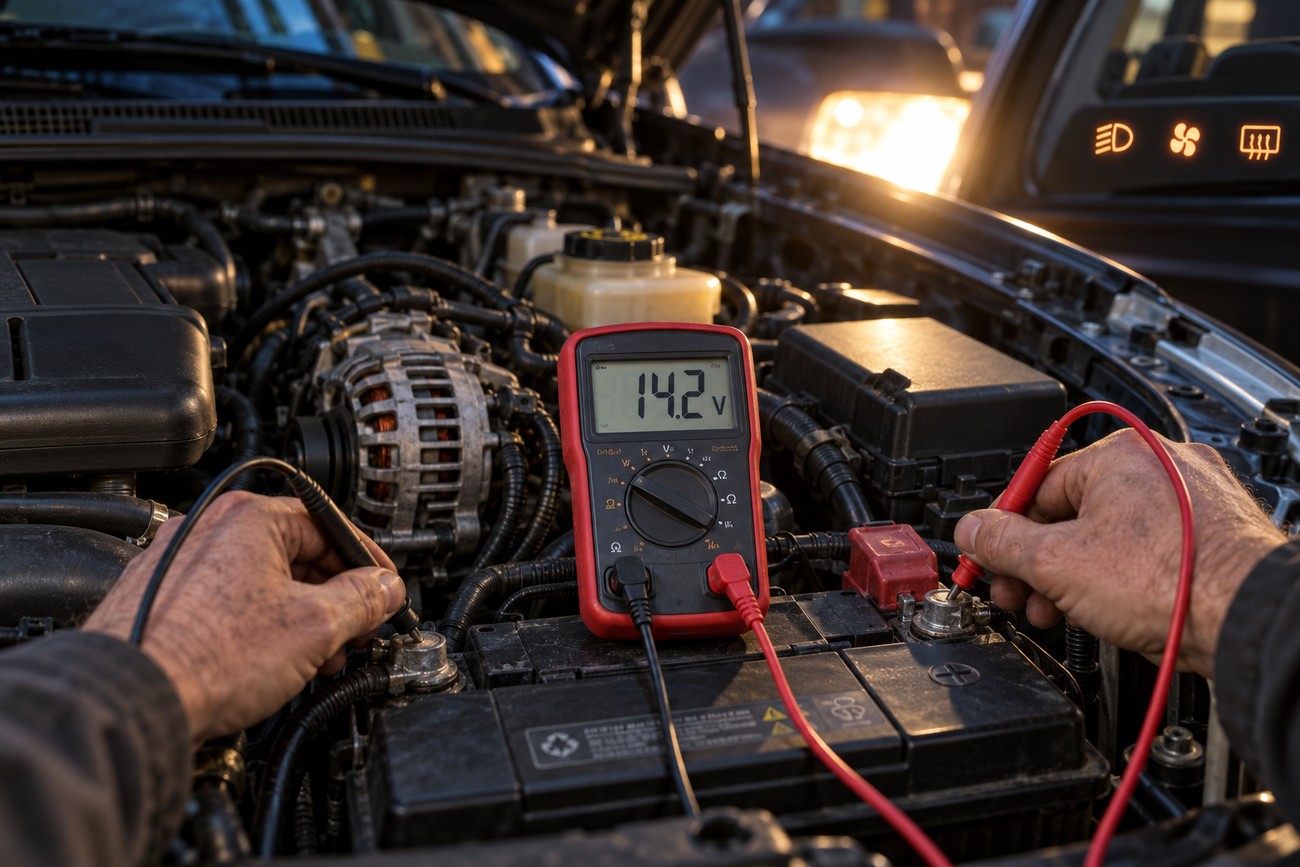
Use a digital multimeter and begin with the engine off after the vehicle has rested. A fully charged 12V lead-acid battery usually measures about 12.6–12.8 V at rest. A reading below about 12.2 V can produce noticeable light sag under load, although charging or surface-charge effects can influence a single measurement.
Watch the meter while the engine cranks. Voltage below about 9.6 V at 20°C suggests a weak battery or a starter-circuit problem. Then measure at the battery terminals with the engine running, first at idle and then with the headlights, blower, defroster, and other practical loads switched on. Most passenger-car charging systems measure about 13.8–14.7 V at the battery terminals.
A clean-looking ground can pass a static check and fail when the headlights and blower are operating. Measure at the lamp connector under load, because that is where hidden resistance becomes useful evidence.
Measure voltage at the headlamp connector under the same load, using the correct terminals and avoiding a short circuit. Compare that reading with the battery reading. A large difference identifies voltage loss in the positive or ground side of the circuit. Around 0.2 V or less across a wire or ground section is a useful practical benchmark, not a universal specification for every vehicle.
Test positive and ground sides separately if the readings are low. A voltage-drop test must be made while current is flowing; an unloaded continuity check can show a connection as good even though corrosion or a loose crimp causes trouble at operating current. Do not condemn the alternator from one idle reading, particularly on vehicles with smart charging. Check output under load and inspect the belt and connections first.
Fix the Fault Without Replacing the Wrong Part
For a voltage-loss fault, disconnect the battery as appropriate for the vehicle, then clean and tighten the battery terminals, body grounds, and engine-to-body ground strap. Inspect for green corrosion, heat damage, loose eyelets, broken strands, and water inside connectors. A new battery cannot repair poor wiring or a high-resistance ground.
Check the headlamp fuse, relay, positive feed, bulb socket, and connector pins. A terminal that has lost tension may touch well enough at rest and separate during vibration. If the fault follows one connector or changes when the harness is gently moved, repair the terminal or damaged wiring rather than fitting a larger bulb.
If both lamps flicker at idle, inspect the serpentine belt and tensioner for slipping or poor tension, then test the alternator and regulator with the electrical load applied. If flicker improves above about 1500–2000 rpm, the alternator, belt drive, regulator, and grounds become stronger suspects. Alternator replacement is justified by test results, not by the symptom alone.
LED Bulbs, Halogens, and Compatibility Traps
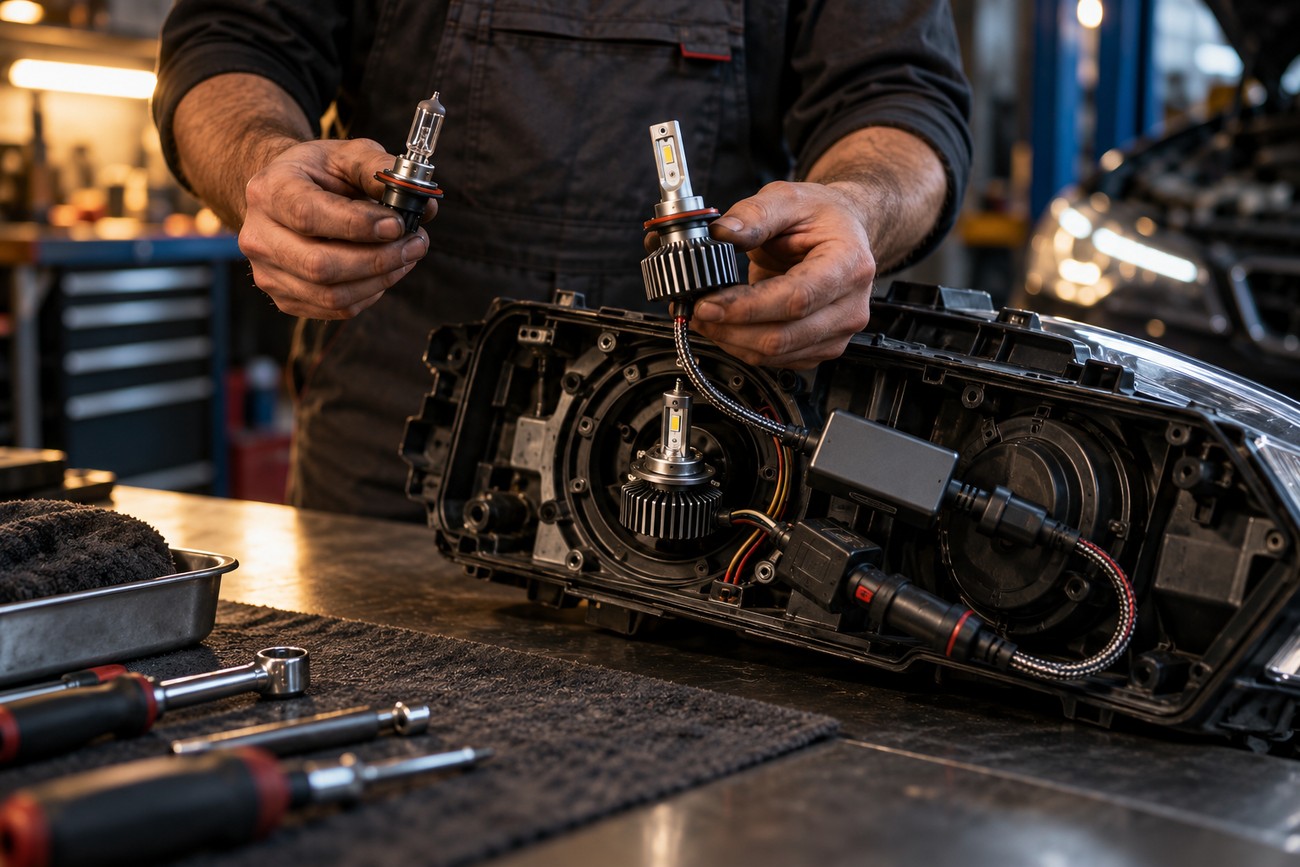
Cheap LED retrofits can flicker even with a healthy charging system. Possible causes include PWM control, an incompatible driver, vehicle lamp monitoring, or an unstable supply. The same installation may also produce lamp warnings, radio interference, or driver overheating.
“Error-free” and “no-flicker” labels are not universal guarantees. CANbus-compatible designs may prevent a warning on some vehicles while leaving supply pulsation, PWM behavior, or a poor ground untouched. Compatibility depends on the vehicle’s control strategy and the quality of the driver.
Before blaming the alternator, reinstall a known-good original bulb if available and compare the connector voltage with the new LED fitted. Check seating, polarity where relevant, heat clearance, and the condition of the socket. LEDs do not automatically provide better useful light; stable power and suitable optics matter more than the label on the package.
Frequently Asked Questions
The answers below distinguish shared electrical faults from problems affecting one lamp. They also explain why LED behavior can differ from halogen behavior. Use the symptoms and loaded measurements together rather than relying on a single test.
How can I check whether alternator ripple is causing the flicker?
Alternator ripple requires an AC-voltage or oscilloscope check; ordinary DC charging voltage does not fully rule it out. With the meter set to AC volts, measure at the battery with the engine running and electrical loads switched on, following the meter and vehicle manufacturer’s limits. A clearly abnormal AC reading, especially with unstable lights, can point toward alternator diode or stater problems.
Use caution around moving belts and fans, and avoid treating one inexpensive meter reading as a final diagnosis. A scope shows the ripple pattern more clearly, while a charging specialist can confirm whether the alternator, battery, or wiring is responsible. Severe flicker, a charging warning, or major brightness loss makes continued night driving unsafe until the fault is checked.
Why do both headlights flicker at the same time?
Simultaneous flickering usually indicates a shared electrical issue, such as unstable alternator output, a weak battery, or poor main power or ground connections. Check charging voltage and voltage drop under load before replacing either bulb.
Why does one headlight flicker while the other stays steady?
A single flickering lamp more often has a local fault in its bulb, socket, connector, fuse, wiring, or ground path. Inspect the terminal tension and move the harness gently while observing the lamp, then perform a loaded voltage-drop test.
Can LED headlight bulbs flicker even when the alternator is healthy?
Yes. LED drivers can react to PWM control, lamp-monitoring pulses, supply variation, or incompatibility with the vehicle. Refit a known-good original bulb and compare its behavior before diagnosing the charging system.







