Adding air every week is frustrating, especially when the tire still looks sound or you have been told it needs replacing without a clear explanation. A slow leak can come from the tire, the valve, or the wheel where the tire seals against it. Replacing the tire alone will not solve a leaking valve or a damaged wheel.
Start by finding where the air escapes, then decide whether the tire is safe to repair. You can check the pressure and look for signs of a leak at home. A puncture repair, however, requires a shop to remove the tire and inspect it from the inside.
- Check the pressure before you drive
- Find where the air is escaping
- Decide whether the tire can be repaired
- Know what a proper puncture repair involves
- If it still leaks after tire service, check the wheel and valve
- Confirm the leak is gone
- Frequently asked questions
- How much should it cost to fix a slow leak in a tire?
- What can I put in my tire for a slow leak?
Check the pressure before you drive
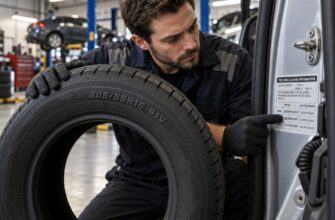
Measure the pressure with a gauge while the tire is cold, before driving has warmed it. Compare the reading with the vehicle manufacturer’s recommended cold tire pressure, usually shown on the vehicle’s tire placard or in the owner’s manual. The pressure printed on the tire sidewall is not the vehicle’s recommended setting.
Record the reading, inflate the tire to the recommended pressure if it is safe to do so, and check it cold again on subsequent days. Using the same gauge makes the pattern easier to judge. A warning light tells you to check the tires; depending on the vehicle, it may not show which tire is low or its pressure, and it cannot identify the leaking part.
Normal air diffusion is approximately 1–2 psi per month; pressure loss over a few days warrants investigation. Temperature changes can also affect a reading, which is another reason to compare cold checks rather than a cold reading with one taken after a drive. Repeatedly topping up a tire that loses pressure within days delays finding the fault.
If the tire is flat or severely underinflated, do not keep driving to see whether it holds air. Driving on a flat tire can cause internal damage that is not visible from outside. Use a suitable spare or arrange assistance rather than risking damage that could make an otherwise repairable puncture unsafe to repair.
Find where the air is escaping
Start with a cold tire and a visual inspection. Look across the tread for an embedded nail or screw, and check the sidewalls for cuts, bulges, or other damage. Leave any embedded object in place for the shop; pulling it out may make the tire lose air more quickly.
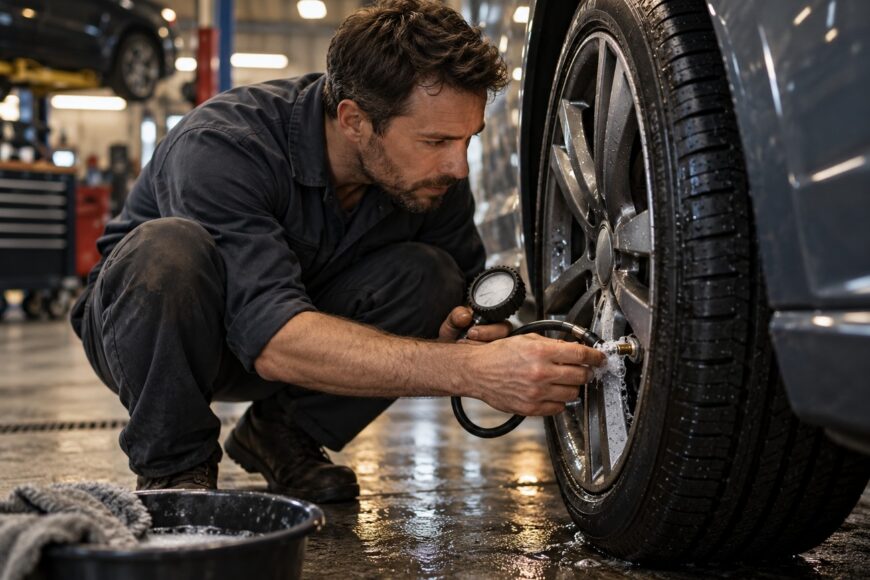
If the tire is holding enough air to inspect safely, apply soapy water to small areas and watch for bubbles that keep forming in the same spot. Work around the tread and sidewalls rather than checking only the most visible surface. Mark or photograph a bubbling spot so the shop can locate it.
Check the valve stem where it meets the wheel and the opening around the valve core. A leak there can be mistaken for a puncture, particularly on a nearly new tire. The valve cap helps keep dirt out, but fitting a cap is not a repair for a leaking stem or core.
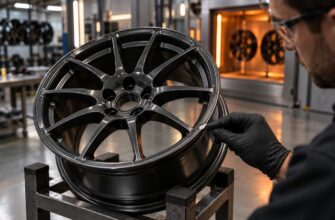
Finally, check where the tire meets the rim on both sides of the wheel, if you can reach them safely. Persistent bubbles along this bead can point to a sealing problem; wheel corrosion or deformation may be involved. Replacing the tire alone will not fix a bead leak caused by the wheel.
A quick check of the outer tread can miss a valve or bead leak, and an intermittent leak may not bubble during a brief inspection. Tell the tire shop where and when you observed pressure loss, what bubbled, and whether the wheel was recently serviced. If you find nothing, ask the shop to check the valve, both beads, and the wheel as well as the tire.
Decide whether the tire can be repaired
Once the source is identified, the first question is whether the damage falls within repair criteria. A puncture may qualify for repair only in the tread area and if it is no larger than 6 mm. Those conditions make it a candidate for inspection, not an automatic approval.
Shoulder, sidewall, and belt-edge damage are not repairable under these criteria. A small hole near the edge of the tread therefore deserves a different decision from a similar hole in the repairable tread area. The shop needs to establish the injury’s location and extent rather than judge it by the visible opening alone.
The tire’s history matters as much as the hole. A tire driven flat can have hidden internal damage and is generally recommended for replacement. Even if it holds air after inflation, an exterior inspection cannot rule out damage to the inner sidewalls or other internal parts.
Previous repairs also need inspection. Overlapping repairs are not permitted, and USTMA recommends removing a tire from service if it has an improper prior repair. Adding another repair over the same injury cannot establish whether the original injury channel and inner liner are sound.
If the leak is at the valve or bead rather than through a tire puncture, ask what component actually needs work before agreeing to a replacement tire. If a shop recommends replacing the tire after finding a small tread puncture, ask whether the reason is internal damage, its location, its size, or a prior repair. That distinction helps you understand the safety decision.
Know what a proper puncture repair involves
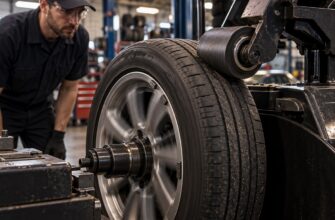
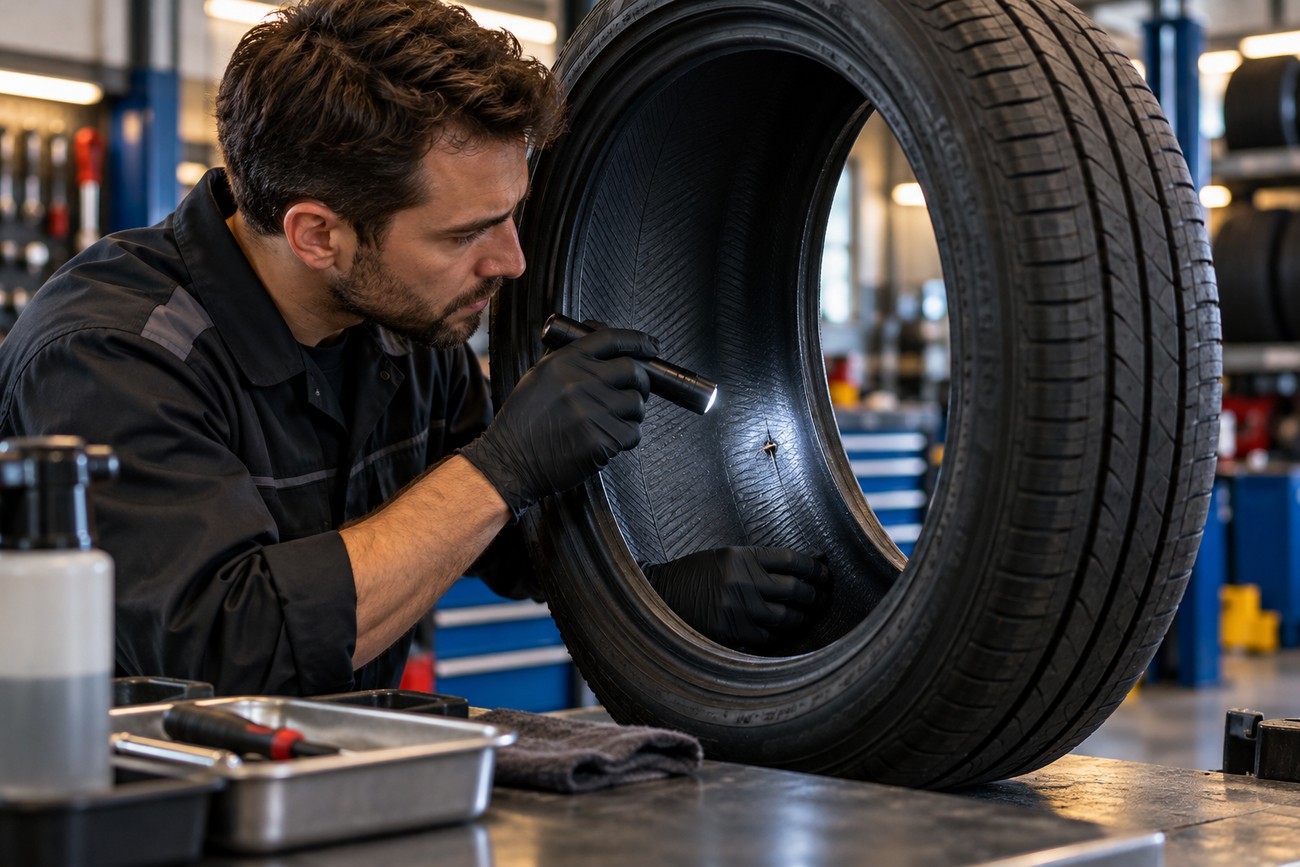
For a qualifying puncture, the shop removes the tire from the wheel before repairing it. That allows inspection of the inner liner, the full injury path, and signs that the tire was driven with too little air. The visible hole on the outside cannot show all of those conditions.
After confirming the tire is repairable, the USTMA procedure uses a sealing stem for the injury channel and an inner patch for the liner. Both parts matter: the channel and the inner surface need to be sealed. An exterior plug alone or an inner patch alone does not meet that procedure.
An exterior quick plug may stop visible bubbles, which explains its appeal as a fast fix. It does not involve removing the tire to look for hidden damage or assess the injury from inside. A tire that holds air immediately after a plug has therefore shown only short-term sealing, not passed the full inspection required for a professional repair.
Tire sealant should likewise not be treated as proof that the underlying problem is resolved. Before authorizing work, ask whether the shop will remove and inspect the tire and, if it qualifies, seal both the injury channel and inner liner. If inspection shows the tire is unsafe, stopping the air loss temporarily does not make it suitable for continued use.
If it still leaks after tire service, check the wheel and valve
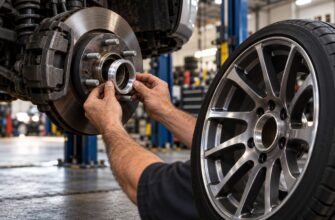
A nearly new tire can start losing air after mounting without the tire itself being defective. Ask the shop to recheck the valve stem and core, the seating of both beads, and the condition of the wheel. Those checks can locate a fault before you pay for another tire.
Bead leaks deserve particular attention if the same wheel has leaked with more than one tire. Corrosion or deformation at the wheel’s bead-sealing surface can prevent a reliable seal. The shop can assess whether the wheel can be put right or needs replacing.
If the earlier service included a plug and pressure is falling again, request a fresh diagnosis rather than another plug in the same spot. Overlapping repairs are not permitted, and USTMA recommends removing a tire from service if it has an improper prior repair. The shop should inspect that history along with the current leak before advising you on the next step.
Confirm the leak is gone
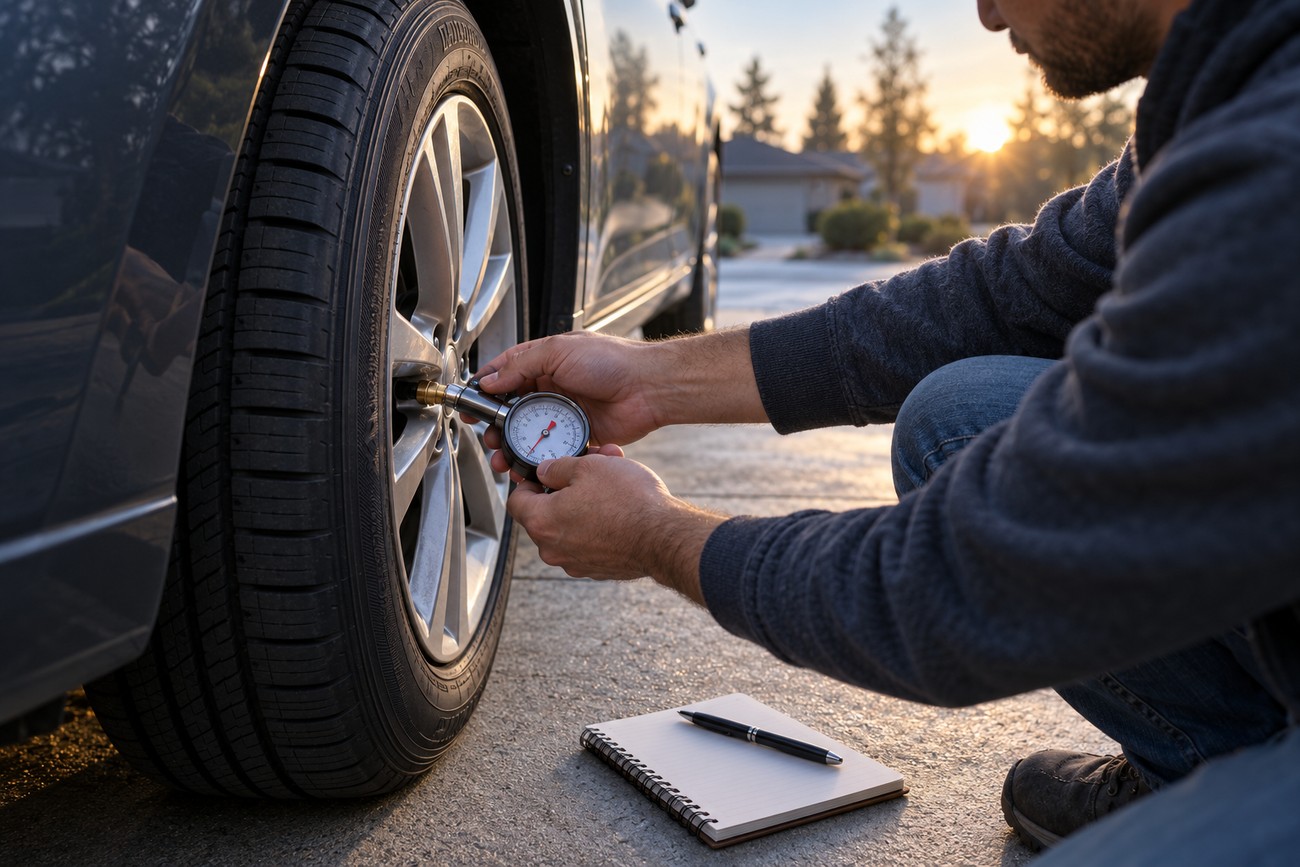
After service, check the tire’s pressure cold for several days using the same gauge and the vehicle’s recommended pressure as your reference. Note each reading rather than relying on how the tire looks. This gives you a useful record if you need to return to the shop.
A bubble-free check immediately after repair shows that air is not visibly escaping at that moment; it does not establish long-term sealing. If pressure continues to fall, report the readings and ask for another diagnosis. Avoid simply adding air indefinitely, particularly if the loss becomes quicker.
Normal air diffusion is approximately 1–2 psi per month; pressure loss over a few days warrants investigation. Once the readings remain stable across several cold checks, return to your usual pressure-check routine. That follow-up is what separates a leak that has been addressed from one that has only paused.
Frequently asked questions
The right next step depends on what is leaking and what the inspection finds. These answers can help you discuss the work with a tire shop without assuming that every slow leak needs the same repair.
How much should it cost to fix a slow leak in a tire?
The quote depends on whether the tire needs valve service, work at the wheel and bead, a remounted puncture repair, or replacement. Ask what inspection is included and what the proposed work will correct. A quote for stopping an exterior leak is not necessarily a quote for removing the tire, checking its interior, and completing a qualifying puncture repair.
What can I put in my tire for a slow leak?
Emergency tire sealant may temporarily reduce air loss if the product and your vehicle guidance permit its use, but it does not establish that the tire is safe or permanently repaired. Follow the product’s instructions and any driving restrictions, then arrange an inspection. Tell the shop you used sealant so it can handle and assess the tire appropriately.