
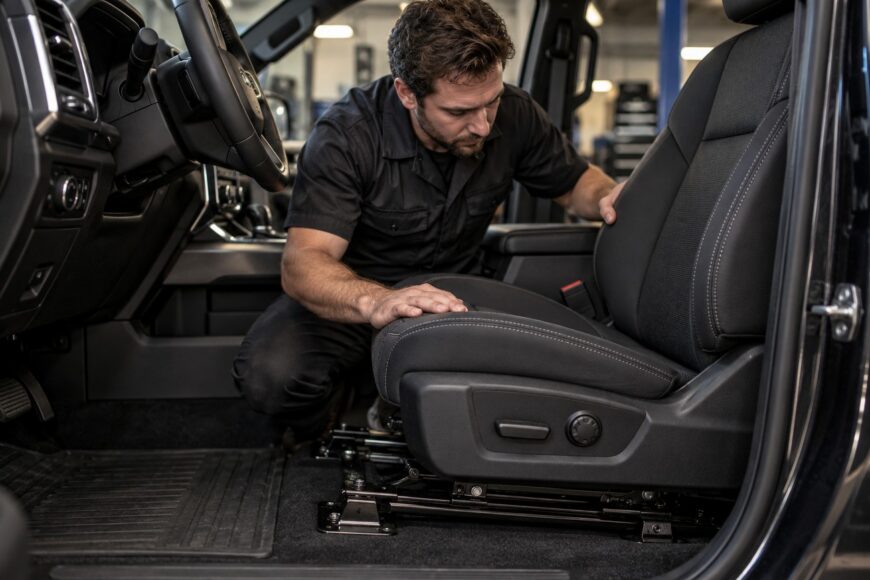
A seat lever can move normally while the cushion stays still, rises on one side, or tilts under your weight. That symptom points to more than a failed handle: the linkage, gear, track latch, or cross-shaft may no longer be transmitting movement or locking the seat securely.
A seat that is stuck firmly in one usable position is a different problem from a seat that rocks, sits crooked, or releases unexpectedly. You can inspect an accessible linkage and identify a replaceable part, but stop before a repair changes the seat frame, belt mounting, or passenger sensing system without the vehicle-specific procedure.
- First, decide whether the seat is safe to use
- Trace the fault before buying an adjuster
- Prepare for access without triggering restraint faults
- Repair a failed linkage or replace the adjuster assembly
- Know when replacement is safer than a workaround
- Reinstall and verify the full range of movement
- Frequently asked questions
- How do I fix a broken car seat recline handle?
- What if a jammed seat blocks access to its mounting bolts?
- How to fix a car seat adjuster?
- How to repair car seat mechanism?
- How to fix a broken car seat recline?
First, decide whether the seat is safe to use
Test the seat with the vehicle parked and the engine off. Apply moderate hand pressure to the backrest and cushion, then check whether the seat rocks on its tracks, changes height by itself, or releases when you pull the adjustment lever. A failed adjustment function is inconvenient; a seat that cannot retain its selected position is a safety concern.
FMVSS 207 addresses retention of the seat’s adjusted position under specified loads; movement during those tests is a failure. A lever that still operates, or a seat that moves through its range, does not prove that the locking mechanism can hold during a crash. Treat unexpected movement, excessive play, and a visible gap at a track latch as reasons to stop using the seat until it is repaired.
The seat frame, tracks, pedestal, and their fasteners work together. The belt buckle may be attached to the seat or to a nearby body mounting point, depending on the vehicle, so inspect the buckle and its mounting area for looseness or distortion. FMVSS 210 addresses seat-belt anchorages; do not alter the strength or geometry of original mounting points.
If the seat is loose, crooked, or self-releasing, arrange a repair before continued driving. Avoid carrying a passenger in a seat whose locking action you cannot verify. Moving it to a position that feels stable is not a substitute for checking both sides of the track and the condition of the frame.
Trace the fault before buying an adjuster
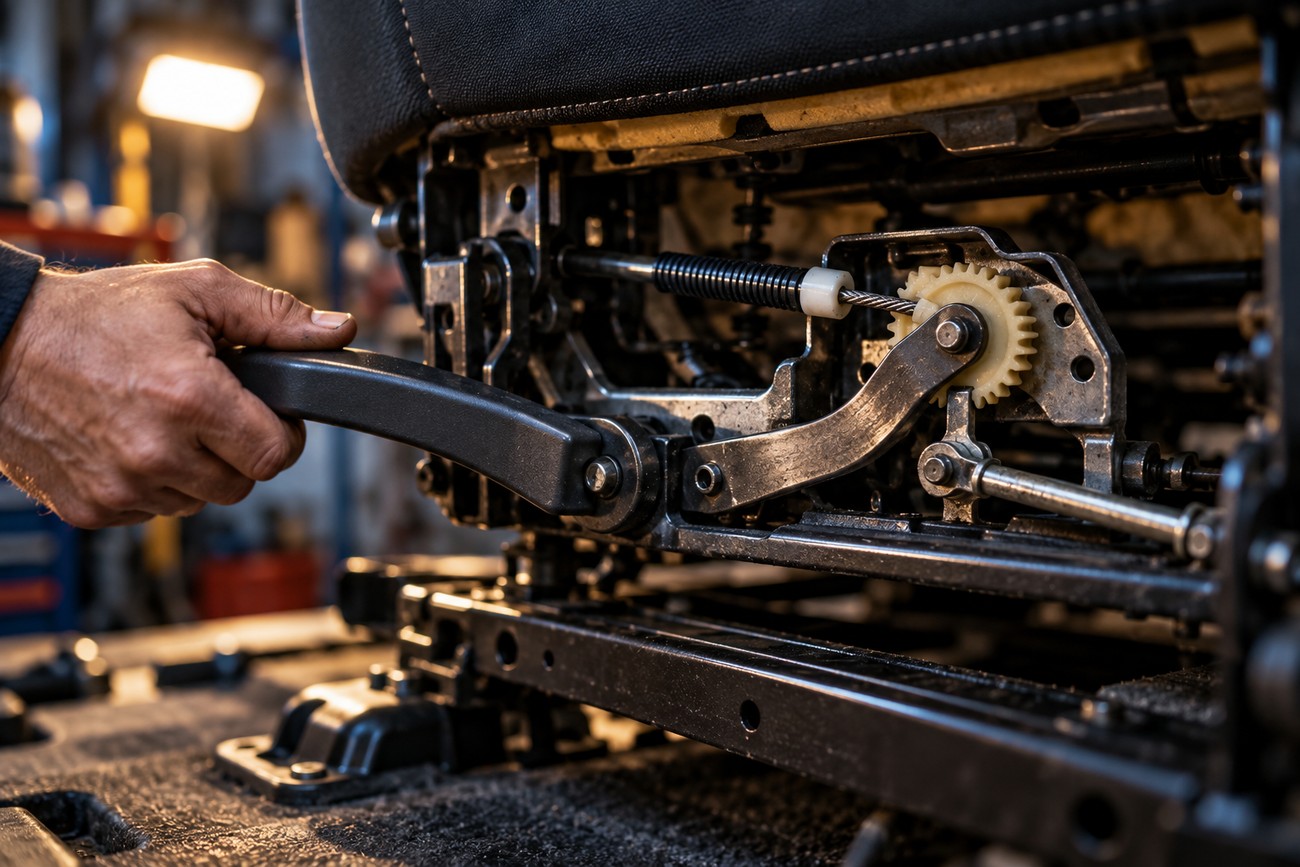
Begin with the symptom and watch the mechanism rather than pulling harder on the lever. Does the handle travel its normal distance? Does a cable sheath move with the cable, or does the cable merely bow? On a fore-and-aft adjuster, observe whether both track latches release together. On a height adjuster, watch the drive arm, gear, and cross-link while operating the handle slowly.
A moving lever does not rule out a worn gear or failed drive connection. A small plastic gear can lose teeth, and a broken fragment can remain inside the mechanism, allowing movement in one direction while jamming the other. A disconnected or bent cross-link can also let one side rise or release while the opposite side stays locked, producing the familiar crooked seat.
Check whether both sides release and move together before blaming the visible gear; a disconnected cross-link can imitate a failed adjuster.
Compare the left and right sides without forcing either one. Look for a cable end that has left its bracket, a retaining clip that has popped out, a bent rod, or a latch that remains partly engaged. Keep the inspection observational until the relevant service procedure is known, because the correct access point and release method vary by seat design.
Do not strike a jammed adjuster with a hammer or punch. Impact can damage a nearby sensor, deform a track, tear upholstery, or load a mounting point that was not designed for it. Some manufacturer procedures specifically prohibit impact on the mechanism, so a jam that cannot be released by the prescribed method is a reason to escalate the repair.
Prepare for access without triggering restraint faults
Before moving or removing the seat, record its position and take clear photographs. Capture the routing of cables, rods, springs, electrical connectors, and retaining clips from several angles. Marking a reference position on an adjustment component can help during reassembly, but it does not replace the vehicle’s alignment or calibration instructions.
Read the vehicle-specific removal procedure before disconnecting anything under the seat. Some manufacturer procedures require the ignition off, battery disconnection, and a wait of at least 3 minutes before seat connectors are unplugged. Follow the procedure for the vehicle, including any requirements for stored electrical energy, memory functions, and connector handling.
Under-seat wiring may serve airbags, belt pretensioners, seat heaters, power motors, or occupant sensing. A passenger seat may contain an occupant detection system (ODS); disturbing its cushion or trim can affect calibration. Do not open the cushion, remove its upholstery, or probe an unknown connector simply to reach a broken adjuster.
Use the approved support points when moving a removed seat, and protect the trim from contact with the floor. If a restraint warning appears after reassembly, diagnose the system with the specified equipment rather than repeatedly reconnecting plugs or clearing the warning. A fault code can be the result of the removal process, but it still needs a proper diagnosis.
Repair a failed linkage or replace the adjuster assembly
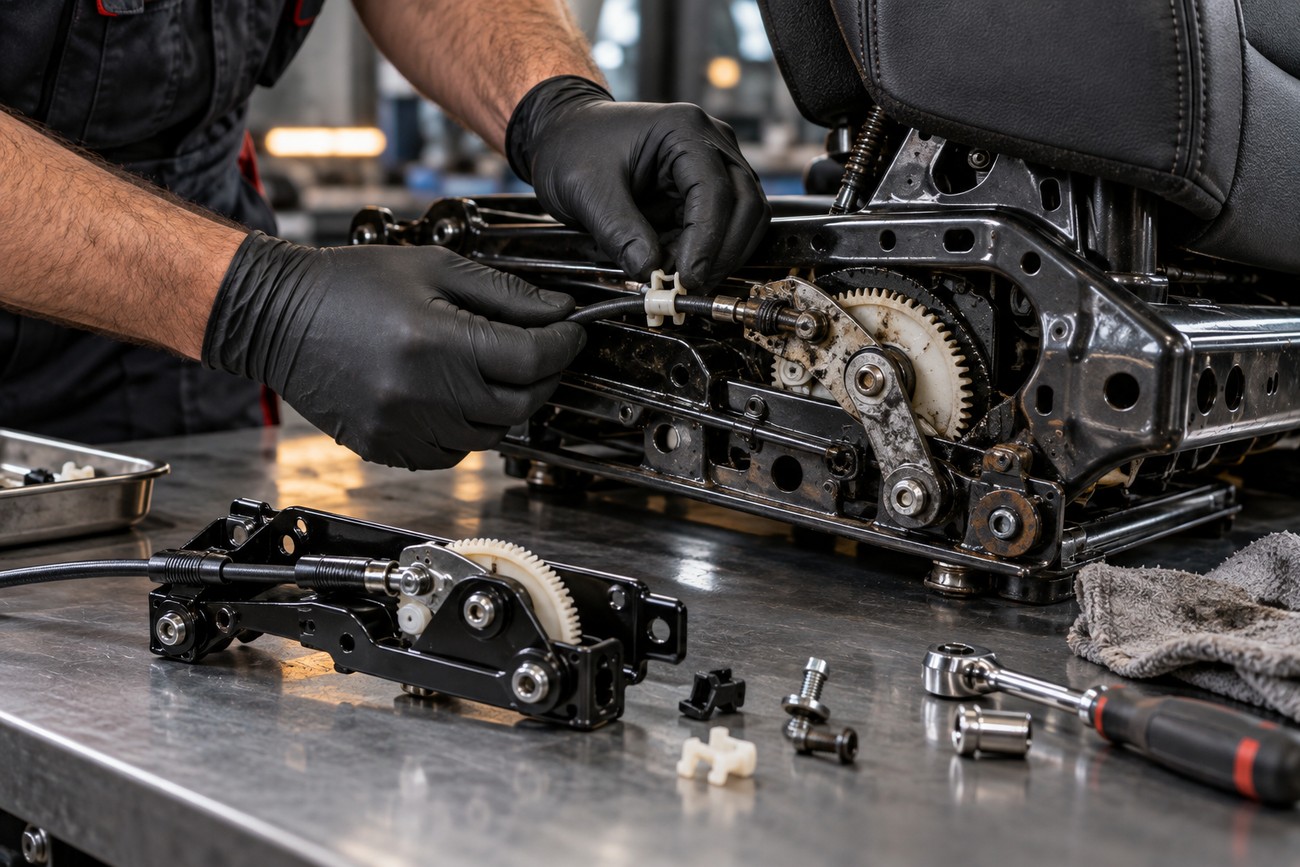
The repair decision depends on what failed and what the manufacturer lists as serviceable. A displaced cable, linkage, or retainer may be reseated or replaced if the procedure permits it. A damaged gear, stripped drive, or bent operating arm may require an adjuster assembly. Remove gear debris only when the approved procedure explains how to access and secure the mechanism without damaging the frame or latch.
Some mechanical adjusters are riveted into the lower seat frame, and the failed component may not be sold separately. In that case, a replacement frame, lower adjuster assembly, or specified service part may be the intended repair. Check the part number against the vehicle identification number and configuration instead of assuming that a visually similar unit will work.
Compatibility includes the installation side, operating direction, mounting points, and drive ratio. Driver- and passenger-side mechanisms can look alike while operating in opposite directions. A part that fits the holes but turns the wrong way, releases the wrong latch, or provides a different amount of movement can leave the seat misaligned or unable to lock.
Riveted assemblies and structural fasteners require the manufacturer’s repair instructions. Do not treat drilling out rivets and installing ordinary bolts as a universal solution: substituting fasteners or changing the hole size can alter assembly strength and clearance. If the procedure calls for a complete assembly, use that assembly or have the repair carried out by a technician with the required equipment.
Before reinstalling the seat, operate the repaired mechanism through its available range on the bench or in the vehicle as the procedure allows. Confirm that both sides move together, each latch engages fully, and the adjuster does not slip when the handle is released. A repair that restores motion but leaves one side behind has not corrected the fault.
Know when replacement is safer than a workaround
Stop treating the job as a simple adjuster replacement if the seat frame is cracked, a track is bent, a pedestal is distorted, or a mounting hole has elongated. Inspect the belt buckle and its attachment point as well. Damage in any of these areas can affect how loads travel through the seat and body structure.
Welding, drilling, adding a plate, or reinforcing a damaged seat may make the mechanism appear solid while changing the way the assembly carries crash loads. FMVSS 207 concerns retention of the adjusted seat position, while FMVSS 210 concerns belt anchorages; an improvised repair does not demonstrate compliance with either standard. Use the approved repair or the specified replacement instead.
Do not swap a working mechanism from the opposite side merely because it restores adjustment. The operating direction, latch geometry, and mounting arrangement may differ, and the swap does not establish that the complete seat remains safe. A damaged frame, track, buckle, or belt mounting point generally calls for replacement of the specified assembly rather than an invalidated structural repair.
There are cases where the manufacturer authorizes replacement of a smaller part, such as a regulating plate or adjuster component, instead of the complete frame. Confirm that information by VIN and current service documentation. Do not assume that every failure requires a whole seat, or that every broken gear can be repaired independently.
Reinstall and verify the full range of movement
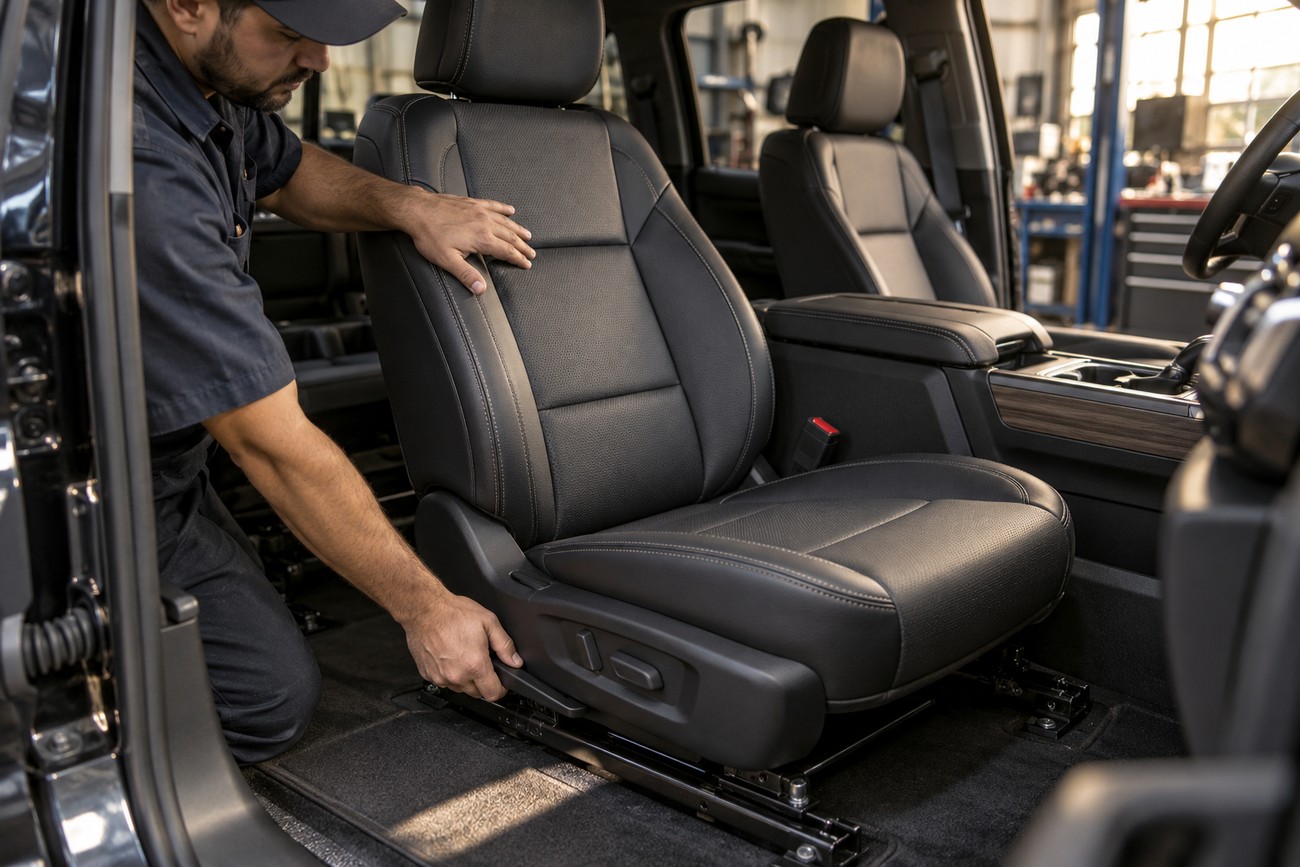
Before returning the seat to service, check its full permitted travel. Move it forward and rearward, through the available height range, and through any other repaired adjustment while watching for binding or a change in alignment. Both sides should remain synchronized, and every latch should engage positively when the control is released.
Push and pull the seat by hand after each adjustment. It should remain in the selected position without rocking, creeping, or releasing. Perform this check before final installation where the procedure allows, then repeat it once the seat is secured to the vehicle. A smooth handle is not enough; the seat must lock and stay locked.
Install the seat and belt fasteners using the vehicle-specific procedure and specified torque values. Do not tighten safety-critical mountings by feel, and do not substitute fasteners without approval. Restore cable, connector, and retainer routing exactly as photographed or described in the service information, keeping wiring clear of tracks and moving parts.
Reconnect the battery and complete the manufacturer’s restraint-system checks. Passenger-seat work may require ODS diagnostics or calibration under the manufacturer procedure. An absent airbag warning does not establish mechanical or structural safety, so finish with the physical checks as well as the electronic ones.
Frequently asked questions
The repair depends on whether the fault is in the handle, cable, linkage, latch, gear, or complete adjuster assembly. Safety concerns take priority over restoring adjustment. Use the vehicle-specific procedure and verify secure locking before driving.
How do I fix a broken car seat recline handle?
First separate a broken external handle or release cable from a backrest latch that no longer holds. A replacement handle or cable can restore control when the latch itself works; trim replacement will not repair a latch that slips, remains partly engaged, or allows the backrest to move under load. Keep the backrest in a secure position and use the vehicle-specific procedure to inspect the latch before driving.
What if a jammed seat blocks access to its mounting bolts?
Use the model-specific access procedure, which may identify a prescribed position, release point, or removal method. Do not force the seat, strike the mechanism, or cut around its mountings. If the specified access method is unavailable or the seat is carrying load at an odd angle, have a qualified repairer handle the removal so the tracks, wiring, and belt mountings are not damaged.
How to fix a car seat adjuster?
Identify whether the failure is a cable, linkage, latch, gear, or complete adjuster assembly, then use the part and repair method specified for that vehicle. A lubricant may quiet a dry pivot, but it cannot repair broken teeth, a bent rod, or a latch that fails to lock. Verify operation and positive locking before the vehicle is driven.
How to repair car seat mechanism?
Repair only the component the manufacturer identifies as serviceable. Riveted mechanisms, structural frames, and belt-related mountings need the approved replacement or repair procedure because improvised drilling, welding, or fastener substitution can change the assembly’s strength. Afterward, check alignment, synchronized movement, locking, and any required restraint-system diagnostics.
How to fix a broken car seat recline?
Inspect the recliner handle, release cable, and latch separately. If the handle moves but the backrest will not hold, the recliner latch or its internal teeth may be damaged, and replacing the visible handle will not solve the safety problem. Keep the seat out of service until the specified recliner repair or replacement restores secure locking.







