A drag car can look level in the pits, then spin one tire or pull across the lane at launch. Copying settings from a similar car can make the problem worse. Tire construction, weight distribution, rear suspension, and track conditions all affect how the same adjustment behaves.
A useful setup starts with a repeatable baseline. Measure the car in a consistent condition, record what is already there, and make passes that show whether a change helped. The aim is to load both rear tires consistently and launch straight without steering correction. That takes more than a level stance or a promising shock setting.
This guide focuses on rear-wheel-drive cars with adjustable rear suspension. The principles of inspection and record-keeping apply more widely, but the link and preload procedure is not a direct recipe for a front-wheel-drive car.
- What the Suspension Must Do at Launch
- Establish a Baseline Before Turning Adjusters
- Set Rear Geometry and Preload for a Straight Launch
- Tune Front Travel and Shocks After the Mechanical Setup
- Set the Anti-Roll Bar Without Hiding a Chassis Problem
- Diagnose a Bad Pass and Test Changes That Matter
- Frequently asked questions
- What if my car has stock rear control arms instead of a four-link or ladder bars?
- How can I check for suspension bind before a track pass?
What the Suspension Must Do at Launch
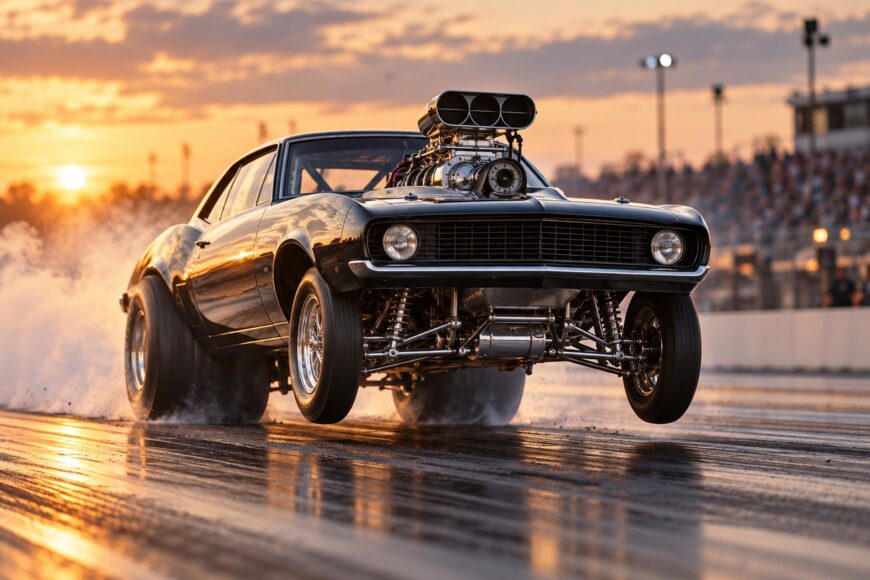
At launch, acceleration shifts load toward the rear tires while the chassis and suspension control how that load arrives. The front suspension must move freely enough to let the car transfer weight without upsetting its attitude. At the rear, the tires need a load they can use, delivered consistently as the car leaves the line.
Grip and straight tracking are related, but they are separate observations. A car can hook and still pull, or travel straight while both rear tires spin. The useful result is a launch that loads both rear tires consistently and keeps the car tracking straight without steering correction. Watch each side of the car rather than judging the pass only by how high the nose rises.
Softer front springs and freer front movement can aid weight transfer. Maximum front-end rise, however, does not prove that the rear tires are working well; excessive or poorly controlled movement can make the car less settled. Spring choice and damping depend on the vehicle and the track, so a front end that works on one car may call for a different approach on another.
Maximum stiffness is no shortcut to grip, either. Tires, vehicle weight, weight distribution, and rear-suspension design change what the chassis needs at the hit. Treat each setup as a starting point to verify on that car, under the conditions in which it runs.
Establish a Baseline Before Turning Adjusters
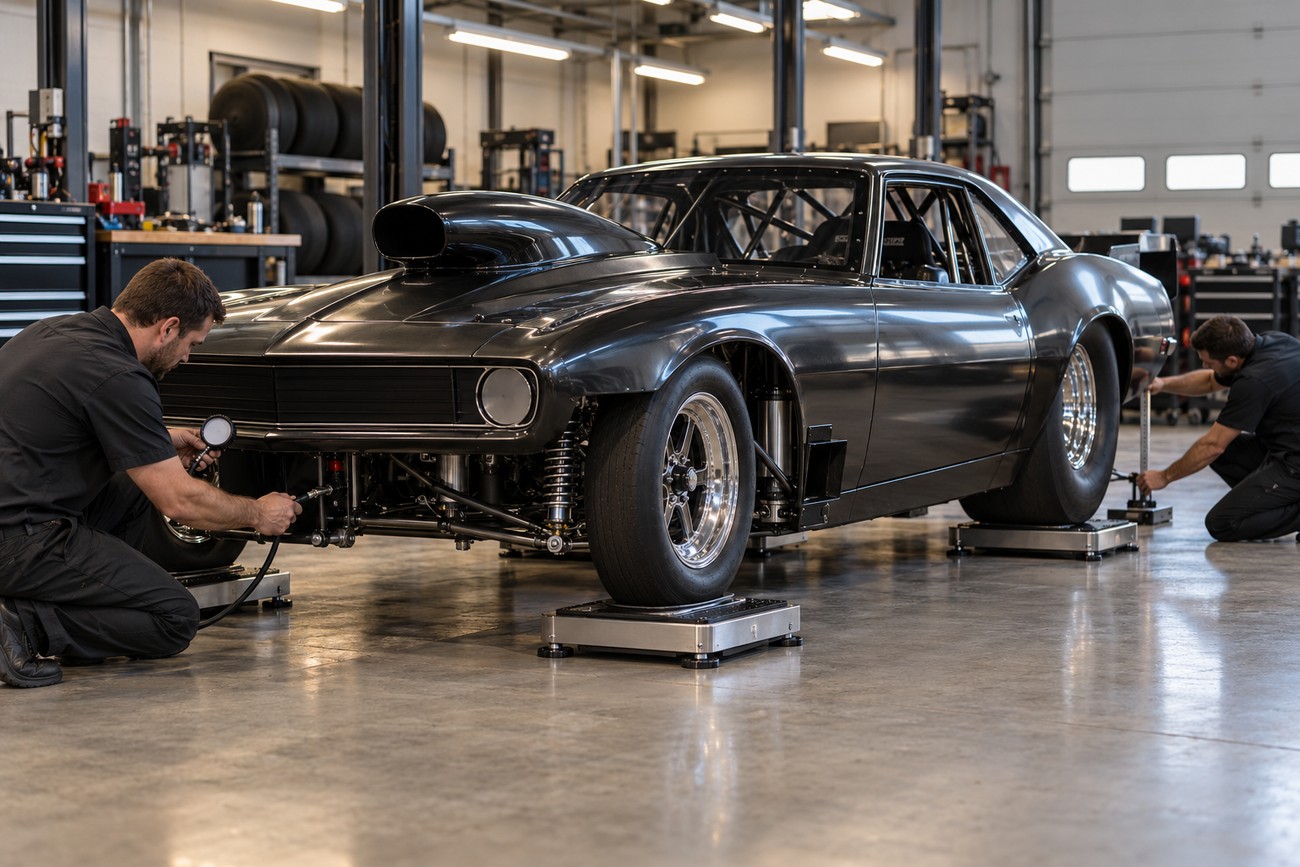
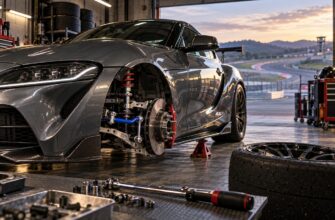
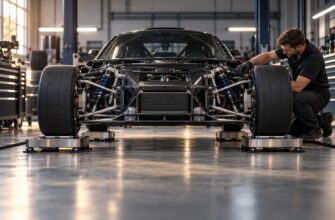
Begin on a level setup surface, then set and record tire pressure in a consistent condition. Establish ride height and check the car side to side at the front and rear, rather than relying on a general impression that it looks level. Ride height affects link position and the measurements that follow, so settle it before chasing launch behavior with the adjusters.
Four-wheel scales can establish baseline corner weights and reveal side-to-side imbalance. Record the readings if scales are available, along with how the car was prepared for weighing. There is no universal corner-weight percentage to target here; the immediate value is knowing whether the car has an imbalance and whether a later change has altered it.
After a ride-height or link change, move the suspension through its normal settling motion and measure again. Parts can stop in a slightly different position after adjustment, leaving a reading that does not represent the car’s resting state. Keep the tires, vehicle loading, and measurement points consistent so a small difference means something.
The working order is level surface, tire pressure, ride height and weight checks, rear-link geometry and preload, shocks, then the drag anti-roll bar. Record pressure, ride height, corner weights when available, link positions, and existing shock and bar settings before changing them. That record gives you a way back if the next pass is worse.
Set Rear Geometry and Preload for a Straight Launch
Adjustable four-links and ladder bars influence how the rear axle reacts when torque reaches the tires. Link position and length can change the chassis response, but a hole position or angle from another car is not a universal answer. Work from the component’s setup procedure, check that the hardware is sound, and establish the geometry before final shock and anti-roll-bar tuning.
Preload is an adjustment made to achieve a specific result: the car should load both rear tires consistently and launch straight without steering correction. A car that appears level at rest can still react differently left to right under power. Compare corner weights where available, inspect the tires and links, and observe the actual launch before deciding that more preload is needed.
If the car pulls, first confirm that tire pressures match the intended baseline and that the rear suspension moves without interference or a damaged component. Review side-to-side height and link measurements, then change one appropriate setting and remeasure after the suspension settles. Preload set by eye, or created through an unplanned ride-height change, makes the result difficult to diagnose.
The amount and direction of correction must come from this car’s measurements and passes. Vehicle weight, tire type, rear-suspension design, and track conditions all influence the response. A straight launch on one surface is useful evidence, though it does not guarantee the same result when grip changes.
Tune Front Travel and Shocks After the Mechanical Setup
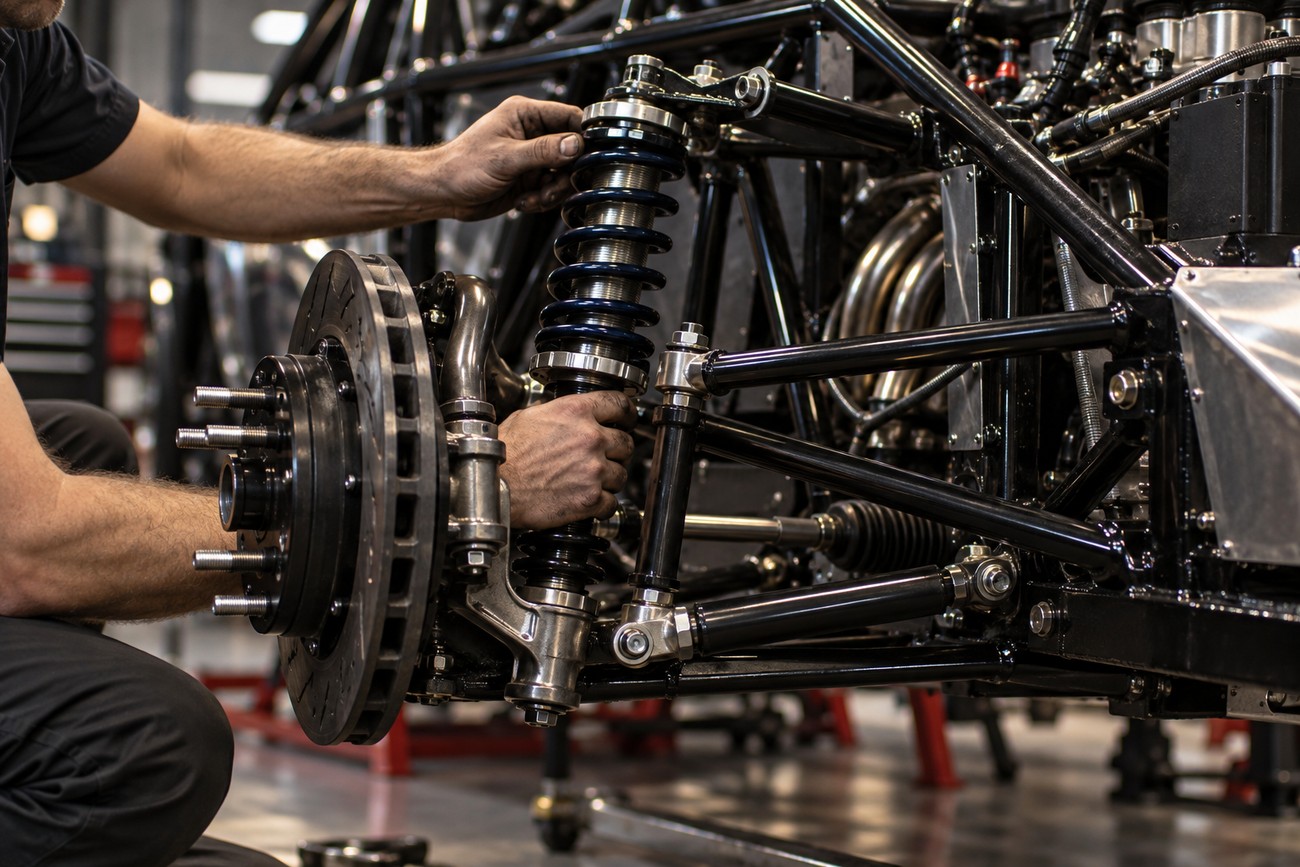
Front travel helps the car transfer load rearward, but movement needs control. Softer front springs and freer movement can help some cars, while the appropriate spring and damping choices depend on vehicle weight, suspension travel, and the track. Check for adequate clearance and free movement before treating a restricted front end as a damping problem.
Springs, links, and shocks do different jobs. A spring supports the vehicle and influences its available movement; rear-link geometry shapes the axle’s reaction; shock damping controls the rate of suspension movement. An adjuster cannot reliably compensate for a binding joint, an unsuitable ride height, or a rear geometry problem that has not been identified.
Start shock work from documented adjuster positions after tire pressure, ride height, weight checks, and rear-link geometry are established. Note which adjuster and end of the car you change, then alter one setting at a time. Record the new position before the next pass so a promising result can be repeated.
Click counts borrowed from another car are not a universal baseline. Judge the change by the launch: whether the rear tires stay engaged, the car tracks straight, and the front rises and settles in a controlled way. If the behavior does not match what you expected, return to the recorded setting rather than stacking further adjustments on an uncertain result.
Set the Anti-Roll Bar Without Hiding a Chassis Problem
A drag-specific anti-roll bar helps control unequal chassis rotation during the launch. It can improve how evenly the car rises and loads the rear tires, but it should be adjusted around an established rear setup. A factory rear sway bar is not an interchangeable, universal launch fix; its design and intended function may differ from a drag-specific assembly.
Where the component’s setup procedure permits, disconnect the drag anti-roll bar during static rear-suspension setup. Establish rear geometry and preload, then tune the shocks before making the final bar adjustment according to the component instructions. Follow the specified installation, clearance, and fastening checks rather than assuming that one bar procedure applies to every chassis.
A tighter bar may make front rise appear more even while a link or corner-weight imbalance remains. If the car needed a large bar change to travel straight, revisit the baseline and compare left-to-right behavior. The bar’s visible effect is useful diagnostic information, though it does not identify the original cause on its own.
Installing, removing, or substantially changing a bar can alter the rear setup. Recheck ride height, relevant link measurements, clearances, and the recorded settings before returning to the track. The same caution applies after other rear-suspension parts have been removed and refitted.
Diagnose a Bad Pass and Test Changes That Matter
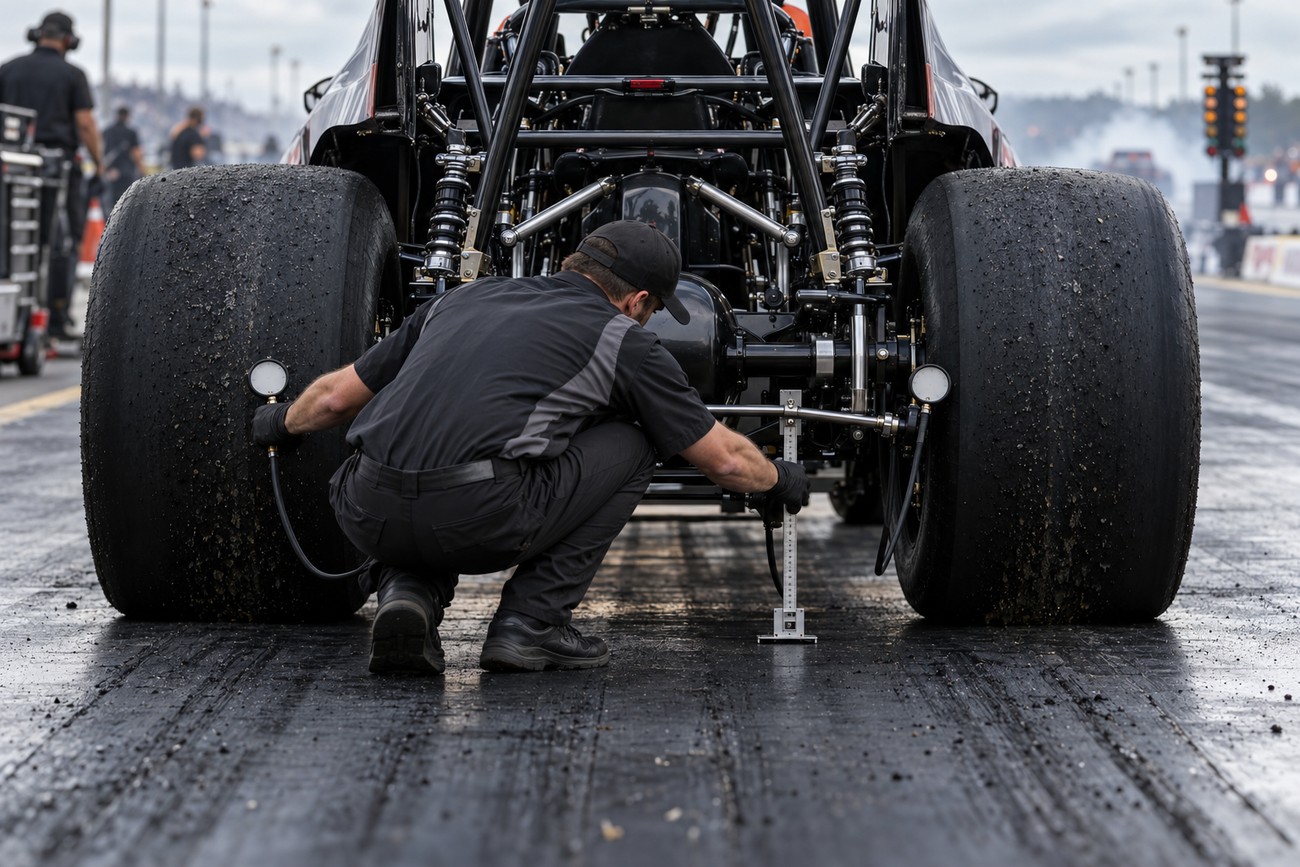
A pull at launch calls for a side-to-side check before another shock adjustment. Verify tire pressures, ride heights, rear-link measurements, and corner weights if available, then inspect for loose, damaged, or binding parts. Compare what the car does at the hit with its direction farther down the lane; those observations help you describe the problem accurately before making a change.
If the rear tires spin, confirm that the starting pressure and mechanical baseline have not drifted. Note whether one tire loses grip first or both appear to spin, and check the track conditions before blaming spring or shock stiffness. Uneven front rise likewise warrants a check of rear geometry, preload, bar setting, and free suspension movement rather than an automatic bar adjustment.
For each pass, log tire pressure, ride heights, available corner weights, link and preload settings, shock positions, and anti-roll-bar setting. Add a brief description of the launch, any steering correction, and the 60-foot result. Track surface and weather observations belong beside the numbers because a change in grip can resemble a successful or failed chassis adjustment.
Change one variable at a time and compare passes made under reasonably similar conditions. If the result is unclear, keep the last known baseline instead of combining more changes and losing the cause. The goal is a car that repeatedly loads both rear tires and tracks straight, with measurements and observations that support the setup rather than a single good pass.
Frequently asked questions
These checks also help when a car has limited adjustment or has not yet made a clean test pass. They establish whether the suspension is ready for further tuning; they do not replace the component instructions or a safe mechanical inspection.
What if my car has stock rear control arms instead of a four-link or ladder bars?
Use the same approach to measuring tire pressure, ride height, and left-to-right behavior, but do not assume stock arms provide four-link-style preload adjustments. Inspect the arms, bushings, mounts, and fasteners for wear or damage, and confirm that the axle can move as intended. If the car pulls, establish what is mechanically wrong or unequal before trying to compensate elsewhere.
How can I check for suspension bind before a track pass?
With the vehicle secured using appropriate supports and the component instructions at hand, inspect the suspension through the movement you can safely check while stationary. Look for contact at the tires, links, shocks, bar, and surrounding structure; inspect joints and bushings for damage, and confirm that nothing is visibly forced out of alignment. Do not get under an unsecured vehicle or loosen a loaded spring or suspension component to test movement.
If movement is restricted or a part contacts the chassis, resolve it before driving. A shock change cannot cure a mechanical obstruction, and a track pass is a poor place to discover one.