A tire can look healthy from beside the car while its inner edge has lost most of its tread. Replacing it may be necessary, but a new tire can wear the same way if the cause remains. Check the hidden shoulder before deciding the tire is sound, and find out why it wore before fitting a replacement.
Uneven wear is a clue, not a diagnosis. Pressure, alignment, loading, and worn parts can contribute at the same time, so one pattern may call for several checks. A consistent inspection of all four tires gives you a better starting point than judging the most visible patch of rubber.
- Inspect the Whole Tire Before Naming the Cause
- Tire Wear Patterns and the First Checks They Suggest
- Check Cold Pressure Before Paying for an Alignment
- When Edge Wear Persists After an Alignment
- What Cupping, Vibration, and Tire Noise Mean Together
- Choose the Next Step: Repair, Rotate, or Replace
- Frequently Asked Questions
- Why does tire pressure drop when the weather turns colder?
- What should I record before taking unevenly worn tires to a shop?
- What should I ask about on an alignment printout?
Inspect the Whole Tire Before Naming the Cause
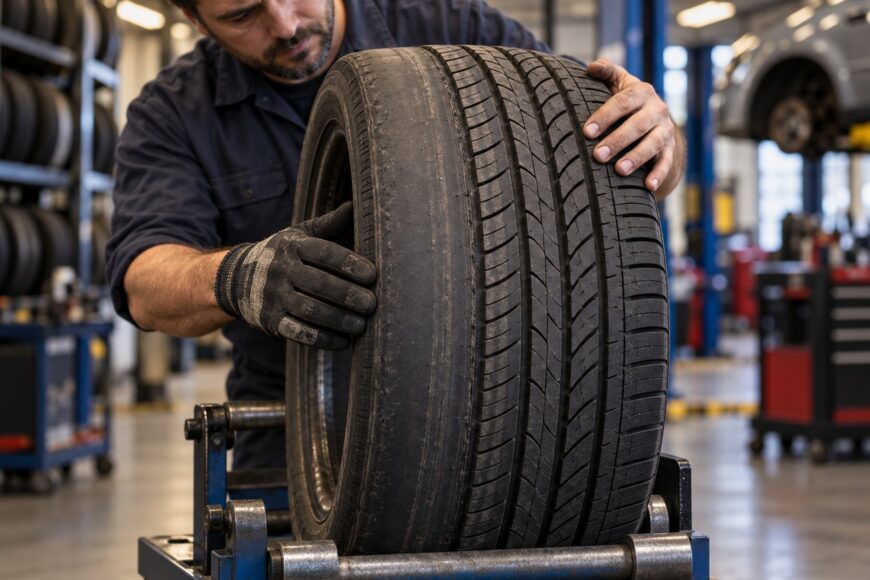
Start with the car safely parked and look across each tire’s inner shoulder, center, and outer shoulder. Use a light to inspect the inner edge if it is hard to see; low-profile tires can hide substantial wear there. Do not assume a healthy-looking outer shoulder represents the whole tread.
Follow the tread around the tire’s circumference rather than judging one spot. Look for patches that rise and fall, visible damage, or an edge that becomes thinner in only part of a rotation. If you cannot see an area safely, ask a shop to inspect it rather than reaching beneath an unsupported vehicle.
Run your hand over accessible tread blocks in both directions. Feathering can feel smooth one way and sharp the other, even when it is difficult to see. Note which wheel has the pattern, where on the tread it appears, and whether the car pulls, the steering wheel sits crooked, or vibration occurs.
Compare the tires on the same axle, then compare front and rear. Differences help a technician decide where to inspect first, but a tread pattern alone does not prove which fault is responsible. Several conditions may have shaped the wear over time.
Tire Wear Patterns and the First Checks They Suggest
Use these patterns to choose a first check, not to confirm a fault from appearance alone.
| Pattern and clue | Possible causes | First check |
|---|---|---|
| Center wear: the middle is lower than both shoulders. | Chronic overinflation commonly contributes. | Compare cold pressure on every tire with the vehicle recommendation. |
| Both-shoulder wear: both edges are lower than the center. | Chronic underinflation commonly contributes; loading may also matter. | Check cold pressure and consider how the vehicle is loaded. |
| One-edge wear: the inner or outer edge is lower. | Alignment or axle geometry may be involved. | Inspect for play or damage before measuring alignment. |
| Feathering: tread-block edges feel sharp in one direction. | Incorrect toe is a common possibility. | Check steering and suspension condition, then measure toe. |
| Cupping: alternating dips, sometimes repeated around the tire. | Imbalance, worn shocks, wheel-bearing play, or suspension play may contribute. | Inspect the wheel and suspension, then check balance as appropriate. |
Check Cold Pressure Before Paying for an Alignment
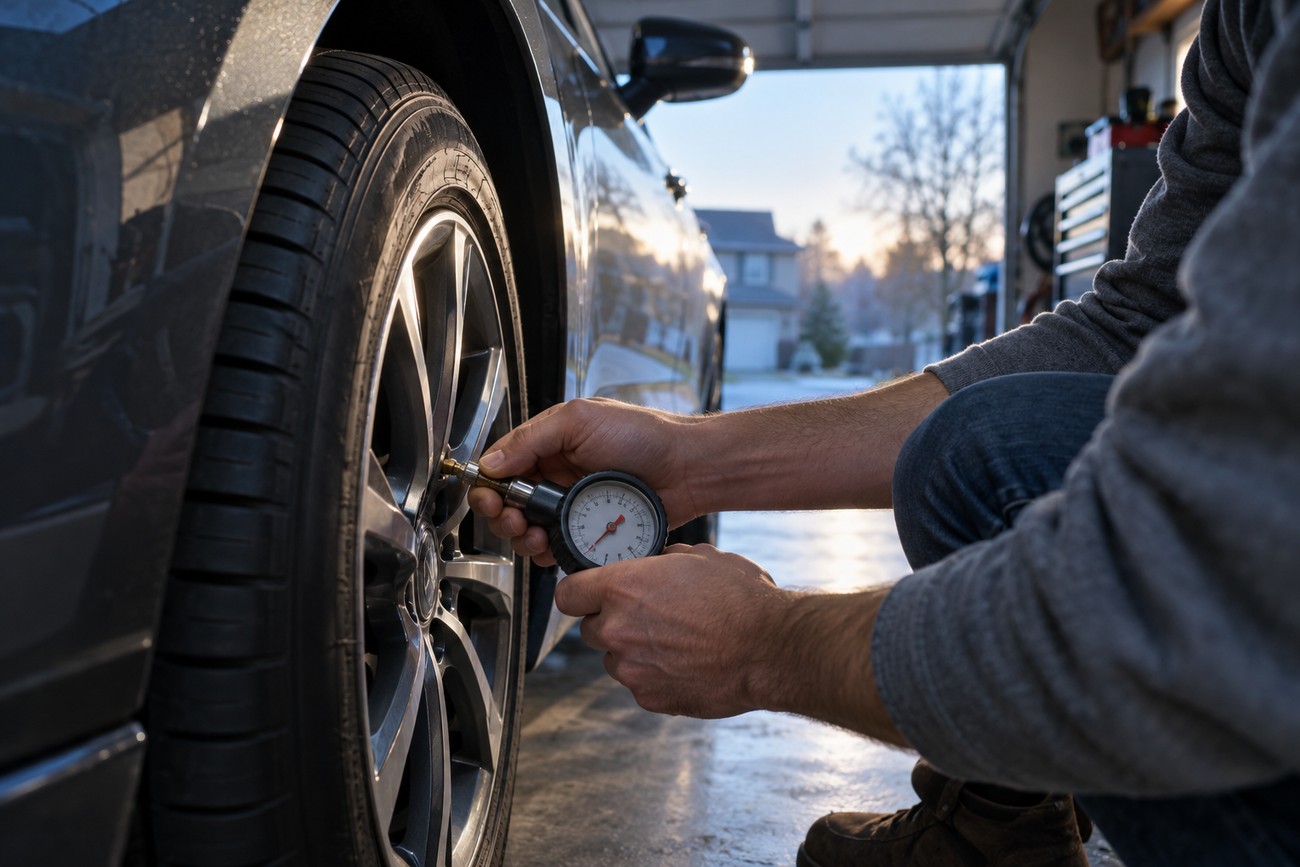
Check pressure after the vehicle has stood for at least 3 hours. Measure every tire with a gauge, then set each to the recommendation on the vehicle placard or in the owner’s manual. The tire sidewall shows a maximum, not the vehicle’s routine setting; front and rear recommendations may differ.
A reading taken just after driving reflects a warmed tire and is a poor basis for setting cold pressure. If the weather has cooled, recheck after the vehicle has stood rather than assuming a lower reading means a puncture. A tire that repeatedly loses pressure after correction does need inspection.
Center wear commonly suggests chronic overinflation; wear on both shoulders commonly suggests chronic underinflation. Today’s correct reading cannot tell you what pressure the tire carried during the months in which it wore. Record the pattern and recheck pressure regularly while you investigate.
Correct pressure also does not rule out other causes. Heavy loading, driving conditions, alignment, and worn components can affect tread even when the gauge matches the placard. Setting pressure first removes one avoidable variable before you pay for further work.
When Edge Wear Persists After an Alignment
Inner- or outer-edge wear can point to alignment or axle geometry. Feathering is different: its sharp and smooth tread-block edges commonly point to incorrect toe. Either clue warrants more than a quick adjustment when the wear has continued after a previous alignment.
Have the steering and suspension checked for play, worn bushings, damaged parts, and relevant bearing movement before the angles are adjusted. If the trouble began after a pothole impact, mention it; a shop may need to investigate wheel or hub runout and axle geometry. An adjustment made around a loose or damaged component may not hold its intended result.
A weak bushing can let a wheel change direction under load even when a stationary alignment reading appears acceptable. Checking for that movement before adjusting toe may reveal why a tire kept wearing after a seemingly successful alignment.
Ask the shop to explain any angle that cannot be brought into specification and what mechanical condition might account for it. A crooked steering wheel or a pull is useful context, although neither identifies a single faulty part. The aim is to correct the conditions acting on the tire, rather than treat the printout as the whole diagnosis.
Even a successful repair cannot restore tread already worn away. Alignment may prevent further damage, but the worn tire still needs a separate assessment for remaining tread, damage, noise, and whether it can stay in service.
What Cupping, Vibration, and Tire Noise Mean Together
Cupping appears as alternating dips in the tread, sometimes repeating at intervals around the circumference. Check the full tire: a repeated pattern is more informative than one isolated damaged spot. Note whether vibration changes with road speed and which tire carries the dips.
Imbalance can contribute to cupping, but worn shocks, wheel-bearing play, and suspension play are other possibilities. A hum alone does not establish that a bearing is faulty; an uneven tire can also make noise. Have the tire, wheel, and related components inspected together rather than choosing a repair by sound.
Balancing may address an imbalance without removing dips already worn into the rubber. If a loose or worn component remains, balancing alone may also fail to stop new wear. This distinction matters when vibration improves after service but tire noise persists.
Moving a cupped tire to another position may make its noise or handling effects more noticeable. Tell the shop about the original wheel position and symptoms before any rotation, so the change does not obscure where the pattern developed. If vibration or handling has become pronounced, arrange an inspection promptly.
Choose the Next Step: Repair, Rotate, or Replace
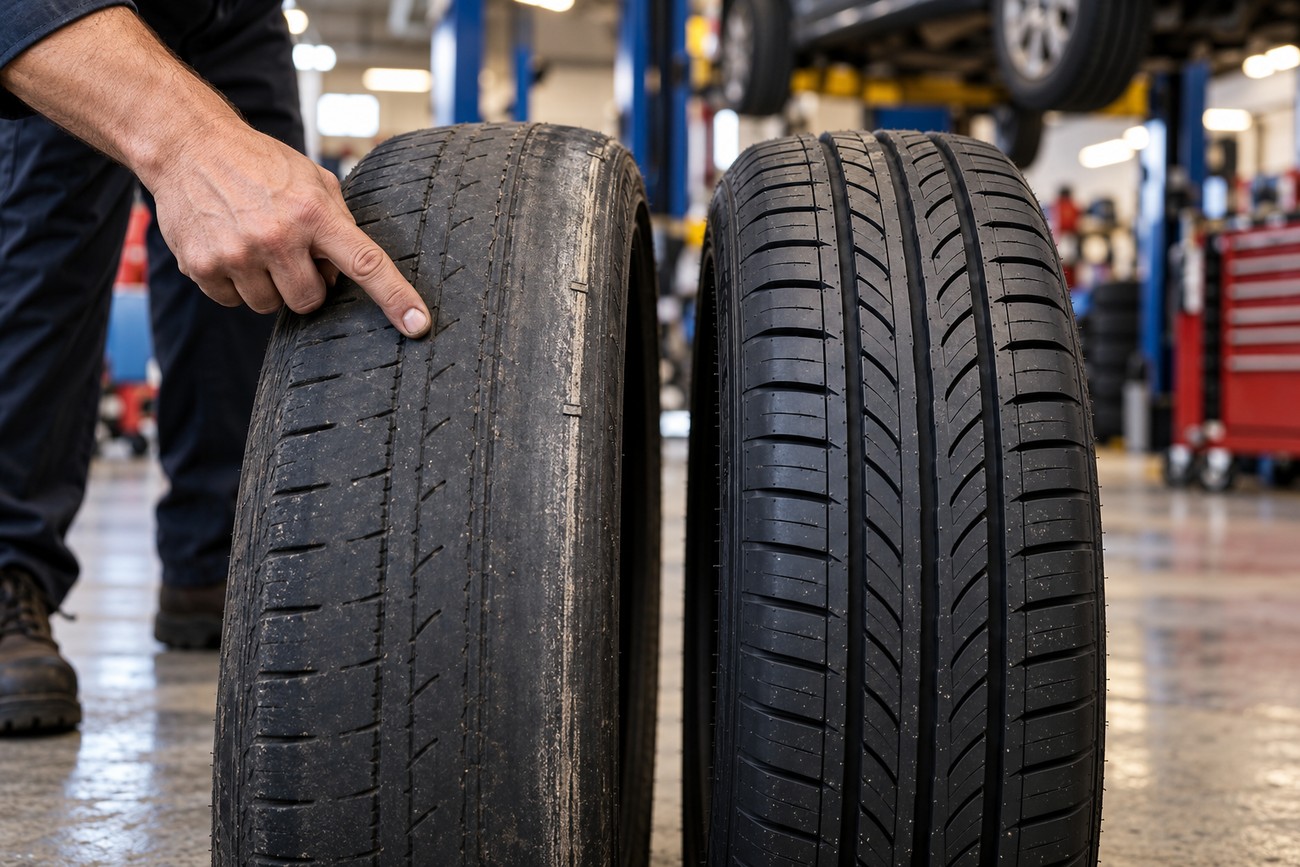
Before changing wheel positions, record the tread condition of each tire and where its wear is concentrated. Set cold pressure correctly, then have suspected play, damage, or wheel problems checked. With those findings in hand, you can decide whether alignment, rotation, or replacement addresses the actual situation.
Rotation can help distribute normal wear, but it cannot erase an existing pattern. Follow the vehicle manufacturer’s rotation pattern and account for directional or different-size tires; some setups limit which positions a tire can move to. An uneven tire may also become noisier or affect handling more noticeably in its new position.
Check the thinnest worn area against the treadwear indicators, including on the inner shoulder. When any worn area reaches those indicators, remaining depth is 2/32 inch (approximately 1.6 mm), and the tire needs replacement. Do not judge serviceability by the deeper tread elsewhere on the same tire.
Repairing the cause and deciding what to do with the tire are separate decisions. A new tire fitted before a mechanical fault is corrected may develop the same pattern, while an alignment cannot restore tread already worn away. Confirm both the repair plan and the condition of the tires before the car goes back into regular use.
Frequently Asked Questions
Pressure changes with temperature, and service records can lose useful context when tires are moved. These details help you describe the problem accurately at a shop. Keep the original wear pattern documented until it has been assessed.
Why does tire pressure drop when the weather turns colder?
Colder air lowers the pressure reading inside a tire, so a seasonal drop does not by itself mean there is a leak. Check pressure after the vehicle has stood for at least 3 hours, and set it using the vehicle placard or owner’s manual. Recheck cold tires after a marked weather change; if one tire keeps losing pressure compared with the others, have it inspected.
What should I record before taking unevenly worn tires to a shop?
Photograph the affected tread across its width and around the visible circumference before any rotation or replacement. Label each tire’s original wheel position, note whether the wear is on the inner edge, center, outer edge, or in patches, and record pulling, steering-wheel position, noise, or vibration. That record helps the shop assess where the pattern developed, even if a tire must be moved.
What should I ask about on an alignment printout?
Ask to see the before-and-after readings and which angles were adjusted. If an angle remains outside specification, ask why it could not be corrected and whether play, damage, or another mechanical issue needs investigation. A printout documents a stationary measurement; it does not, on its own, explain every cause of wear that occurs while driving.