
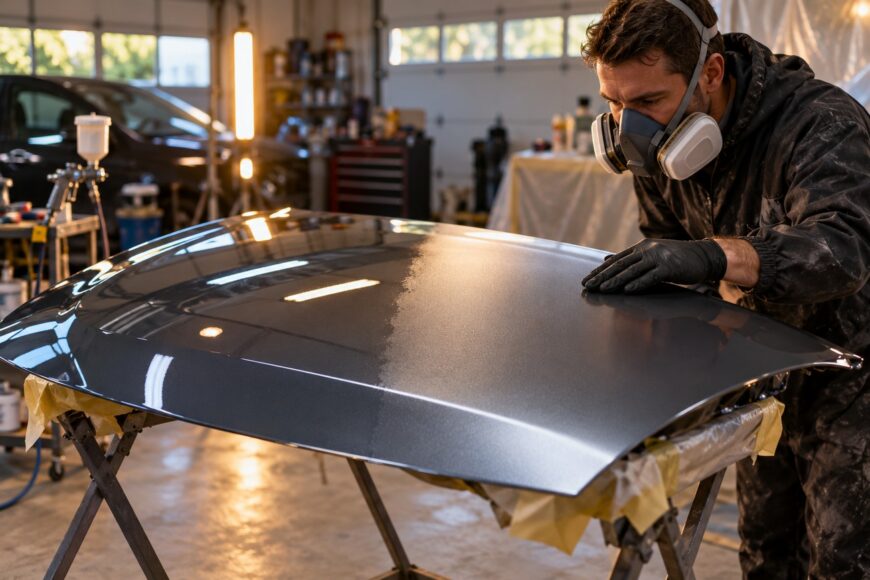
A clear coat can feel dry on top while remaining soft underneath. That is why a surface may seem ready to touch yet clog sandpaper, smear under a polisher, or develop marks from light pressure.
Flash time between coats, touch-dry time, sanding readiness, and full cure are separate milestones. Temperature, humidity, film thickness, ventilation, the coating system, and the product’s technical data sheet (TDS) determine the actual schedule. A published time is a starting point, not permission to handle the finish aggressively.
- What Clear Coat Dry Time Actually Means
- Clear Coat Dry Times by Stage
- What Changes the Real Curing Time
- How to Dry Clear Coat Without Creating Defects
- When Can You Sand, Polish, Wax, or Add Protection?
- Why Clear Coat Feels Dry but Fails Under Sandpaper
- A Practical Check Before You Touch the Finish
- Frequently asked questions
- How do 1K and 2K clear coats differ in drying and curing?
- Why do some repair guides recommend waiting 30 or 60 days before protection?
What Clear Coat Dry Time Actually Means
Flash time is the waiting period between coats. For automotive clear coat, it is commonly around 5–15 minutes, although the correct interval depends on the coating system and drying conditions. The previous coat should lose much of its wet appearance and reach the condition specified by the product instructions before another coat is applied.
Touch-dry or tack-free time is a later stage, commonly around 10–30 minutes. It means the surface no longer feels wet or sticky under a light touch. It does not prove that the film is hard enough for sanding, polishing, waxing, or normal service.
Sanding readiness typically arrives after 12–24 hours. Full cure commonly takes 24–72 hours, and garage conditions may extend the process to several days. A 1K clear coat and a 2K clear coat can have different flash and cure times, so an online estimate for one system may be unsuitable for the other.
Marketing materials often highlight the shortest milestone because “tack-free” sounds faster and more useful than “fully cured.” The upper surface can form a dry skin while solvent and uncured material remain below it. Mechanical work at that point can expose softness that was invisible during a touch test.
Clear Coat Dry Times by Stage
These are practical ranges rather than guarantees. The product TDS, application method, film thickness, and actual shop conditions take priority.
| Stage | Typical timing | What the surface is ready for |
|---|---|---|
| Flash time between coats | 5–15 minutes | The next coat, only when the product’s specified flash condition has been reached |
| Touch-dry or tack-free | 10–30 minutes | Limited handling with care; not proof of sanding or polishing readiness |
| Sanding readiness | 12–24 hours | Sanding when the film produces suitable dust and does not clog the abrasive |
| Full cure | 24–72 hours | Normal service according to the product instructions; garage conditions may require several days |
What Changes the Real Curing Time
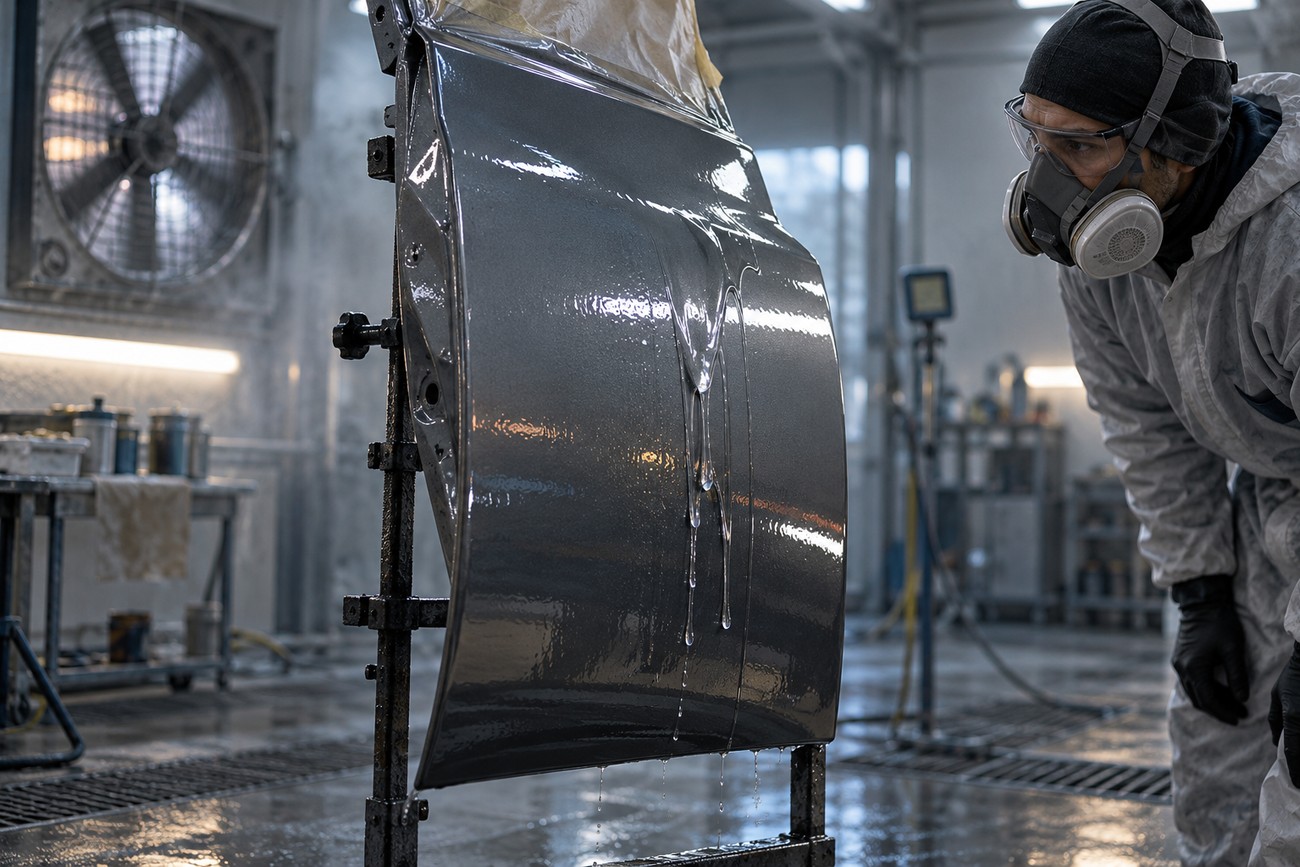
Temperature directly affects solvent evaporation and chemical curing. Low temperatures slow both processes, while high humidity can further delay drying and leave the coating softer for longer. A cool, damp garage can therefore extend the process well beyond the time printed in a product listing.
Film thickness is equally important. Published drying times generally assume a standard film thickness and limited or no air movement. A heavy coat, several coats applied too wet, or a repair area with accumulated material retains solvent longer and carries a higher risk of runs, sagging, and later shrinkage.
Ventilation helps remove evaporated solvent, but the type of airflow matters. Gentle air movement may support drying; strong airflow can cool the surface unevenly or help create a skin before the lower film has released its solvent. The same problem can occur with direct heat.
Use the TDS for the specific clear coat rather than copying an internet average. Check the recommended temperature range, recoat window, film thickness, and drying method. If the conditions are colder, damper, or less ventilated than the stated test conditions, allow additional time.
How to Dry Clear Coat Without Creating Defects
Respect the flash interval between coats. Applying the next coat while the previous one is still too wet can overload the film and contribute to runs or sagging. A longer interval is usually safer than forcing another coat onto a surface that has not reached the required condition.
Soft ventilation is a useful aid when the product allows it. Keep air movement indirect and controlled so the surface dries evenly. Strong airflow and direct heat can dry the top faster than the underlying film, trapping solvent beneath a surface skin.
Aggressive heating can contribute to solvent pop or microbubbles because the upper layer closes before the lower layer has released solvent. Infrared heating may accelerate drying after spraying, but it should be used only within the product’s recommended process, temperature, and timing.
Do not use a heat gun or improvised high-temperature setup to make up for poor conditions. Extra waiting is generally safer than early sanding, polishing, or waxing. The finish may take longer to develop, but it is less likely to suffer defects caused by an uncured film.
When Can You Sand, Polish, Wax, or Add Protection?
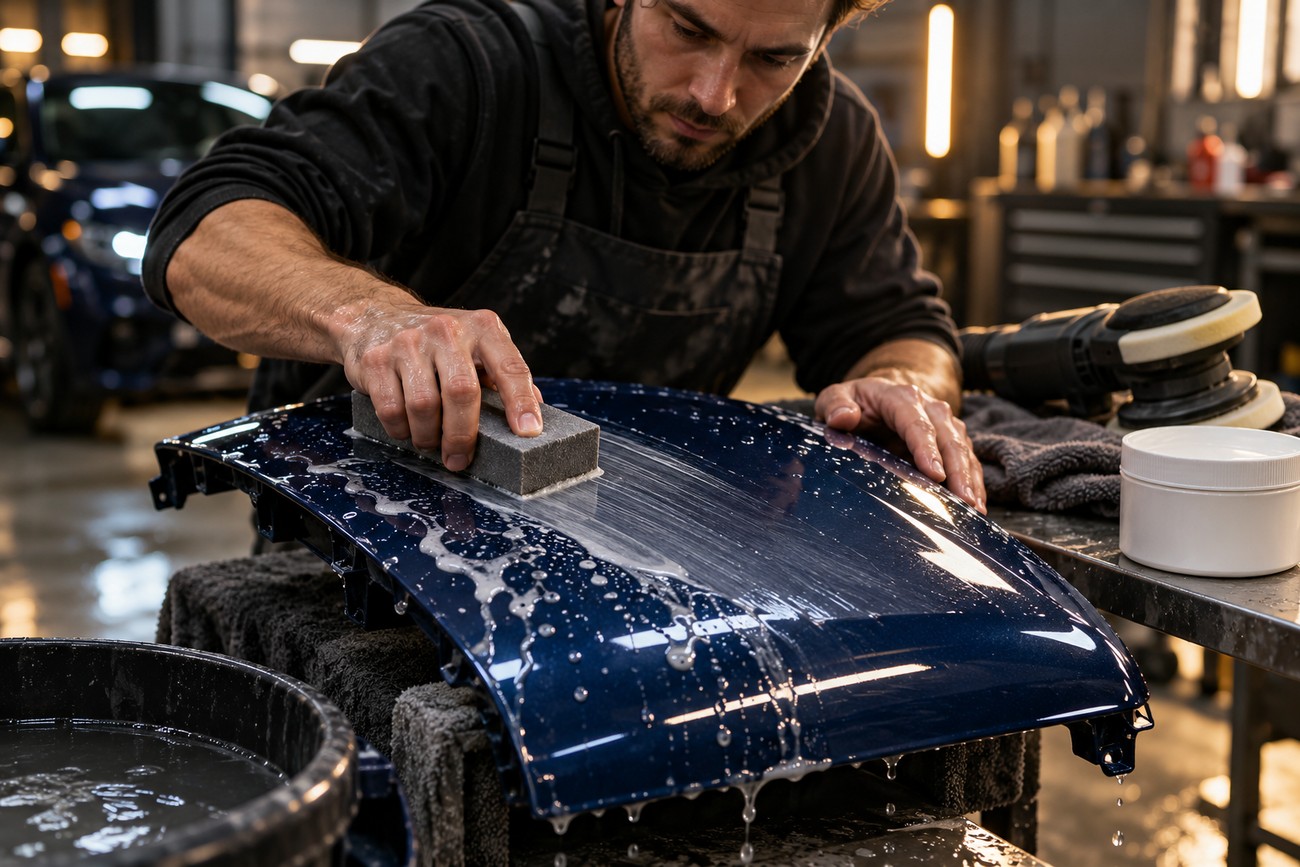
Sanding and polishing have different demands. Clear coat is typically sanded after 12–24 hours, provided the abrasive cuts cleanly and the film does not smear or load. Polishing creates heat and mechanical stress, so many practitioners prefer about 48 hours before polishing or waxing.
Wax adds another complication because it can interfere with surface inspection and protection timing. A coating that can be sanded may still benefit from more time before wax or other protective products are applied. Follow the TDS if it gives a longer or shorter interval.
Aftercare guidance can be more conservative than ordinary cure estimates. One practical repair guide advises no hand washing for 72 hours, no machine washing or wax for 30 days, and no ceramic coating or film for 60 days. Those limits address exposure and adhesion, rather than merely whether the surface feels dry.
Protection windows vary by product, repair size, drying method, and environmental conditions. Treat the longer instruction as controlling when the TDS, repair guide, or coating manufacturer specifies it. A finish that can be lightly handled is not automatically ready for brushes, machine washing, adhesive film, or ceramic coating.
Why Clear Coat Feels Dry but Fails Under Sandpaper
An abrasive can clog even when the surface is no longer sticky. This usually indicates that polymerization is incomplete or that the film is softer than the sanding process requires. The dust may form gummy patches instead of clean, dry powder, and the abrasive can lose its cutting action quickly.
Premature polishing produces similar warning signs. The clear coat may smear, generate unusual heat, or change from glossy to dull under light pressure. A dry upper layer can conceal a soft lower layer, especially when the coating was applied too thickly or dried in poor conditions.
Loading, smearing, and pressure marks are more useful warning signs than touch alone. If they appear together, stop the mechanical work and allow the film to cure longer before changing abrasives or increasing pressure.
Runs, sagging, solvent pop, and microbubbles can also point to an unsuitable drying process. Excessive moisture, heavy film thickness, poor ventilation, or forced drying can leave the finish dull or reduce gloss. A surface that looks acceptable at first may reveal these defects as it continues to cure.
Use a simple decision rule: stop when the abrasive loads, the finish smears, or the surface changes under light pressure. Continuing in the hope that the next pass will clean it up usually adds heat and damage. Let the coating harden, then reassess it under the same lighting.
A Practical Check Before You Touch the Finish
Start with the stated stage in the product instructions. If the TDS gives separate times for recoating, sanding, polishing, and service, follow those categories rather than treating “dry” as a single condition. Confirm that the actual temperature, humidity, film thickness, and ventilation are reasonably close to the stated test conditions.
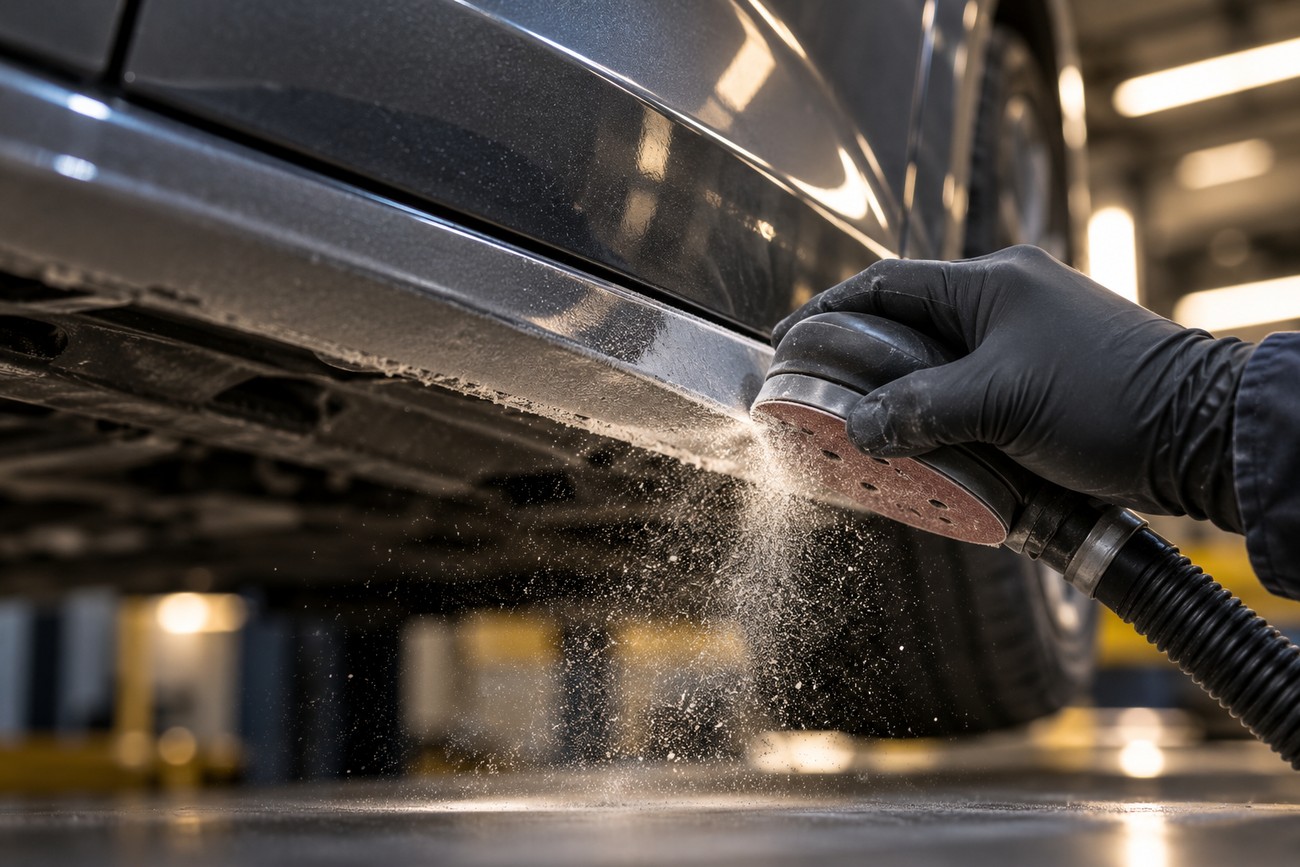
Inspect an inconspicuous area before working across the repair. Use light pressure and watch the material produced by the abrasive. Clean, free-flowing dust is a better sign than a surface that merely feels dry, although it still does not replace the product’s specified cure time.
Stop if sanding dust clogs, the film smears, or pressure marks remain. Additional time is the safer correction than more aggressive compound, a coarser abrasive, or direct heat. If the finish has already lost gloss or developed bubbles, identify the drying cause before attempting another coating operation.
GOST 19007 uses a scale of drying degrees, with drying commonly evaluated from degree 3 through degree 7. Degree 7 represents complete drying without paper sticking or visible surface damage. This formal assessment provides useful context, but a touch-dry check alone still does not prove readiness for sanding, polishing, or full service.
Frequently asked questions
The answers below address system differences and the longer protection periods sometimes given for repaired finishes. The product instructions remain the controlling reference.
How do 1K and 2K clear coats differ in drying and curing?
1K and 2K clear coats do not necessarily share the same flash or cure schedule. A 1K product relies mainly on solvent evaporation and environmental conditions, while a 2K product also undergoes a chemical reaction after its components are mixed. The exact behavior still depends on the formulation and the manufacturer’s process.
For that reason, do not transfer the sanding or polishing time from a 1K aerosol to a 2K refinishing clear, or the other way around. Check the TDS for mixing, pot life, flash time, film thickness, drying method, and final cure. A faster touch-dry result does not mean the two systems have reached the same hardness.
Why do some repair guides recommend waiting 30 or 60 days before protection?
Those longer periods apply to exposure and product compatibility, not simply to whether the coating can be touched or sanded. A clear coat may be workable after its stated cure period while still benefiting from more time before machine washing, wax, ceramic coating, or adhesive film.
One practical guide advises no hand washing for 72 hours, no machine washing or wax for 30 days, and no ceramic coating or film for 60 days. This is more conservative than ordinary drying milestones, so follow the guide or TDS that applies to the specific product and repair process.







