
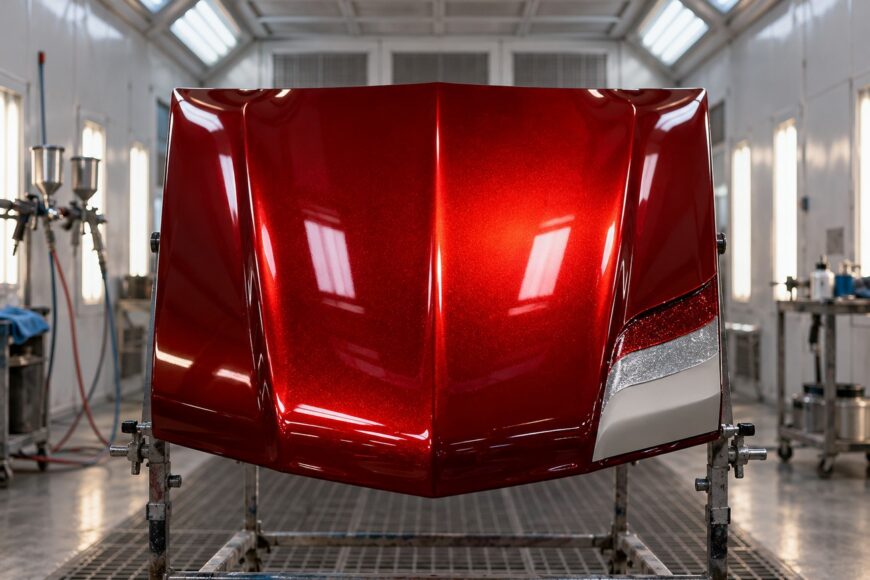
Candy and pearl finishes look simple on a color chip, yet their appearance depends on the base, film thickness, gun movement, and drying time. A small change in any of these variables can turn a bright, even panel into a darker, clouded, or striped one. The finish must therefore be treated as a controlled layer system rather than as ordinary paint followed by extra material.
Candy is a transparent colored layer applied over a reflective base. Pearl produces an interference or shifting effect as light interacts with its particles, so it does not create depth through exactly the same mechanism. Both finishes reward repeatable preparation and application: the target is a process that can be reproduced on another panel, not simply a color that looks correct while wet.
- Candy and Pearl Paint: What the Layers Actually Do
- Choose the Reflective Base Before You Choose the Color
- Prepare, Test, and Lock the Process Before Spraying
- How to Apply Candy Without Losing Transparency
- How to Apply Pearl for an Even, Controlled Effect
- Clouds, Runs, and Wrong Color: Diagnose the Real Cause
- Frequently Asked Questions
- Why can the same candy formula look different after clear coat?
- How can I reproduce the same candy shade on a second panel?
- What is the safest way to evaluate a custom candy color before committing to a full panel?
Candy and Pearl Paint: What the Layers Actually Do
A typical candy system uses three layers: a base layer, a reflective undercoat, and a transparent candy layer. The base establishes the prepared, uniform surface and may provide the initial color or value. The reflective undercoat then controls how much light returns through the transparent color.
Candy is defined by that transparent colored layer over a reflective base. Light passes through the candy, reflects from the undercoat, and returns with the color of the transparent layer. Metallic or pearl undercoats are commonly recommended because their reflective structure gives the candy something to work with.
Pearl paint works through an interference or shifting effect. Its appearance changes as the viewing angle and light direction change, which is why a pearl finish can appear to move across a panel. Pearl and candy may be combined in some systems, but the terms describe different effects and should not be treated as interchangeable names.
The final appearance is never a fixed color independent of application. Base shade, film thickness, transparency, viewing angle, and coat count all influence the result. A wet panel can look more saturated or deeper than it will after drying, while a clear coat can further change gloss and visual depth.
Choose the Reflective Base Before You Choose the Color
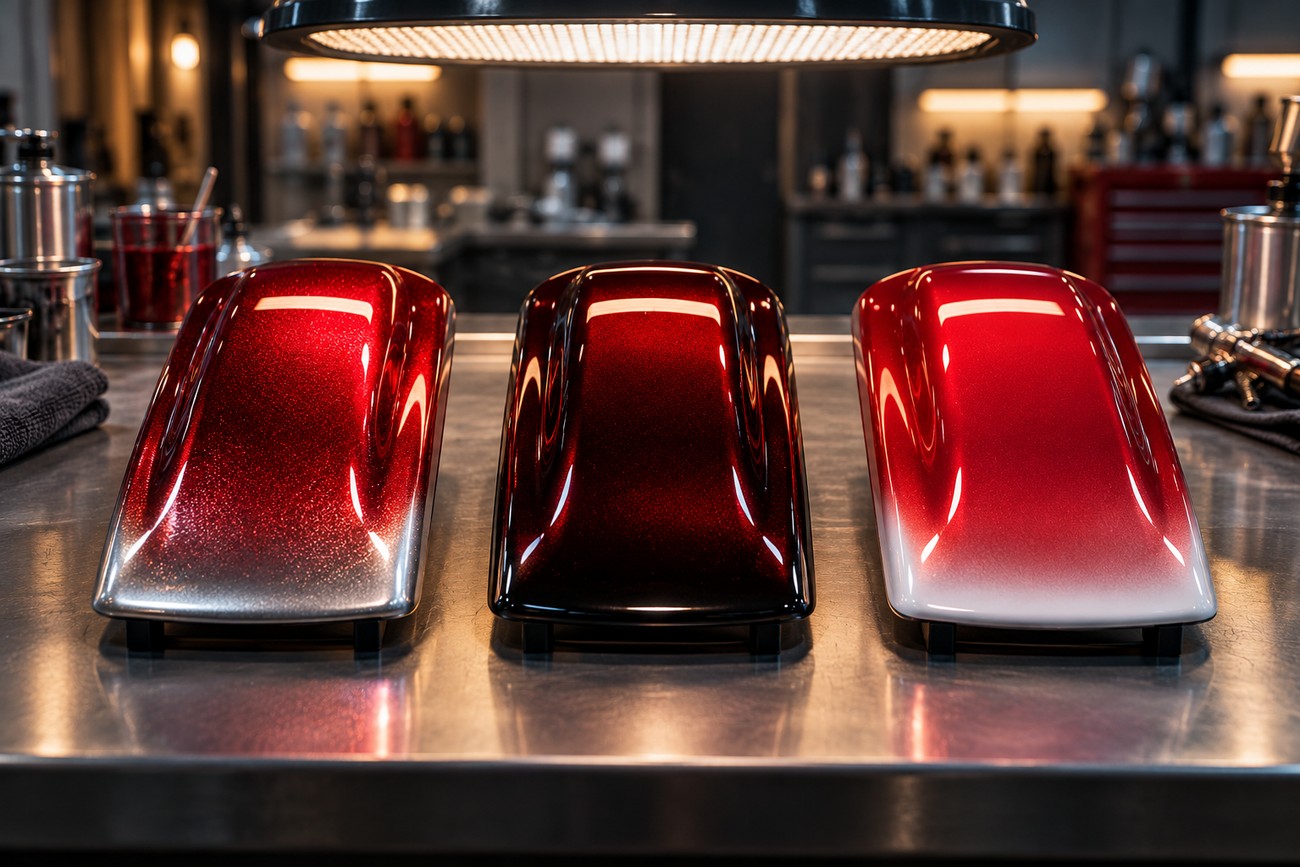
The undercoat should be selected before the candy color is judged. Silver often produces the brightest and most vivid candy effect because it reflects strongly through the transparent layer. That makes it a common choice for high-impact finishes, although brightness alone does not make it correct for every repair or design.
Black and white bases may be permitted in some systems, yet they create different depth and lightness than silver. A black undercoat can make the result appear deeper and darker, while white can produce a lighter, softer appearance. The same candy formula over these bases will not produce the same finished color.
Metallic or pearl undercoats also change how evenly the result reads across a panel. Their particle orientation, coverage, and reflectivity affect the light returning through the candy. If the undercoat is inconsistent, the transparent layer will reveal that variation instead of hiding it.
A catalog image is therefore only a reference unless its undercoat, lighting, application method, and clear system are known. A color that appears vivid over silver may look muted over a darker base. A small spray-out made over the intended undercoat is more useful than a printed image when deciding whether the recipe is suitable.
Prepare, Test, and Lock the Process Before Spraying
Use a small test panel before committing to a complete part. The sample should match the intended substrate, base shade, reflective undercoat, reduction, and clear system. It should also reproduce the expected film thickness and coat count, because a test made with a different process can give false confidence.
Judge the sample after intermediate drying and again under clear. Wet paint can exaggerate darkness, gloss, and saturation, while the clear coat changes reflection and depth. Inspect the panel from several angles and under more than one light source, especially when the finish contains pearl or a strong metallic undercoat.
Manufacturer instructions control the mixing ratio, reducer, flash time, spray settings, and compatible layers. There is no universal gun pressure or nozzle setting that can be transferred safely between products. Record the exact proportions used, the actual number of passes, the pause between coats, and the conditions in which the sample was evaluated.
This record becomes important when a second panel must match the first. “Three coats” is useful only if the coats had similar movement, overlap, wetness, and drying time. A written process also exposes the cause of a mismatch instead of leaving the painter to guess whether the problem came from the formula or the application.
How to Apply Candy Without Losing Transparency
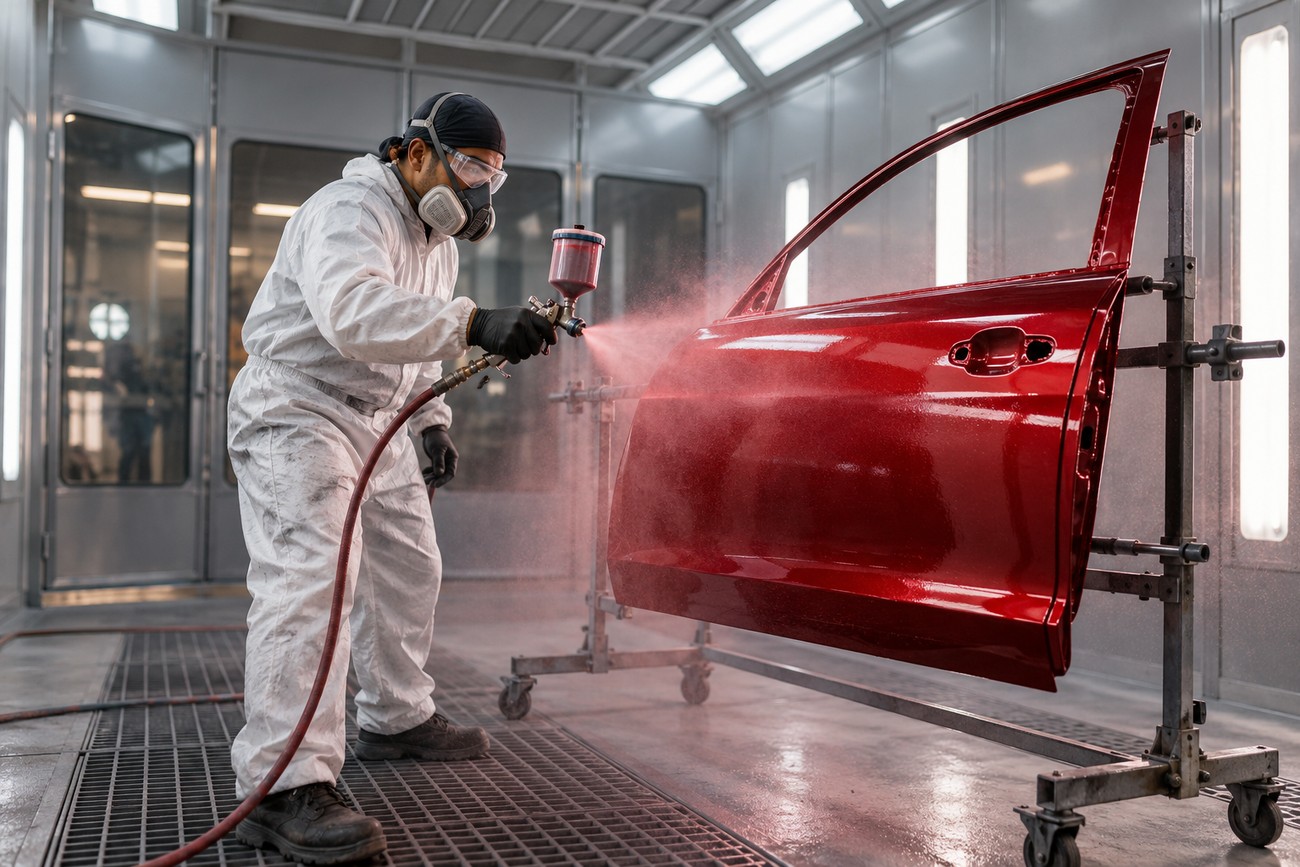
Apply the candy over a fully prepared and sufficiently dry reflective undercoat. Mix and reduce it only according to the product system. Some instructions specify about 50% reduction, while other systems specify 60–100%; the correct ratio belongs to the manufacturer’s technical data sheet, since transparency and spray behavior vary between products.
Build the shade through controlled passes. Keep the gun distance, travel speed, trajectory, and overlap consistent across the whole panel, and avoid changing direction or arm speed around edges. Candy is transparent, so a light area is usually corrected through an even additional pass rather than by placing a wetter spot of material over that area.
Consistent gun travel and overlap matter more than trying to correct a light patch with extra wet paint. Controlled passes build the shade evenly, while a local wet repair can create a visible dark or cloudy area that remains after clear.
Allow each layer to dry for the period specified by the system. A surface that is still too wet can move or concentrate the pigment when the next pass is applied, producing mottling and uneven depth. Excessively thick or wet candy layers can also cause runs, reduce transparency, and darken the finish beyond the intended color.
Blending requires particular control at the edge of the prepared area. Keep the candy within the intended undercoat wherever possible, because extending it beyond that boundary changes the reflective background and can leave a visible shift in shade. Extra coats are not automatically an improvement; each one increases color depth and can make the panel darker or less clear.
How to Apply Pearl for an Even, Controlled Effect
A typical pearl application uses 2–3 coats, with approximately 10–20 minutes between coats or until the surface is sufficiently dry for the specific system. These figures describe a common working approach, not a replacement for the product instructions. Temperature, airflow, reducer choice, and the coating itself affect the required pause.
Keep distance, speed, trajectory, and overlap consistent from one side of the panel to the other. Pearl particles can show a different pattern when the gun is tilted, held closer, or moved more slowly. Uneven overlap then appears as bands, clouds, or areas where the sparkle is stronger than elsewhere.
A controlled thin or semi-dry pass can preserve the intended pearl pattern better than flooding the surface with a wet coat. The goal is sufficient coverage without burying the particle effect in excess material. Watch the panel as it develops and allow each layer to settle before deciding whether another coat is needed.
A figure-eight motion is sometimes mentioned as a way to distribute pearl, but it is not a universal automotive standard. Any motion can work only if it produces repeatable coverage and remains compatible with the product instructions. A consistent straight-pass technique is often easier to document and reproduce on a second part.
Clouds, Runs, and Wrong Color: Diagnose the Real Cause
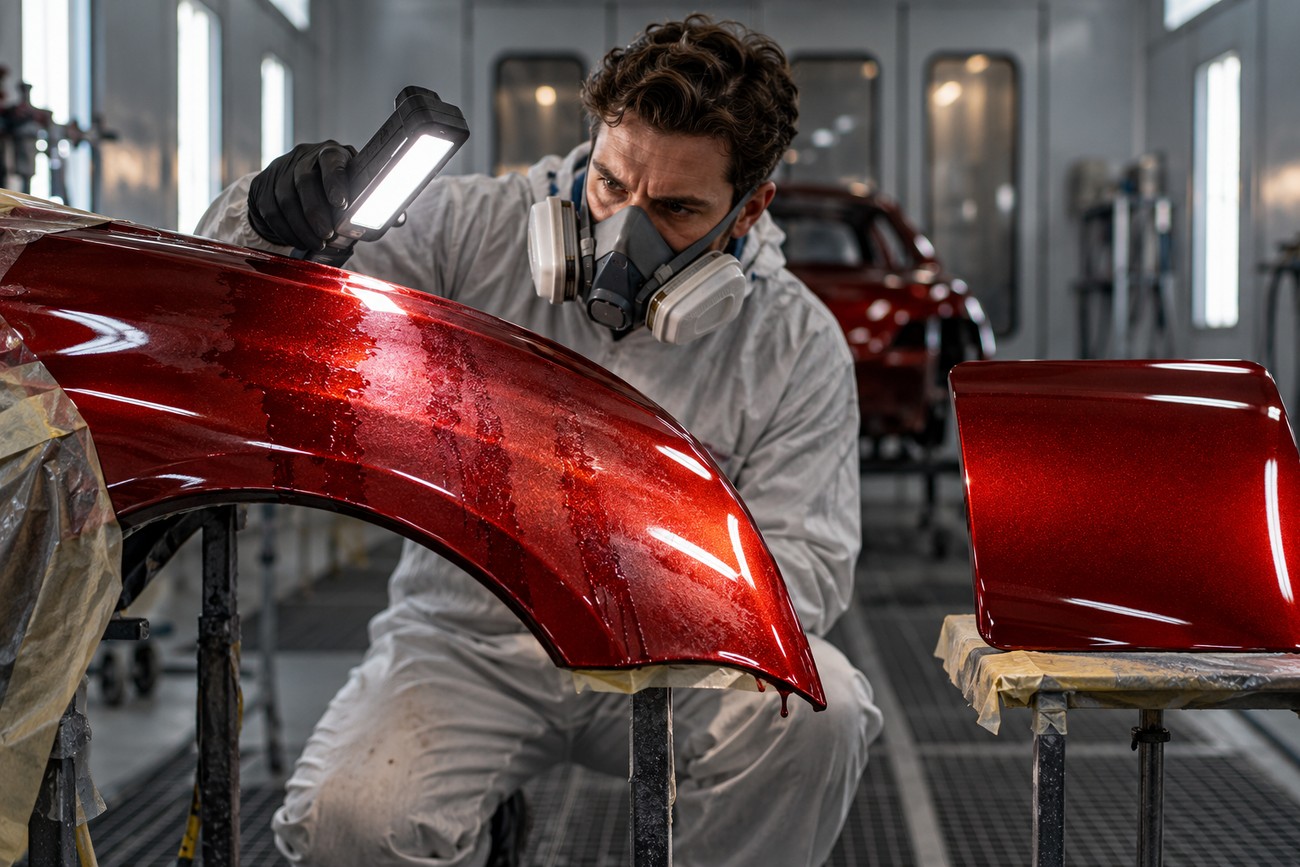
A finish that is too dark or dull often points to the reflective base or excessive candy buildup. A mismatched undercoat can suppress the expected brightness, while additional wet coats can deepen the color beyond the target. Adding more material may move the panel farther from the reference instead of restoring the intended appearance.
Clouds, stripes, and patchy sparkle usually follow inconsistent gun distance, speed, path, or overlap. The effect is especially visible where the painter slows down at an edge or changes the gun angle across the center of the part. Correcting only the most obvious light area can create a second pattern, so the surface should be assessed as a whole.
Mottling and a cloudy appearance can also result from insufficient intercoat drying. Applying the next layer before the previous one has stabilized changes how the pigment or pearl sits in the film. Respect the system’s drying requirement, and avoid judging the final color while the material is still wet.
Runs are commonly associated with an overly wet or thick application. They may occur when reduction, gun speed, distance, or overlap changes during the pass. Once a run or heavy patch has formed, clear coat will not level the underlying color distribution; the defective layer must be corrected according to the coating system before the finish is completed.
The same principle applies to a poor spray pattern and an incorrect base. Clear coat changes gloss and depth, but it preserves the existing foundation. Diagnose the layer or technique that created the defect, then correct that source rather than trying to hide it downstream.
Frequently Asked Questions
These questions address the practical variables that most often affect repeatability after the basic layer work has been established.
Why can the same candy formula look different after clear coat?
Clear coat changes gloss, visual depth, and the way light reflects from the surface. A candy color judged before clear can therefore appear deeper, brighter, or optically different after the finish is completed. The change is part of the system, so a reliable test panel must include the intended clear coat.
How can I reproduce the same candy shade on a second panel?
Record the exact base shade, reflective undercoat, mix proportions, reduction, number of passes, and pause timing. Keep the gun distance, speed, trajectory, overlap, and drying conditions as consistent as possible. Evaluate both panels under comparable lighting and viewing angles, because a shade can appear different when the light changes even if the application matches.
What is the safest way to evaluate a custom candy color before committing to a full panel?
Make a test panel using the same substrate, base, reflective undercoat, candy system, and clear system intended for the job. Let the intermediate layers dry, complete the sample, and inspect it from more than one lighting angle. Approve the color only after the panel shows the required brightness, depth, and evenness in the conditions where the finished part will be seen.







