The front tires can wear their outer shoulders during a track day, yet the aggressive alignment that helps them survive corners may make the drive home tiring. A car that feels settled on smooth pavement can follow ruts, need more steering correction, or feel less secure under braking.
Camber plates give compatible strut-equipped cars more adjustment than their standard mounts allow. They can help you find a useful track setting, but they do not replace a complete alignment. The aim is a measured compromise for your tires, circuit, and road use—not the most negative number the hardware can reach.
- What Camber Plates Change—and What They Cannot Fix
- Choose a Starting Camber, Not the Most Negative Setting
- Align the Whole Car After Moving the Plates
- Verify the Setup With Tires and Driver Feedback
- Make Street and Track Settings Repeatable
- Check the Costs Hidden in a Bolt-On Upgrade
- Frequently asked questions
- How much does a camber alignment typically cost?
- What maintenance do camber plates need?
- How do you align camber plates?
What Camber Plates Change—and What They Cannot Fix
Negative camber means the top of a wheel leans inward. As a car corners and its body rolls, some negative camber can help keep the outside front tire’s tread working across the pavement. Too little may concentrate wear and heat at its outer shoulder, especially on a track with sustained, loaded turns.
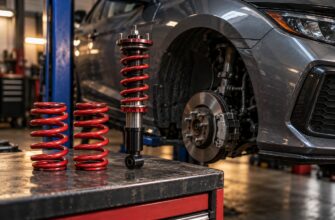
On a compatible MacPherson-strut setup, a camber plate changes the position of the upper strut mount. Moving the top of the strut inward generally adds negative camber; some plate designs also allow caster adjustment. The change can affect how the car steers and returns toward center, so the plate position is part of the suspension geometry rather than a tire-wear adjustment alone.
Other suspension layouts may use control-arm adjusters, shims, or different chassis-specific parts instead. Check fitment and the available movement on your car before buying plates, particularly if springs, bodywork, or strut-brace hardware could limit travel. A plate cannot make a worn damper, loose bushing, or bent component hold an accurate alignment; repair those faults first.
Choose a Starting Camber, Not the Most Negative Setting
Community-reported starting ranges for track-driven street cars are approximately −2.0° to −3.5° front and −1.5° to −2.5° rear. These are rough ranges, not manufacturer specifications or targets to apply to every car. Start with the vehicle and tire maker’s guidance where available, then use the ranges to frame a discussion with an alignment shop familiar with track use.
Tire construction, suspension design, corner speeds, and driving style all change the useful setting. Some semi-slick users report useful front camber around −2.5° to −3.0°, but tire guidance and measured behavior take precedence. A circuit dominated by long, loaded corners may load the outside tire differently than one with brief turns and heavy braking zones.
More negative camber is not automatically faster. Beyond a car’s useful setting, the tire may offer less support during straight-line braking, feel less reassuring on a wet surface, or wear its inner edge during road mileage. If the car becomes difficult to place on the way home, assess the whole setup before adding still more camber to address one worn shoulder.
Align the Whole Car After Moving the Plates
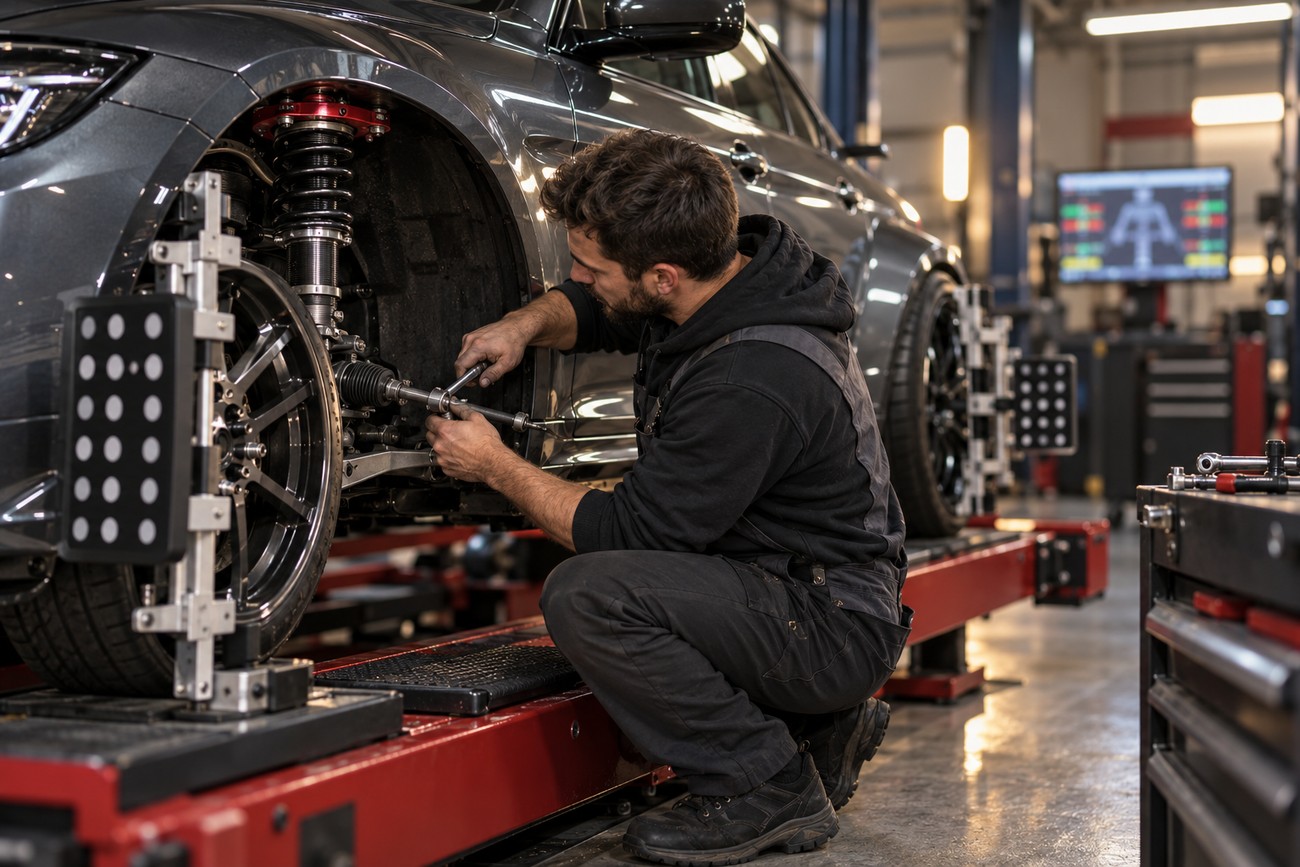
Begin with sound suspension parts and tires whose condition will not obscure the result. Set the intended ride height and a representative load before measuring angles; a height change afterward can alter what you just set. Adjust camber and any available caster movement, then measure and correct toe on an alignment rack. There is no single toe figure that suits every chassis and tire.
Moving a camber plate can change toe even when you touch no toe adjuster. That matters on a road-driven car: toe can have a greater effect on tire wear than camber alone. Ask for left-to-right measurements and a before-and-after printout, including toe, so you can distinguish the intended change from an unintended one.
Check that both sides have usable clearance through steering and suspension movement, rather than assuming matching slot positions produce matching wheel angles. Visual estimates and plate scales are useful for getting close, but production tolerances and previous repairs can leave different results side to side. Keep the measured printout as the baseline for the next adjustment.
Verify the Setup With Tires and Driver Feedback
Run a short, repeatable test loop before treating the alignment as finished. Record cold pressures, hot pressures taken promptly after a session, tire condition, and the circuit conditions. Compare sessions of similar length and pace while noting turn-in, mid-corner support, and braking stability; a change in pressure or driving pace can otherwise look like an alignment improvement.
Inspect the tread across its width and watch how the outer shoulder develops. Tire temperatures can add useful context if you measure them promptly and consistently at comparable points across the tread. A single temperature reading or a scuffed outer shoulder cannot diagnose camber by itself: pressure, tire construction, and how the car was driven also affect the result.
Some users report hot pressures near 2.0–2.3 bar for certain semi-slicks. Treat that as anecdotal context, not a universal target; follow the tire maker’s guidance and your on-car results. After a hard curb strike, off-track excursion, or pothole, check alignment even if the plate marks still line up. The strut, control arm, or subframe may have moved instead.
Make Street and Track Settings Repeatable
A setting that protects the outside front tire on track may make the road trip harder. Watch for steering that follows ruts, reduced confidence under straight-line braking, and inner-edge wear over regular street mileage. Those costs can outweigh a small track benefit for a car that spends most of its distance away from the circuit.
Have measured street and track settings recorded for the car, including camber and toe on both sides. Mark the corresponding plate positions, and log the tires, pressures, and conditions used when each setting felt right. This gives the alignment shop a useful reference and makes an unexpected change in behavior easier to investigate.
Marks reproduce a physical position, not a verified camber-and-toe alignment. Moving between them can change toe, so arrange a toe check after camber adjustments rather than assuming a return to the mark restores the complete setup. If switching settings cannot be checked reliably before the drive home, a measured compromise setting may be the more practical choice.
Check the Costs Hidden in a Bolt-On Upgrade

Rigid plate mounts commonly bring more noise, vibration, and harshness into the cabin than rubber mounts. A new knock over bumps deserves inspection rather than being dismissed as normal track-car noise. Check the bearing, mounting hardware, and surrounding components against the product’s installation guidance, particularly after the first hard use.
Advertised adjustment range may exceed what you can use once spring, tire, strut, and body clearances are considered. Some combinations can restrict strut travel or create interference at steering lock or through suspension movement. Confirm the installed assembly has appropriate clearance and spring seating before relying on the end of a plate’s slots.
Durability claims deserve the same caution. Some sellers describe plates as bolt-on parts with no life penalty, while track users report wear around mounts and strut towers under hard use; neither claim establishes a universal failure rate. Inspect the towers for movement, cracks, or changes around the mounting points, and install and maintain the hardware according to its applicable instructions.
Frequently asked questions
Camber-plate ownership includes the alignment work and checks that follow installation. Before booking a job or changing a setting at home, establish which measurements and adjustments are actually included.
How much does a camber alignment typically cost?
There is no reliable universal price: local labor rates, adjustment access, and the vehicle’s suspension layout all affect the quote. Ask for an itemized estimate that separates plate installation, alignment measurement, camber and toe adjustment, any additional setup work, and a before-and-after printout. Confirm whether a follow-up measurement after settling or further changes would be a separate charge.
What maintenance do camber plates need?
Check for loose or shifting mounting hardware, bearing play, new noises, and witness marks that suggest the plate has moved. Inspect the surrounding strut tower at the same time. Use the plate maker’s torque and service instructions for your hardware; an arbitrary maintenance interval cannot account for different designs and levels of track use.
How do you align camber plates?
Loosen and move the plate only as its instructions permit, making small, controlled changes with the car safely supported as specified for the job. Secure the hardware to the specified torque, then measure the final camber and toe with alignment equipment. A home adjustment can get the mount near a recorded position, but its markings alone cannot confirm the wheel angles or that the two sides match.