
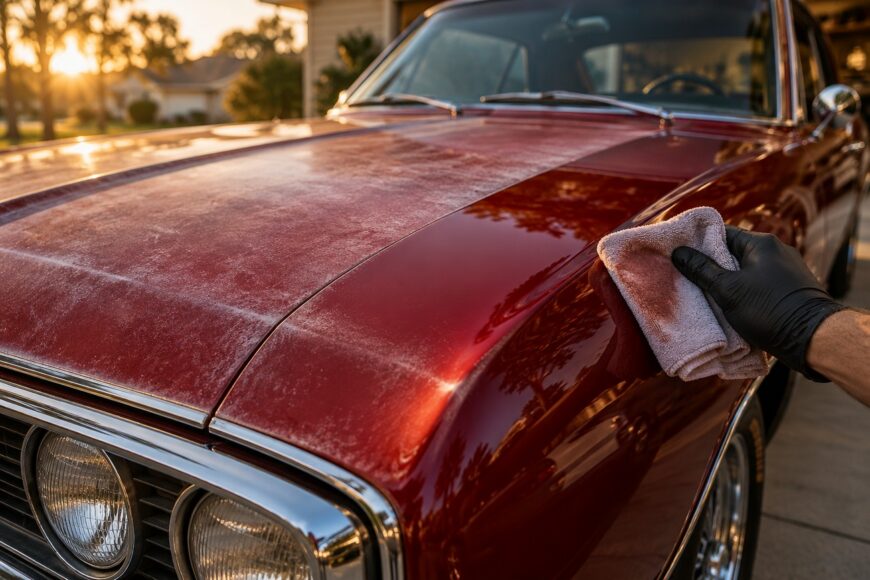
A chalky appearance, a dull surface, paint transfer onto your hand, or gloss that disappears after polishing are familiar signs of an aging finish. Oxidation can make sound paint look lifeless, while severe deterioration may leave the surface uneven, thin, or visibly short of its original color.
The central decision is whether you can remove only degraded surface material or whether the basecoat, primer, or remaining finish already needs repainting. A glossy result that lasts only briefly does not prove that the coating has regained its durability. Diagnosis should come before compound, sanding, wax, or any other treatment that removes material.
- What Oxidized Paint Really Means
- Inspect Before You Polish
- Clean the Surface and Run a Small-Area Test
- Choose the Least Aggressive Restoration Method
- A Controlled Process for Bringing the Finish Back
- Why the Shine Comes Back—and Then Fails Again
- Frequently asked questions
- How can I rejuvenate oxidized paint by hand?
- How do I know when to stop polishing?
- What should I do if an old restoration product has separated?
What Oxidized Paint Really Means
Oxidized paint is a deteriorating paint system, rather than ordinary dirt that can be washed away. Oxygen, ultraviolet exposure, moisture, and everyday wear gradually affect the upper surface, especially on older coatings with limited resistance to sunlight. The result may be chalking, haze, fading, roughness, or a surface that leaves color on a cloth or hand.
Paint also has a protective function. It helps reduce metal contact with moisture and air, slowing further oxidation. Once the coating becomes porous, cracked, or missing in places, the metal and lower layers lose part of that barrier. Cosmetic improvement may still be possible, although the protection may already be weaker than the appearance suggests.
Many automotive enamels primarily dry through solvent evaporation; drying is not a single universal chemical process. This matters when old paint is repaired or touched up because temperature, product chemistry, and the condition of the existing coating affect how the surface develops and how long it remains vulnerable.
Light oxidation or haze may respond to a mild restorative polish or abrasive correction. A finish that has failed through the upper layer into the basecoat or primer has crossed a different boundary. Polishing cannot recreate missing color or primer, so localized repainting may be required. Even a successful correction improves the appearance without making aged paint chemically equivalent to new paint.
Inspect Before You Polish
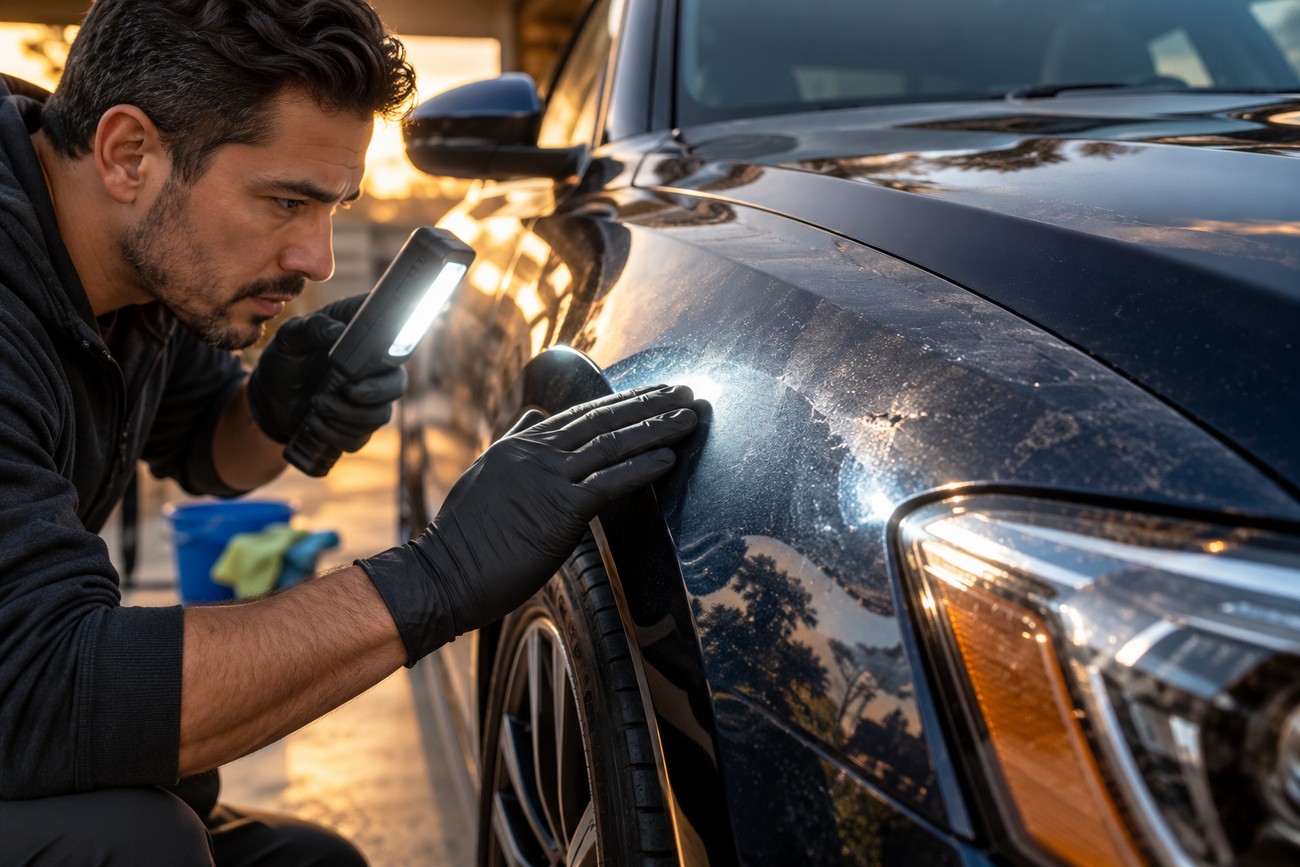
Begin with a thorough wash, then dry the vehicle completely. Dirt, road film, loose oxidation, and trapped moisture can make a sound panel appear worse or cause abrasive work to drag contamination across the surface. Inspection on a clean, dry panel gives you a more reliable view of the actual defect.
Use suitable light from more than one angle and examine the panel closely. Separate simple dullness, chalking, uneven fading, embedded contamination, degraded clear finish, and areas where material is visibly missing. A surface may feel rough because of contamination, while a similar-looking panel may have lost part of its upper finish.
Look for color changes that remain after washing, exposed lower layers, flaking, cracking, deep stains, and areas where the surface texture changes abruptly. If the color is missing rather than merely obscured, repeated polishing will expose more of the surrounding finish without repairing the defect. A mottled or chalky surface may improve cosmetically while remaining chemically weaker than new paint.
Starting with an aggressive compound before making this assessment is a common irreversible mistake. Polishing removes some finish, and repeated or overly aggressive correction reduces the remaining coating thickness reserve. If the panel is already thin or unstable, the result can include holograms, burn-through, or a patch that cannot be safely corrected again.
The inspection determines the appropriate direction: restore lightly, protect the existing material, or arrange localized repainting. If damage reaches the basecoat or primer, repeated polishing is unlikely to produce a sound repair. Preserving a usable finish is usually safer than chasing every cloudy mark.
Clean the Surface and Run a Small-Area Test
Product selection begins only after the surface is clean and dry. Loose oxidation should be removed without spreading it over adjacent areas, and moisture must be allowed to leave seams, trim edges, and panel gaps. Work performed over dirt can create scratches, while residue left on the panel can be mistaken for continuing oxidation.
Choose a small, inconspicuous section and apply one controlled treatment. This test is especially important with universal products, old coatings, unstable paint, and panels that have been repaired before. Compatibility depends on the coating type, damage depth, and whether an upper layer remains, so a product that works on one panel may behave differently on another.
After the test, compare gloss, color uniformity, haze, residue, and the apparent condition of the surface. Check the area from several angles after the residue has been removed. Look for signs that the finish has become thinner or more uneven. One pass that produces a clear improvement is useful information; it does not guarantee that the whole vehicle will respond identically.
Follow the product’s intended application and removal timing. Applying too much material, allowing it to dry beyond its working window, or removing it too late can leave stickiness, cloudy patches, and difficult residue. Treating a large panel in one operation also makes it easier to miss areas and create inconsistent gloss.
Divide the panel into manageable sections and compare each section with the untreated surface. If the test makes the paint clearer without revealing thinning or color loss, continue conservatively. If it exposes deeper failure, produces a poor texture, or fails to improve the defect, stop and reassess rather than escalating automatically.
Choose the Least Aggressive Restoration Method
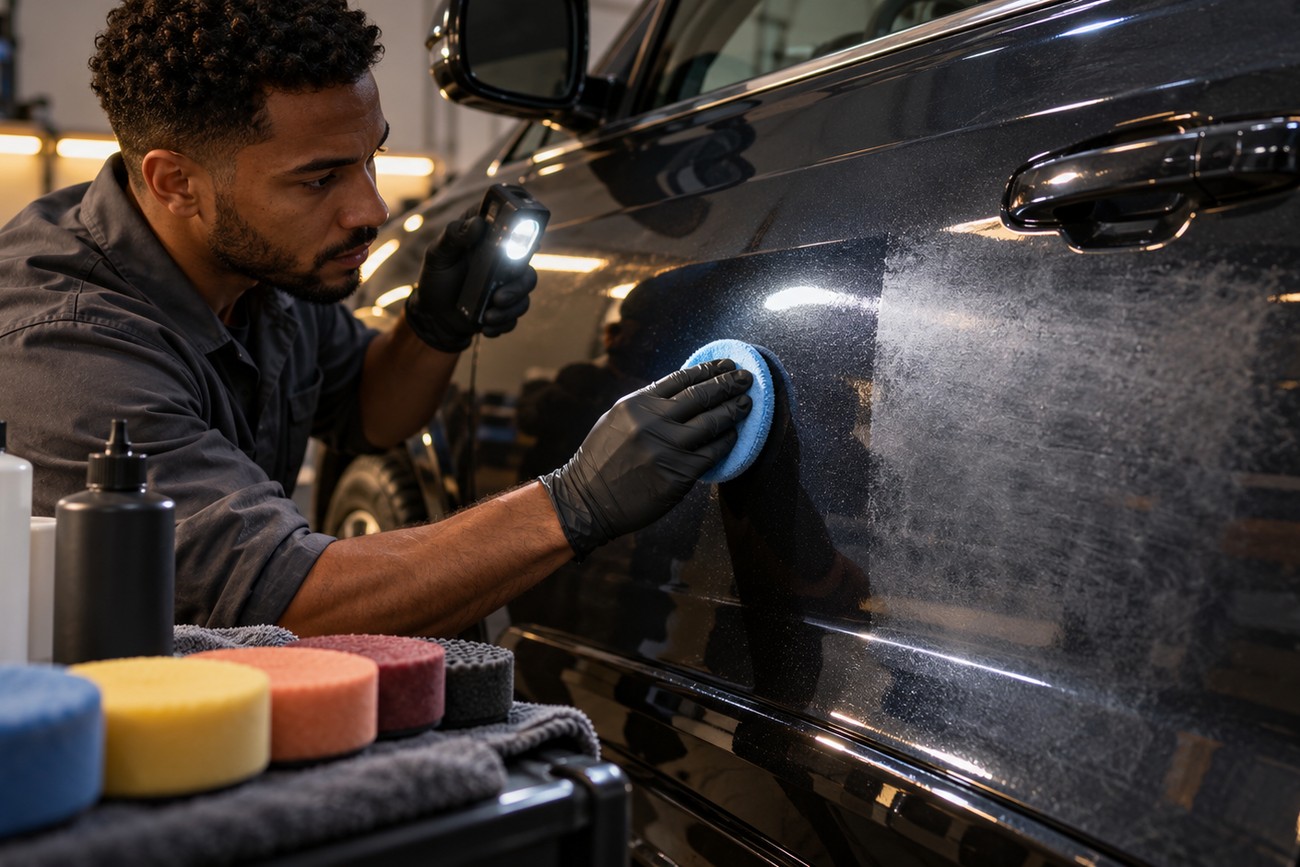
Fine oxidation and light haze often need only a mild restorative polish. Start with the least aggressive method that has a reasonable chance of improving the tested area, then inspect the result before increasing abrasive strength. This approach preserves more of the remaining finish for future correction and reduces the chance of introducing new defects.
Stronger abrasive correction is appropriate only when the test proves that the milder method cannot achieve the required improvement and the coating appears capable of accepting more work. More aggressive abrasion can remove useful finish, create holograms, and cause burn-through. It also consumes material that cannot be replaced when the original coating is already old or thin.
After the first controlled improvement, it is often safer to stop rather than chase the last cloudy patch. Preserving sound finish for a later correction is safer than removing a large amount of material to make one damaged area match the rest.
Universal products deserve particular caution. Their compatibility depends on the coating type, the depth of damage, and whether a stable upper layer remains. Older or previously repaired paint may react with uneven gloss, staining, or soft residue. A successful small-area test is a practical safeguard, although it cannot eliminate every difference across a full vehicle.
Temperature also affects the decision. For some oxygen-curing paints, drying slows at lower temperatures; some products specify application at +5 °C or, product-specifically, at 0 °C. The label controls the acceptable conditions. Some older paint products list a 12–24 month shelf life and prohibit freezing, but that is product-specific guidance rather than a universal rule for all paint.
Stop when the finish has improved as far as the remaining material safely allows. A deeper mark that remains unchanged after a controlled correction may be below the safe correction limit or may represent damage beneath the polishable layer. Preserving a small defect is preferable to removing enough finish to create a larger repair.
A Controlled Process for Bringing the Finish Back
Wash the vehicle, dry it completely, and inspect the paint before opening the restorative product. Work in small sections rather than treating an entire hood or side at once. Small working areas improve consistency, reduce missed spots, and make it easier to compare the corrected surface with the untreated paint.
Test the mildest suitable method on one section. Work evenly with light, controlled pressure and follow the product’s stated working and removal instructions. Keep the process tool-agnostic because the correct technique depends on the product, the coating, and whether the work is performed by hand or with a machine.
Remove residue completely before judging the result. A film left behind can imitate gloss, haze, or uneven color and may become harder to remove if it is allowed to sit. Inspect the section from different angles, then decide whether another pass is justified. Repeating the same operation without checking the surface simply increases material loss.
Continue across the panel only when the test has shown a stable improvement. Keep section size consistent and overlap the working areas enough to avoid stripes or untreated islands. Chasing every remaining mark is risky when the mark lies beneath the restorable surface or when further abrasion would thin the finish significantly.
Once correction is complete, clean away remaining residue and apply a separate protective layer, such as hard wax, a ceramic coating, or an equivalent product compatible with the restored surface. Protection can slow renewed deterioration, especially from ultraviolet exposure and wear. It cannot restore the original chemical resistance of degraded paint or replace material that has already been lost.
Low temperature can slow drying, curing, and the development of coating properties. Allow the product to behave within the conditions stated on its label before washing, handling, or applying another layer. If the panel shows exposed basecoat, primer, peeling, or persistent color loss, move to localized repainting rather than extending the cosmetic correction.
Why the Shine Comes Back—and Then Fails Again
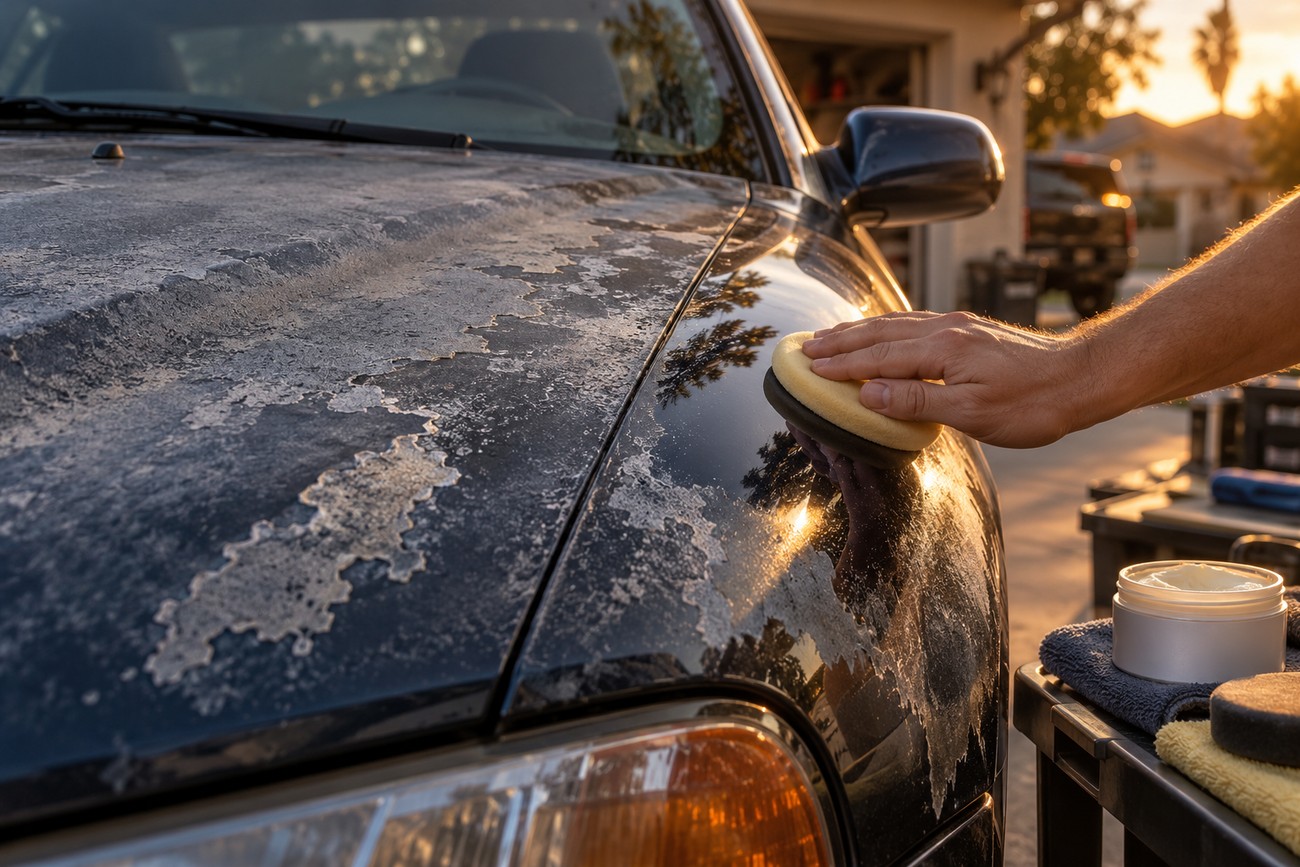
A short-lived return of gloss often means that loose surface oxidation was removed while deeper deterioration remained. The panel reflects more light for a while, yet its underlying finish is still porous, thin, or unstable. As the surface weathers again, the chalky appearance returns, and the owner may assume the polish failed without recognizing the remaining coating damage.
Wax or a gloss enhancer can make severe oxidation look better by filling or masking irregularities. That effect is cosmetic and temporary when the coating itself has failed. Such products can be useful as protection after suitable correction, but they cannot recreate missing basecoat, primer, or a sound upper finish.
Several avoidable mistakes produce disappointing results:
- Polishing paint that is dirty or still wet.
- Using more compound than the surface needs.
- Leaving residue because the product was not removed at the correct time.
- Working large areas unevenly and creating blotchy color or inconsistent gloss.
- Repeating abrasive passes to chase defects that do not change.
- Skipping protection after the finish has been corrected.
Repeated polishing reduces the remaining coating thickness and cannot recreate missing basecoat or primer. It may also make future repairs more difficult by leaving different parts of the panel at different thicknesses. A panel that looks improved after treatment should therefore be judged by both appearance and the amount of sound material preserved.
The practical decision rule is simple: preserve sound material when light oxidation responds to controlled correction, and choose localized repainting when the coating is beyond cosmetic correction. A restored appearance can be worthwhile, but it should not be mistaken for a factory-new finish or proof that the paint has regained its original resistance.
Frequently asked questions
Hand work, stopping criteria, and product condition often determine whether a restoration remains safe. These details matter most on older paint, where every abrasive pass reduces the remaining margin for correction.
How can I rejuvenate oxidized paint by hand?
Wash and dry the vehicle, then work on very small sections with a mild restorative product suited to the coating. Use light, even pressure and make repeated visual checks after removing the residue. Compare the treated area with the surrounding paint before moving on because hand application can leave uneven gloss if sections are too large or pressure changes during the work.
Hand application is slower and less capable of correcting deep defects than machine-assisted work. That limitation is useful on fragile paint because it makes aggressive removal less likely. Accept a small amount of remaining haze when the alternative is thinning the finish or exposing a lower layer.
How do I know when to stop polishing?
Stop when the test area has improved but the remaining defect stays unchanged after a controlled pass. That pattern often indicates damage beneath the polishable layer. Stop also when color variation reveals deeper failure, when the surface begins to look thinner, or when another pass creates more haze or unevenness than improvement.
Persistent flaking, exposed basecoat or primer, and a defect that follows missing material are repainting signals rather than invitations to use a stronger compound. There is no universal polishing frequency because every abrasive pass consumes some finish. The safe limit depends on the remaining coating and the result of the test.
What should I do if an old restoration product has separated?
Check the label and stated usable period first. Mix the product only if the label permits mixing and only when it remains within its usable period. Do not use a frozen, clearly degraded, or contaminated product; separation alone does not establish that it is safe or unusable.
After any permitted mixing, repeat a small-area test before treating a panel. Check for unusual residue, poor workability, haze, color change, or uneven drying. If the product does not return to a consistent condition or the test result is uncertain, discard it and choose a compatible product with clear storage and application guidance.







