
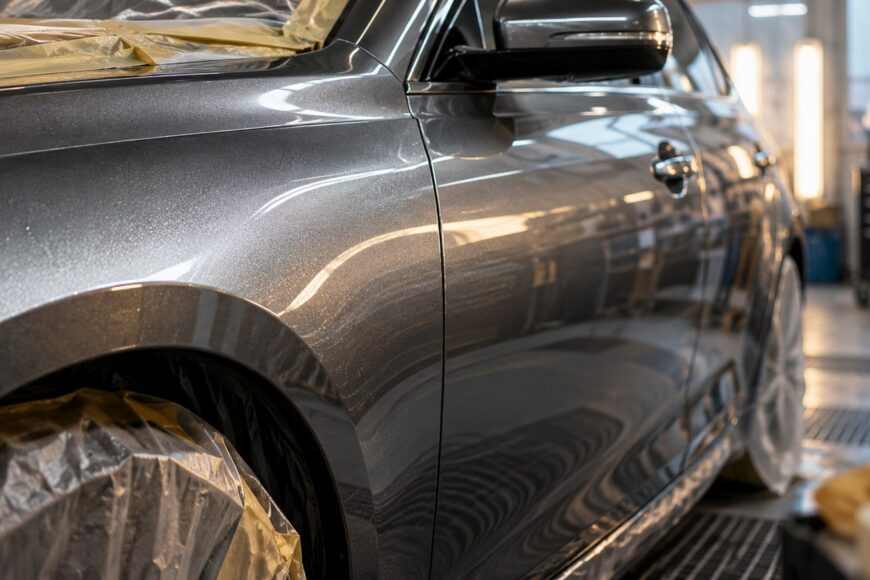
Paint can match by code and still look visibly different on an older panel. Fading, previous repairs, shade variants, and the way metallic or pearl particles lie in the film all affect the result. A hard clearcoat edge can also remain visible even when the color itself is close.
Blending creates a controlled transition from new basecoat into existing paint. The result depends on preparation, spray technique, product-specific flash times, clearcoat placement, curing, and inspection under changing light. It cannot conceal an incorrect color or an unstable old finish.
- What a Paint Blend Is—and When You Actually Need One
- Match the Color and Plan the Direction of the Blend
- Prepare the Existing Paint for a Seamless Transition
- Spray the Basecoat Without Creating a Metallic Halo
- Fade the Clearcoat, Then Cure and Polish the Edge
- Why Blends Fail: Common Errors, Hidden Defects, and False Fixes
- Frequently asked questions
- How long does it take new paint to blend with old paint?
- How do you know whether a paint blend is truly invisible?
- How can I blend new paint with existing paint?
What a Paint Blend Is—and When You Actually Need One
A paint blend gradually expands the new basecoat into the surrounding finish so the eye does not meet a sudden color boundary. The clearcoat is then managed separately, with its edge extending beyond the basecoat edge. This separation helps prevent a visible ring where the color ends.
An OEM paint code identifies a formula, yet it does not guarantee a visual match on the vehicle. The existing panel may have faded, received an earlier repair, or been produced in a different shade variant. Metallic and pearl particles can also appear lighter, darker, or more striped when spray pressure, overlap, or direction changes.
Blending into an adjacent panel is usually safer when a sharp repair boundary would fall in the middle of a broad, flat surface. This gives the color change room to become gradual and reduces the chance of seeing the repair under angled light. A blend is especially useful when the replacement panel and its neighbor show different ages or repair histories.
Plan the endpoint before spraying. A natural body line, edge, opening, or trim feature disguises a transition more effectively than the center of a flat panel. The clearcoat may still need to cover a larger area, so the chosen endpoint must allow safe masking, access, and polishing.
Match the Color and Plan the Direction of the Blend
Check the color on a test panel or spray-out card before spraying the vehicle. Apply the material in the same general manner intended for the repair, because pressure, gun distance, overlap, and spray direction can change the appearance of the same formula. This check is particularly important for metallic and pearl finishes.
Use the test piece to choose the direction of the blend and to see how the final coat lays down. A color that looks correct when viewed straight on may shift when the panel is viewed along its length. The test also gives you a chance to confirm coverage without adding unnecessary coats to the vehicle.
Decide whether the clearcoat will stay within the repair area, extend into the adjacent panel, or cover the entire panel. Clearing the entire panel is often more predictable because it removes a difficult open clearcoat edge. It uses more material, requires more masking time, and increases exposure to dust, so the choice remains a balance between finish control and shop conditions.
Keep the planned blend direction away from features that will interfere with gun movement or inspection. A narrow repair beside a door gap may blend toward the center of the door, while a repair near a body line may finish at that line. The plan should reflect the panel shape, the existing finish, and the clearcoat strategy.
Prepare the Existing Paint for a Seamless Transition
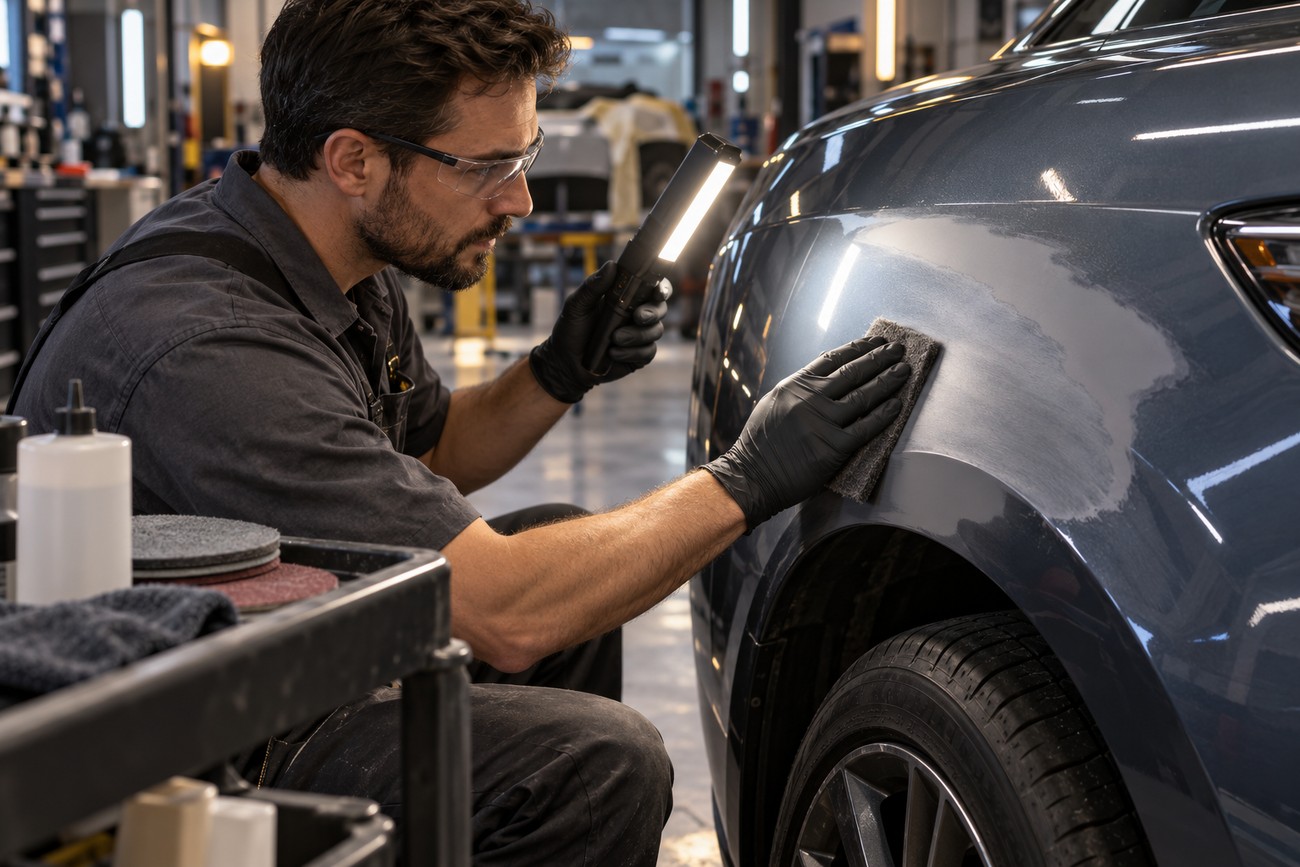
A spot repair still requires full preparation of the surrounding blend zone. Clean the area, remove surface contamination, uniformly abrade the intended transition, and decrease it again before applying material. The prepared surface must have consistent adhesion characteristics across the entire spray area.
Glossy or missed areas can compromise adhesion and expose a blend ring later. A small untouched strip may remain hidden during spraying, then become visible as a sharp halo after the clearcoat cures. Inspect the surface under suitable lighting and feel the transition with your hand before masking.
Abrasive selection is product-specific. Some systems specify P1000–P1200 with a soft interface for edges, corners, and difficult areas. Another professional method uses P800 followed by a gray abrasive pad. These instructions are not interchangeable rules; the technical data sheet for the basecoat, clearcoat, and preparation system determines the correct sequence.
Use a soft interface where the panel curves or where an abrasive could cut through an edge. Keep the preparation even around handles, moldings, gaps, and other difficult areas. After sanding, remove residue carefully and perform the required final degreasing without recontaminating the surface with cloth fibers, silicone, or skin oils.
Soft-edge tape or soft masking helps prevent a hard clearcoat ridge at openings and panel edges. Hard tape can create a raised line that remains visible after polishing. Masking should protect adjacent surfaces while leaving enough room for a controlled fade, since an overly tight mask forces the transition into a short, visible distance.
Spray the Basecoat Without Creating a Metallic Halo
Keep the first basecoat layer close to the repair. Apply later layers with a gradual expansion into the prepared blend zone, allowing each coat to reach the coverage required by the product system. The outer edge should remain thin and controlled, with no sudden wet band that can dry into a visible boundary.
Metallic and pearl colors need particular attention because particle orientation changes with application conditions. Some systems use a wet bed made from transparent base or a compatible additive. Applied as specified, this wet bed can reduce striping and help aluminum particles orient more evenly than they might on a dry, sanded surface.
Some systems also call for reduced pressure and a final drop coat to improve metallic or pearl orientation. One system gives 15–30 psi as an example range for metallic application, but that range is not universal. Gun type, nozzle, reducer, paint system, and the product technical data sheet control the setting.
Test the drop coat and blend direction on the spray-out card before touching the vehicle. A small change in pressure or overlap can move metallic particles enough to create a halo that becomes obvious only after the panel is assembled and viewed in sunlight.
Keep the gun distance, travel speed, overlap, and direction consistent with the approved test. Dry edges, excessive overlap, or an abrupt change in spray angle can make the blend look acceptable in the booth and different outside it. Allow the product-specific flash time between coats so the next application does not disturb the previous layer.
Fade the Clearcoat, Then Cure and Polish the Edge
The clearcoat should normally extend beyond the basecoat edge. This prevents both materials from ending in the same location and reduces the chance of a visible color-and-gloss boundary. Depending on the panel and product system, the clear may cover the full panel for a more predictable finish.
A compatible blending or fade-out solvent is used to melt and thin the edge of fresh clearcoat. It works on a correctly applied, compatible clear edge with suitable film build. It cannot repair poor adhesion, contamination, incompatible materials, or an edge that was sprayed too thickly.
Flash time must come from the specific product instructions and the actual shop conditions. One product may specify 6–8 minutes between coats, while another may specify 10–20 minutes before clear. These values cannot be transferred between systems; temperature, humidity, airflow, reducer choice, and film thickness also affect readiness.
Allow the coating to cool or cure according to the system before polishing the blended clear edge. Early polishing can soften or move the film and may leave a gloss difference that returns later. Polishing can refine a correctly prepared clearcoat edge, while the final result still depends on adhesion, film build, and a properly controlled spray process.
Why Blends Fail: Common Errors, Hidden Defects, and False Fixes
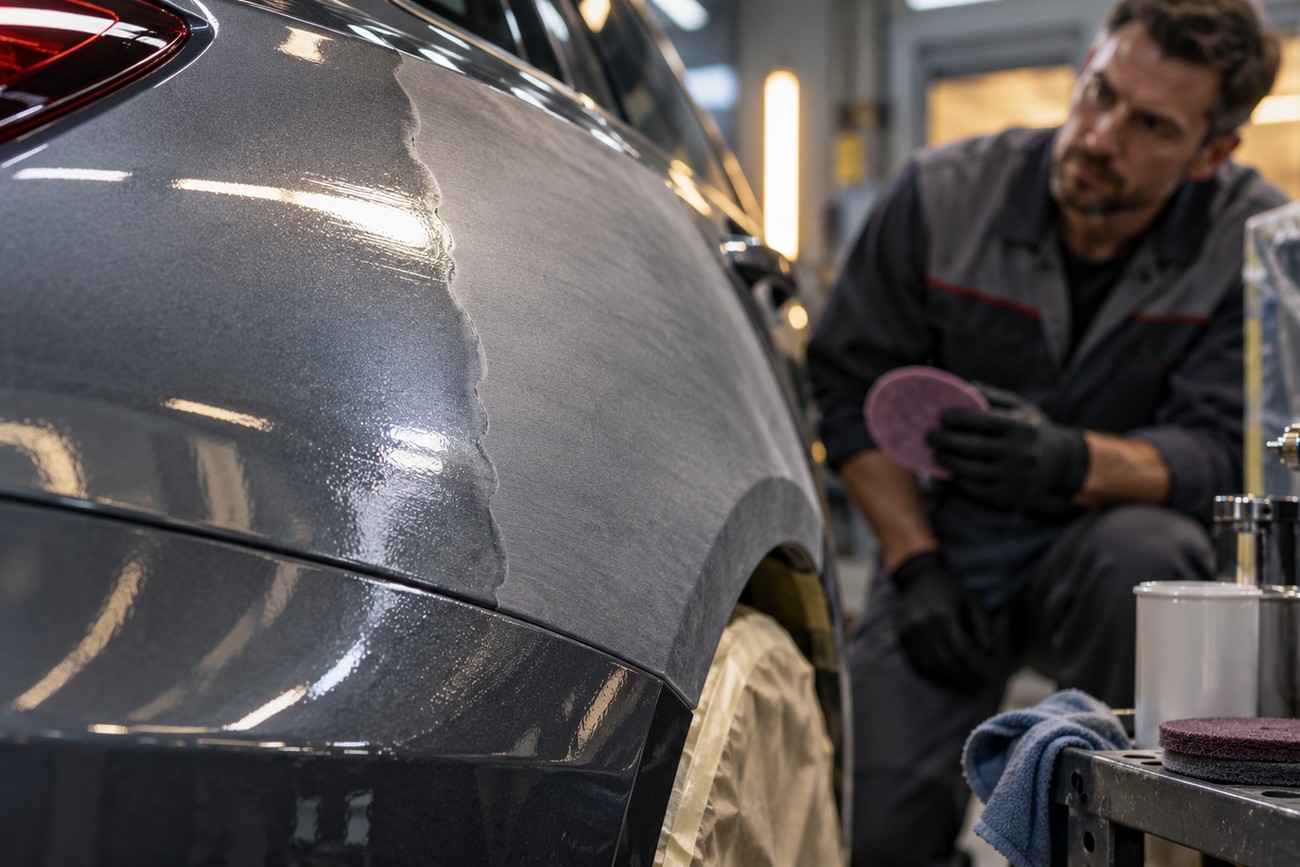
Painting over glossy clear or leaving incompletely scuffed areas is a common cause of edge problems. The repair may appear sound immediately after spraying, then reveal a ring or adhesion weakness as the coating settles. Uniform preparation across the full blend zone is more important than making the visible repair area as small as possible.
There is no universal abrasive sequence, pressure setting, or flash time. Using one preferred method for every product can leave the surface too coarse, too smooth, too wet, or insufficiently flashed. Follow the technical data sheet for the actual paint and clearcoat, and treat published examples as system-specific instructions.
Metallics sprayed dry without the required wet bed, reduced pressure, or drop coat can show striping and a halo. Extra coats rarely solve that defect. They can change coverage and particle orientation while leaving the underlying shade or application pattern wrong.
Another frequent error is ending the clearcoat where the basecoat ends. The resulting edge may look acceptable in a booth, then appear as an obvious gloss line after assembly. A fade-out solvent cannot make an incorrectly positioned or excessively thick clear edge disappear.
Inspect the finished vehicle under diffuse light, direct sunlight, and changing viewing angles. Metallic and pearl reflections shift more strongly than solid colors, and a booth view may hide a tonal difference that appears beside the assembled trim or adjacent panel. Polishing can improve the surface edge, yet it cannot correct a wrong color, incorrect particle orientation, or insufficient coating thickness.
Frequently asked questions
How long does it take new paint to blend with old paint?
There is no universal blending time. The schedule includes surface preparation, color testing, basecoat application, product-specific flash periods, clearcoat application, curing, and final polishing. A repair that receives clearcoat across the full panel follows a different workflow from one with a controlled clear edge.
The TDS and shop conditions control the spray schedule. Temperature, humidity, airflow, film thickness, and the selected reducer or hardener affect flash and cure. The vehicle should be polished only when the coating has cooled or cured as required by the system.
How do you know whether a paint blend is truly invisible?
Inspect the assembled vehicle from several angles and distances under diffuse light and direct sunlight. Move along the panel so metallic or pearl reflections change, and compare the repair with the adjacent panel rather than viewing only the sprayed area.
Check the result after masking is removed and trim is refitted. A blend that looks acceptable in one booth position can reveal a tone shift, particle halo, or clearcoat edge when the vehicle is outside. Final evaluation should include the lighting conditions in which the vehicle will normally be seen.
How can I blend new paint with existing paint?
Confirm the color on a spray-out card, plan the blend toward a natural body feature, and prepare the surrounding area by cleaning, uniformly abrading, and degreasing it again. Apply the first basecoat layer near the repair, expand subsequent layers gradually, and use any wet bed, pressure reduction, or drop coat required by the product system.
Extend the clearcoat beyond the basecoat edge, then use a compatible fade-out solvent only as directed for a correctly applied clear edge. Allow the coating to cure before polishing and inspect the completed vehicle under several lights and viewing angles. An unstable or oxidized old finish should be repaired or refinished before attempting a cosmetic blend.







