
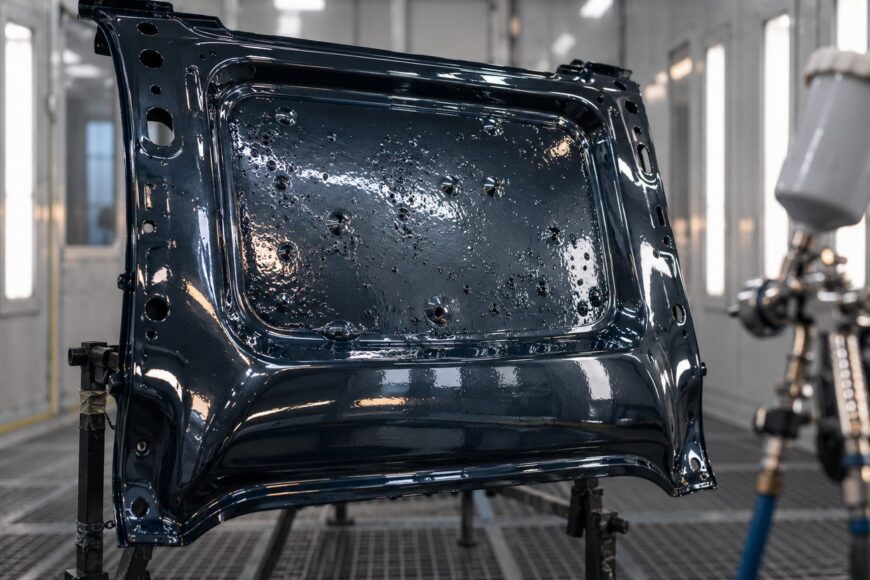
A thick coat can look dry and still develop bubbles, pinholes, or craters after overnight curing or baking. The defect appears late because the surface has formed a film while residual solvent is still moving out of the layer beneath it. Once escaping solvent meets a sealed surface, pressure can open small voids or leave a porous, cratered finish.
The key conflict is between fast surface drying and slow solvent release through the coating. Solvent-pop control therefore depends on film build, solvent volatility, flash time, airflow, and heat. Simply choosing a faster thinner or raising the oven temperature can make the surface appear ready while leaving more solvent trapped below it.
- What Solvent Pop Is—and Why Thick Coats Trap Solvent
- How Film Thickness, Solvent Choice, and Heat Interact
- Application Mistakes That Create Solvent Pop
- Choosing a Solvent Blend and Building the Film Safely
- Drying and Curing Thick Coats Without Sealing Them In
- Diagnosing, Repairing, and Preventing a Repeat Failure
- Frequently asked questions
- How do you get rid of solvent pop in a clear coat?
- How can you tell solvent pop from pinholes or moisture blisters?
- How do you get rid of solvent pop in clear coat?
- How do you prevent solvent pop?
- What is a common cause of solvent pop?
What Solvent Pop Is—and Why Thick Coats Trap Solvent
Solvent pop is defined by bubbles, pinholes, or craters caused when residual volatile solvent escaping from a thick coating becomes trapped beneath a film-forming surface. The surface may look smooth during application, then lose its appearance as solvent pushes through the partially cured film. The defect is especially common where a heavy pass, a deep recess, or several wet layers have created a long escape path.
Evaporation follows two general stages. During the first 15–20 minutes, evaporation is intensive while the coating is still a liquid film. As the binder solidifies, release becomes slower and diffusion-controlled, with residual solvent moving through the coating matrix. This second stage matters most in thick films because the solvent must travel farther through a less mobile structure.
A coating that feels hard is therefore not proof that it is solvent-free. Residual solvent can continue diffusing out for hours to days after the surface appears dry. A part that passes a quick visual check may show porosity after overnight holding, heating, or sanding, especially where the applied build was greater than intended.
Late craters do not automatically prove solvent pop. Contamination, moisture, poor substrate preparation, or other incompatibilities can produce similar marks. Timing, location, film thickness, and the response of the defect during sanding must be considered before selecting a repair.
How Film Thickness, Solvent Choice, and Heat Interact
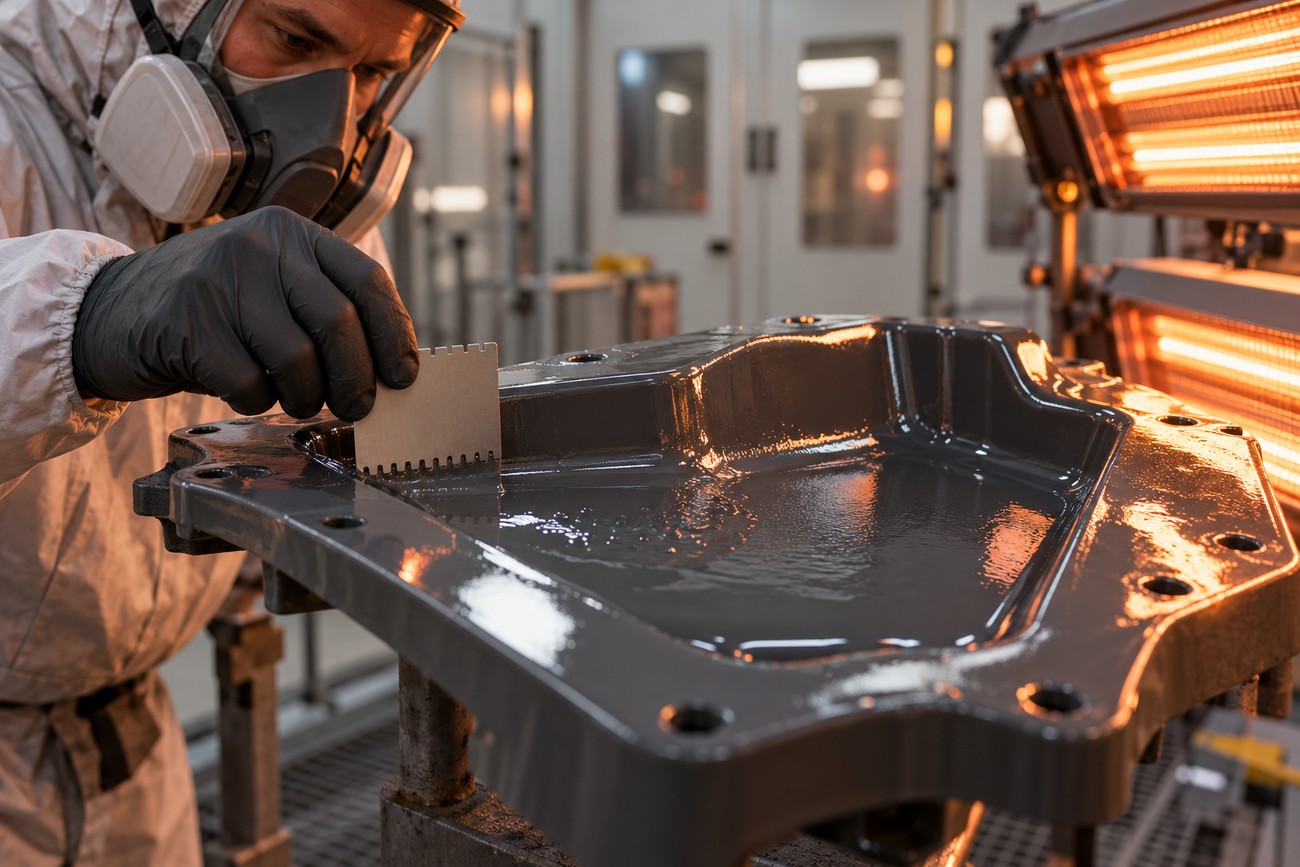
One heavy pass is harder to dry safely than several controlled passes because it contains more solvent and creates a longer diffusion distance. Increasing film thickness also increases concentration gradients and internal stress within the coating. The outer skin may become firm while the lower part remains mobile, leaving solvent with fewer routes to escape.
Very volatile solvent components can accelerate surface film formation and create a steep concentration gradient through a thick layer. That rapid surface sealing can trap solvent below the skin and promote bubbles, pores, or craters. Apparent drying speed is therefore a poor measure of defect risk when film build is high.
Slow or hydrophilic components create a different balance. They may improve flow and leveling, yet hydrophilic, slowly volatile solvents can increase water uptake and contribute to late moisture-related defects in thick protective films. Solvent selection has to account for the entire drying profile and the service environment.
A flat test panel rarely represents every production surface. Recesses, ribs, edges, horizontal pockets, and massive sections can collect extra material and dry differently from open areas. A panel can remain clean while a real part develops solvent pop in local thick spots, so process approval should include representative geometry and measured film build.
Application Mistakes That Create Solvent Pop
The most direct process error is applying one excessive pass instead of several controlled coats with adequate intercoat drying. Heavy wet application leaves a larger solvent load under the surface and gives heat or airflow more opportunity to skin the film before the deeper layer has released its solvent.
Over-thinning creates a similar problem. Adding more solvent than recommended increases the volatile fraction and the amount that must later diffuse out. If spraying feels difficult, adjust nozzle choice, pressure, transfer efficiency, and pass control before adding unmeasured thinner. Viscosity should be corrected in measured portions until the required value is reached.
Replacing a recommended slow or medium reducer with a faster, cheaper solvent changes the drying profile and can invalidate the original flash-time assumptions. The same spray settings may also deposit different wet builds in an open area and a cavity. Operators should inspect overlaps, corners, and low points rather than judging only the broad, flat surface.
Dry-film thickness and wet-film thickness are different measurements. A dry-film value can be misread as a wet-film target, leading to roughly 1.5–2 times the intended wet build. That mistake raises solvent-pop risk before the operator has changed the material or spray equipment.
Choosing a Solvent Blend and Building the Film Safely
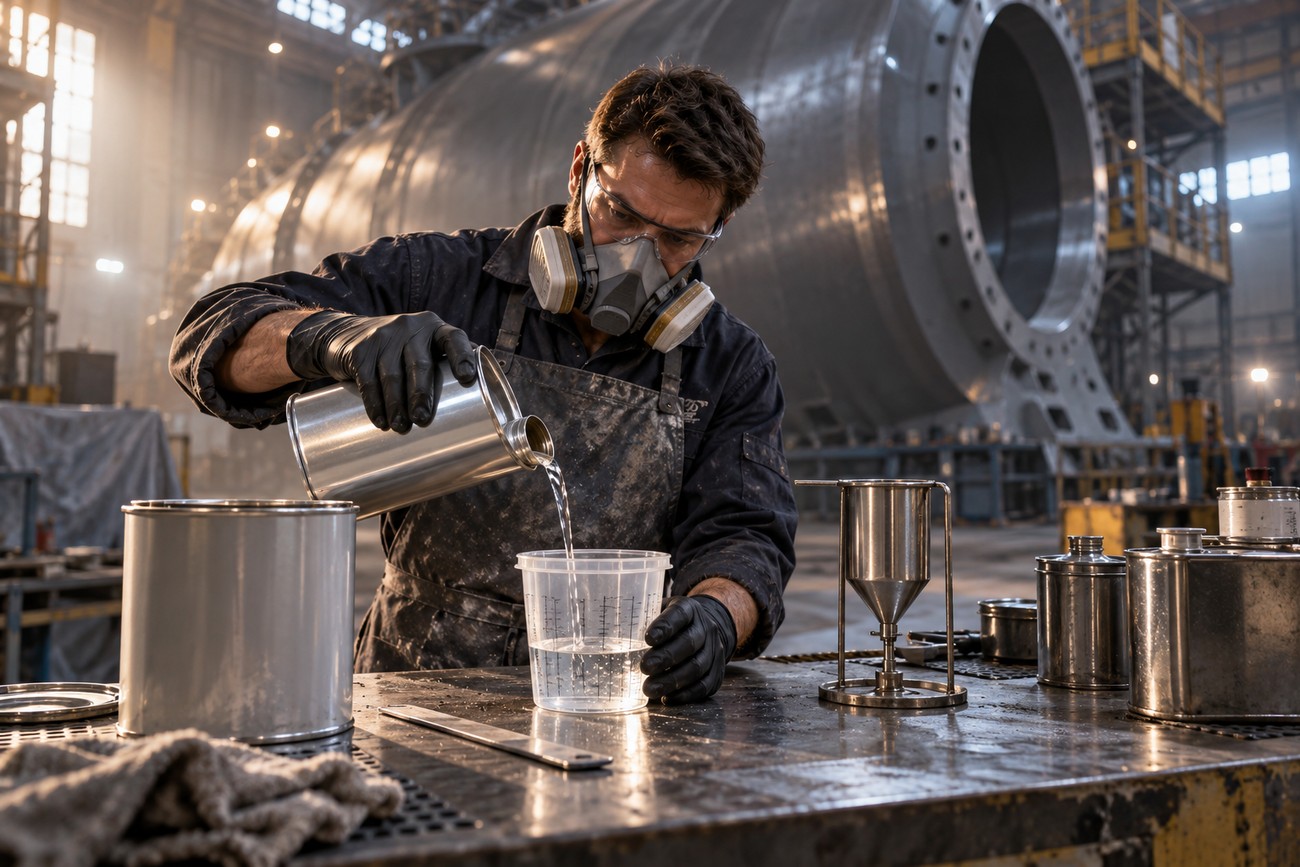
Start with the coating system and its technical data sheet, then treat the specified reducer as part of the formulation rather than a generic spray aid. For thick coatings or massive parts, a slow or balanced solvent blend is generally more suitable because it moderates surface drying and gives solvent more time to escape.
Add solvent in measured portions only until the required viscosity is reached. A blend with components of different boiling behavior can spread evaporation over time and reduce an abrupt concentration gradient, but only when its proportions are controlled. Changing the blend by feel can alter flow, surface sealing, and the required flash period at the same time.
Spray feel alone is an unreliable selection test. A very fast component may make atomization and initial dry feel appear better while increasing the chance of a sealed surface. A slower component may improve release yet require longer handling time and careful protection from dust, moisture, and sagging.
Regulatory restrictions also limit improvisation. The brief cites bans or restrictions on benzene, methanol, and chlorinated hydrocarbons, plus limits of 15% for toluene plus xylene in coatings and 25% in lacquers. Always verify the applicable product requirements and local rules instead of using a restricted solvent to force a faster process.
Drying and Curing Thick Coats Without Sealing Them In
Flash time must reflect actual film build, geometry, temperature, airflow, and solvent system. A nominal time on a technical data sheet may be suitable for a specified application range, while a heavy production part needs more time before the next coat or a heated cure. Thick multiplayer systems may require intercoat holds ranging from hours to a day.
The first 15–20 minutes are dominated by rapid evaporation, while later release is controlled by diffusion and can continue for hours to days. Aggressive heat during this later transition can harden the surface faster than the interior. The result may be a coating that reaches a dry-looking state while solvent remains trapped underneath.
Massive parts and recessed areas often need a lower-temperature conditioning period and a longer hold than thin, flat test panels before the final oven schedule is applied.
Where the coating system permits it, staged heating provides a safer sequence: begin with lower-temperature conditioning for solvent release, then increase the temperature gradually for final curing. Exact temperatures and hold times must come from the coating system and process validation. A validation panel should match the production build and include the slowest-drying geometry.
Air movement should support evaporation without cooling or heating the surface unevenly. If defects appear after the oven step, compare a controlled ambient hold with the heated cycle. That comparison can show whether the process is sealing the surface too soon, although it does not replace a full review of material compatibility and film thickness.
Diagnosing, Repairing, and Preventing a Repeat Failure
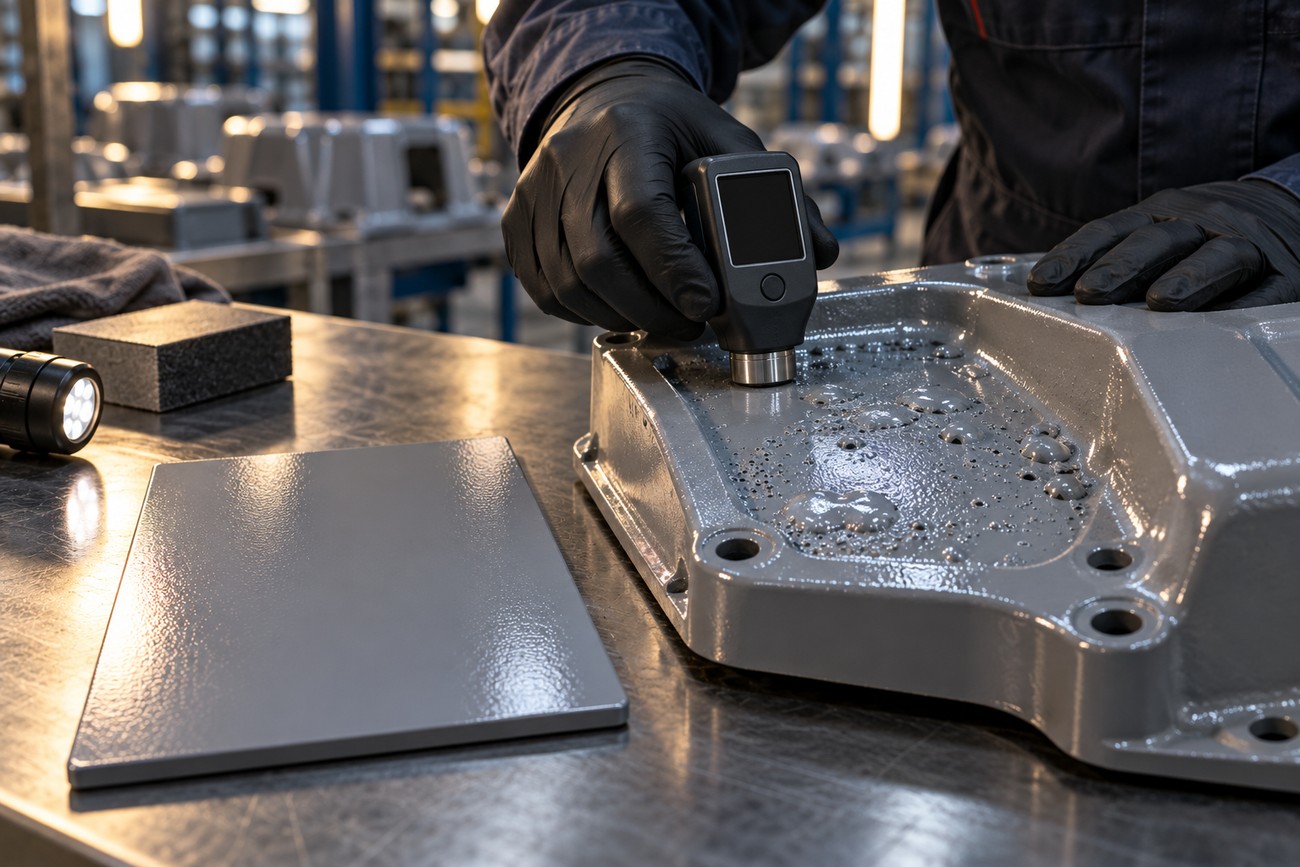
Begin with a record of where the defects occur and when they become visible. Compare flat areas with recesses, ribs, overlaps, and horizontal pockets. Measure actual wet or dry film build, review reducer additions and flash conditions, and note whether the marks appeared immediately, after overnight holding, or after baking.
Late appearance after overnight holding or baking is consistent with residual solvent continuing to diffuse through a seemingly dry coating. A clean test panel does not clear the production process when the part has different geometry or local build. Surface contamination can produce scattered craters, while solvent pop often follows heavy or enclosed areas, but visual inspection alone is not conclusive.
Repair normally starts by allowing the film to stabilize, then determining how deeply the defect extends. Shallow damage may be leveled or sanded only as far as necessary; deeper porosity may require removal to a sound layer. Recoat intervals should follow the coating system because recoating over mobile solvent or unstable film can reproduce the defect.
Before recoating, correct the cause: reduce the film build, restore the specified solvent balance, improve flash conditions, or modify the heating sequence. Switching to a faster solvent is not a reliable repair strategy. Record the material batch, reducer, application settings, geometry, and cure conditions so that a later change in solvent blend or process can be revalidated rather than mistaken for operator inconsistency.
Frequently asked questions
Solvent-pop diagnosis is a process investigation, not a choice between “more heat” and “faster thinner.” The answers below focus on repair decisions, defect identification, and validation of the corrected process.
How do you get rid of solvent pop in a clear coat?
Let the clear coat stabilize before sanding, then determine whether the defect is shallow or extends through the film. Level or sand only as far as needed to remove the affected surface. If pores remain in the film, more extensive removal may be required before recoating.
Correct the film build, solvent addition, flash conditions, and heating sequence before applying new clear. The correct recoat interval depends on the product system and the stabilized condition of the film, so a faster solvent or extra heat should not be used as a universal shortcut.
How can you tell solvent pop from pinholes or moisture blisters?
Compare timing, shape, location, and depth. Solvent pop commonly appears after a delay and is associated with thick, enclosed, or heavily overlapped areas; moisture-related blisters may follow substrate condition, contamination, or water exposure. Pinholes can be shallow application voids, while solvent-driven pores may continue through a thicker layer.
Sand a small controlled area and inspect how the mark responds. Also compare the substrate and the defect pattern across flat and recessed sections. These observations improve the diagnosis, but coating history, film measurements, and material records may still be needed for confirmation.
How do you get rid of solvent pop in clear coat?
Use the same repair logic as for other clear coats: allow the film to release residual solvent, remove only the defective depth, and recoat after correcting the process cause. A superficial crater may need localized leveling, while widespread porosity usually indicates that the affected layer cannot support a simple cosmetic recoat.
How do you prevent solvent pop?
Keep the film within the validated build, add solvent in measured portions, use the specified slow or balanced blend where appropriate, and allow enough intercoat and post-application hold time. Validate the schedule on representative geometry, including recesses and heavy sections, rather than relying only on a flat panel.
What is a common cause of solvent pop?
A common cause is a thick wet film whose surface dries or cures before residual solvent can diffuse out. The risk increases with excessive dilution, a very volatile solvent, insufficient flash time, local over-application, or heat applied before the film has released enough solvent.







