
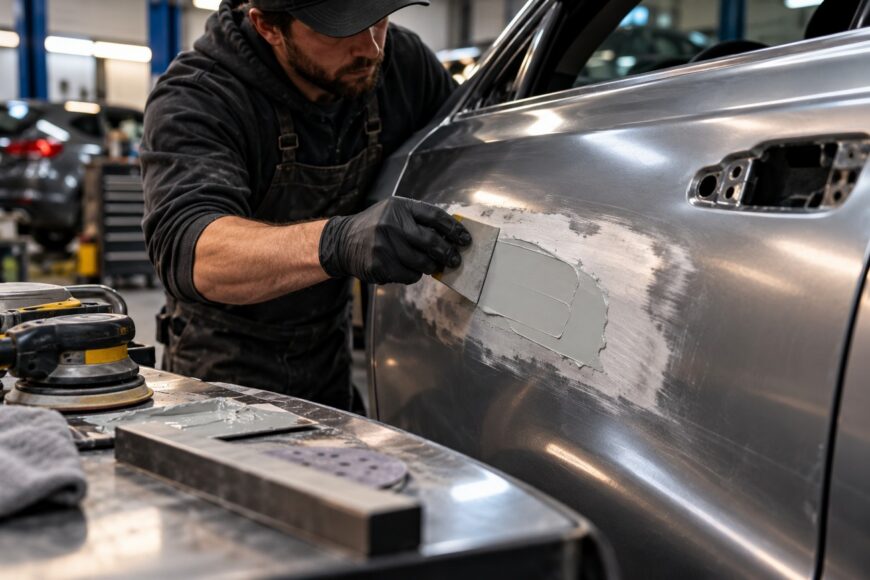
Body filler is a surface-shaping material. It corrects shallow dents, sanding marks, and small panel irregularities after the metal has been brought reasonably close to its final shape. It is not a substitute for straightening badly stretched steel, rebuilding a folded edge, or correcting a large distortion with a thick cosmetic layer.
Bubbles, cracking, rust, visible repair maps, and pores after painting usually trace back to preparation or process control. A durable repair depends on a stable substrate, correct mixing, limited thickness, full curing, and progressive sanding. Paint may hide a defect briefly, but it will not correct poor adhesion, trapped corrosion, or waves in the panel.
- What Body Filler Is For—and Where It Fails
- Prepare the Panel for Adhesion and Corrosion Control
- Mix and Apply Filler Without Building a Weak Layer
- Shape the Repair: Sanding for a True Plane
- Why Repairs Crack, Bubble, Shrink, or Show Through Paint
- Seal, Prime, and Check the Repair Before Paint
- Frequently Asked Questions
- What are the downsides of using body filler?
- How do you get a smooth finish with Bondo?
- How can you tell when body filler is ready to sand?
What Body Filler Is For—and Where It Fails
Polyester body filler works best after hammer-and-dolly work or other metal correction has restored the panel’s basic contour. It fills the remaining low areas and gives you material to shape into the surrounding plane. The finished repair should be thin enough to remain stable and supported by sound metal or a properly prepared coating.
Technical guidance cited from 3M limits the total filler zone to approximately 6 mm (1/4 in). Approximately 2 mm per pass is preferred, and one application should not exceed 5 mm. If the metal remains substantially low after preparation, adding more filler is the wrong correction. Excess thickness increases the risk of shrinkage, cracking, delamination, and a visible repair map after painting.
“High-build” and fast-drying labels do not cancel those limits. A product that spreads easily may still be unsuitable for a deep, broad repair, especially on a panel that flexes or experiences vibration and temperature changes. Filler also does not provide dependable corrosion protection by itself, so the primer system beneath and above it matters.
Prepare the Panel for Adhesion and Corrosion Control
Start by straightening the metal as far as practical. Remove rust, scale, grease, loose paint, and other contamination; then abrade and clean the area before mixing filler. Extend the prepared zone beyond the visible damage so the repair can taper into stable material. Stopping exactly at the edge of the dent often leaves a hard step or halo that becomes visible under paint.
Use the specified cleaner correctly and allow the surface to become suitable for the next coating. A shiny patch of old paint may look solid while its adhesion is already compromised. Filler applied over unstable paint inherits that weakness, and later movement can produce lifting, cracks, or a map around the repair.
Official 3M SOPs and training materials recommend epoxy primer on bare metal before filler for corrosion protection. Direct-to-metal application remains common in informal garage advice, but it is a disputed practice because filler is not a reliable anti-corrosion barrier. Follow the chosen product system and technical sheet; do not trap rust or moisture beneath the repair.
Mix and Apply Filler Without Building a Weak Layer
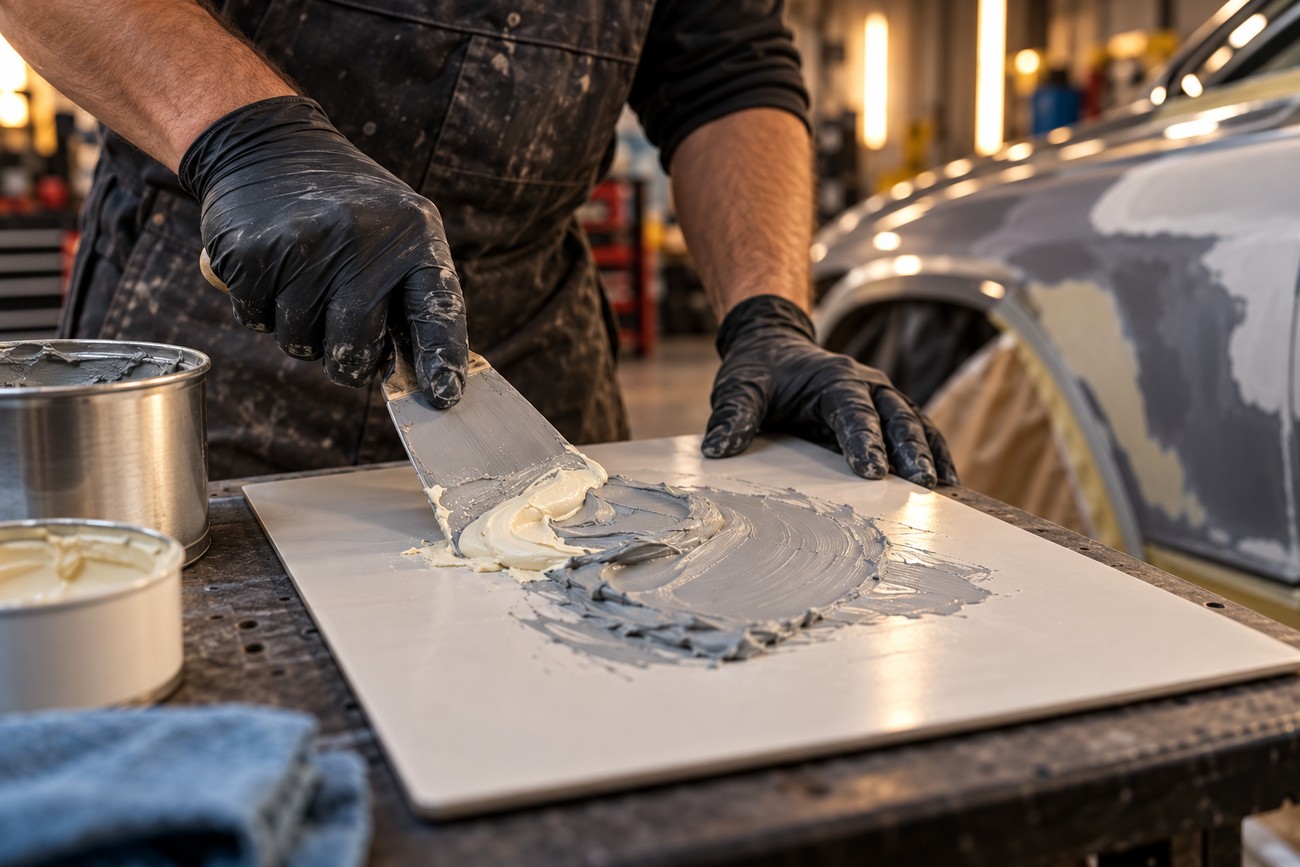
Measure the hardener according to the product instructions rather than judging the amount by eye. Mix completely until the color and texture are uniform, scraping the board as you work. Too little hardener, too much hardener, or unmixed streaks can leave areas that cure unevenly, gum the abrasive, or lose adhesion.
The usual working window after mixing filler and hardener is approximately 3–5 minutes before intensive setting makes the material difficult to spread. Apply a tight first coat by pressing the filler into the prepared surface, then build the shape with controlled passes. A first layer that merely floats over the panel can retain air pockets and make the repair weaker.
Stop trying to stretch the material when it begins to drag. A pressed-in tight coat followed by several thin passes gives better contact and control than forcing one mix across a large area after its working window has narrowed.
Tool angle affects how the material behaves. Approximately 45–70° is useful for working the first coat into the surface, while roughly 35–45° helps with leveling; these are technique guides, not universal laws. Keep the total repair approximately within 6 mm, with about 2 mm as the preferred thickness per pass.
Shape the Repair: Sanding for a True Plane
Apply filler slightly proud of the low area so sanding can bring it back to the surrounding plane. Use a suitable block and overlapping strokes rather than relying on your fingertips, which follow hollows and can create a rippled surface. Work beyond the center of the repair so the transition becomes gradual instead of ending in a sharp ring.
The usual progression is P80, then P120–P180, followed by P240 before primer and basecoat. P80 establishes the shape, the middle grades remove deep scratches and refine the contour, and P240 prepares the surface for the next coating. Skipping the intermediate stages leaves coarse scratches that primer may not hide and that can appear through the color or clearcoat.
A dry guide coat makes this inspection more reliable. Sand until the guide coat disappears from the intended areas; remaining dark marks identify low spots, waves, or scratches. If a low area persists, do not bury it under a heavy finishing layer. Correct the shape or use finishing filler only for the small defects it is designed to address.
Why Repairs Crack, Bubble, Shrink, or Show Through Paint
Bubbles months after painting often point to corrosion beneath the filler, poor cleaning, or omission of the recommended epoxy-primer system. Rust under a sealed-looking repair can continue to affect the panel, while trapped contamination reduces contact. Later rust under the filler is especially likely when the metal was not cleaned thoroughly before application.
Cracks, shrinkage, and a visible repair map are more likely when the filler is too thick, applied over unstable old paint, or used across a broad, flexible panel. Vibration and thermal cycling expose weak, brittle repairs. Less expensive products may be less tolerant of those conditions, particularly where a large area has been built up rather than properly corrected.
Clogged abrasive or filler tearing during sanding usually indicates incorrect mixing, incomplete curing, or sanding before the material has reached the condition specified by its technical sheet. Persistent pinholes and pores are normally handled with a separate finishing or glaze filler. Applying another heavy coat of standard filler often creates more shrinkage and makes the surface harder to control.
Seal, Prime, and Check the Repair Before Paint
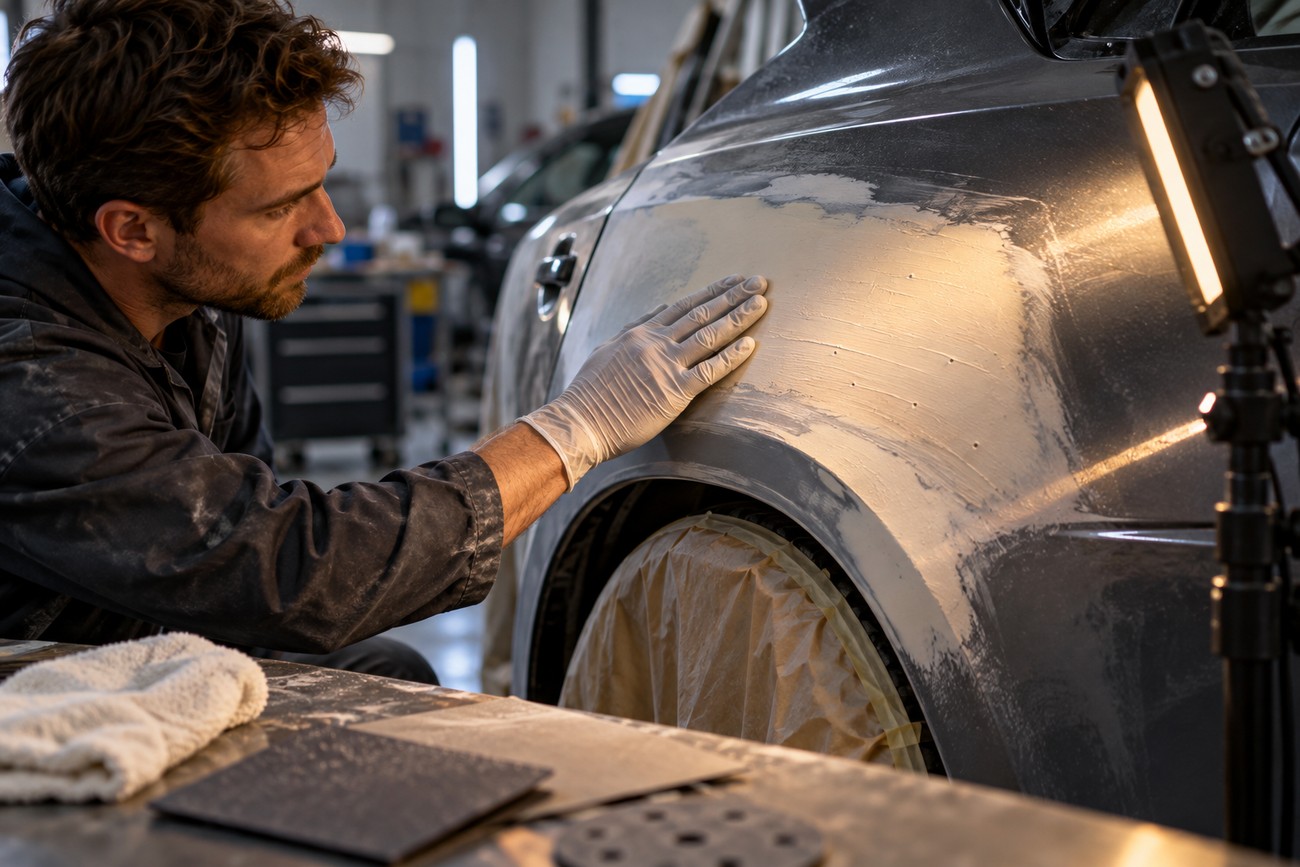
Before primer, inspect the contour under changing light and from several angles. Check that the edges are feathered, remove sanding dust, and run a clean hand over the transition after the surface looks smooth. Touch can reveal a shallow ridge that disappears visually in flat light, while side lighting exposes waves and remaining scratches.
Use finishing or glaze filler for small pores and micro-defects, then sand it as directed. P240 is the stated final filler-preparation grit before primer and basecoat. Primer is not permission to leave coarse scratches, soft edges, or low spots behind; those defects can telegraph through the coating system after it dries.
Quality procedures may require tight thickness control, strong adhesion, resistance to thermal cycles and loads, and a cross-cut adhesion result of at least 5B where that test is specified. These checks reinforce the practical rule: the repair must be stable before color is applied. If the surface changes after curing or the coating exposes a map, stop and correct the substrate rather than adding more paint.
Frequently Asked Questions
Body filler is useful when the remaining defect is shallow and the substrate is stable. These decision rules help identify when the material has reached its limits.
What are the downsides of using body filler?
The main downsides are shrinkage, cracking, delamination, corrosion beneath the repair, and visible distortion when the layer is too thick or spread across a flexible panel. Filler is a sensible finishing material after metal correction, especially for localized lows and minor surface irregularities.
A broad, vibration-prone, or heavily distorted panel needs more metal correction or another repair approach. If the repair would approach the approximately 6 mm total-thickness limit while the metal is still substantially out of shape, continuing with filler increases failure risk.
How do you get a smooth finish with Bondo?
Shape it with a block through P80, P120–P180, and P240, then inspect the panel under changing viewing angles and side lighting. Shallow waves often disappear when viewed straight on and become obvious when light travels across the surface.
After the surface appears smooth, confirm the transition by touch with a clean hand. Use finishing or glaze filler for isolated pores and micro-defects; do not use another heavy coat to disguise a broad low spot.
How can you tell when body filler is ready to sand?
The 3–5 minute working window describes spreading time after mixing, not guaranteed sanding readiness. Follow the product technical sheet and judge the actual cure condition, which depends on the material, temperature, mix, and layer thickness.
Reject the sanding stage if the abrasive gums, the filler tears, or the surface feels soft under the block. Those signs indicate that the material has not cured correctly or is being sanded too soon; continuing can damage the shape and weaken the repair.







