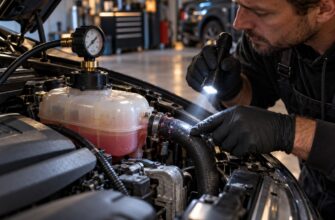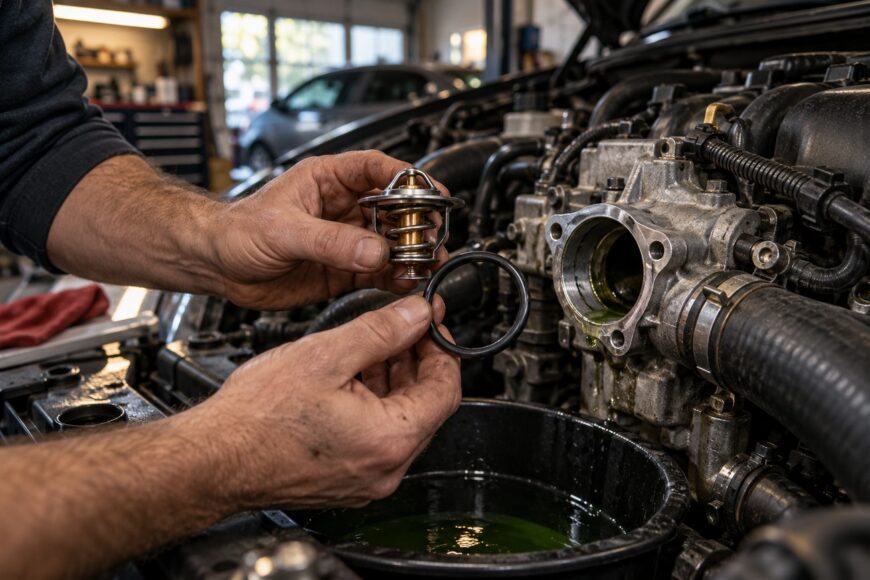
A suspected thermostat fault presents two choices: replace a part that may be stuck or check whether another cooling-system problem explains the symptoms. Rapid overheating can point to a thermostat stuck closed; a long warm-up can point to one stuck open. Neither pattern proves that the thermostat is faulty, so a few checks before ordering parts can prevent an unnecessary repair.
Replacement also involves more than bolting the housing back on. The cooling system must be refilled and, where required, bled of air. A leak or trapped air may become apparent only after the engine warms up or after a later drive, making follow-up checks part of the job.
- Signs a thermostat may need replacing
- Check the fault before ordering a part
- Match the replacement part and prepare the work area
- Replace the thermostat without damaging the housing
- Refill, bleed, and verify the repair
- When the new thermostat does not fix the problem
- Frequently asked questions
- What should I do if the engine overheats before I can replace the thermostat?
- What are the first signs of a bad thermostat?
- What do you need to replace a thermostat?
Signs a thermostat may need replacing
An engine thermostat is closed when cold. As the engine warms, it opens to allow coolant to flow through the radiator. Its opening rating and installation details depend on the engine, so temperature behavior is more useful as a clue than as a stand-alone test.
A thermostat stuck closed can prevent the expected radiator flow and cause rapid engine overheating. Continuing to drive an overheating engine risks damage to the head gasket and seals. Stop safely and shut the engine off rather than trying to complete a test drive.
A thermostat stuck open can cause a prolonged warm-up or keep the engine from reaching its normal operating temperature. Weak cabin heat may accompany that pattern, particularly in cool weather, but low coolant or another circulation problem can also affect heater output.
Fluctuating temperature readings deserve attention as well. They can occur when air is trapped in the cooling system or when another fault affects circulation or temperature measurement. Treat weak heat and changing readings as reasons to investigate, not proof that the thermostat needs replacing.
Check the fault before ordering a part
Start with the engine fully cold. Check the coolant level as the vehicle manual directs, and look for visible leaks around hoses, the radiator, the thermostat housing, and the coolant reservoir. Low coolant can change both engine temperature and cabin heat, so address an obvious loss before attributing the symptoms to the thermostat.
Next, observe how the temperature indication behaves during an ordinary warm-up. A rapid climb toward overheating and a prolonged failure to warm up suggest different thermostat failure modes, but neither is conclusive. If the engine begins to overheat, stop the check and shut it off; do not keep driving to gather more evidence.
One hose-temperature observation is especially easy to misread. Hose temperature depends on where you check it, how long the engine has run, and how coolant is circulating at that moment. Avoid touching moving components or hot hoses, and use the vehicle’s diagnostic procedure if it specifies a temperature check.
Consider other causes before committing to the repair, including coolant loss, trapped air, a circulation fault, or an inaccurate temperature reading. Any check that requires opening the cooling system must wait until the engine is cold. If the cause remains unclear, diagnosis is safer than replacing parts by trial and error.
Match the replacement part and prepare the work area
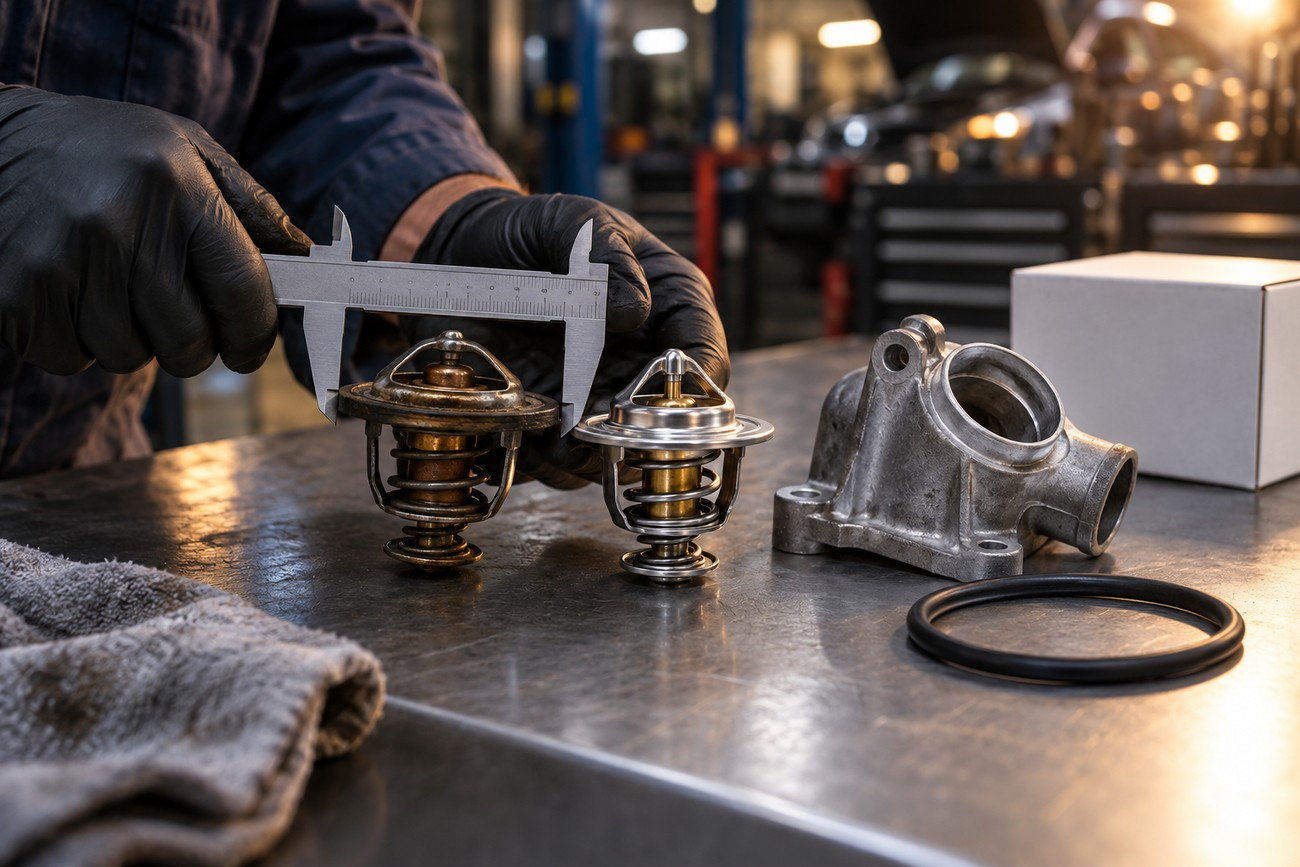
Identify the vehicle-specific thermostat using the service information and the appropriate catalog number. Compare its dimensions, fit, and opening rating with the specified part; similar appearance alone does not establish compatibility. An opening rating around 180°F (about 82°C) is common, but the required rating depends on the engine and thermostat.
Check what the repair actually includes. Some vehicles use a separate thermostat and housing, while others require an integrated assembly. Obtain the specified new gasket or O-ring, and confirm whether the replacement comes with it before disabling the vehicle.
Have the correct coolant, a drain pan, suitable hand tools, and the vehicle’s service procedure ready. That procedure should guide access, coolant handling, thermostat orientation, housing tightening, and air bleeding. Keep drained coolant contained and dispose of any waste according to local requirements; coolant is hazardous to people and animals.
Inspect access before starting. On some engines, nearby components must be moved to reach the housing, which can make the labor substantially harder than the price of the thermostat suggests. If access prevents careful removal or accurate tightening, plan for professional help rather than forcing a fragile connection.
Replace the thermostat without damaging the housing
Let the engine cool completely before opening the system. Never open or dismantle a hot, pressurized cooling system: escaping coolant can cause burns. Once cold, follow the vehicle procedure for safely removing the cap and preparing to drain coolant.
Place a drain pan beneath the appropriate drain point and lower the coolant level below the thermostat housing, as the vehicle-specific procedure requires. A complete drain is not always necessary. Gain access as directed, then disconnect the relevant hose and remove the housing carefully, keeping track of the original thermostat’s position.
An overlooked fragment of old gasket or debris on a mating surface can hold the new seal open even when the housing bolts are tightened evenly. Inspect the surface before installing the replacement rather than trying to cure a leak with extra bolt force.
Remove the old seal and clean the mating surfaces without gouging them or allowing debris into the cooling passage. Check the housing for cracks or distortion. Confirm the new thermostat’s required orientation and the position of any bleed hole against the service procedure before seating it.
Fit a new specified gasket or O-ring, then reinstall the housing squarely. Tighten its fasteners evenly to the vehicle specification; overtightening can crack or distort a housing, particularly a fragile aluminum one. Use sealant only if the vehicle procedure calls for it, and reconnect anything moved for access before refilling.
Refill, bleed, and verify the repair
Refill with coolant that meets the vehicle’s specification, following its instructions for the correct mixture and fill points. Use the vehicle-specific air-bleeding procedure rather than assuming that filling the reservoir removes every air pocket. Trapped air can cause temperature fluctuations or weak cabin heat after replacement.
During warm-up, watch the engine temperature and check that the cabin heater produces the expected heat. Inspect the thermostat housing and disturbed hose connections for leaks while keeping clear of hot and moving parts. Shut the engine off if it overheats; further running is not a safe way to bleed a persistent problem.
After the engine has cooled, recheck the coolant level and top up as the vehicle instructions require. Inspect the housing again after subsequent use, since a reused seal or uneven tightening can produce a leak that was not visible immediately. A dry housing at the first start is only one part of a successful check.
When the new thermostat does not fix the problem
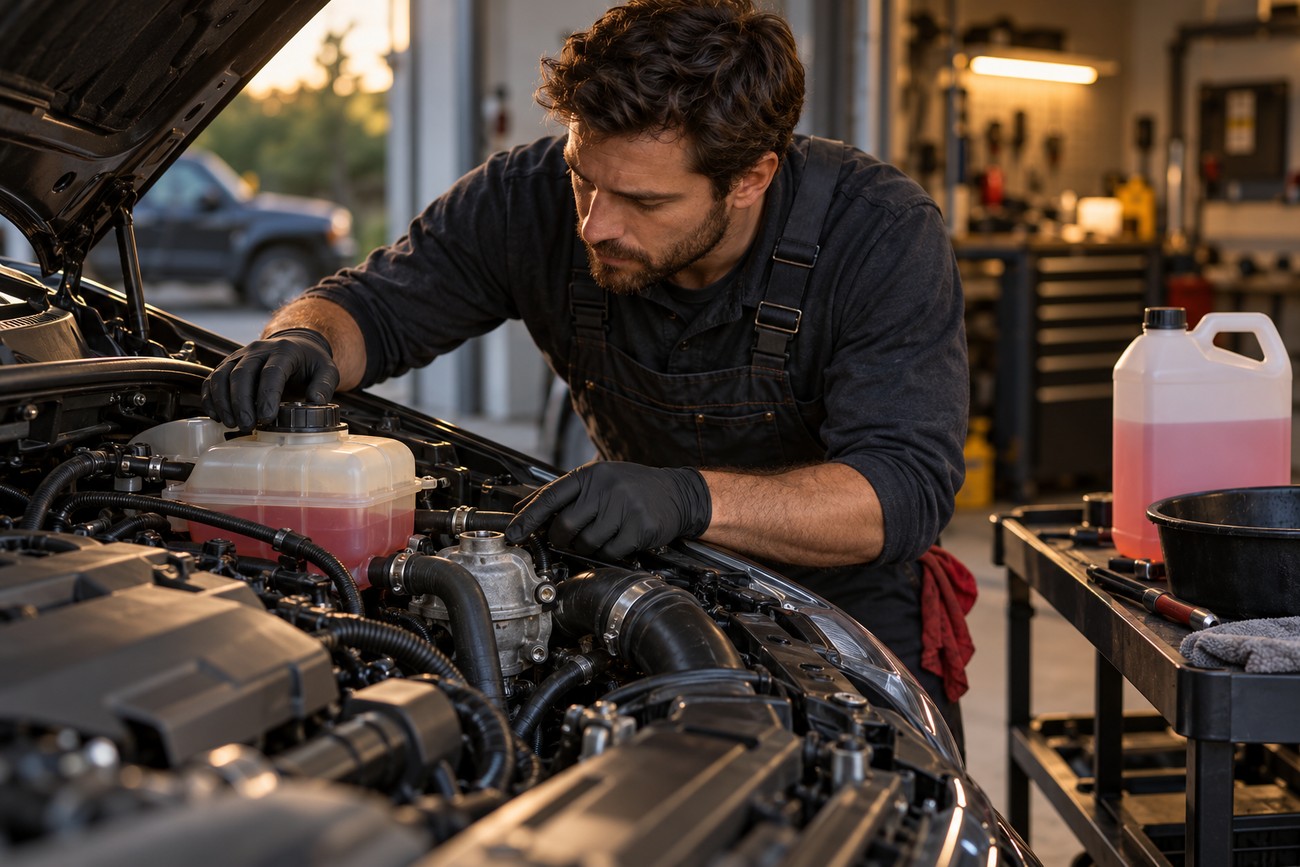
If warm-up remains slow, confirm that the replacement has the vehicle-specific opening rating and was installed in the required orientation. Similar-looking parts may have different ratings. If both are correct, revisit the diagnosis rather than assuming a second new thermostat will help.
Renewed overheating calls for an immediate stop and a cold-engine inspection. Check the coolant level and whether the specified bleeding procedure was completed; trapped air can disrupt circulation and produce fluctuating readings. Persistent overheating may have another cause and warrants professional diagnosis before more driving.
A leak that appears days later may come from a seal that did not seat properly, a reused gasket or O-ring, uneven housing tightening, or housing damage. Inspect the area only after it cools, and follow the service procedure for any disassembly. Difficult access or a cracked housing makes professional repair the safer choice.
Frequently asked questions
These answers cover the immediate decisions that arise before and during a thermostat repair. Vehicle-specific service information remains the authority for parts, coolant, and procedures.
What should I do if the engine overheats before I can replace the thermostat?
Pull over safely and shut the engine off. Allow it to cool fully, and do not open the cap or dismantle a hot, pressurized cooling system. Do not keep driving an overheating vehicle; if you cannot establish that it is safe to move after a cold-engine check, arrange assistance or transport for repair.
What are the first signs of a bad thermostat?
A rapid rise toward overheating or an unusually long warm-up may be the first noticeable sign, depending on how the thermostat fails. Weak cabin heat can accompany slow warm-up, while fluctuating readings can suggest air or another cooling-system issue. Note the pattern and check for coolant loss before treating any one symptom as a diagnosis.
What do you need to replace a thermostat?
You need the vehicle-specific replacement part, its specified new gasket or O-ring, compatible coolant, a drain pan, suitable hand tools, and the service procedure. Check access before starting, including whether the thermostat is part of an integrated housing and whether moved components require additional work to remove and reinstall. The procedure also supplies the tightening and bleeding instructions that a general parts list cannot.