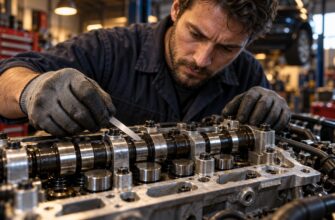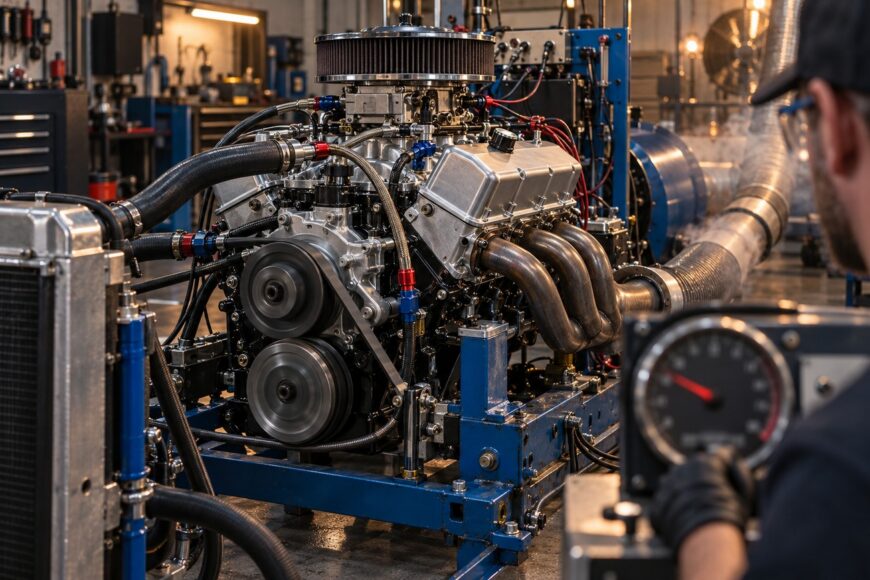
A rebuilt engine needs a deliberate break-in because new rings, cylinder surfaces, bearings, and valve-train parts must establish working contact. The two common extremes both create trouble: driving for 1,000–1,500 km at barely any load can prevent proper ring seating, while immediate full-throttle use can overheat parts before clearances and surfaces stabilize.
Break-in completes the mating of correctly machined components and helps reveal leaks, unstable oil pressure, cooling faults, and abnormal wear. It cannot repair poor honing, incorrect clearances, defective rings, or an assembly error. A sound procedure therefore combines controlled heat cycles, changing engine load and speed, close monitoring, early fluid service, and written instructions from the rebuilder.
- What Break-In Can—and Cannot—Fix
- Before the First Start: Verify the Rebuild
- The First 20–30 Minutes: Controlled Heat Cycles
- The First 800–1600 km: Load, RPM, and Engine Braking
- Oil, Filters, Temperature, and Break-In Records
- When Break-In Problems Are Not Your Fault
- Frequently asked questions
- How should a two-stroke engine be broken in after a rebuild?
- How long does it take to break in a new rebuilt engine?
- What is the proper break-in procedure for a rebuilt engine?
- How long should you run in a rebuilt engine?
- How do you run in a two-stroke engine after a rebuild?
What Break-In Can—and Cannot—Fix
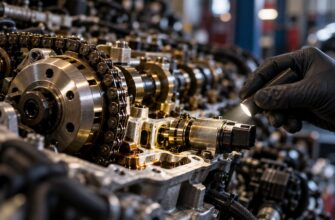
During the critical initial break-in period of 800–1600 km (500–1000 miles), piston rings conform to the honed cylinder surface. Bearing surfaces, cam lobes, followers, and other correctly prepared components also establish their intended operating pattern. Heat cycles help the assembly stabilize as parts expand, contract, and establish their normal clearances.
This process is why constant gentle cruising is a poor substitute for a real break-in. Rings need changing pressure against the cylinder wall, including controlled loaded acceleration and engine braking. Very low load for the entire distance can leave the rings insufficiently seated and contribute to cylinder glazing, which may show up later as oil consumption and weak compression.
Mileage cannot correct a cylinder that was honed incorrectly, a piston installed with the wrong clearance, a defective ring set, or a bearing assembled outside specification. Break-in refines correctly machined and assembled surfaces; it does not compensate for inaccurate clearances or poor cylinder honing. A rebuilt engine should already have the basic mechanical conditions needed to survive its first running period.
Some initial mechanical harshness, a changing idle, or a slight smell from assembly fluids may warrant observation during the first checks. Persistent heavy oil consumption, detonation, falling oil pressure, overheating, or a new knock requires inspection. Those symptoms should not automatically be blamed on the owner’s driving or dismissed as a normal part of break-in.
Before the First Start: Verify the Rebuild
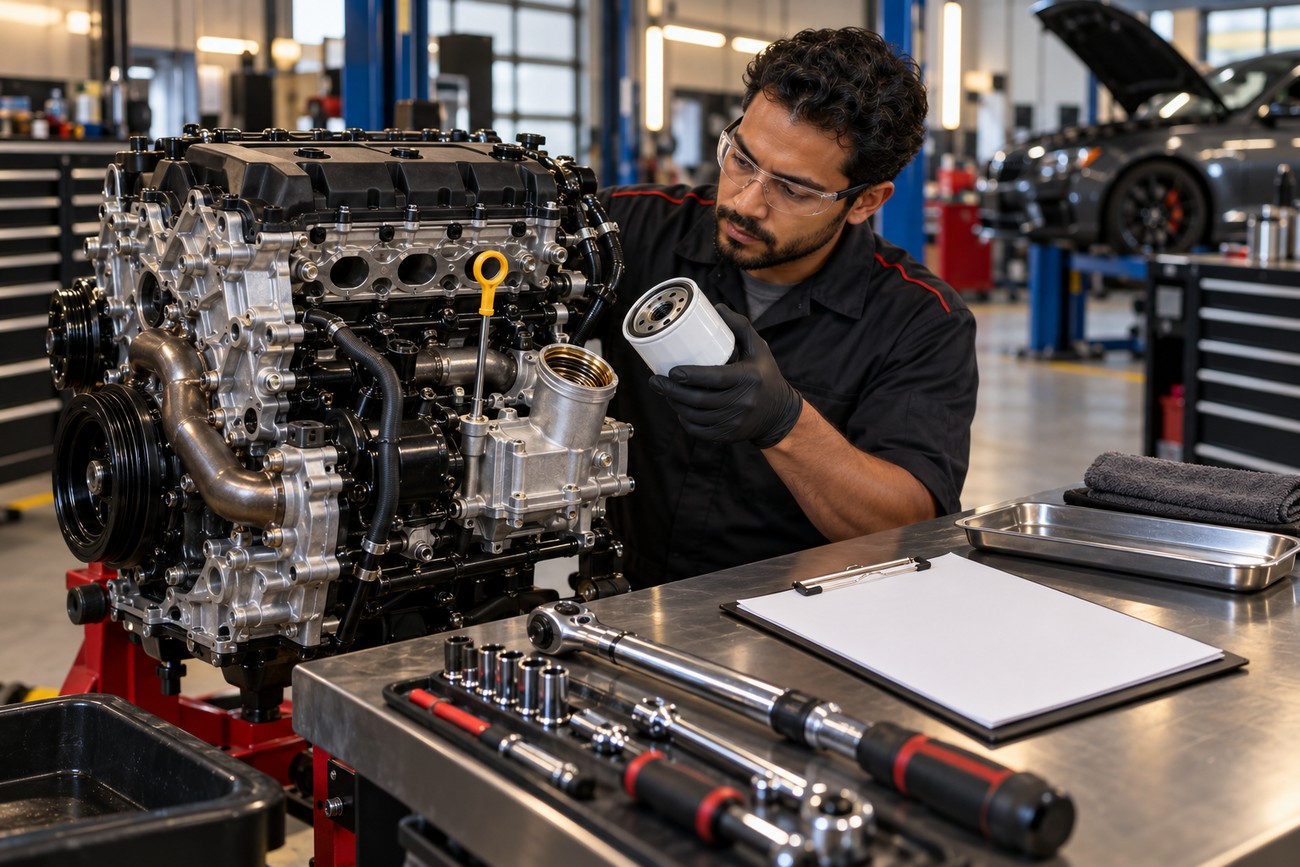
Obtain the rebuilder’s break-in procedure and warranty conditions in writing before starting the engine. The document should state the initial oil specification, first service mileage, permitted load, temperature limits, and any special requirements for the camshaft, turbocharger, fuel system, or transmission. Many rebuild warranties are tied to a specific protocol that may otherwise be given only verbally.
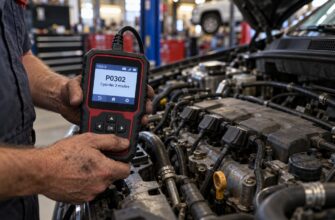
Confirm that the lubrication system has been primed according to the engine design, that the crankcase contains the specified oil, and that the filter is correctly installed. Check for stable oil pressure as soon as the engine starts. A gauge or verified pressure-reading system is more useful than assuming that an oil warning lamp alone will identify a developing problem.
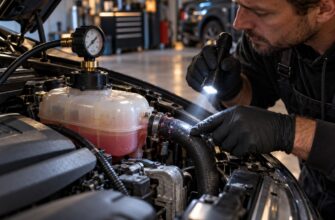
Inspect the cooling system before the first heat cycle. The radiator, water pump, thermostat, hoses, fan control, heater circuit, and coolant level all matter because a trapped air pocket can cause local overheating while the dashboard temperature still appears acceptable. Also verify ignition or injection timing, belt or chain setup, fuel connections, vacuum lines, and accessible fasteners.
Stop the run if oil pressure is absent or unstable, coolant temperature rises abnormally, a fluid leak appears, or the engine develops a deep knock or sharp mechanical noise. Continuing in the hope that the fault will disappear can turn a correctable installation problem into major damage. Record the condition with photographs and written notes before asking the rebuilder to inspect it.
The First 20–30 Minutes: Controlled Heat Cycles
The first start is a separate phase from road break-in. A commonly used initial operating range is 1500–2500 rpm for the first 20–30 minutes, with the exact routine set by the rebuilder and the engine design. This speed range supplies oil flow and controlled valve-train movement while avoiding hours of stationary idling.
Bring the engine through the prescribed range without holding one speed indefinitely. Watch oil pressure, coolant temperature, leaks, exhaust behavior, and unusual sounds continuously. Long stationary idling is not an acceptable substitute for a controlled initial run because it provides little ring-seating load and may produce poor cooling airflow.
Depending on the assembly instructions, allow the engine to cool between controlled checks and recheck the oil and coolant levels. Look for seepage around the filter, drain plug, head, covers, water connections, and oil cooler. A small level change can matter during this stage, particularly if the cooling system is still releasing trapped air.
Flat-tappet camshafts need special treatment. They may require assembly paste and a separate elevated-rpm cam break-in procedure, with the required duration and speed specified by the camshaft or rebuilder instructions. Do not apply a generic ring-seating routine to a flat-tappet cam because the valve-train procedure can be the immediate priority.
The First 800–1600 km: Load, RPM, and Engine Braking

Once the initial checks are satisfactory, use the first 800–1600 km (500–1000 miles) to vary engine speed and load. Moderate-to-firm loading is useful for ring seating, while sustained maximum demand is inappropriate. Use changing road speeds, avoid long periods at one rpm, and allow the engine to work without forcing it into a high-load, low-speed condition.
On a suitable road, apply a brief, controlled acceleration through part of the operating range, then close the throttle and let the engine brake the vehicle. Repeat the cycle only when traffic, road surface, and temperature allow. Loaded acceleration pushes the rings against the honed surface; closed-throttle engine braking creates a different pressure condition that helps the rings contact the cylinder wall.
Avoid immediate full-throttle acceleration, sustained high rpm, heavy towing, racing, and any overheating event. Turbocharged engines need some load for ring seating, yet should avoid full boost, sustained maximum load, and prolonged high exhaust temperature during this period. Use moderate throttle and watch for boost or temperature behavior that differs from the written specification.
Diesel engines require particular care at low rpm. Their high torque can overload the crankshaft, bearings, and unseated rings even when vehicle speed seems modest. Select a lower gear when necessary and avoid demanding strong acceleration from a high gear at low engine speed.
Oil, Filters, Temperature, and Break-In Records
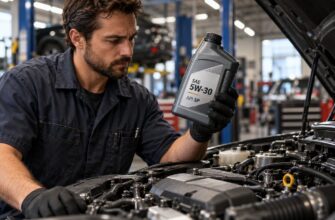
Oil choice should follow the rebuilder’s written, engine-specific specification. Many rebuilders prefer mineral or semi-synthetic oil with a moderate additive package during initial ring seating. Some modern manufacturers allow synthetic oil from the start, while many rebuilders prefer less heavily friction-modified initial oil, so neither position should be treated as universal.
Early oil changes remove the abrasive material produced as rings and other surfaces settle. Common practical examples are 50–100 km, 500 km, and 1500–2000 km, with the rebuilder’s written schedule taking priority. Replace the filter at the specified intervals, and inspect the old filter or drained oil for metallic debris rather than judging the service only by its color.
Use a fully serviceable cooling system and monitor coolant temperature throughout the run-in. Avoid prolonged operation above approximately 80–85% of normal operating temperature, and stop if the temperature rises unexpectedly. Check oil and coolant levels at every early inspection because a leak or consumption problem is easier to correct before the engine has accumulated substantial mileage.
Keep a simple record of mileage, oil and filter changes, oil pressure, coolant temperature, fluid levels, sounds, smoke, and warning lights. This supports the warranty discussion and gives the rebuilder useful evidence. A verbal instruction such as “take it easy” cannot establish whether the required oil, temperature, load, and service conditions were actually followed.
When Break-In Problems Are Not Your Fault
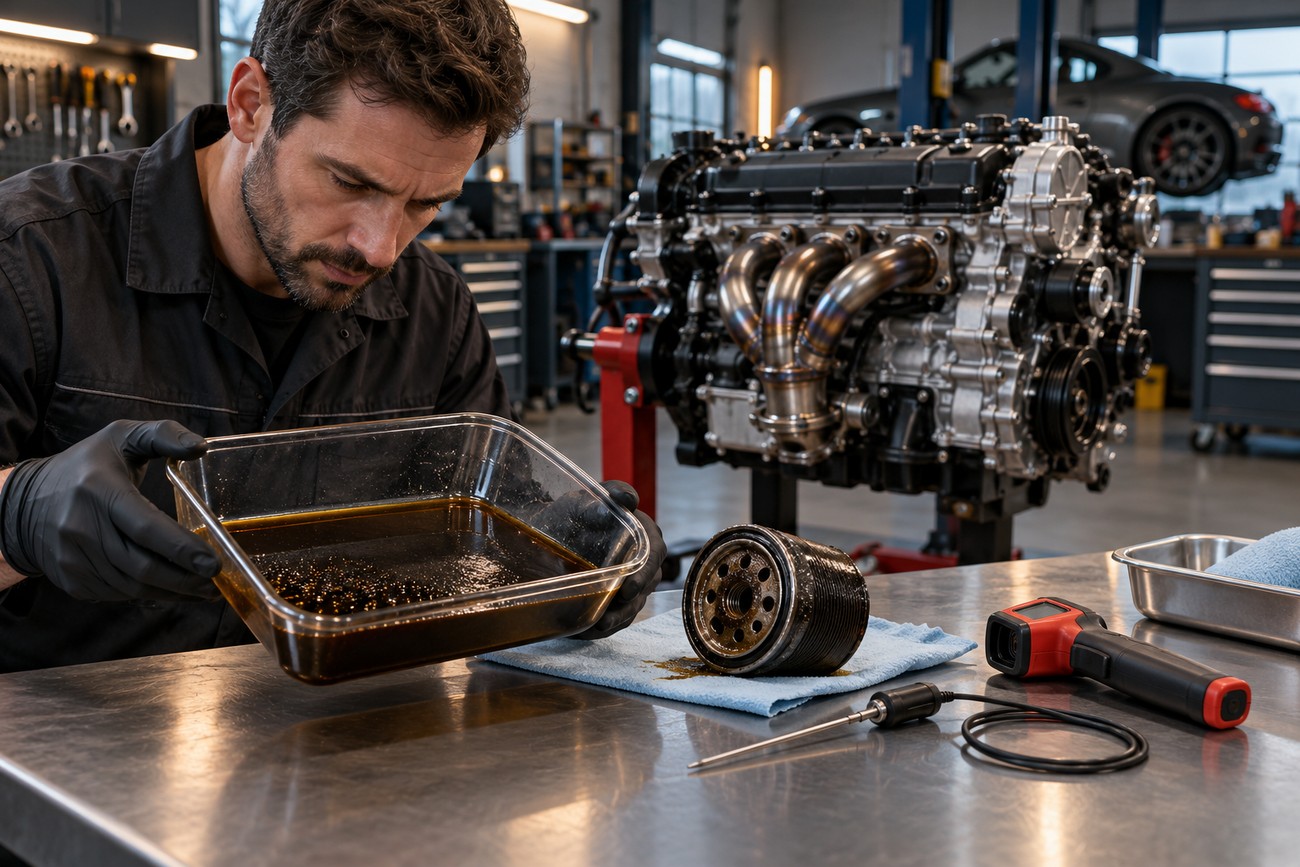
The advice to drive gently for the entire first 1000–1500 km can create its own failure mode. Cruising at 1000–1500 rpm with almost no load may leave the rings poorly seated and contribute to glazing. The opposite mistake is equally serious: high rpm, full throttle, towing, or repeated overheating before the first controlled heat cycles can damage parts that have not stabilized.
Delayed oil changes create another avoidable risk. The first 3–5 oil changes are often performed earlier than normal service intervals to remove break-in debris, and an instruction to leave inexpensive oil in the engine for thousands of kilometers deserves clarification. Excessive friction modifiers or molybdenum additives may also conflict with a ring-seating specification.
Cooling-system checks cannot be postponed until the normal service interval. A low coolant level, trapped air, failed fan, or incorrect thermostat can produce a local hot spot and distort components before their surfaces stabilize. A single overheating event during break-in may have consequences that careful driving afterward cannot reverse.
Persistent severe oil consumption, falling oil pressure, overheating, detonation, abnormal vibration, or a new knock are inspection triggers. Stop driving and request a documented assessment rather than trying to drive the fault away. Break-in can expose an assembly defect; it does not provide a reason to dismiss one.
Frequently asked questions
Break-in details vary with engine design, machining, oil specification, and warranty conditions. The rebuilder’s written procedure takes priority where it differs from a general guideline.
How should a two-stroke engine be broken in after a rebuild?
Follow the manufacturer’s fuel, oil, and lubrication instructions exactly, including the required premix ratio or oil-injection setting. A two-stroke depends on fuel-borne or injected oil, so applying a four-stroke oil-change schedule or four-stroke crankcase assumptions can cause incorrect lubrication.
Vary the load and engine speed without sustained maximum throttle, prolonged idling, or long operation at one setting. Confirm the maker’s requirements for cooling, exhaust temperature, and any additional oil during the initial period.
How long does it take to break in a new rebuilt engine?
For most rebuilt four-stroke engines, the critical initial window is 800–1600 km (500–1000 miles), unless the rebuilder specifies otherwise. The first 20–30 minutes are a separate controlled heat-cycle phase, followed by progressively more normal use.
Completion should be judged with the service record and the engine’s condition, including stable oil pressure, temperature, fluid levels, compression behavior, and the absence of abnormal noise. A mileage target cannot override a fault that appears early.
What is the proper break-in procedure for a rebuilt engine?
Verify the written procedure, prime the lubrication system, confirm cooling-system integrity, and perform the first 20–30 minutes at the specified controlled speed. Then use varied rpm and moderate load, including periodic loaded acceleration followed by closed-throttle engine braking, while avoiding full-throttle abuse, overheating, and heavy low-rpm loading.
Follow the specified early oil and filter changes, record pressure and temperature, and include towing or accessory loads only after the rebuilder permits them. If the vehicle also has a rebuilt transmission or CVT, follow its parallel run-in procedure because correct engine break-in does not complete transmission adaptation or component seating.
How long should you run in a rebuilt engine?
A practical run-in period is often 800–1600 km (500–1000 miles), but the exact distance depends on the engine, parts, machining, and rebuilder’s instructions. The initial heat-cycle procedure is completed separately before normal road break-in begins.
Use varied speed and moderate load during this distance, then follow the scheduled inspection and early fluid service. Do not continue driving if overheating, low oil pressure, heavy smoke, unusual noise, or severe oil consumption appears.
How do you run in a two-stroke engine after a rebuild?
Use the specified premix or verify that the oil-injection system is functioning correctly before starting. During the initial running period, vary rpm and load, avoid sustained maximum throttle and prolonged idling, and maintain the maker’s cooling and temperature limits.
Do not substitute four-stroke break-in rules for the manufacturer’s two-stroke procedure. The correct fuel-to-oil ratio, additional lubrication requirements, and early inspection schedule are specific to the engine.