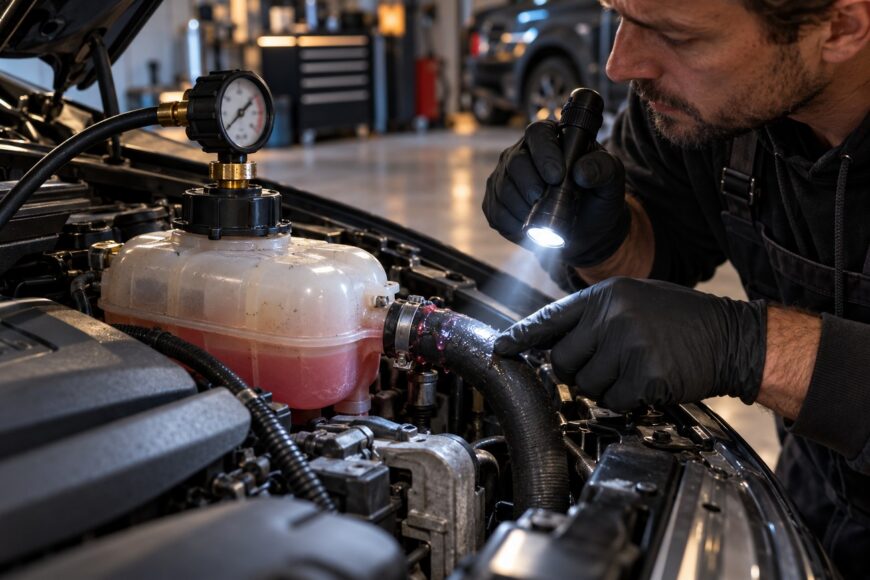
A falling coolant level with no puddle beneath the car is frustrating, especially when the engine bay looks dry. A visible drip gives you a place to start. A smaller leak may evaporate on hot parts, travel along a hose or engine casing before it falls, or stay on a shield beneath the vehicle.
Coolant can also leave the visible engine bay through the heater circuit or leak internally. The first wet component you find may simply have caught coolant from somewhere above it. A sound diagnosis starts with a safe inspection, then uses testing and fresh evidence to trace the source before parts are replaced.
- Start with a safe, clean baseline
- Pressure-test the system without overpressurizing it
- Trace an external leak back to its source
- Investigate coolant loss when the ground stays dry
- Avoid shortcuts that create false answers
- Frequently asked questions
- How much does it cost to check for a coolant leak?
- What should I tell a mechanic about an intermittent coolant leak?
- How can I detect a coolant leak?
Start with a safe, clean baseline
Check the coolant level only when the engine is fully cool, using the markings and procedure for your vehicle. Note the level and look for damp areas, staining, or dried coolant around accessible parts. If you need to open the cooling system, wait until it is fully cool; removing a hot cap risks burns and coolant discharge.
Old deposits make a new leak harder to identify. Clean accessible residue, allow the area to dry, and note where fresh wetness reappears. Avoid reaching around moving parts or hot components while the engine runs.
A spot beneath the car identifies where coolant landed, rather than where it escaped. Fluid can run along a hose, collect on a lower component, or remain on an underbody shield. It may also evaporate before reaching the ground, so a dry parking space does not settle the diagnosis.
Pressure-test the system without overpressurizing it
Perform a cooling-system pressure test only when the engine is fully cool. The tester needs an adapter that fits the vehicle’s radiator filler neck or reservoir securely; a poorly fitting adapter can produce a misleading pressure drop. Confirm the required setup before pumping.
Use the vehicle-specific cap rating or manufacturer service procedure for the test pressure and observation period. Generic advice to test at 15–18 psi is not a safe universal specification. Excessive pressure can damage aging plastic reservoirs and housings, potentially creating a new leak.
Pump slowly and evenly, then assess the gauge after its reading stabilizes. Watch it for the manufacturer-specified observation period rather than treating a few steady seconds as conclusive. A sustained pressure drop indicates a leak, but the gauge does not identify its location.
If pressure holds during a cold test, record that result without declaring the system sound. Some leaks occur only at operating temperature, with vibration, or during coolant circulation; internal faults may need other checks as well. The pressure test narrows the problem, and the inspection that follows determines what the result means.
Trace an external leak back to its source
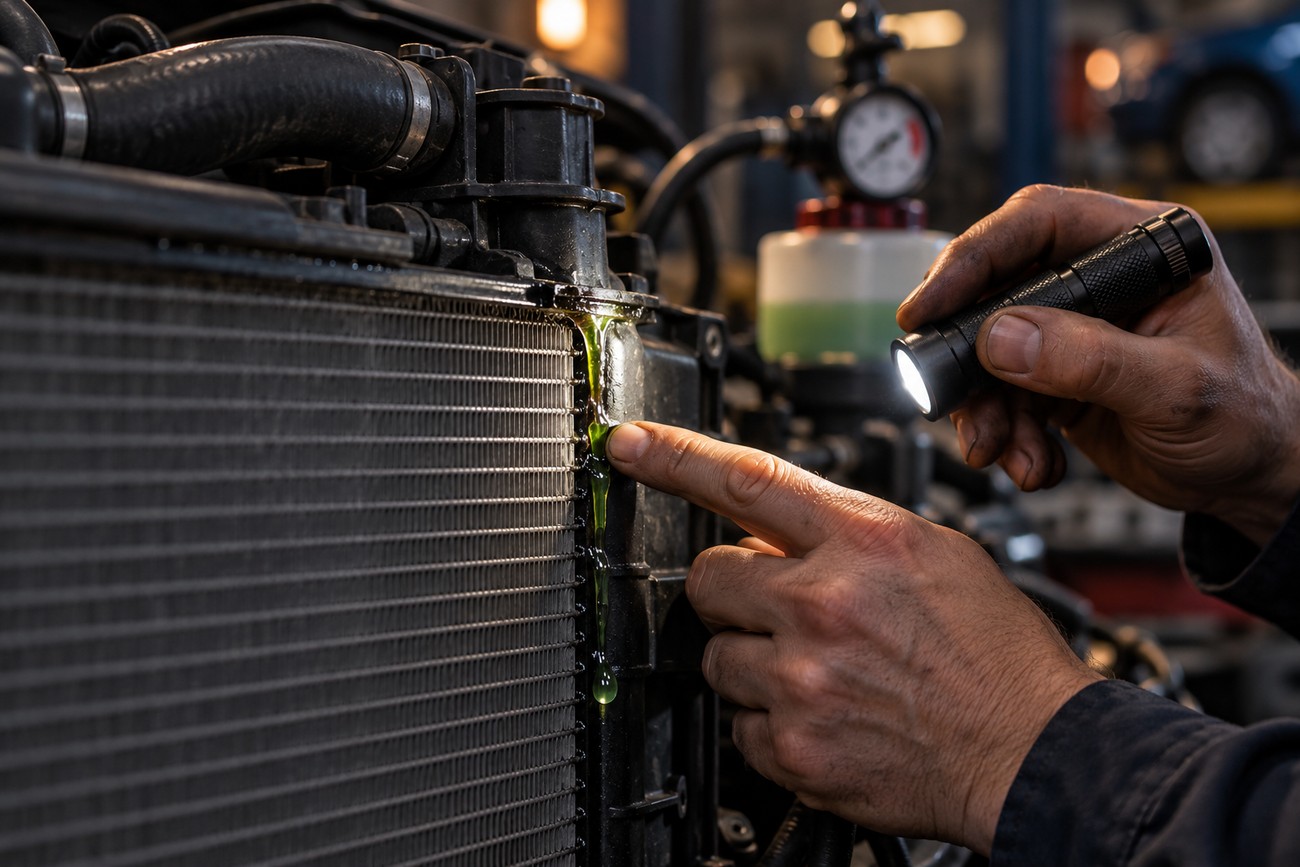
With the fully cooled system safely under test pressure, inspect hose ends and joints, the thermostat housing, radiator, and reservoir. Look closely at plastic seams and housings, as well as the filler neck and cap sealing surfaces. Testing through an adapter may leave the cap itself out of the test, so a sound system reading does not automatically clear it.
Use a light to inspect accessible areas above any fresh drip. Coolant can follow a surface before collecting at its lowest point, and a pressure drop only tells you that the system is losing tightness. Do not commit to replacing the first stained part you see.
Cleaning an old coolant trail before testing makes the first appearance of fresh wetness more useful than the largest stain. A lower component may only be catching a drip from a joint above it.
If a small external seep remains difficult to see, dye intended for cooling systems can highlight its trail under a suitable UV lamp. Give the dye the circulation and inspection conditions specified for the product, and check areas hidden from direct view where it is safe to do so. A bright stain shows where dyed coolant has been; it does not, by itself, prove where the leak began.
Investigate coolant loss when the ground stays dry
A dry patch under the car can coexist with an external leak. Coolant may seep onto a hot surface and evaporate, or collect on a shield without reaching the pavement. Fresh residue after a drive can help direct a later inspection once the vehicle is cool.
A coolant smell inside the cabin, especially when the engine bay appears dry, points toward the heater circuit as an area to check. Note any dampness or recurring smell and tell the repair shop about it. An inspection confined to hoses under the hood can miss evidence inside the vehicle.
If the level continues to fall without a clear external source, record changes in the exhaust, oil, spark plugs, and reservoir for a technician to assess. Coolant loss through the cylinders or an oil cooler calls for further diagnosis; no single observation confirms the failed component. A stable cold pressure reading does not rule out an internal fault.
Heat-related symptoms are useful evidence, but they do not make a hot pressure test safe. Observe the vehicle’s behavior during normal operation without opening a hot cap or attaching a tester to a hot system. Let it cool fully before any hands-on cooling-system check.
Avoid shortcuts that create false answers
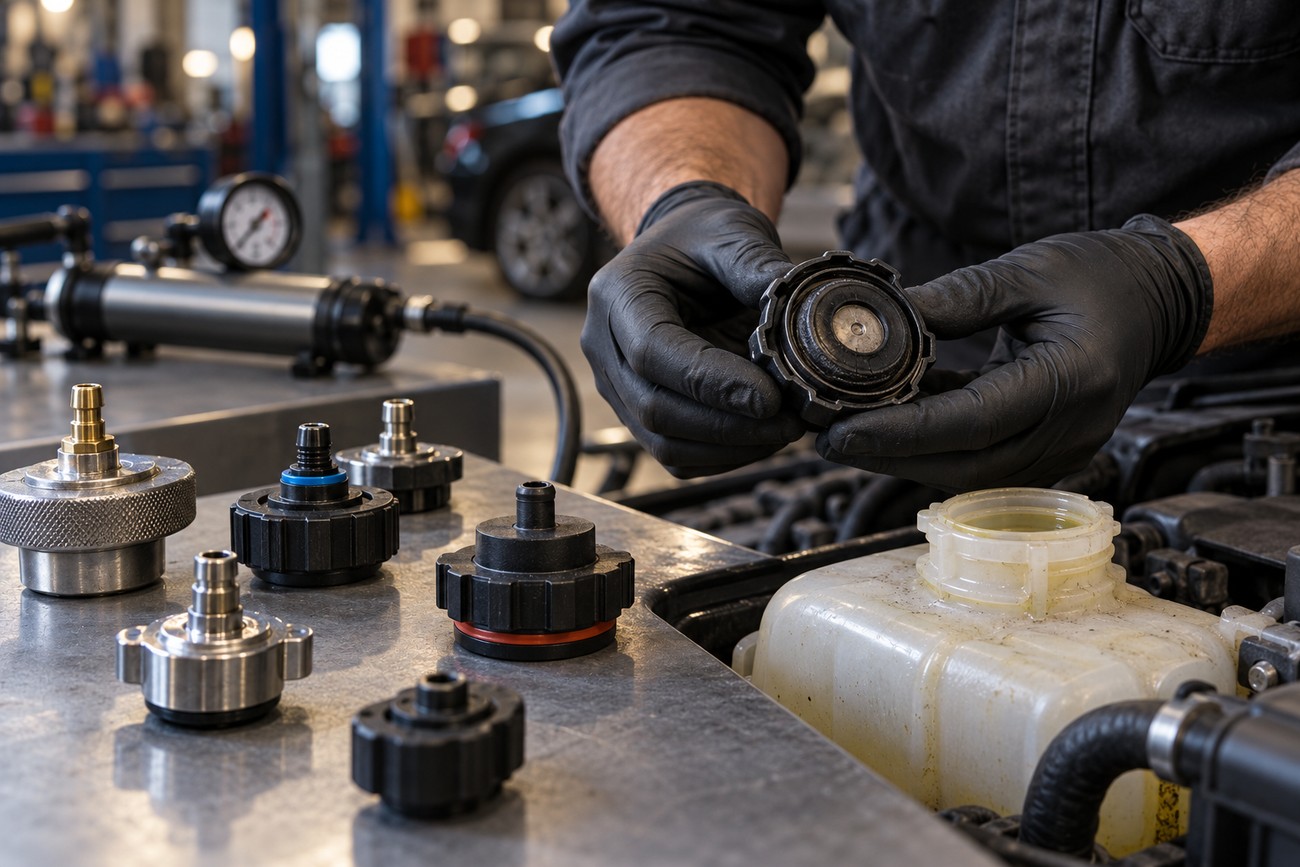
Raising test pressure to make a small leak appear sooner can damage aging plastic parts and confuse the result. Use the pressure specified for the vehicle and its service procedure, rather than a universal 15–18 psi target. Check that a kit includes the correct adapter before relying on its “universal” description.
Replacing a suspect cap may resolve a cap fault, but continued coolant loss still calls for inspection of the rest of the system. Examine the cap’s seal and the surface it contacts; a new cap cannot seal a damaged filler neck. Equally, a brief steady gauge reading is no substitute for the specified observation period.
UV dye is an aid to tracing external coolant, not a stand-alone clearance test. Use only dye intended for cooling systems, and remember that it cannot reveal coolant that stays within internal passages. If a cold static test and dye inspection find nothing, symptoms linked to heat, vibration, or circulation still deserve follow-up diagnosis.
If the engine overheats or coolant is being lost rapidly, stop and arrange recovery rather than trying to cover an assumed safe distance. No driving distance is universally safe with a coolant leak.
Frequently asked questions
The next step depends on what you have observed and what remains untested. These answers can help you describe the fault clearly and agree on an appropriate inspection.
How much does it cost to check for a coolant leak?
There is no universal diagnostic price: the vehicle, local labor rates, and scope of testing all affect the quote. Ask whether it includes a cold pressure test, cap and adapter checks, inspection of hidden areas, and any follow-up testing for internal loss. Also ask whether additional tests require approval before the shop proceeds.
What should I tell a mechanic about an intermittent coolant leak?
Record when you notice the level falling and whether it follows a particular drive, temperature, or use of the cabin heater. Mention coolant smells, warning messages, and any change in engine temperature. Photos of fresh residue and a note of where it first appeared can help the shop reproduce an intermittent fault.
How can I detect a coolant leak?
Start by noting a falling level and checking for fresh residue when the engine is fully cool, then arrange a vehicle-specific pressure test if the source is unclear. The test can establish a loss of tightness; tracing fresh coolant or using coolant-compatible dye may help locate an external leak. Persistent loss without a visible trail needs further diagnosis.