
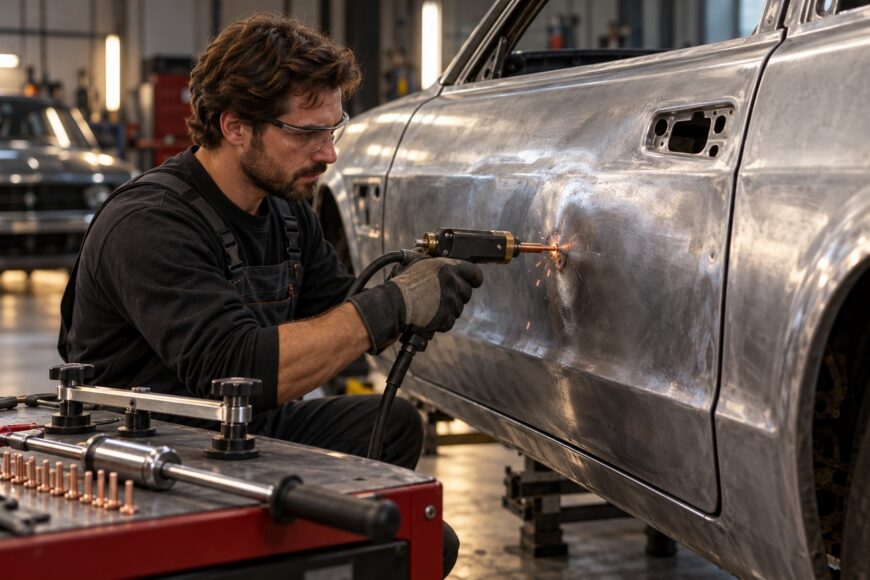
Stud welder dent pulling is an outside-access repair method for steel panels when the rear of the damage cannot be reached. A stud or pin is welded to the panel’s outer surface, attached to a pulling tool, and drawn outward until the damaged area moves toward its original shape. Because the work happens from the visible side, interior trim and limited backside access are less of an obstacle.
The method is effective for restoring the broad shape, yet it can create additional work. Poor surface preparation can produce weak welds, sudden pulling can stretch the sheet metal, and excessive heat can leave secondary waves. The result is usually a workable shape that still needs cleanup, inspection, filler, and paint rather than a finished cosmetic repair.
- What Stud Welder Dent Pulling Actually Does
- When the Method Fits—and When It Does Not
- The Repair Sequence: From Bare Metal to Final Finish
- How to Pull a Dent Without Stretching the Panel
- Why Stud Pulling Results Go Wrong
- The Downsides: Heat, Weld Marks, and More Finishing
- Practical Checks Before Calling the Panel Straight
- Frequently asked questions
- What are the downsides of stud welding?
- How do I use a dent puller correctly?
- What should I do if a welded stud pulls out?
- How do I know when to stop pulling a dent?
What Stud Welder Dent Pulling Actually Does
A stud welder sends a short welding current through a small stud or pin and bonds it to clean metal on the outside of the panel. A slide hammer, pulling bridge, or similar tool then uses that attachment point to move the metal outward. The force is applied directly to the damaged area instead of through an opening behind the panel.
Backside access is therefore not required. This is useful on closed sections, reinforced areas, and panels where removing interior components would add time or risk. The tool still needs a clear working area on the outside, and the surrounding paint must be removed wherever the studs will be attached.
Stud pulling works mainly on steel. Aluminum and some modern panels may require different repair technologies because their electrical, thermal, and mechanical behavior differs from that of ordinary steel sheet. Checking the panel material before welding helps prevent an equipment mismatch.
The process is primarily a rough-shaping operation. It can bring a broad depression close to the correct contour, yet the weld points, heat marks, and small surface irregularities generally remain. Final repair normally includes cutting or grinding the studs, checking the surface, applying filler where needed, and repainting.
When the Method Fits—and When It Does Not
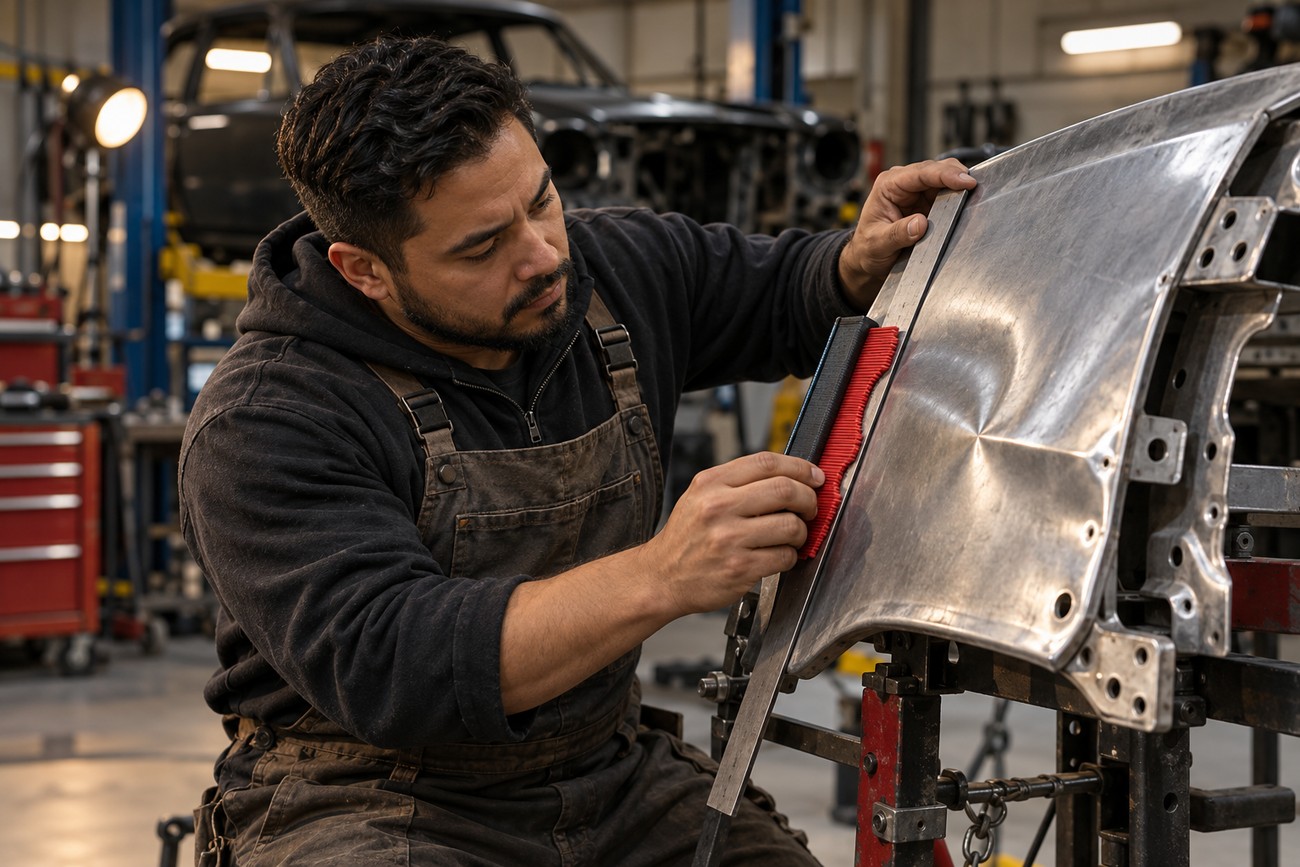
Stud pulling is a practical option for a steel panel with a dent that is difficult to reach from behind. It is especially useful when the damage has enough surrounding metal to move back into shape and the panel is not severely torn, sharply creased, or distorted at a structural mounting point.
Panel thickness and shape matter more than a simple power rating on the machine. Thin metal can develop secondary waves or stretch if the operator applies too much force. A broad, shallow depression may respond differently from a tight crease, even if both appear similar from a distance.
Aluminum and some modern panels may need other technologies, equipment, or repair procedures. Surface coatings also influence the decision: galvanized steel requires especially careful preparation because the zinc layer can interfere with reliable welding unless the area is properly cleaned.
There is no universal pulling-force or stud-spacing rule that fits every dent. One practical guide cites 15–25 mm spacing, but that figure is not an established universal standard. The correct arrangement depends on the panel, the damage geometry, and how the metal responds during controlled test pulls.
The Repair Sequence: From Bare Metal to Final Finish
The normal cycle follows a clear order: preparation, stud welding, pulling, cutting or grinding the studs, then filler and paint. Skipping an early step usually transfers the problem to the next stage. A poor weld, for example, cannot be made reliable by applying more pulling force.
Preparation means exposing bare metal at each intended weld location. Paint, primer, wax, dirt, and undercoating interfere with current flow and reduce attachment quality. Corrosion protection must be removed carefully enough to provide a clean electrical path, while the surrounding panel should remain protected from unnecessary damage.
After the studs are welded, the operator pulls the panel in measured stages. Larger dents commonly require several welding and pulling cycles. The aim is to restore the general contour progressively, checking the panel after each cycle instead of trying to correct the entire depression with one aggressive pull.
Once the shape is acceptable, the studs are cut or ground away and the attachment points are cleaned. Weld marks and remaining surface irregularities commonly require a thin layer of filler before primer and paint. Stud pulling therefore produces a repairable surface rather than automatically producing a paint-ready finish.
How to Pull a Dent Without Stretching the Panel
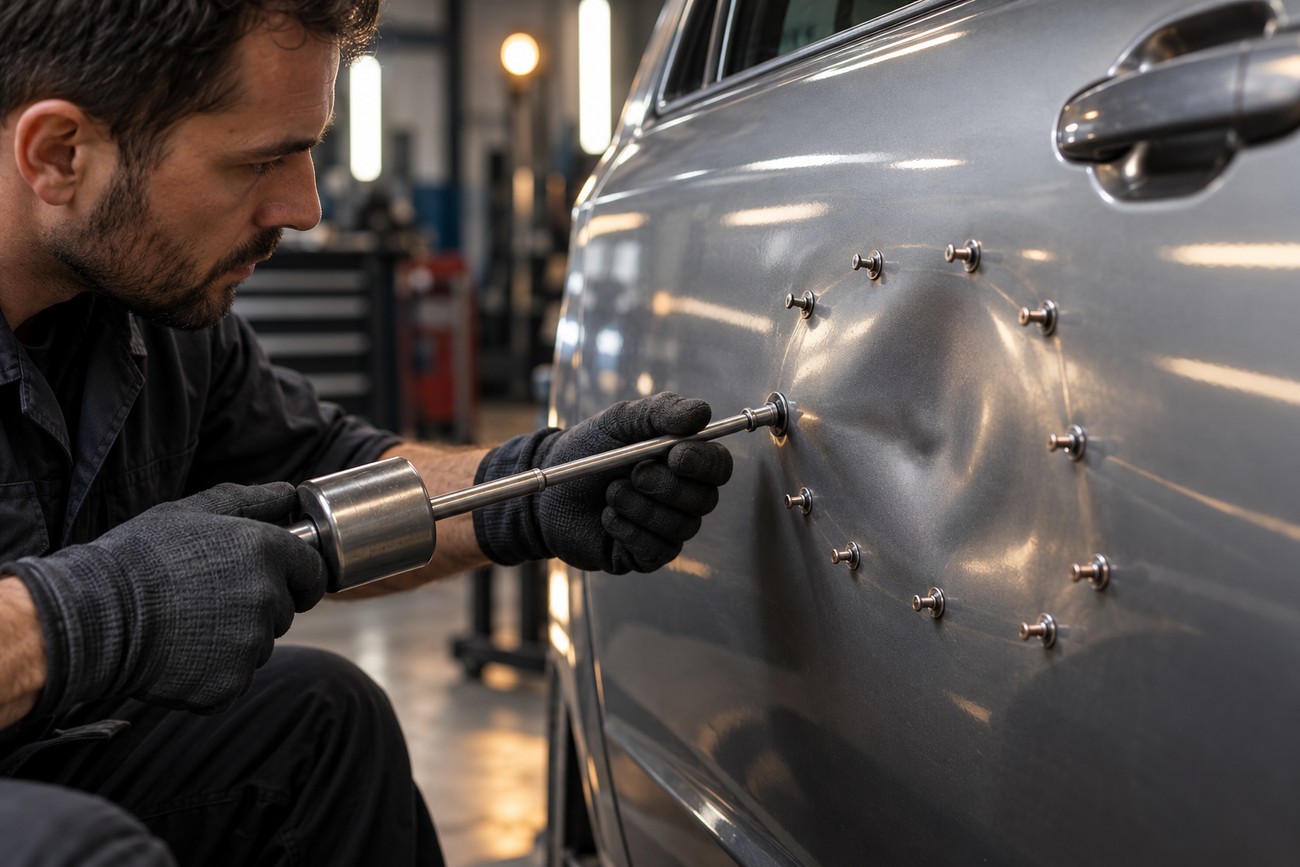
Begin at the edge or perimeter of the dent and work toward the center. This sequence releases the surrounding deformation progressively and reduces the risk of driving the deepest area farther into the panel. Starting at the deepest point can concentrate force in one small area and leave the outer metal under unwanted tension.
Use short pull-and-check cycles. Apply gradual pressure, release it, and inspect the panel before deciding where the next stud or pull should go. A smooth motion gives the metal time to respond; a sudden jerk can stretch thin sheet metal and create a surface that is harder to finish than the original dent.
Short perimeter-to-center pulls with frequent side-light checks give the operator information about how the panel is moving. Trying to restore the deepest point in one pass hides secondary waves until the surface is already overworked.
Side lighting is more revealing than a quick glance under flat shop lighting. Reflections show low spots, high spots, and developing waves while they are still small enough to correct. If the shape improves only slightly after a pull, reassess the stud position and the overall geometry rather than automatically increasing force.
Large dents often need several welding and pulling cycles. Restoring the broad shape first can be more effective than repeatedly chasing one low spot. The 15–25 mm spacing cited in one practical guide may serve as a starting reference, but it is not a universal standard, and no single force setting applies to every panel.
Why Stud Pulling Results Go Wrong
Weak or failed stud attachment usually begins with poor surface preparation. Paint, dirt, wax, and corrosion protection interrupt current flow and prevent the stud from bonding properly. The visible result may be a stud that pulls out immediately, a weld that leaves an irregular mark, or a panel that receives force without moving as intended.
Budget kits also demand careful adjustment. Manual and automatic modes can behave differently, and the advertised wattage does not guarantee a suitable result. Power must match the panel and the weld point, while the operator still controls preparation, stud placement, pulling speed, and inspection.
Jerky pulling can stretch the panel and produce a secondary wave. A similar problem occurs when the operator begins at the deepest center and forces that point upward before the surrounding deformation has been released. The dent may appear smaller while the panel becomes harder to level.
Placing too many studs at once can add unnecessary heat and deformation. It also makes it harder to see which part of the panel is responding. Short series of welds and pulls provide better control and make it easier to stop before the metal begins to move beyond its useful range.
After a failed pull, adding more force to the same weak attachment rarely solves the underlying problem. The surface, welding setting, stud position, and panel response should be checked first. Otherwise, the next attempt may enlarge the weld mark or deform the panel around it.
The Downsides: Heat, Weld Marks, and More Finishing
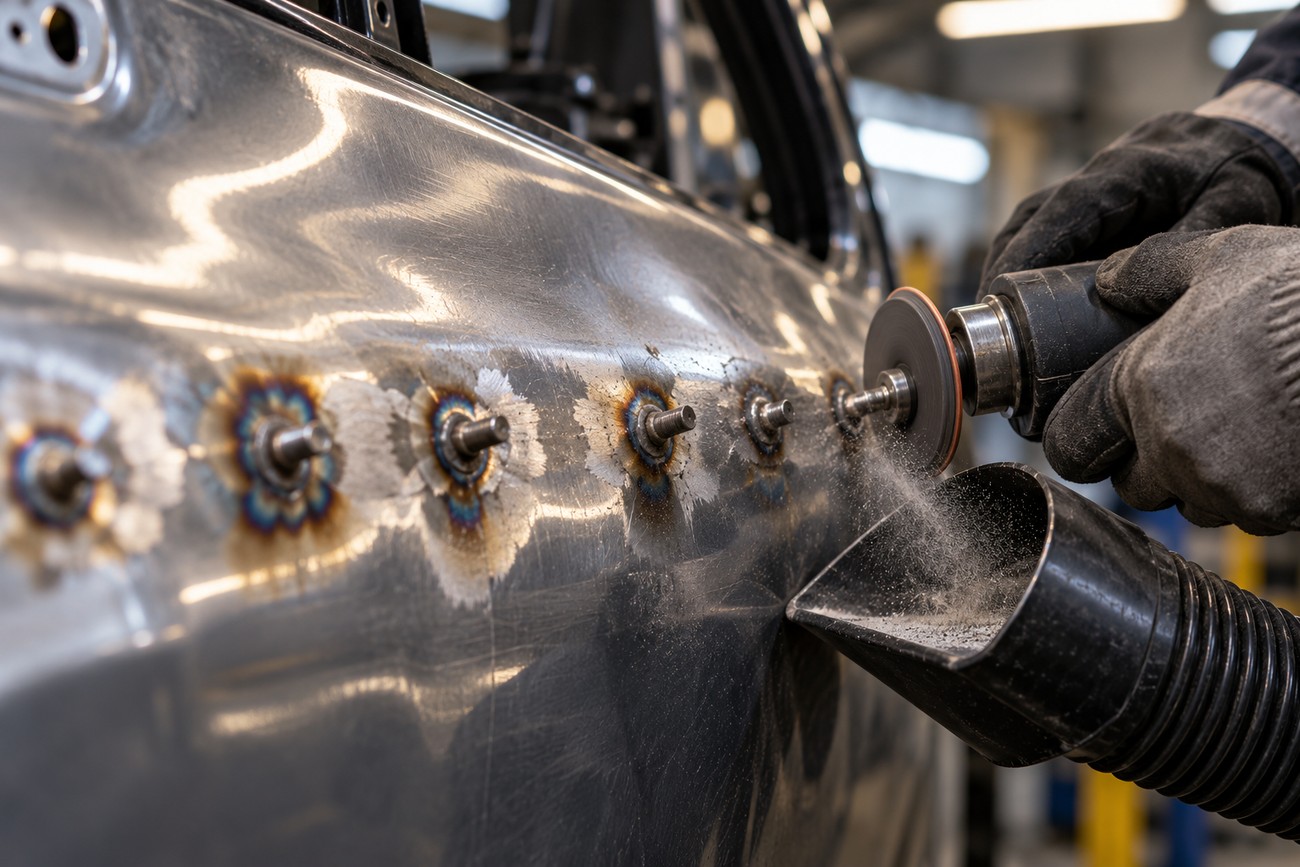
Stud welding creates a thermal zone around each attachment point. The heat is localized, yet repeated welding can affect a thin panel, especially if many studs are installed close together. Heat-related movement may appear as a slight wave that only becomes obvious under reflected light.
Cutting or grinding the studs leaves hard weld points and visible marks. Those points require cleanup, and aggressive grinding can remove more surrounding metal than intended. After the studs are removed, avoid aggressively pushing the remaining points upward because the repaired area can be re-deformed.
The final surface usually needs more than a quick sanding pass. Inspection under side lighting may reveal shallow lows, highs, or transitions around the original damage. A thin layer of filler is often used to refine the contour before primer and paint.
These finishing requirements define the method’s proper role. Stud pulling is commonly a rough repair stage that restores geometry and reduces the depth of the damage. Cosmetic completion still depends on controlled metal finishing, surface preparation, lighting checks, and repainting.
Practical Checks Before Calling the Panel Straight
After each pull, inspect the overall geometry rather than focusing only on the stud location. Look at the nearby transitions, the edges of the original dent, and the way reflections travel across the panel. A local low spot can look improved while the surrounding surface develops a new wave.
Side lighting is particularly useful for finding remaining waves and over-pulls. Move the light or change your viewing angle so the reflection runs across the repair. If the reflection breaks sharply, the panel still needs attention; if additional force produces little improvement, the metal may already be approaching its workable limit.
On a large dent, restore the broad shape before refining individual low spots. This approach distributes correction across the damaged area and gives each later pull a clearer purpose. Repeatedly attacking one low point can stretch that location while leaving the larger geometry unresolved.
Stop pulling when the panel responds inconsistently, new waves appear, or the next pull would require noticeably more force for a small gain. Further force at that stage is more likely to stretch or re-deform the sheet than to improve the contour. Final refinement should move to cleanup, light filler, and surface inspection.
Frequently asked questions
What are the downsides of stud welding?
The main trade-offs are localized heat, visible weld points, cleanup after stud removal, and the possibility of stretching the panel. The method is intended mainly for steel, while aluminum and some modern panels may require different equipment or techniques. Thin metal is especially sensitive to excessive force and can develop secondary waves.
First-time users often underestimate the finishing time. Stud pulling may restore the broad shape efficiently, yet grinding, side-light inspection, filler, primer, and repainting can still be necessary. The process reduces access problems and reshapes the panel; it does not guarantee a final cosmetic surface.
How do I use a dent puller correctly?
Seat the puller securely on the welded stud so the tool loads the stud in line with the panel. Apply gradual pressure, release it between pulls, and inspect the shape before continuing. Keep the tool from twisting the stud, because angled loading can damage the attachment point or distort the surrounding metal.
Work from the perimeter toward the center and use short cycles. If the stud bends, loosens, or begins to tear the surface, stop and reassess the weld and the pulling direction rather than increasing force.
What should I do if a welded stud pulls out?
Stop pulling and inspect the failed attachment before retrying. Check whether the area was truly bare and clean, whether wax, dirt, primer, or undercoating remained, and whether the weld setting suited the panel. A stud that pulls out is evidence that the attachment failed; simply pulling harder can enlarge the damage.
Clean and prepare a suitable nearby location, then reassess stud placement and equipment settings. The panel may also be responding poorly because the pull direction is twisting the stud or because the surrounding metal has already been overstressed.
How do I know when to stop pulling a dent?
Stop when the panel’s broad geometry is restored and additional pulls produce little improvement. Side-light reflections should be checked for remaining lows, high spots, and emerging waves. A new wave or a need for sharply increasing force indicates that the metal may be stretching rather than moving into a better shape.
At that point, move to cleanup and surface refinement. Further stud pulling can re-deform the repaired area, while controlled grinding, light filler, and careful inspection are better suited to the final irregularities.







