
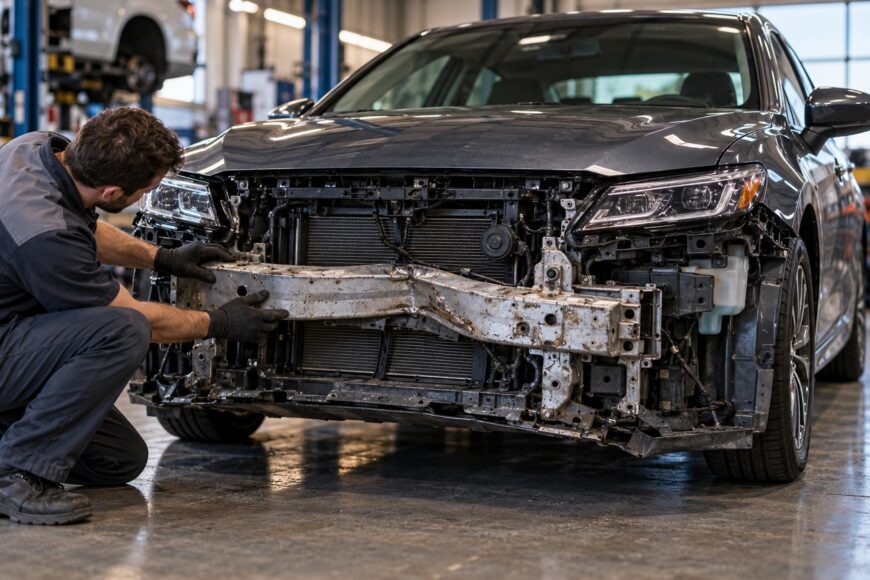
A bumper may appear to fit after an impact while the gaps remain uneven, the cover stays loose, or the mounting points no longer line up. Those symptoms can come from the reinforcement, its brackets, displaced fasteners, or damage farther back at the rail ends.
A reinforcement may be physically bendable and still be unsuitable for straightening. Manufacturer repair information can prohibit repair even when a shop can make the metal look straight. The correct decision starts with vehicle-specific service information and an inspection of the complete mounting structure, then usually leads to replacement when the reinforcement is visibly damaged or listed as non-repairable.
- Why a Bent Reinforcement Is Usually a Replacement Issue
- What to Inspect Before Ordering a Part
- Why Straightening Can Restore Shape but Not Safety
- A Safer Damage-Assessment Workflow
- Damaged Reinforcement, Bracket, or Rail: What the Symptom Means
- Common DIY Fixes That Create a Second Problem
- Choosing a Replacement Reinforcement That Actually Fits
- Frequently asked questions
- How can I tell whether a bumper reinforcement is steel or aluminum?
- How do I straighten bent bumper brackets?
- How do I unbend a steel bumper?
- How do I reinforce a bumper?
Why a Bent Reinforcement Is Usually a Replacement Issue
The bumper reinforcement helps distribute crash energy across the front or rear structure. Its shape, material, mounting position, and connection to the body form part of the vehicle’s crash design. Deformation can therefore change crash characteristics even when the bumper cover appears acceptable.
The reinforcement may also influence SRS timing or deployment sequence through the way an impact is transmitted and detected. This does not mean that every bent metal bar is impossible to reshape in every industry. It means a vehicle reinforcement must be judged under the manufacturer’s collision-repair instructions.
Honda and Acura state that bumper reinforcements must not be repaired or straightened. Nissan and INFINITI manuals prohibit repair of bumper reinforcements. Toyota, Lexus, and Scion CRIB #161 states that damaged bumper reinforcements require replacement.
These positions support replacement rather than a general claim that all metal is unworkable. The bumper standard’s purpose includes reducing damage, providing cost savings, and protecting safety-related parts; preserving the designed behavior of the reinforcement is part of that safety objective.
What to Inspect Before Ordering a Part
Inspect the reinforcement together with its brackets, mounting points, fasteners, and adjacent structural areas. A beam can look like the obvious problem while a bent support or rail end is the reason the bumper sits unevenly. Cracks, tears, or clear deformation generally support replacement of the damaged component rather than straightening.
Expose the mounting area before judging the result. Check whether the left and right mounting points are at the same height, whether the holes and seating surfaces are symmetrical, and whether the supports remain square to the vehicle. A new reinforcement can appear defective if it is installed on a displaced mount.
Compare left-right mounting symmetry and seating height before blaming a replacement reinforcement. A bent support or mounting point can make an undamaged part appear to have the wrong shape.
Bumper-cover alignment is useful evidence, but it does not prove that the underlying geometry is correct. A cover may be pushed into position while the reinforcement remains under stress, the fasteners are carrying an abnormal load, or the mounting points are still displaced.
Persistent looseness deserves the same care. It can indicate damaged fasteners, elongated holes, displaced brackets, or structural movement behind the cover. Correcting only the visible gap can leave the assembly prone to moving out of its mounts again.
Why Straightening Can Restore Shape but Not Safety
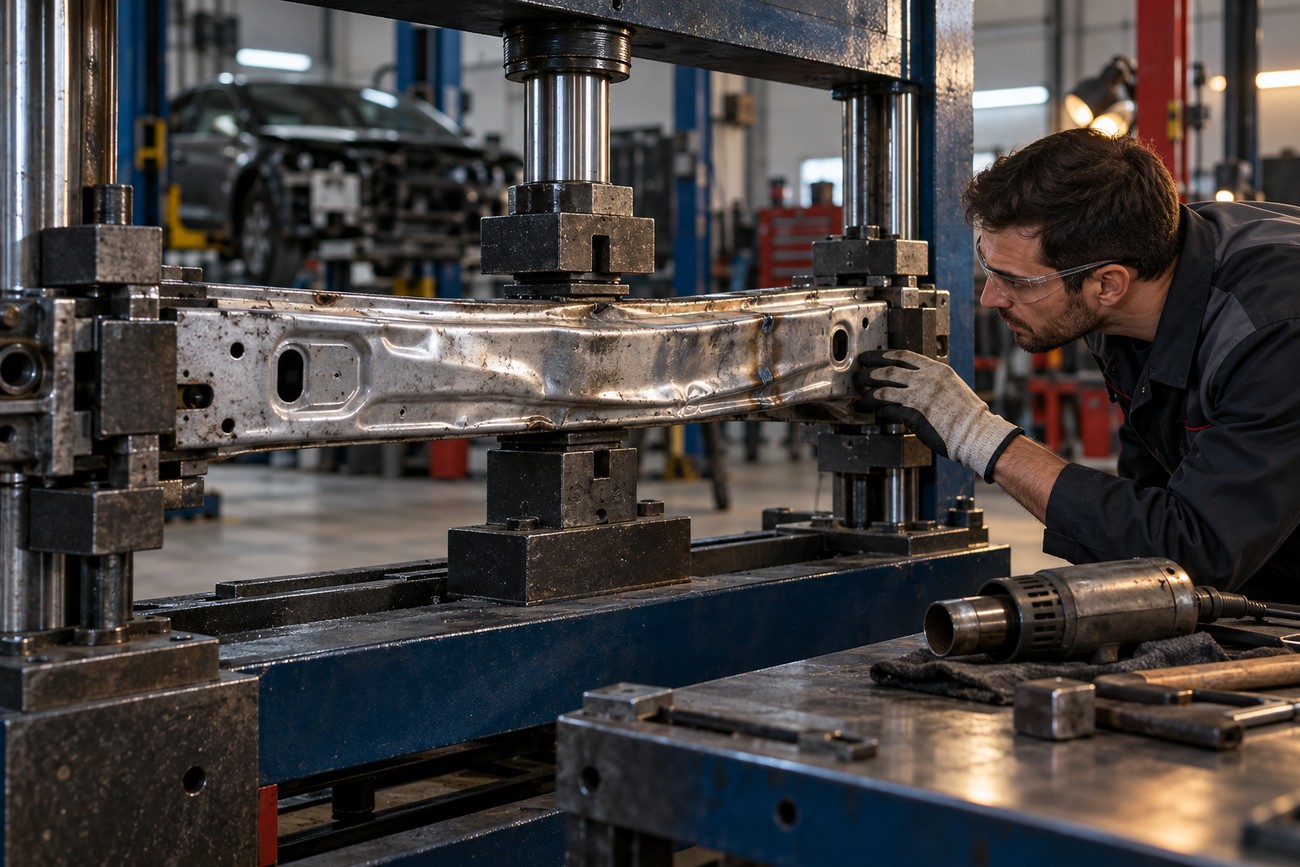
Collision deformation can stretch, compress, buckle, or locally harden metal. Applying force in the opposite direction may restore the outline while leaving altered material properties and residual stress. The result can look straight without reproducing the original strength, energy absorption, or crash behavior.
Heating adds another risk. Heating a damaged high-strength steel or aluminum reinforcement can alter its material properties and is not a safe default repair method. The correct temperature limits, if any repair process exists, depend on the material and the vehicle manufacturer’s instructions.
Manufacturing examples also cannot be used as collision-repair permissions. A machine-straightened bar may be specified at no more than 1/8 inch over 5 feet, but that is a manufacturing or machining example, not an OEM bumper-repair tolerance.
Other straightening work can depend on diameter, bend radius, and temperature. Generic force, leverage, or heat methods therefore provide no reliable way to restore a vehicle reinforcement. The appearance of the finished part is only one small part of the assessment.
A Safer Damage-Assessment Workflow
Start with the service information for the exact vehicle. Confirm whether the reinforcement is designated as replace-only, identify the approved part, and check any instructions covering sensors, SRS components, adjacent structure, and fasteners.
Remove enough of the bumper assembly to see the reinforcement and its supports. Inspect the beam, brackets, mounting points, rail ends, fasteners, and seating surfaces. Compare left-right symmetry, mounting height, and the way each part contacts the body before deciding that a replacement part is incorrect.
Visible deformation, cracks, or tears, together with an OEM prohibition on repair, support replacement. The same applies when the part’s material or construction makes its post-repair properties uncertain. A replacement does not correct a bent mounting point, so the surrounding structure must be assessed at the same time.
Install the approved part only after confirming compatibility and undamaged mounting geometry. Fastener condition and tightening requirements must follow the vehicle-specific service information; there is no universal torque or replacement rule. Final bumper alignment should be checked after the structure is seated correctly, rather than used as the only test of the repair.
Damaged Reinforcement, Bracket, or Rail: What the Symptom Means
Use the symptoms as inspection clues, not as a substitute for measurements or OEM procedures.
| Visible symptom | Area requiring inspection | Next decision |
|---|---|---|
| Uneven bumper gaps from one side to the other | Reinforcement, brackets, left-right mounting points, and adjacent rail ends | Check symmetry and mounting height before replacing a part; replace any visibly damaged reinforcement according to OEM guidance. |
| Persistent looseness or movement over bumps | Mounts, fasteners, holes, brackets, and seating surfaces | Inspect for displaced mounts or damaged fasteners rather than treating the problem as a cover-alignment issue. |
| Cracked or torn mounting area | Bracket, reinforcement connection, and adjacent structure | Stop relying on adjustment; determine which damaged components require replacement under the vehicle’s service information. |
| Beam visibly bent, buckled, or twisted | Entire reinforcement and its attachment points | Treat the reinforcement as a replacement item where OEM guidance prohibits repair or the part is visibly damaged. |
| Bumper appears to fit while mounting geometry remains suspect | Seating height, left-right symmetry, supports, and rail ends | Recheck structural geometry before accepting the fit; visual cover alignment does not verify crash-related positioning. |
Common DIY Fixes That Create a Second Problem
Levering a reinforcement with a pipe may move the metal, but informal advice does not confirm that the part is repairable. It provides no proof that the original material properties, mounting dimensions, or crash behavior have been restored.
Heating the bar to make it easier to bend creates a separate hazard. High-strength steel and aluminum can respond poorly to uncontrolled heat, and the finished shape gives no reliable indication of the resulting material condition.
A bumper that fits tightly is also a poor success test. The cover can hide a reinforcement that is under stress, a displaced bracket, or a mounting point at the wrong height. Those conditions may affect how the assembly behaves in another impact.
Fabricating a replacement from ordinary tube has the same limitation. It may hold the bumper in place, yet it does not guarantee the required energy absorption, body geometry, sensor relationship, or compatibility with the vehicle structure. Unconfirmed forum advice must not override OEM repair information.
Choosing a Replacement Reinforcement That Actually Fits
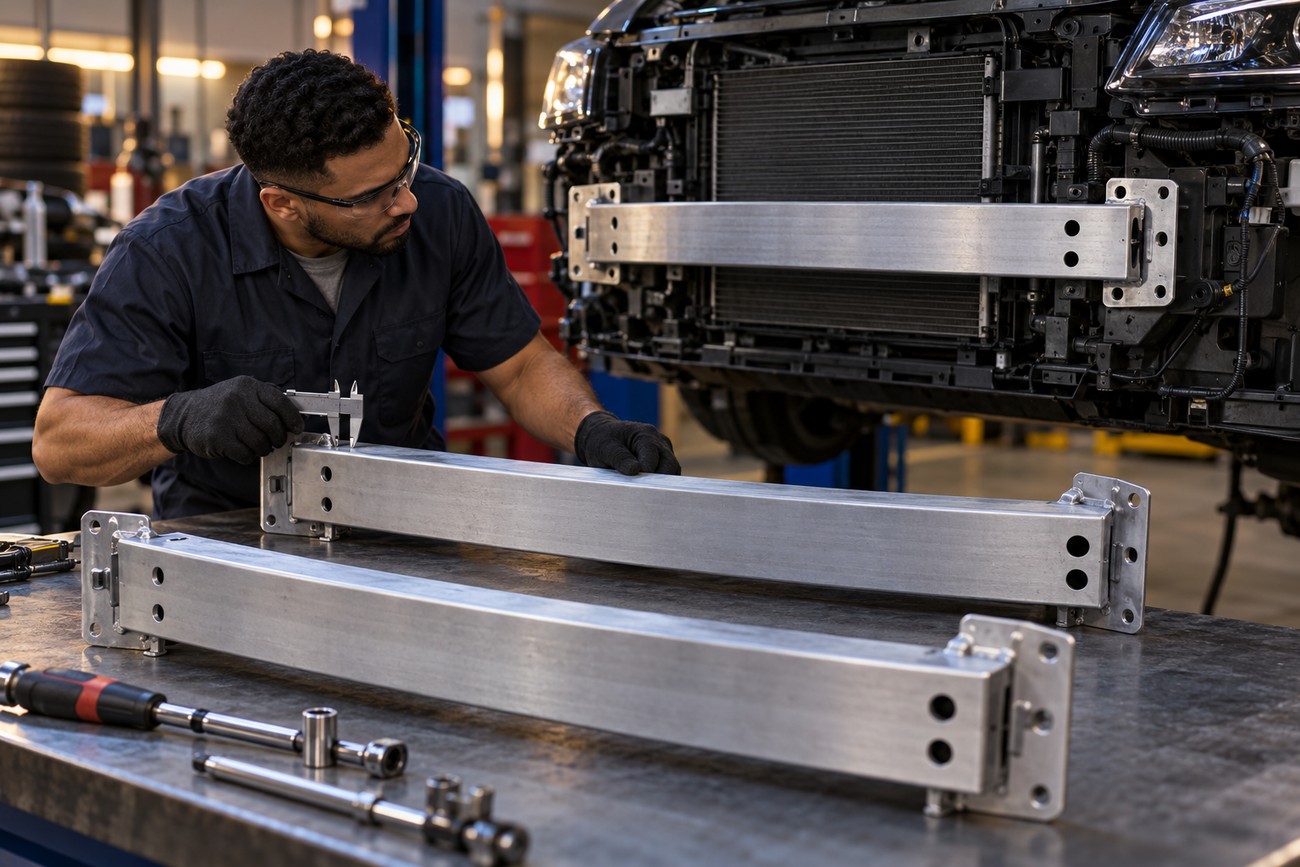
Match the part to the exact vehicle configuration, including model year, body style, drivetrain or trim variation where applicable, and mounting arrangement. Similar-looking reinforcements can differ in curvature, thickness, mounting holes, brackets, or seating dimensions.
Use the vehicle parts catalog and service information to confirm the correct part number and revisions. A seller’s claim that a reinforcement can be easily straightened says little about whether it is the correct component or whether it has already been damaged.
Inspect a used reinforcement for buckling, twists, cracks, tears, distorted holes, and marks showing a previous impact. Prior deformation is a reason to reject the part rather than casually reshape it. Surface corrosion or cosmetic marks may require separate judgment, but structural damage should not be treated as a minor defect.
Before final tightening, confirm that the reinforcement seats evenly and that the left and right mounting points remain symmetrical. Check hardware condition and use the model-specific fastener tightening requirements. Correct seating and specified tightening matter more than an apparently close visual match.
Frequently asked questions
These answers distinguish the structural reinforcement from cosmetic bumper parts and separate brackets. The vehicle’s own service information remains the controlling reference.
How can I tell whether a bumper reinforcement is steel or aluminum?
Start with the vehicle parts catalog, repair manual, or material information for the exact model and part number. Appearance and a simple magnet check are unreliable: some steel components may not respond as expected, coatings can affect the result, and a nonmagnetic material does not by itself establish that repair is permitted.
Material identification does not determine repairability on its own. A steel reinforcement may be replacement-only, while an aluminum part may have different inspection and handling requirements. Follow the OEM procedure for that specific component.
How do I straighten bent bumper brackets?
First determine whether the bracket is a separate, replaceable mounting component or an integral part of the reinforcement. Inspect the bracket, its mounting point, holes, fasteners, and adjacent structure against the vehicle-specific dimensions or procedures.
Some separate brackets may have an OEM repair procedure, while a damaged reinforcement may be replacement-only. Do not apply a generic lever or heat method until the service information identifies that bracket as repairable and specifies how its geometry is to be restored.
How do I unbend a steel bumper?
Do not assume that a steel bumper reinforcement can be safely unbent because steel is workable. The manufacturer may prohibit repair of the reinforcement, and straightening can leave changed strength, residual stress, or crash behavior even when the outline looks correct.
Older steel bumper assemblies still require component identification. A cosmetic cover, a separate bracket, and a structural reinforcement may have different repair rules. Inspect the complete assembly and replace a damaged reinforcement when the OEM procedure requires it.
How do I reinforce a bumper?
Use the vehicle’s approved reinforcement and mounting hardware rather than adding tube, plate, or improvised braces. Extra material can change load paths, clearance, sensor relationships, and the way crash energy reaches the body.
If the bumper remains loose or weak after installation, inspect the reinforcement, brackets, mounting points, fasteners, and adjacent structure. The correct remedy is usually to replace damaged components and restore the specified mounting geometry, with tightening requirements taken from the model-specific service information.







