
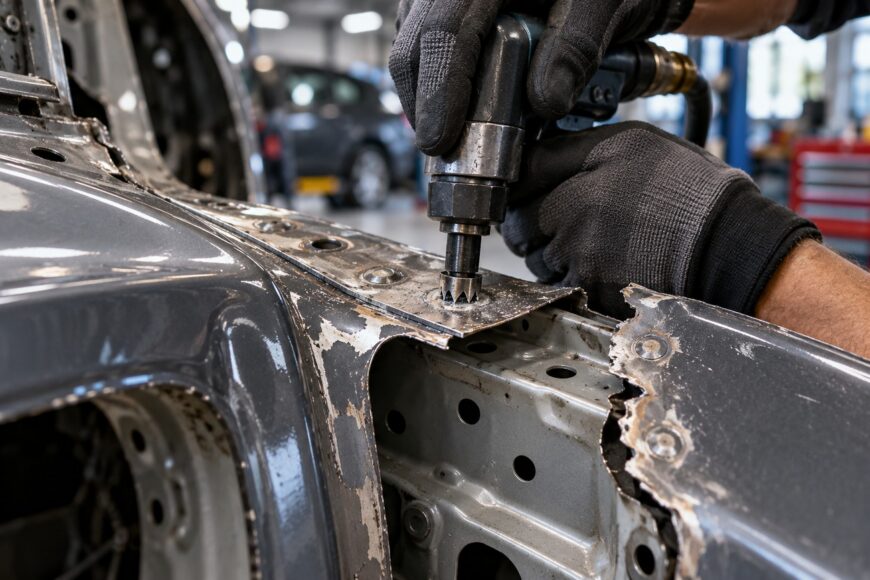
Spot-weld drilling is a controlled panel-separation operation, not ordinary through-drilling. The aim is to weaken or remove the localized weld joining two sheets while keeping the underlying flange usable for the replacement panel. That requires accurate weld location, a centered cutter, controlled pressure, and a stopping point before the second sheet is damaged.
The main risk is trading a slow removal job for a larger repair. A hidden weld can send the cutter into sound metal, while a poorly centered tool can skid across the flange and create an oval hole. Paint, rust, seam sealer, access, and panel distortion all affect the result, so claims of completely mark-free removal should be treated cautiously.
- What Spot-Weld Drilling Is Meant to Remove
- Find and Expose Spot Welds Before Drilling
- Tools, Bit Size, Speed, and Cutting Control
- How to Drill Out Spot Welds Without Going Through Both Sheets
- Common Drilling Failures and How to Prevent Panel Damage
- Drilling, Cutting, and Grinding: Which Removal Method Fits?
- Frequently asked questions
- How can you tell whether the drill has reached the second sheet?
- What should you do if the panel is still stuck after the spot weld is drilled?
- How should the remaining flange be prepared after panel removal?
What Spot-Weld Drilling Is Meant to Remove
A spot weld joins overlapping sheets through a localized weld nugget formed by heat and pressure. Body panels and other thin sheet parts commonly use this construction in material roughly 0.5–3 mm thick. The visible surface may show only a small circular mark, a shallow depression, or a slight change in panel shape, even though the weld holds the two layers firmly together.
During panel removal, the usual objective is to remove or weaken the weld in the panel being discarded while preserving the underlying sheet whenever possible. Drilling through both layers defeats that objective. It leaves unnecessary holes in the retained flange, reduces the metal available for the replacement panel, and can add repair work before refitting.
Separation and flange preparation are separate jobs. First, release the old panel from its welds, adhesive, seam sealer, corrosion bonds, or folded edges. Then inspect the retained flange, remove leftover weld material, correct accidental damage, and prepare a clean, stable surface for fitting and welding.
Drilling is one of three basic spot-weld removal methods, alongside cutting and grinding. It offers useful local control when the weld centers are identifiable and access is adequate. It still leaves visible marks in many cases, and the final result depends more on tool placement and stopping depth than on the cutter’s marketing description.
Find and Expose Spot Welds Before Drilling
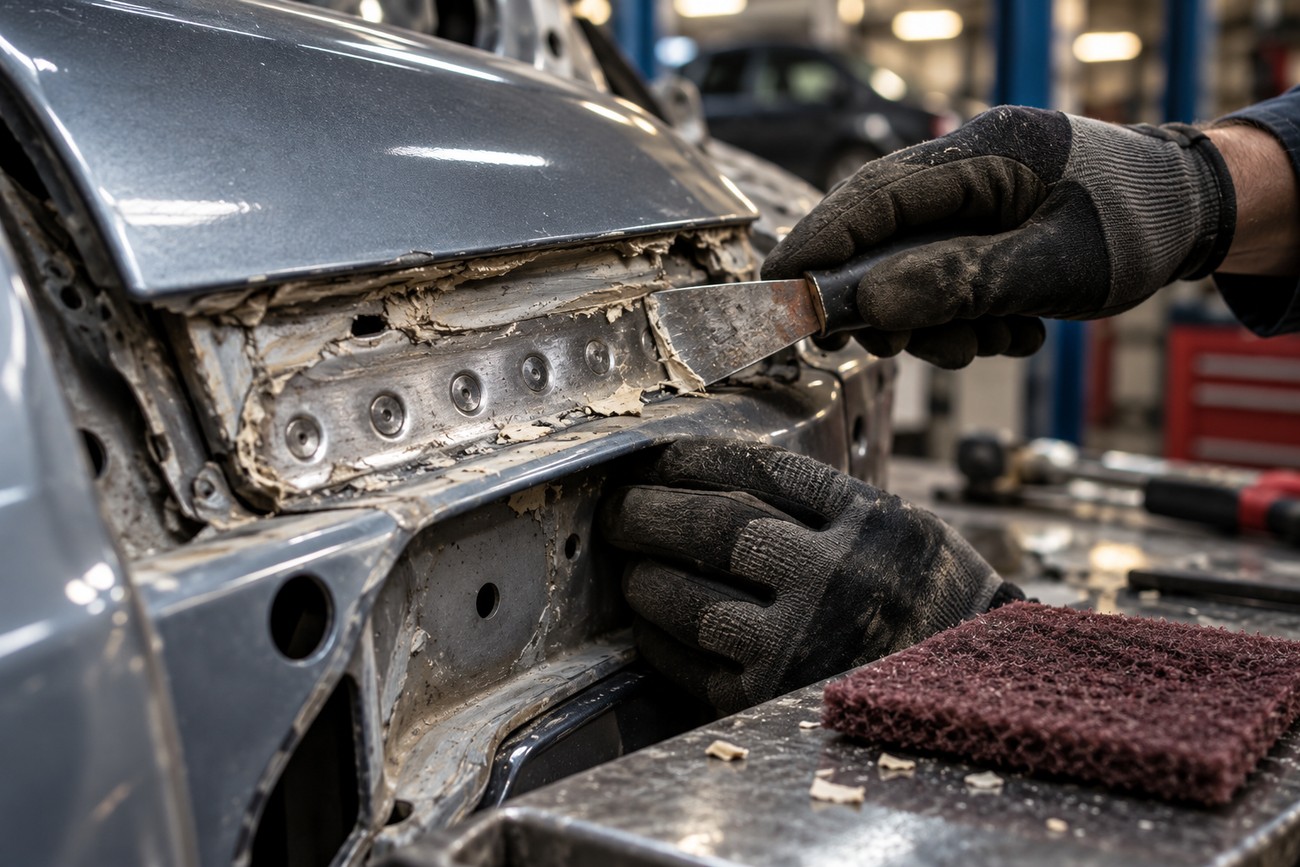
Begin with the panel structure rather than the drill. Low spots, surface relief, seam layout, and repeated spacing can reveal the line of spot welds before the area is cleaned. Circular marks may also be visible on an exposed flange, although paint texture and corrosion can make a supposed weld mark misleading.
Clean the suspected weld line until the metal around each point can be read accurately. Remove paint, rust, oil, dirt, and seam sealer as needed, using a scraper, abrasive pad, or suitable cleaning tool. Remove only enough material to identify the center; grinding deeply across the flange can thin the metal before drilling even begins.
Visual inspection is useful, but it is not perfectly reliable. A weld may be hidden under coating, distorted by previous repair work, or difficult to distinguish from a dent. Check the expected spacing and the way the seam is constructed, then mark each likely center with a small center-punch dimple or a shallow pilot mark.
The mark gives the cutter an initial seat on a curved or slightly raised surface. Starting with a large cutter on an unmarked spot often causes it to skate into adjacent metal. A short pilot hole can provide the same alignment benefit, provided it remains shallow enough to avoid drilling into the retained sheet.
Tools, Bit Size, Speed, and Cutting Control
A practical setup may include a dedicated spot-weld cutter, a pilot drill, a center punch, cleaning tools, a small pry or trim tool, and suitable eye and hand protection. A dedicated cutter can make depth control easier because its cutting action is concentrated around the weld area. Ordinary drill bits can work for some operations, but they demand closer attention to depth and heat.
There is no universal drill-bit or cutter size. The cutter should cover the weld nugget while leaving as much surrounding flange material intact as the joint allows. A cutter that is too small can leave attached weld metal; one that is too large removes sound metal and increases the chance of an enlarged hole.
Use low speed and controlled pressure. High speed or excessive force increases heat, wandering, and cutter wear, especially when the tool is cutting through coated or uneven material. The cutter should remove material steadily; heavy pressure that stalls the tool or pushes it through the joint usually indicates poor centering, a dull cutter, or an unsuitable cutting approach.
Some practitioners recommend abundant lubrication to reduce spot-cutter dulling. That is a workshop recommendation rather than a universal specification, so follow the cutter manufacturer’s guidance and keep fluids away from areas where contamination would affect later welding. Pause when heat builds up, clear swarf safely, and inspect the cut instead of continuing by force.
How to Drill Out Spot Welds Without Going Through Both Sheets
Plan the weld line before cutting. Expose the points, mark their centers, and decide where the panel can be supported without placing pressure on the flange you intend to retain. Good access allows the drill to sit square to the sheet; an angled tool tends to enlarge the opening and makes depth judgment less reliable.
- Set the cutter or pilot on the center mark and start square to the panel.
- Use steady, moderate pressure and let the cutter establish its track.
- Remove the upper layer or weld crown gradually rather than aiming to punch through the joint.
- Stop as soon as the panel being removed releases at that point or the upper layer is visibly separated.
- Move to the next planned point and work along the seam without twisting the panel aggressively.
As the cutter progresses, resistance may change when the upper sheet or weld crown has been removed. A visible cut ring can show that the cutter has reached the edge of the weld area. Slight panel movement after neighboring points are released is another useful indication, although it should never be treated as permission to force the tool deeper.
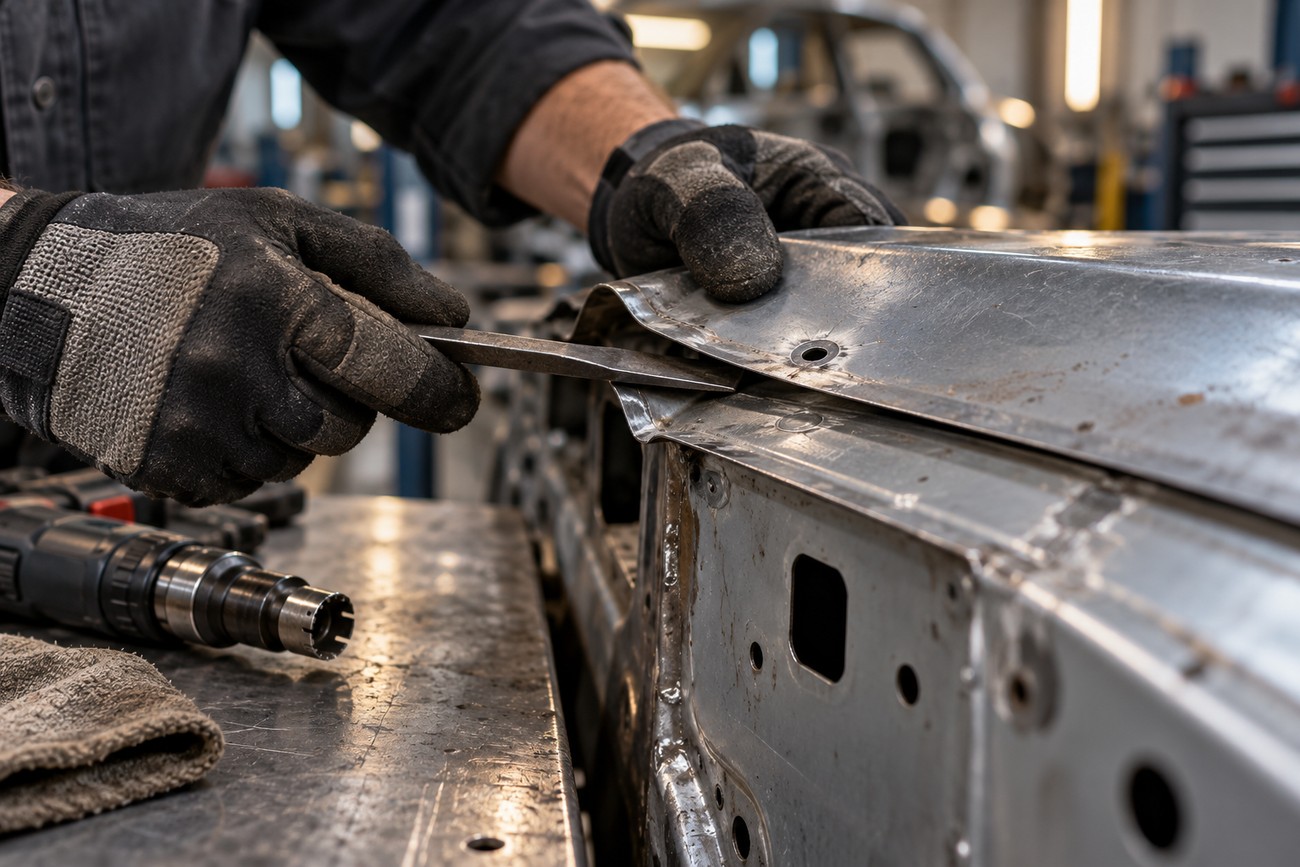
Stop cutting as soon as the upper layer releases, then change to a trim tool. Using the drill as a lever can turn a clean separation into a stretched flange or an oval hole.
After weakening a point, use a suitable trim or pry tool to separate the panels. Drill only enough points to release a section, then lift the old panel carefully and inspect the remaining attachments. Adhesive, seam sealer, corrosion, folded edges, or uncut weld metal can continue to hold the panel after drilling.
Work point by point along the planned weld line to limit flange distortion. A practical guide gives about 3 minutes as an example of the time needed to remove one weld by drilling, although access, weld condition, cutter condition, and operator control can change that substantially. A large number of points therefore requires realistic workshop time rather than an assumption that every cut takes seconds.
Common Drilling Failures and How to Prevent Panel Damage
Cutter wandering usually starts before the drill is running. Paint, rust, and seam sealer conceal the center, while a convex weld mark gives the cutter a surface from which to slide. Clean the area, make a shallow center mark or pilot dimple, and check that the tool is square before increasing pressure.
Drilling through both sheets is commonly caused by treating the operation like a normal hole-drilling task. The cutter continues after the upper layer has released, or the operator applies force because the panel has not yet moved. Stop, inspect the cut, and use a trim tool to test the attachment. The retained flange is normally the part worth protecting.
Enlarged or oval holes indicate movement, excessive pressure, an angled tool, or cutting beyond the weld area. They can require repair before the replacement panel is welded or fitted. If the hole is already damaged, record it during the flange inspection and plan the repair rather than hiding it under seam sealer or the new panel.
A cutter that dulls rapidly is often being run too fast, overloaded, or used on contaminated metal. Excessive heat changes the cutting behavior and can make the operator press harder, accelerating the problem. Reduce speed, control the feed, clear debris, and use lubrication only in a way compatible with the tool and the later welding process.
Repeated aggressive removal can also distort the edge. As more welds release, the remaining strip may flex, stretch, or develop waviness, especially if the old panel is pulled away before all attachments are found. Mark the likely weld line, release it progressively, and avoid using a pry bar to compensate for a point that was missed.
Drilling, Cutting, and Grinding: Which Removal Method Fits?
Each method has a different balance between access, local control, and risk to the retained metal.
| Method | Control | Access | Risk to retained flange | Suitable use |
|---|---|---|---|---|
| Drilling | Good local control when the center is clear and the tool can stay square | Needs room for a drill and a reasonably direct approach | Can preserve the underlying sheet, although over-drilling creates holes | Identifiable welds where one sheet must be retained |
| Cutting | Useful for separating a section when exact weld centers are difficult to use | Can work where a drill cannot be positioned effectively | May remove more surrounding material and make the final edge less precise | Restricted access, poor visibility, or heavily damaged panel sections |
| Grinding | Progressive removal, with close visual feedback | Often useful on exposed weld crowns and open flanges | Can thin adjacent metal if used aggressively | Reducing a weld crown or weakening an attachment before separation |
Drilling is a strong choice when the weld centers are identifiable and the operator needs localized removal. It becomes less attractive when access forces an angle, corrosion has erased the weld shape, or the panel blocks a safe view of the cutter. In those conditions, the attempt to drill precisely may cause more damage than a planned cut around the attachment.
Cutting can be safer around an obstructed or badly corroded weld line because it does not depend on finding every center. It can also remove more material than necessary, so leave enough sound metal for the repair plan and keep the cut away from areas that must remain as a welding flange. Grinding works well for reducing exposed weld crowns, yet prolonged grinding can thin the surrounding sheet before the attachment is fully released.
Dense weld lines and difficult access may require a combination of methods. For example, grinding can expose a crown, drilling can release selected points, and a trim tool can finish the separation. The correct choice is the one that protects the specific sheet and flange required for the repair, rather than the method that appears fastest on an isolated weld.
Frequently asked questions
How can you tell whether the drill has reached the second sheet?
Use several cues together. Resistance may drop after the upper layer or weld crown has been removed, and the exposed cut ring may show that the cutter has passed through the first sheet. The panel may also begin to move when nearby welds have been released. None of these signs alone confirms whether the cutter has touched the second sheet, so stop and inspect rather than relying on a change in sound or feel.
After removing the panel, inspect the retained flange from the opposite side where access allows. A clean, shallow release is different from a full hole or a thin, torn area. If the tool suddenly feeds forward, withdraw it immediately and check the cut; that sudden movement often means the remaining material has become too thin to support further pressure.
What should you do if the panel is still stuck after the spot weld is drilled?
First, check whether the weld was fully weakened. A small remaining bridge of weld metal can hold a panel firmly, especially at the edge of a flange. If the cut looks complete, inspect for adhesive, seam sealer, corrosion bonding, or a folded edge that the drill cannot remove.
Separate the attachment with a trim tool, scraper, or carefully selected cutting method. Increase force only after identifying what is holding the panel. Hard prying against an unidentified attachment can bend the retained flange, stretch the edge, and create damage that is harder to correct than the original weld.
How should the remaining flange be prepared after panel removal?
Inspect the entire flange for leftover weld crowns, thin spots, accidental holes, distortion, corrosion, and trapped seam sealer. Remove remaining weld material and sealant without grinding away sound flange metal. Any enlarged or oval holes should be assessed for repair before the replacement panel is positioned.
Clean the mating surface, restore the flange shape where needed, and check the replacement panel’s fit-up along the complete seam. The panel should sit consistently before welding begins. Final hole repair, flange preparation, and corrosion protection are separate operations from removing the old panel.







