A garage can hold plenty of belongings yet leave no room to park or find the tool you need. Boxes edge into the car’s space, loose supplies cover the workbench, and a quick repair begins with a search. Adding shelves may seem like the obvious fix, but extra storage can preserve clutter as easily as it can contain useful gear.
Start with what you own and the space you need to move through. Sort and remove unwanted belongings before purchasing storage. Once the surplus is gone, you can give the remaining items places that make sense for how often you use them—without sacrificing the car, the doors, or a clear route across the garage.
- Clear out clutter before buying storage
- Plan around the car, doors, and walking space
- Choose shelves and wall storage for the actual load
- Give everyday gear and small parts a clear home
- Keep fuel and other chemicals separate from everyday storage
- Make the system easy to reset
- Frequently asked questions
- How can I organize a garage without drilling into the walls?
- What should I avoid storing in an unheated garage?
- How do I keep pests out of stored garage items?
- How can several people share one organized garage?
Clear out clutter before buying storage
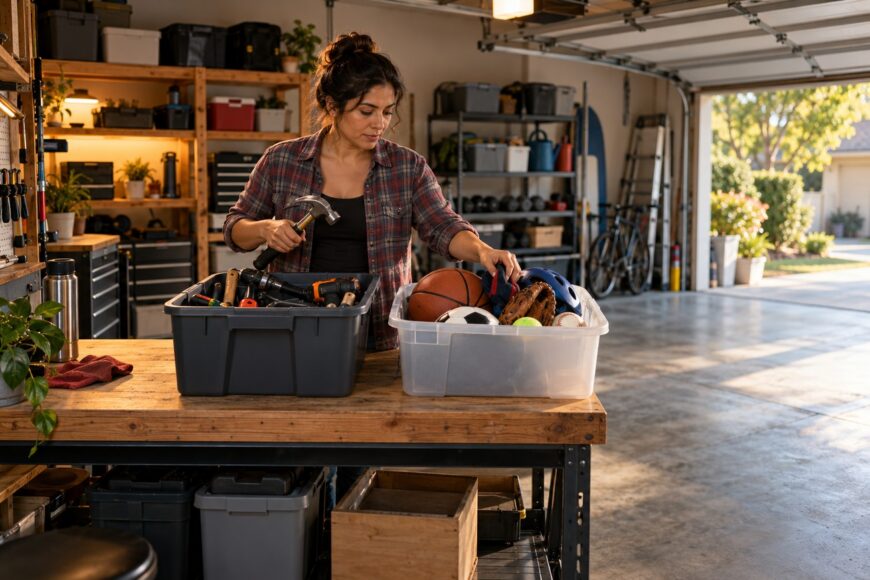
Begin with one manageable area, such as the workbench or a single wall. Pull together like items from that area so you can see the full collection: tools with tools, sports gear with sports gear, and spare parts with spare parts. Avoid emptying the whole garage at once if you need to keep using it during the project.
Decide what to keep, donate, sell, or discard before putting anything back. Keep items you use or have a definite reason to save; set aside duplicates and abandoned projects for a decision rather than returning them to a shelf. Handle waste according to local guidance, especially if it contains batteries, paint, or other chemicals.
Finish the area you started: remove the outgoing items, group what remains, and leave a temporary home for anything still awaiting a decision. Then move to the next area. This sequence prevents half-sorted piles from spreading across the floor and blocking the work you have already done.
A new rack bought too early may simply hold more things you meant to let go. After sorting, you can see whether you need shelving at all, how much space it should occupy, and which belongings require sturdier support.
Plan around the car, doors, and walking space
Park the car where it normally sits before measuring for storage. Check the space needed to open its doors, carry groceries past it, and reach any wall-mounted equipment. A shelf that fits against a wall on paper can still make the garage awkward to use once the car is inside.
Open every door and operate the garage door while the area is clear. Note the garage door’s travel path, the other doors’ swings, and the space you need at the workbench. Keep exits, doors, and access to the electrical panel unobstructed; those areas should not become temporary parking spots for boxes.
Mark the footprint of a proposed rack on the floor with removable tape, then walk the usual routes carrying a bulky item. This simple test reveals tight turns that measurements alone can miss. It also helps you decide whether a shallower shelf would serve you better than a deep one with more capacity.
OSHA specifies an aisle at least 3 feet (about 91 cm) wide for certain indoor storage areas; this is not a universal home-garage requirement. For your garage, the practical goal is a clear route that works with the parked car and the people using the space. Check applicable local requirements if you are planning substantial changes.
Choose shelves and wall storage for the actual load
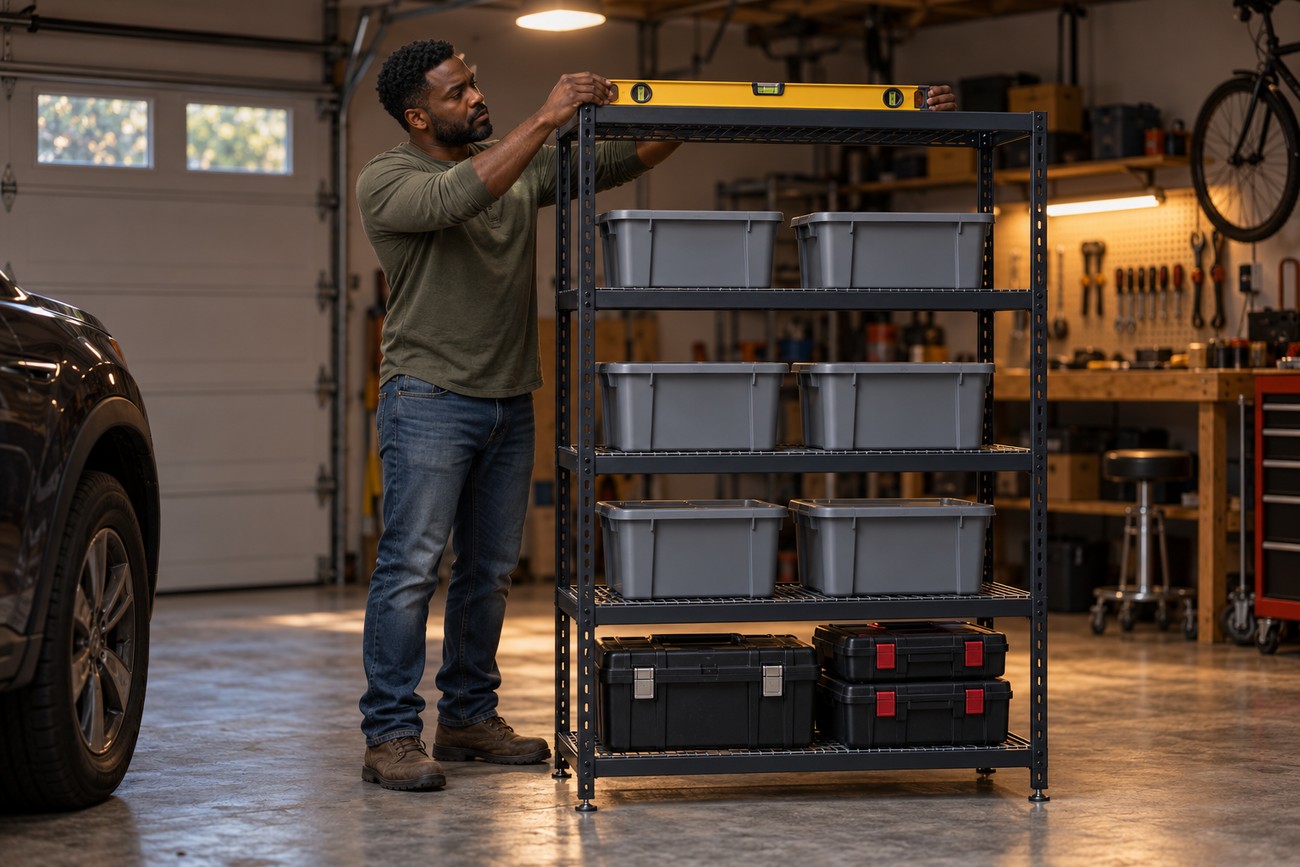
Choose a rack after you know what it must hold and where it will stand. A rack’s advertised total capacity may differ greatly from its per-shelf limit; in one example, a shelf was rated at 35 lb (about 16 kg). Check the particular product’s instructions and distribute loads as directed rather than relying on the largest number on its packaging.
Actual capacity depends on the shelf, fasteners, floor, and weight distribution. Check that a freestanding unit sits level, and follow its instructions for assembly and any required anchoring. Place heavy boxes and tools on lower shelves, where they are easier to lift and less likely to make the unit top-heavy.
Wall hooks can free floor space for light, frequently used gear, but heavy wall storage needs fasteners suited to the actual wall structure. Drywall alone is not a reliable mounting base for heavy wall storage. Overhead storage also needs suitable structural support and a safe way to reach it; an item that requires an awkward lift is a poor candidate.
Casters may help you move a work surface or shelf, but they can change its stability and permitted load. Check the manufacturer’s instructions for the unit and caster setup rather than assuming a mobile rack carries the same weight as a stationary one. If you rarely move it, fixed shelving may be the simpler choice.
Give everyday gear and small parts a clear home
Group belongings by frequency of use rather than container size alone. Put regularly used tools near the workbench and at a comfortable reaching height. Seasonal gear can go farther from the main work area or higher up, provided you can retrieve it safely without shifting a stack of other items.
Give each group a location that is specific enough to make putting things away easy. A tray for drill bits beside the drill is more useful than a large “tools” bin across the garage. Shallow, labeled trays also keep screws and fittings from disappearing beneath unrelated hardware in deep containers.
Clear bins help you spot larger contents, but they do not replace labels for small parts. Label the front of each tray or bin with what belongs inside, then use the same wording on a nearby shelf if several people share the space. That small step makes it easier to notice when something has been returned to the wrong place.
Store heavy items low, but protect them from damp floors and make leaks visible. An appropriate low shelf or raised tray can keep boxes clear of moisture while leaving the area beneath them easy to inspect. Avoid stacking heavy containers high simply to use every inch of wall space; safe access matters more than maximum capacity.
Keep fuel and other chemicals separate from everyday storage
A closed can alone is not a complete storage plan for fuel, solvents, or other flammable products. Follow each product’s storage label, use an appropriate closed container, and keep these materials away from heaters, welding, sparks, and hot surfaces. Check containers periodically for damage or leaks instead of assuming that a closed lid settles the issue.
Keep chemicals apart from everyday bins so they are less likely to be knocked over while someone reaches for a tool. Do not place a leaking container into an ordinary plastic tote and forget it: compatibility depends on the substance, and an opaque bin can hide a problem. Follow the product label and local disposal guidance for anything damaged or no longer needed.
OSHA requires approved closed containers for flammable liquids in the workplaces it regulates. An ordinary metal shelf is not a flammable-liquids storage cabinet. These workplace rules provide safety context, but their storage limits should not be treated as automatic rules for a residential garage.
NFPA 30 requirements vary with the liquid, quantity, building use, and fire protection, so there is no single storage figure that fits every garage. If you keep substantial quantities or are unsure about a particular product, check the label and applicable local fire guidance. Keeping only what you need also reduces the amount you must store and manage.
Make the system easy to reset

An organized garage needs a way to stay organized after the first busy weekend. Give each new purchase a designated place before bringing it into a crowded category, and return tools when the job ends. If a shelf fills up, revisit what is on it before adding another rack.
Start with a low-cost reset: clear the floor, group one category, remove what you will not keep, and label the containers you already have. Reuse sound shelves where their load limits suit the contents. You can complete the project over several short sessions.
Leave a little room within each frequently used area so items can be put back without rearranging an entire shelf. A system packed to its limit may look tidy immediately after sorting, then spill onto the workbench as soon as a tool comes out. Make the return spot obvious enough that anyone using the garage can find it.
Finally, park the car and walk through the garage as you normally would. Keep exits, doors, and access to the electrical panel unobstructed. If a newly organized shelf blocks a door swing or makes the route to the workbench difficult, adjust its location or reduce what it holds; tidy storage should support the space’s everyday use.
Frequently asked questions
Some garage decisions depend on the building and the people who use it. These answers cover common situations that call for a more tailored approach. Use them alongside the instructions for any storage you already own.
How can I organize a garage without drilling into the walls?
Use freestanding shelves and containers you can take with you. Check that the floor is level, follow each unit’s assembly and stability instructions, and avoid assuming that all freestanding racks have the same anchoring requirements. If a unit cannot be set up securely without drilling, choose a different arrangement.
What should I avoid storing in an unheated garage?
Move paper records and other moisture-sensitive belongings indoors if the garage gets damp. Check product labels for required storage temperatures, since freezing or heat can affect some supplies. For anything valuable or difficult to replace, inspect the garage through the seasons before making it a permanent storage spot.
How do I keep pests out of stored garage items?
Avoid storing food in the garage, including forgotten snacks in bags or boxes. Sweep up debris, inspect containers before stacking them, and choose bins with lids that close securely for items pests could nest in. Check stored belongings occasionally so signs of activity do not stay hidden behind a row of boxes.
How can several people share one organized garage?
Give each person a clearly labeled area for personal gear, then agree on separate shared spots for tools and supplies. Label return locations as well as storage bins so an item has a clear destination after use. Review crowded shared areas together before one person’s belongings begin taking over the common space.