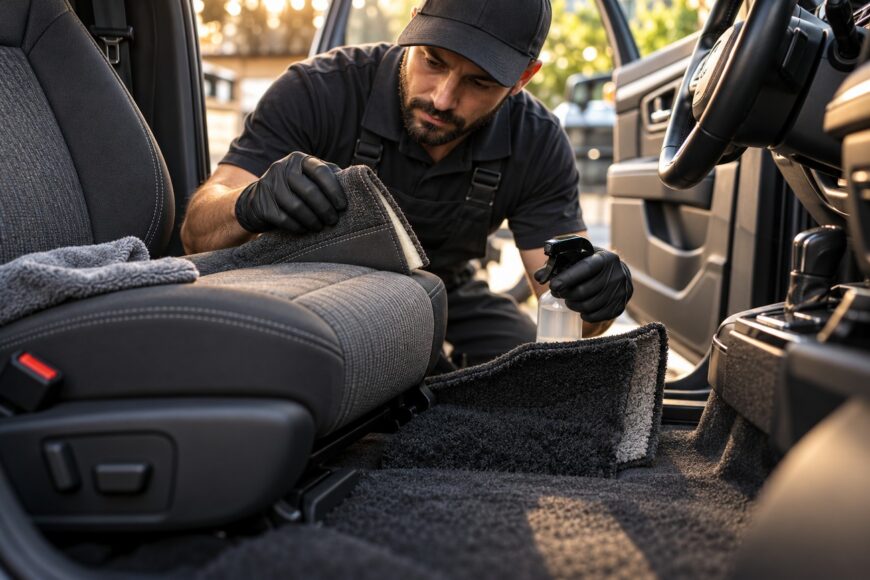
More water does not automatically produce a cleaner interior. A heavily wetted seat or carpet may look impressive while it is being cleaned, yet excess moisture can cause dye migration, water rings, slow drying, odor, and contamination returning from the foam. A small treated area can also dry with a visible boundary beside untouched fabric.
Reliable results come from a controlled process: identify the material, remove dry soil first, use a compatible cleaner in a limited amount, agitate gently, extract thoroughly, and verify drying beyond the visible surface. The right method differs for seat fabric, carpet, side inserts, and headliners. Material limits matter as much as stain removal.
- Start by Identifying the Material and the Risk
- Prepare the Interior Before Adding Any Liquid
- Use a Low-Moisture Cleaning Workflow
- Prevent Water Rings, Resoiling, and Returning Stains
- Extract Thoroughly and Dry the Foam, Not Just the Surface
- Common Mistakes That Make a Clean Interior Worse
- Frequently asked questions
- What should I do if the odor remains after the seats appear dry?
- How often should cloth car seats and carpets be cleaned?
- What is the best way to clean car seats and carpets?
- What is the best way to clean fabric car seats at home?
- How can I make my cloth car seats look new again?
Start by Identifying the Material and the Risk
Cloth seats and vehicle carpets may look similar, but they do not always tolerate the same cleaning method. Seat fabric is backed by foam that can retain water, while carpet often has a different backing and may be more suitable for extraction. Side inserts, headliners, and decorative fabrics can be thinner, more delicate, or attached with adhesives that do not respond well to saturation.
Check the vehicle manual before applying liquid to a seat. Some seats contain electronics, sensors, heating elements, or other components that can be affected by moisture. Water should not be poured directly into these areas unless the manufacturer’s guidance and the material’s compatibility have been confirmed.
Wet upholstery cleaning also carries risks, especially when excessive moisture is used. IICRC guidance highlights dye migration and cellulosic browning as possible problems. These can appear as color movement, uneven darkening, or brownish discoloration after drying, even when the original stain seemed to be improving.
Test the cleaner and method on a concealed area first. Allow the test spot to dry, then check for obvious color change, dye migration, texture change, stiffening, or disturbed nap. A product that appears harmless while wet can still alter the fabric as it dries.
Prepare the Interior Before Adding Any Liquid
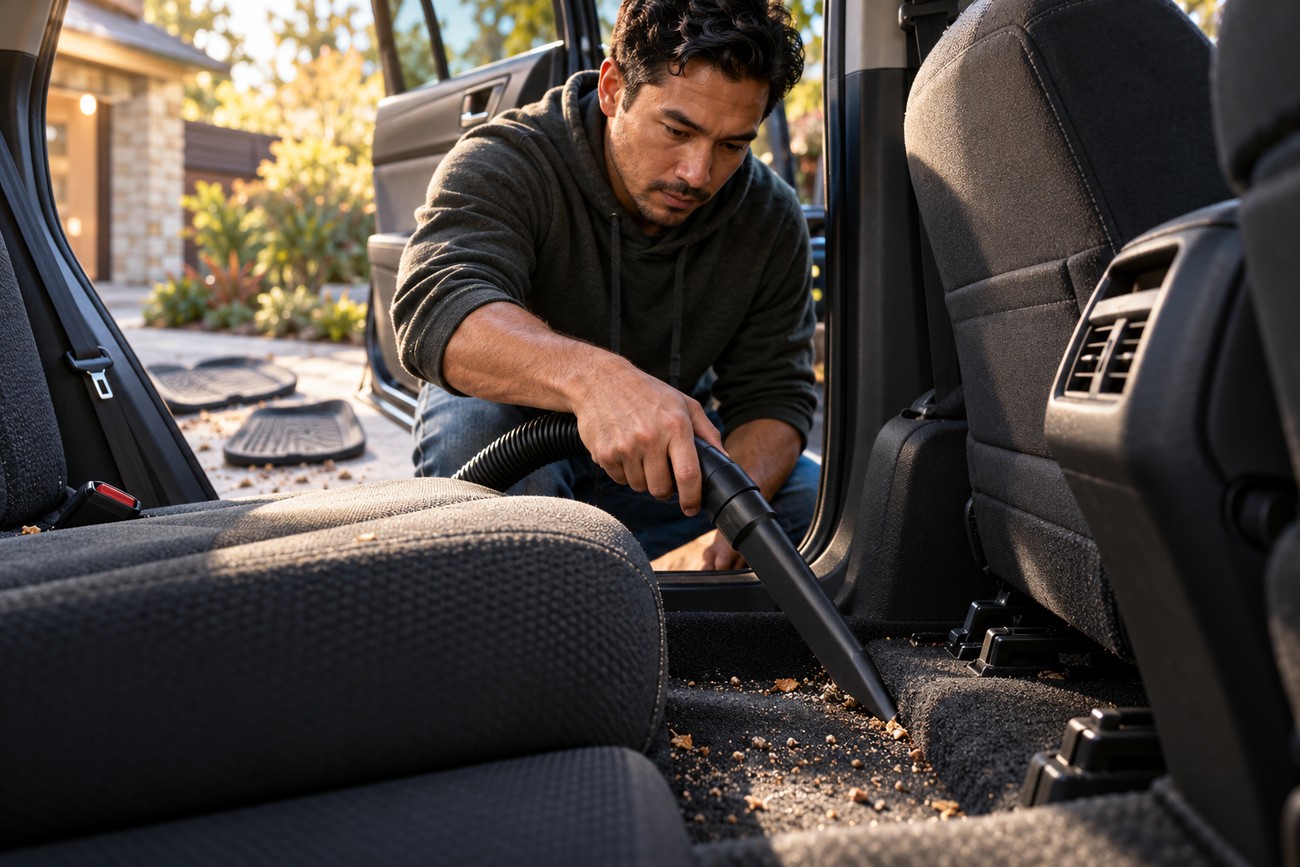
Remove loose objects, floor mats, and large debris before cleaning. Vacuum the seats, seams, carpet edges, and the area beneath the seats with care. Dry vacuuming must come before chemical or wet cleaning because sand and crumbs can become abrasive dirt when wetted, spreading through the fibers as gritty mud.
Identify the type of soil before choosing a product. Fresh liquid spills, greasy marks, food residue, and ground-in dust may require different treatment, and an old stain may already extend into the foam. Blot liquid spills with an absorbent towel rather than scrubbing them outward. For a visible spot, work generally from the outside edge toward the center to reduce spreading.
Protect components that should remain dry, including seat controls, connectors, exposed wiring, and nearby trim. Use a small amount of product on the fabric rather than flooding the seat. If a spill has reached the seat cushion or a stain appears to come from inside the foam, surface spraying alone is unlikely to solve it.
Follow the product label for dilution and do not mix concentrated cleaner by eye. A stronger solution is not automatically more effective; excess surfactant can remain in the fabric and attract new soil. Material compatibility, pH, concentration, and complete residue removal all determine whether a cleaner is suitable.
Use a Low-Moisture Cleaning Workflow
The core sequence is straightforward: apply a compatible cleaner sparingly, agitate mechanically with a suitable tool, then extract the solution and loosened soil. Use a soft upholstery brush, microfiber tool, or another implement appropriate for the fabric. Work in manageable sections so the product does not dry before it can be extracted.
Extraction is appropriate only when the material is compatible with it. Vehicle carpet may tolerate a controlled extraction process, while sensitive seat fabrics or delicate inserts may require low-moisture cleaning. Apply enough solution to suspend the soil, then remove it promptly rather than repeatedly soaking the material.
Choose neutral or material-appropriate chemistry instead of assuming that a universal APC is safe. A universal APC is not automatically suitable: pH, concentration, material compatibility, and complete residue removal all matter. Oxidizing or bleaching ingredients can change color when the dose or application method is wrong.
Several extraction-only passes can remain useful after the recovered water looks clean because foam may still hold solution, surfactant, and loosened soil. Removing that hidden load helps limit wick-back, resoiling, and drying problems.
After the first wet extraction, make additional passes without applying solution. Move the tool slowly enough to recover moisture, then inspect the fabric without relying only on the appearance of the recovery tank. A household carpet cleaner may remove water slowly and require many passes, so stopping as soon as the surface looks clean can leave the cushion unnecessarily wet.
Prevent Water Rings, Resoiling, and Returning Stains
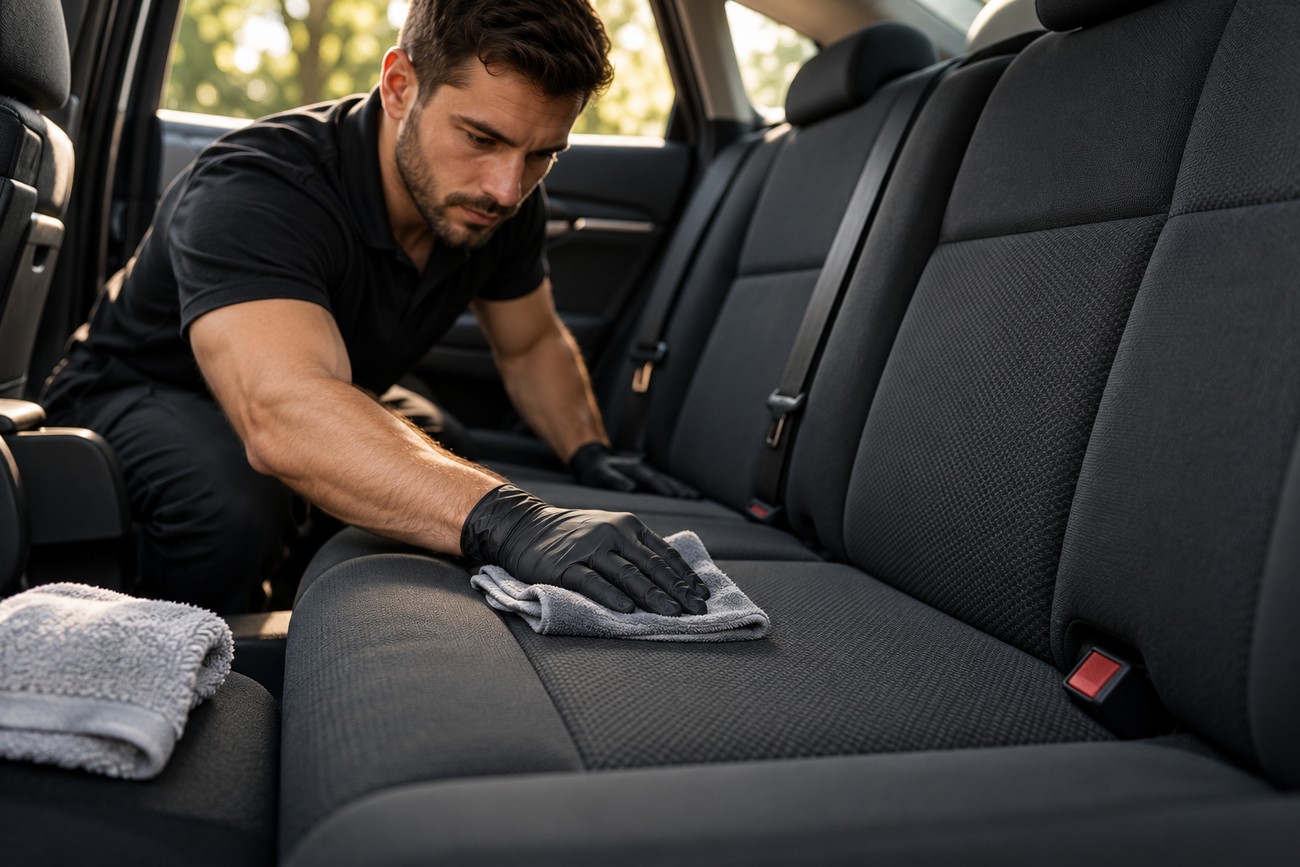
A water ring often forms where a locally wet area meets dry fabric. The boundary is created by uneven moisture, dissolved soil moving toward the edge, or a difference in the fabric’s appearance after cleaning. Local cleaning can therefore leave a visible outline even when the spot itself has been removed.
Use the smallest workable area for a minor mark, but consider treating the entire fabric panel evenly when a localized spot would create obvious contrast. The panel should still receive only the moisture its material can tolerate. Thoroughly wetting an entire seat to avoid a ring may reduce the visual boundary in some cases, yet it also increases drying and odor risk.
Returning stains usually indicate that contamination or cleaning solution has wicked back from deeper in the material. Incomplete extraction can leave water, surfactant, and dissolved soil in the foam. As the cushion dries, that mixture can travel toward the surface and recreate a mark that appeared to be gone.
Clearer water at the extractor outlet does not prove that all chemical residue has been removed. Correct dilution, controlled rinsing where the material permits it, and additional extraction-only passes are more useful indicators. If the stain repeatedly returns, stop adding product and reassess the source, depth, and suitability of professional extraction.
Extract Thoroughly and Dry the Foam, Not Just the Surface
Drying is part of the cleaning process, not a final cosmetic step. Keep doors or windows open and maintain active air exchange while the fabric is wet. Air movement across the surface helps, but it does not remove moisture from the deepest parts of a cushion without adequate extraction.
Seat foam dries more slowly than the visible fabric. A seat can look even and dry while its seams, lower cushion, or inner foam still feel cool and retain moisture. Check thick areas, folds, and seams by touch, and watch for a damp smell rather than judging only by color.
There is no universal drying time for seats. It depends on foam thickness, temperature, and ventilation. Avoid closing the vehicle immediately after wet cleaning, because trapped humidity slows drying and increases the likelihood of persistent odor and microbial growth.
For carpets, IICRC guidance calls for complete drying of at least 48 hours. This is a benchmark for full drying, not a promise that every vehicle carpet will need exactly the same period. Backing, underlay, weather, airflow, and the amount of water used all affect the result.
If a cushion remains cool, damp, or odorous after extended ventilation, do not mask it with fragrance or add more cleaner. Re-extract only when the material and vehicle allow it, using minimal solution, or seek a technician who can assess moisture deeper in the foam. Surface appearance alone cannot confirm that the interior is dry.
Common Mistakes That Make a Clean Interior Worse
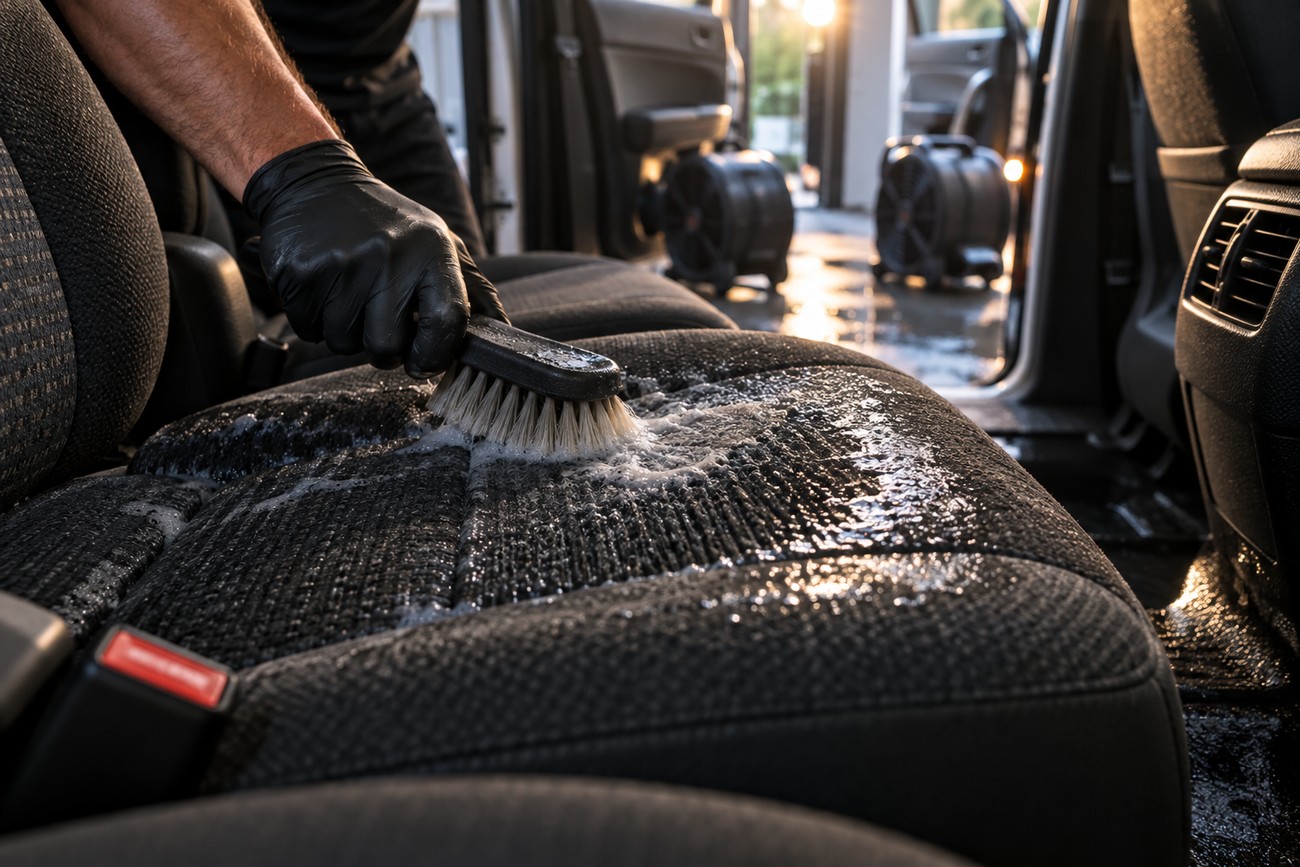
The belief that more water and shampoo mean more cleaning leads to several predictable failures. Excess moisture raises the risk of prolonged drying, water rings, dye migration, and odor. Professional guidance favors minimizing moisture, although some practical advice recommends thoroughly wetting a whole panel to prevent rings; that approach increases the drying burden and should be limited by material compatibility.
A stiff brush can loosen the nap, flatten fibers, or create a visibly different texture around the cleaned area. Aggressive rubbing can also spread a stain and drive soil deeper. Controlled agitation with a soft tool, followed by extraction, usually gives better control than repeated force.
Excess APC creates another problem. A concentrated or poorly rinsed product may leave a sticky residue that attracts soil and can be reactivated by perspiration or humidity. If a cleaner has no clear material guidance, test it on a hidden area and use a product intended for the specific textile when possible.
Closing the vehicle as soon as the surface looks dry traps moisture inside the cabin. Household extraction machines may also remove water slowly, so a quick pass is rarely enough on thick seats. Take time for slow recovery passes, active ventilation, and a physical check of seams and foam before returning the interior to normal use.
Frequently asked questions
What should I do if the odor remains after the seats appear dry?
First distinguish between fragrance, residual moisture, and contamination. If the smell is chemical or perfumed, adding another product may intensify the problem. If the seat feels cool in seams or thick areas, continue ventilation and inspect the foam rather than judging the surface alone.
A sour or musty odor can indicate contamination held deeper in the cushion, especially after a spill or heavy wet cleaning. Avoid sealing the vehicle or covering the smell with deodorizer. If careful drying does not resolve it, the seat may need material-compatible re-extraction or deeper assessment.
How often should cloth car seats and carpets be cleaned?
Use visible soil, recurring odor, spills, and passenger use as the guide instead of following a universal calendar. Vacuuming can be done whenever dry debris appears, while wet cleaning is more appropriate when soil remains after vacuuming or a spill has penetrated the fabric.
Vehicles carrying children, pets, food, or frequent passengers may need attention sooner than lightly used interiors. Clean promptly after spills, but choose the least-moist method that suits the material and allow complete drying before closing the vehicle.
What is the best way to clean car seats and carpets?
The best method is the least aggressive process that removes the soil without exceeding the material’s moisture tolerance. Vacuum first, test a compatible cleaner, agitate gently, and extract only when the fabric and vehicle components permit it. Sensitive materials may be better served by low-moisture cleaning.
For persistent stains, the source and depth matter more than repeated surface treatment. If contamination is inside the foam or a seat contains sensitive electronics, follow the vehicle manual and consider professional assessment.
What is the best way to clean fabric car seats at home?
Work in small sections with limited product and controlled agitation. Keep liquid away from controls, connectors, sensors, and heating elements unless the manual confirms the method is safe. Use extraction-only passes afterward when compatible, then dry with doors or windows open and active air exchange.
Do not use the same process on every textile in the cabin. Test for color, dye movement, and texture change, and stop if the fabric becomes distorted, unusually stiff, or discolored.
How can I make my cloth car seats look new again?
Start with thorough dry vacuuming, because embedded sand and crumbs can make clean fabric look dull and cause further abrasion. Then address stains evenly and cautiously; a local spot may look lighter or develop a ring beside untouched fabric, so an even panel treatment may sometimes give a better visual result.
Restore appearance through clean, residue-free fabric rather than heavy fragrance or excess shampoo. Finish by drying the foam fully and checking seams for coolness, dampness, or odor. A permanently flattened nap, faded area, or damaged fiber may not be reversible through cleaning alone.