
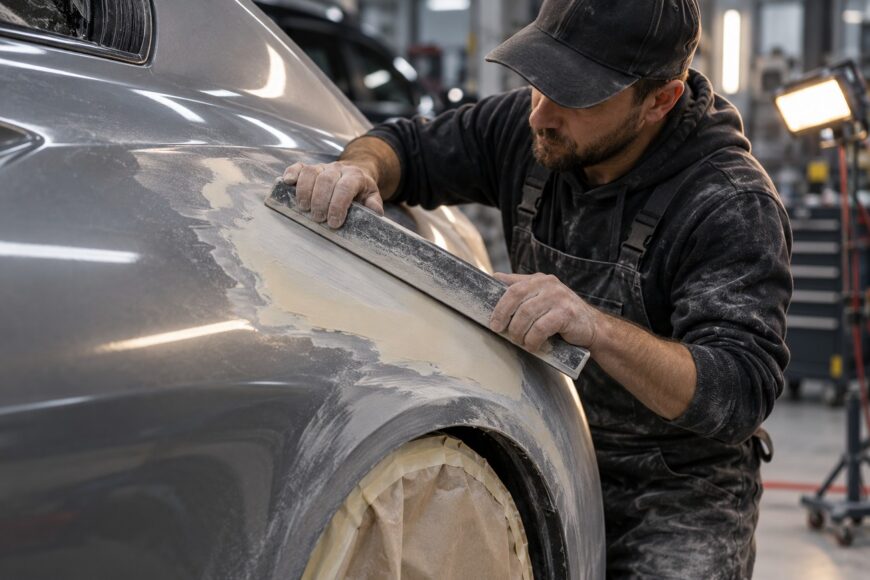
A panel can feel smooth under your hand and still reveal waves, low spots, and sanding scratches as soon as primer or angled light exposes the surface. Touch follows small local changes; a long reflection shows the larger geometry that determines whether the repair looks straight.
A straight finish comes from removing material to establish the panel shape first, then refining the scratch pattern without polishing over defects. Full cure, long-block control, guide coat, dust removal, and repeated visual inspection all matter more than simply choosing a finer abrasive.
- What a Straight Finish Actually Requires
- Let the Body Filler Cure Before You Sand
- Choose the Abrasive Sequence for Shape, Not Shine
- Block Sanding Technique That Keeps the Panel Straight
- Use Guide Coat, Light, and Reflection to Find Defects
- Edges, Curves, Pinholes, and the Areas That Fail First
- Common Sanding Failures and Their Corrections
- Final Checks Before Primer
- Frequently Asked Questions
- How long should body filler set before sanding?
- Why does sandpaper clog immediately on body filler?
- How do you know when filler is ready for primer if it still feels slightly rough?
What a Straight Finish Actually Requires
A straight finish means controlled panel geometry that remains consistent across the repair and its surrounding metal. Smoothness by hand is only one part of the check. The useful test is whether the surface holds a clean reflection under angled light and whether a long block or board sander contacts the intended areas evenly.
A long sanding block controls the plane across a wider section than fingers or a short block. That length helps bridge minor lows instead of following every hollow, while guide coat and material removal show where the shape is changing. Finer abrasive alone cannot create a straight panel if the working surface is already uneven.
Body filler also has limits as a shaping material. It cannot correct fundamentally incorrect metal geometry, and excessive filler thickness increases the risk of shrinkage, cracking, and rework. If the metal is still distorted, correcting the panel first usually produces a more stable repair than burying the problem under a deeper layer.
Broad flat areas are easier to control than sharp edges, tight contours, and compound curves. Those areas change direction quickly, so the block can remove material from a ridge or leave a low spot beside it. The finished surface must therefore be judged by its geometry and reflected line, rather than by how polished or soft it feels.
Let the Body Filler Cure Before You Sand
Polyester body filler has limited working time after the hardener is mixed, typically measured in minutes rather than tens of minutes. Mix only what you can place and shape within the product’s working window. Once the filler is applied, sanding readiness depends on full cure according to the product system, rather than on a universal fixed clock.
A surface can feel set on top while the material beneath remains less stable. Sanding at that stage may clog the abrasive, roll the filler, or change the profile under pressure. Much of the shrinkage or sinking becomes apparent after full cure and the first sanding cycle, which is why early shaping can lead to print-through after primer.
Temperature and humidity affect cure behavior and sanding response. In cold conditions, filler may cut differently and seem rubbery, while other conditions can change the time needed for a complete cure. Follow the filler manufacturer’s instructions for the required cure conditions, and allow for the actual shop environment.
Do not use the fact that the surface no longer feels sticky as the only readiness check. Look for stable cutting, a clean abrasive response, and the cure condition specified for that product system. If the material smears, clogs rapidly, or moves under a firm block, stop and reassess before removing more material.
Choose the Abrasive Sequence for Shape, Not Shine
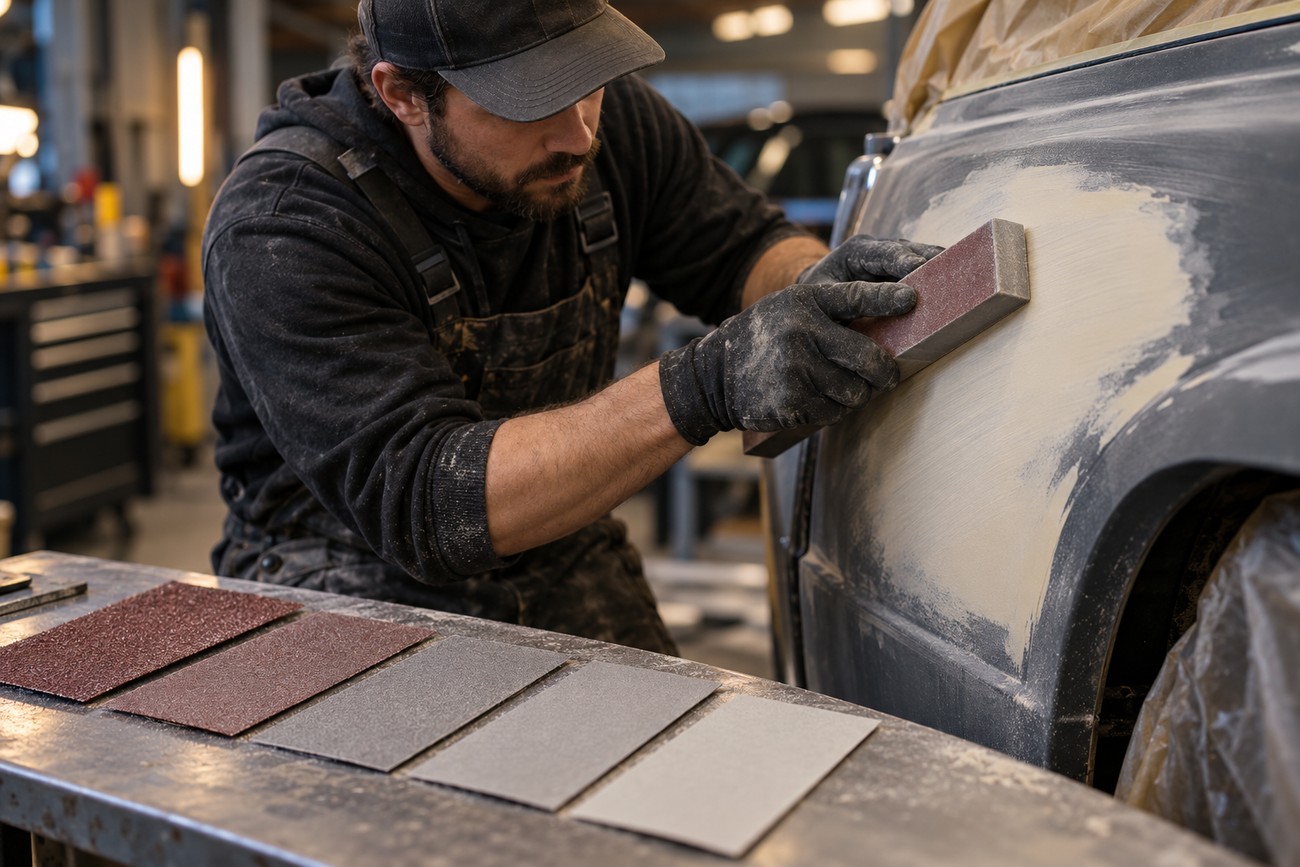
Dry sanding body filler commonly starts with P80–P120 dry abrasive for establishing the body-filler shape. This stage removes high areas and establishes the repair profile. Use a controlled block so the coarse abrasive cuts the intended geometry rather than creating isolated grooves or deep pressure marks.
After the shape is established, the filler surface commonly ends around P180–P240 before primer. The transition should follow the filler, primer, and topcoat system because exact grit transitions depend on those materials. A consistent scratch pattern gives the next coating a suitable mechanical key.
Finer refinement is generally performed on the primer, rather than by polishing the body filler itself. Moving to fine abrasive too early can make the surface feel improved while leaving waves and low spots in place. It may also reduce the useful scratch pattern for the next layer.
Filler hardness changes how carefully you need to work. Softer filler cuts faster but is easier to distort, especially under pressure or on an edge. Harder filler or high-build putty holds an edge better but sands more slowly, so the correct response is controlled pressure and inspection rather than simply changing to a finer abrasive.
Block Sanding Technique That Keeps the Panel Straight
Use a long, rigid sanding block or board sander for broad, straight surfaces. Keep the tool supported across the repair and surrounding area, and make overlapping passes rather than short, isolated strokes. The block should follow the intended panel direction while still covering enough area to expose changes in the plane.
Work in overlapping crosshatch directions. One direction establishes the main scratch pattern; the crossing direction removes directional bias and leaves evidence of remaining low areas. When old scratches remain in one direction while the crossing pass cuts elsewhere, the surface gives you a useful map of its shape.
Let the material-removal pattern guide your pressure. Pressing harder does not make a low spot come up; it usually cuts surrounding material faster and can roll an edge or deepen the defect. A block that starts cutting only at a ridge is showing you where the profile is high, not inviting more force.
Stretch the transition from filler into bare metal or old finish over a gradual area. A sharp boundary can leave a step that becomes visible after primer and paint. Keep the tool moving across the transition, clean the abrasive frequently, and check that the repair remains integrated with the original panel rather than ending at a hard line.
Use Guide Coat, Light, and Reflection to Find Defects
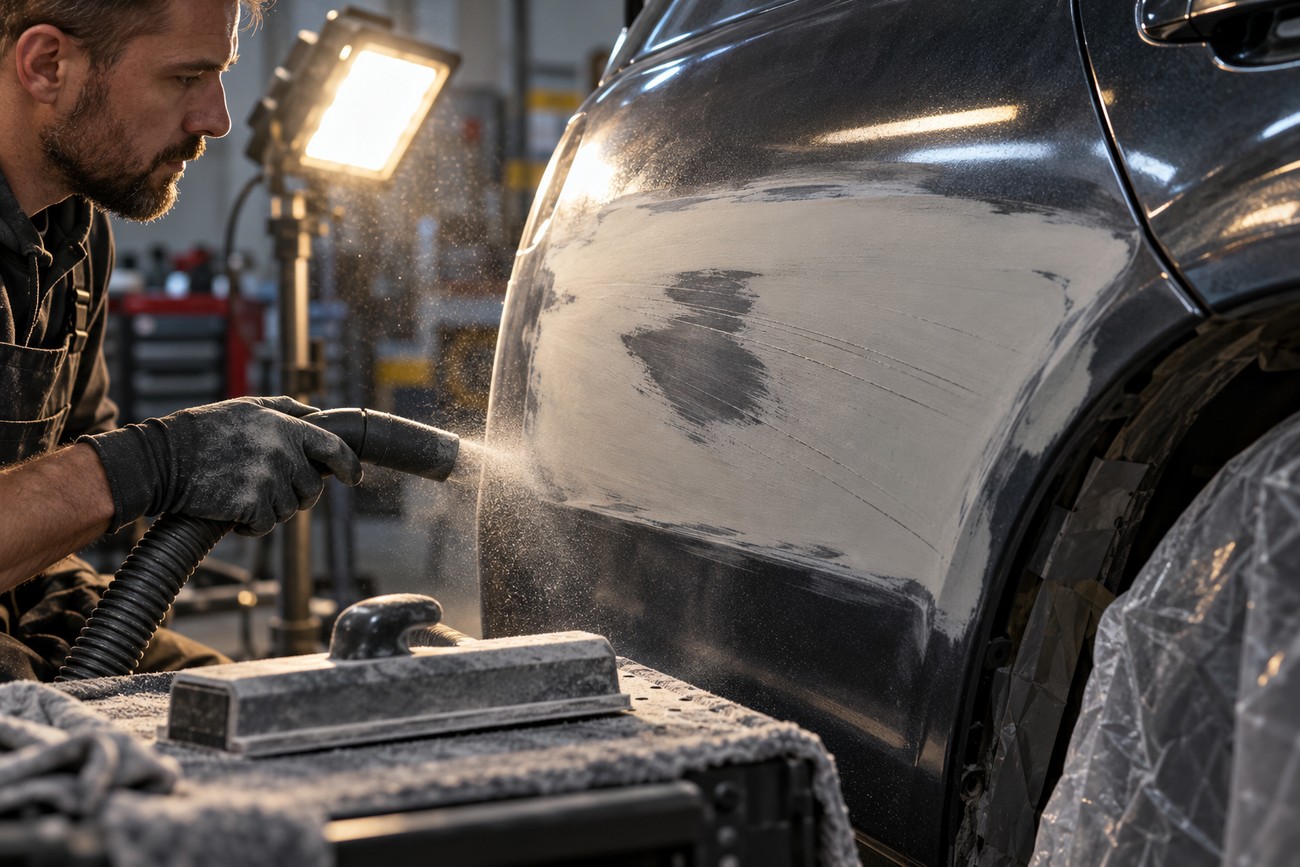
Apply guide coat as a practical inspection map after the filler has been blocked. Sanding removes it from high areas first, while it remains in low spots, deep scratches, and untouched sections. This makes the remaining geometry easier to read than a bare filler surface under ordinary shop lighting.
Remove dust before judging the result. Body-filler dust can hide guide-coat evidence, contaminate the work area, and clog the abrasive rapidly. Vacuum or blow down the surface according to safe shop practice, then clean it so the next inspection shows the actual scratch and contact pattern.
Progress is judged by where material is being removed and how the panel carries a long reflected line, rather than by how smooth it feels under a bare hand.
Use angled light or a long reflected line to check straightness. Move the light or your viewing position so waves change shape in the reflection; a low spot that disappears in direct light often becomes obvious at an angle. Repeat the guide-coat check before moving to the next abrasive stage.
Edges, Curves, Pinholes, and the Areas That Fail First
Edges and complex curves are substantially harder to keep straight than broad, flat panels. A long block may bridge a flat section well, yet remove too much from a narrow ridge or fail to sit correctly on a compound curve. Use a suitable smaller support where the contour demands it, while preserving the same controlled inspection method.
Over-sanding a ridge or edge can break through to metal and alter the intended profile. Once that happens, continuing to sand the surrounding area often makes the transition wider without restoring the shape. Check edges frequently, keep pressure light, and avoid allowing the block to pivot onto a narrow contact point.
Aggressive sanding can open pores and microvoids in the filler. These defects may appear through primer even after the surrounding surface looks flat. Persistent pinholes are not solved reliably by continuing to lower the area around them; they require the appropriate filling or correction step for the product system.
Compound curves also make reflection control more demanding because the reflected line naturally changes direction. The target is a consistent, intentional contour, not an artificially flat surface. Feather the filler-to-metal transition gradually and inspect along the curve from several angles before advancing the abrasive sequence.
Common Sanding Failures and Their Corrections
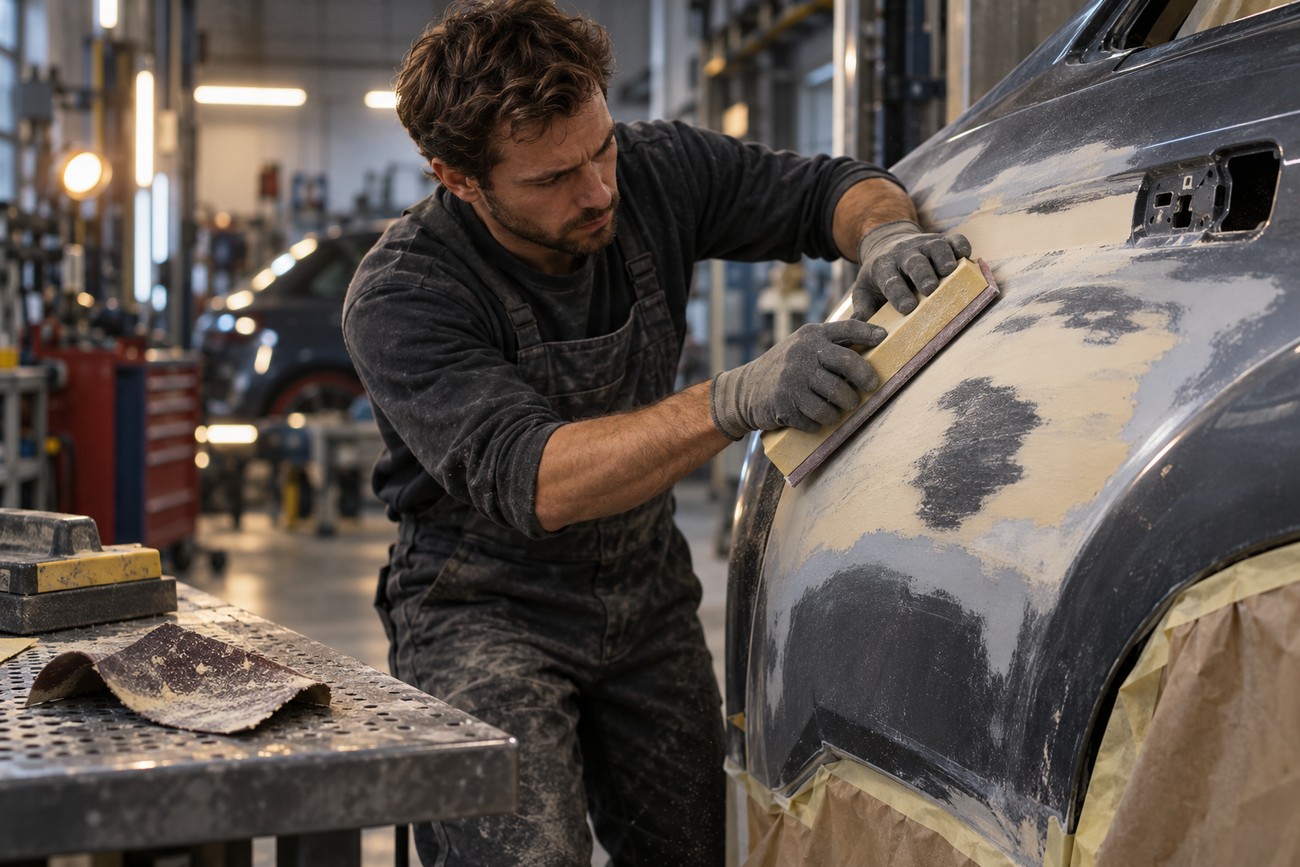
Waves that return after primer usually indicate incomplete shape control before the surface was refined. Fine abrasive may have softened the visible scratch pattern while leaving the underlying plane unchanged. Return to a suitable shaping abrasive on a long block, use guide coat, and correct the geometry before refining again.
Scratches or pores that appear later can result from early sanding, incomplete cure, aggressive cutting, or an inconsistent abrasive progression. Sanding before full cure can contribute to clogging, shrinkage, and later print-through. Confirm the cure condition, remove unstable material, and rebuild the scratch pattern through the product system’s recommended stages.
An edge that looks rolled usually reflects excess pressure, a short tool, or repeated sanding in one direction. The correction is controlled feathering and careful profile recovery, rather than more pressure at the edge. Harder filler can hold an edge better but sands more slowly; softer filler cuts quickly but is easier to distort.
Immediate paper clogging can indicate undercured filler, excessive pressure, heat buildup, or an unsuitable sanding approach. Clean the surface, reduce pressure, check the cure, and confirm that the abrasive is appropriate for dry filler work. If the material still smears, stop sanding until the product system has cured fully.
A tactile check alone can miss waves and low spots. The idea that finer grit always improves the result is misleading, just as filler does not level itself during application. Controlled blocking, guide coat, dust removal, and angled inspection establish the finish; fine abrasive only refines a shape that is already correct.
Final Checks Before Primer
Before primer, confirm that the panel shape is stable under a long reflection and that the filler-to-metal transition is feathered. The repair should hold its intended contour without visible waves, undercuts, or isolated ridges. Primer can reveal defects, but it should not be used to conceal unresolved geometry.
The filler surface is commonly refined to P180–P240 before primer, subject to the filler, primer, and topcoat system. Aim for a consistent scratch pattern suitable for the next coating. A polished filler surface can be less useful than a correctly controlled surface with an even mechanical key.
Check pores and pinholes directly rather than assuming another sanding pass will remove them. Confirm that no ridge has been cut through to metal, that no transition ends in a sharp step, and that excessive filler thickness has not been left in place. These checks reduce the chance of repeating the repair after coating.
Remove dust and inspect once more under angled light. If guide coat remains in a low spot or the reflected line breaks across the repair, correct that area before primer. The release condition is stable geometry, addressed pores, feathered transitions, a consistent scratch pattern, and a clean surface.
Frequently Asked Questions
How long should body filler set before sanding?
Sand body filler only after it has fully cured according to the product system and the actual temperature and humidity conditions. There is no universal fixed time that applies to every filler, hardener ratio, shop temperature, or application thickness.
Use the manufacturer’s cure guidance together with a practical check: the abrasive should cut cleanly, the filler should not smear or move under controlled pressure, and the material should remain stable during the first sanding cycle. Sanding as soon as the top feels firm can contribute to clogging, shrinkage, and print-through after primer.
Why does sandpaper clog immediately on body filler?
Immediate clogging commonly points to undercured filler, excessive pressure, heat buildup, or an abrasive that does not suit the sanding approach. Early sanding is a frequent cause because the material can feel set while remaining soft beneath the surface.
Check cure conditions first, then reduce pressure and keep the block moving. Remove accumulated dust, use appropriate dry-sanding equipment, and reassess the filler if it smears or behaves rubbery. Continuing with clogged paper can generate heat and distort the surface instead of improving it.
How do you know when filler is ready for primer if it still feels slightly rough?
Filler is ready for primer when its geometry is stable, transitions are feathered, pores are addressed, and the surface has a consistent scratch pattern appropriate for the coating system. It does not need to feel polished under your hand.
Inspect the repair after removing dust with guide coat, angled light, and a long reflection. If those checks show no unresolved lows, waves, sharp steps, or undercut areas, the remaining controlled roughness can provide the mechanical key the primer requires. Fine refinement generally belongs on the cured primer system when its instructions allow it.







