
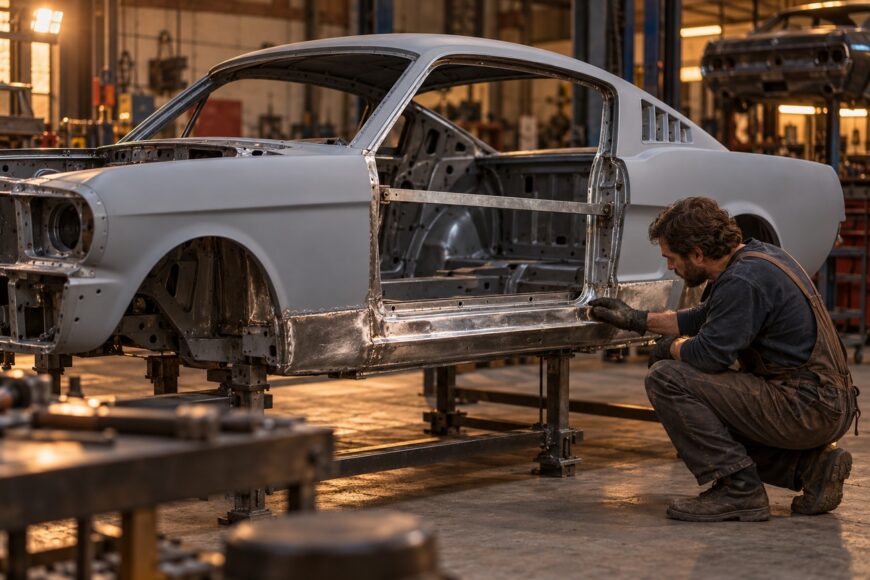
A freshly stripped classic-car shell can develop rust spots before the next workshop session. Worse, removing a blister at a lower seam may reveal corrosion between two sheets that looked sound from outside. The aim is to preserve sound metal while exposing damage that would otherwise disappear beneath new coatings.
That work starts before the first cut. Record how the panels fit, support the shell as its strength changes, and arrange access to the reverse side of each repair. Strip and protect manageable areas in sequence so bare steel does not sit exposed while the rest of the car is still being assessed.
- Document and support the shell before removing metal
- Find the corrosion the outer skin cannot show
- Choose a stripping method for each part of the shell
- Strip in stages instead of leaving the entire shell bare
- Cut out unsound steel and repair the shell without distorting it
- Prepare clean metal and apply a compatible epoxy primer
- Restore panel shape without hiding a weak repair
- Protect weld backs, seams, and cavities before closing access
- Check the shell before final surfacing and paint
- Frequently asked questions
- How can I estimate the cost of restoring a classic car body shell?
- What does WD-40 do to automotive paint, and should I use it to protect bare panels?
- How should I store an epoxy-primed shell if painting is delayed?
Document and support the shell before removing metal
Photograph the shell before disassembly, including door fit, panel gaps, hinge positions, and areas that have already been repaired. Record openings and useful reference dimensions while the shell is assembled. These records give you a baseline when a replacement panel needs fitting or a gap changes after cutting.
Check whether the body shell itself carries the loads you are about to disturb. A body-on-frame car has a separate frame, but its body openings and mounts can still move when weakened panels are removed. The correct support arrangement depends on the car’s construction and the location of the repair; there is no universal brace position.
Before cutting a sill, floor edge, or other load-bearing section, establish secure support and consider bracing any opening that could shift. Confirm that doors and adjacent panels can still be trial-fitted as work proceeds. A shell held in the wrong shape may accept a neat repair panel and still leave doors that no longer close properly.
Keep the measurements and photographs available at each stage, rather than relying on a final check. Reconfirm the relevant openings before a structural cut and after the replacement is fitted. If the shell has moved, correct its support or alignment before welding fixes that shape in place.
Find the corrosion the outer skin cannot show
Inspect wheel arches, lower seams, sills, flanges, and drain paths before choosing where to strip. Look through existing access openings and behind removable trim where possible. Mud and blocked drains can keep moisture against a panel long after its outer face has dried.
A paint blister can indicate corrosion starting on the reverse side. Probe suspect edges carefully and inspect accessible backs of panels; an apparently clean exterior seam does not establish that the metal inside it is sound. Lap-jointed sheets can retain moisture between them, beyond the reach of an exterior sanding disc.
A magnet can suggest an area of thick previous filler, especially where its pull changes across a panel. It cannot tell you whether a thin seam is corroded internally. Combine it with close inspection of edges, gentle tapping where appropriate, and a view of the reverse side.
Mark the boundaries of each suspect area and reassess them as coating comes off. Rust extending out of a joint may require opening more of that joint than the initial blister suggests. Deciding the repair boundary from visible paint alone risks leaving the source of corrosion in place.
Choose a stripping method for each part of the shell
Choose by panel shape, access, and the containment available; no single method is safest for every part.
| Method | Suitable area | Principal risk | Follow-up before priming |
|---|---|---|---|
| Careful mechanical stripping | Accessible outer panels and local repairs where tool control is possible | Excessive abrasion can thin edges or mark the steel; dust from old coatings needs containment | Inspect exposed metal, remove dust and contamination, and prepare the surface as the coating system requires |
| Chemical stripping | Complex shapes or areas where abrasive tools cannot work evenly, provided residue can be reached and removed | Chemical residue trapped in seams can compromise later coating adhesion | Remove and handle residues according to the stripper and coating-system instructions; verify seams are clean and dry |
| Controlled abrasive blasting | Suitable rigid or intricate areas with appropriate equipment and containment | Aggressive blasting can distort large, relatively flat panels such as roofs, hoods, and trunk lids | Remove spent abrasive, inspect seams and metal thickness, and protect prepared steel promptly |
Strip in stages instead of leaving the entire shell bare
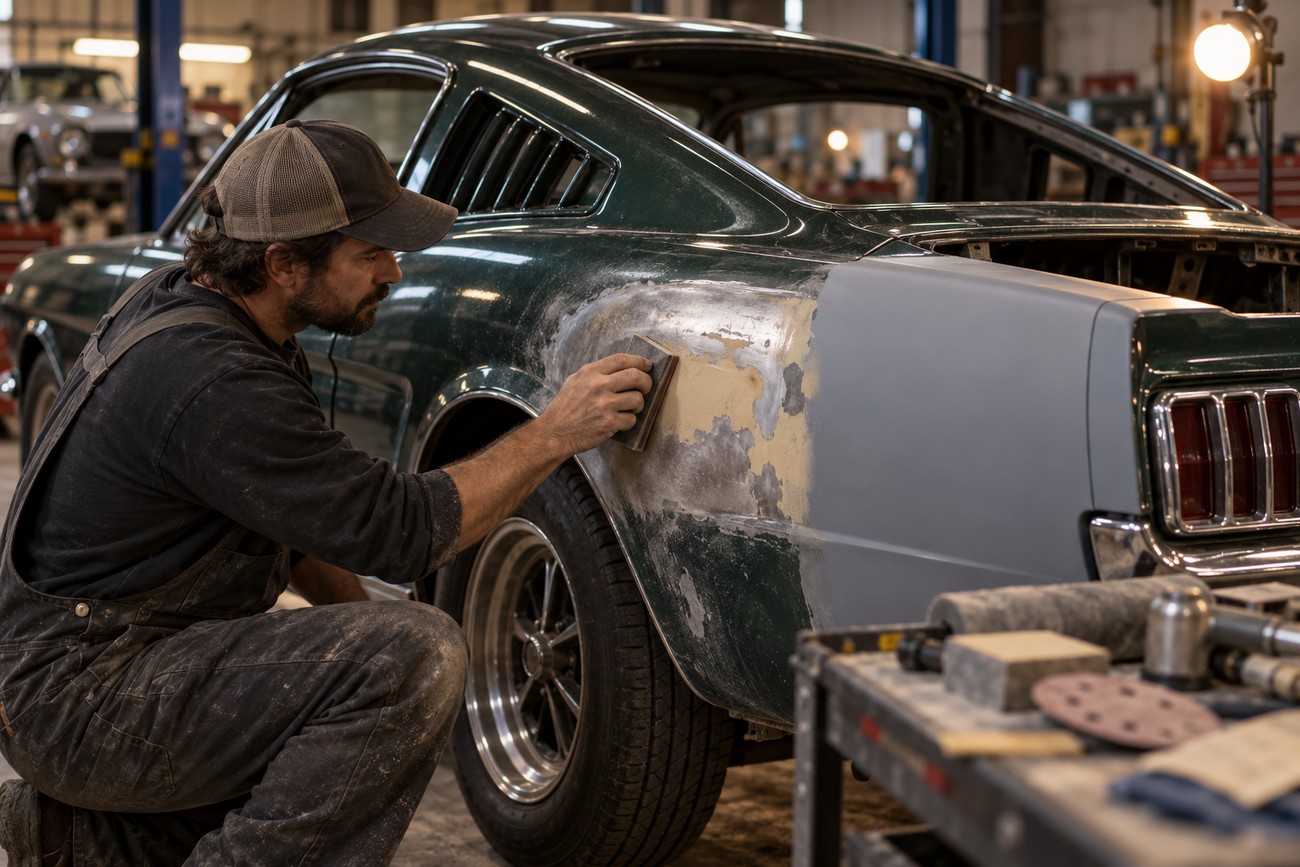
Work through a panel or manageable repair area: remove its coating, inspect the exposed steel, deal with contamination, and protect sound prepared metal before moving on. This leaves time to investigate a seam that proves worse than expected without exposing the entire shell. In a humid workshop, unprotected steel can develop visible surface rust during a delay.
Keep stripping separate from final preparation. Old paint can hide filler, previous welds, and thin metal; pause when these appear and decide whether the panel needs repair rather than continuing to grind. On large, relatively flat panels, avoid aggressive blasting that can distort the sheet.
Identify likely coating hazards before generating dust or blasting debris, particularly where old finishes are unknown. Use suitable containment, ventilation, and protective equipment for the removal process and materials involved. Do not assume an old coating is safe to sand simply because it appears intact.
Once a prepared area is ready for coating, keep handling and airborne dust to a minimum. If work stops, check for new oxidation or contamination before continuing; covering a newly rusty surface with primer defeats the preparation already done. The chosen coating system determines the final cleaning and priming steps.
Cut out unsound steel and repair the shell without distorting it
Light surface corrosion on sound steel may be removable during preparation, followed by close inspection of the remaining metal. Perforation, deep pitting at critical edges, and swelling between welded layers require removal to sound metal and a suitable metal repair. Primer and filler cannot restore missing thickness or a failed joint.
Open the damaged area far enough to see where sound metal begins, including the reverse side where accessible. Preserve original edges and reference points that will help position the repair. A patch fitted only to the visible rust hole may leave weakened metal at its perimeter.
Trial-fit the repair piece against adjacent panels and, where relevant, with doors in place. Compare openings, gaps, and reference dimensions with those recorded before disassembly. Keep the weakened shell correctly supported during cutting and fitting so its temporary flexibility does not dictate the finished shape.
Fit the metal accurately before welding; forcing a poorly fitting piece into place adds stress. Continuous welding on thin sheet can build heat, shrink the joint, and leave a wavy panel. Control heat and check alignment as the joint is completed, using a welding approach appropriate to the repair and metal.
After welding, inspect for pinholes and incomplete joins before dressing the surface. Grinding should finish the weld without thinning the surrounding sheet. Check the reverse side as well: a smooth exterior says little about the condition or future protection of the back of the repair.
Prepare clean metal and apply a compatible epoxy primer
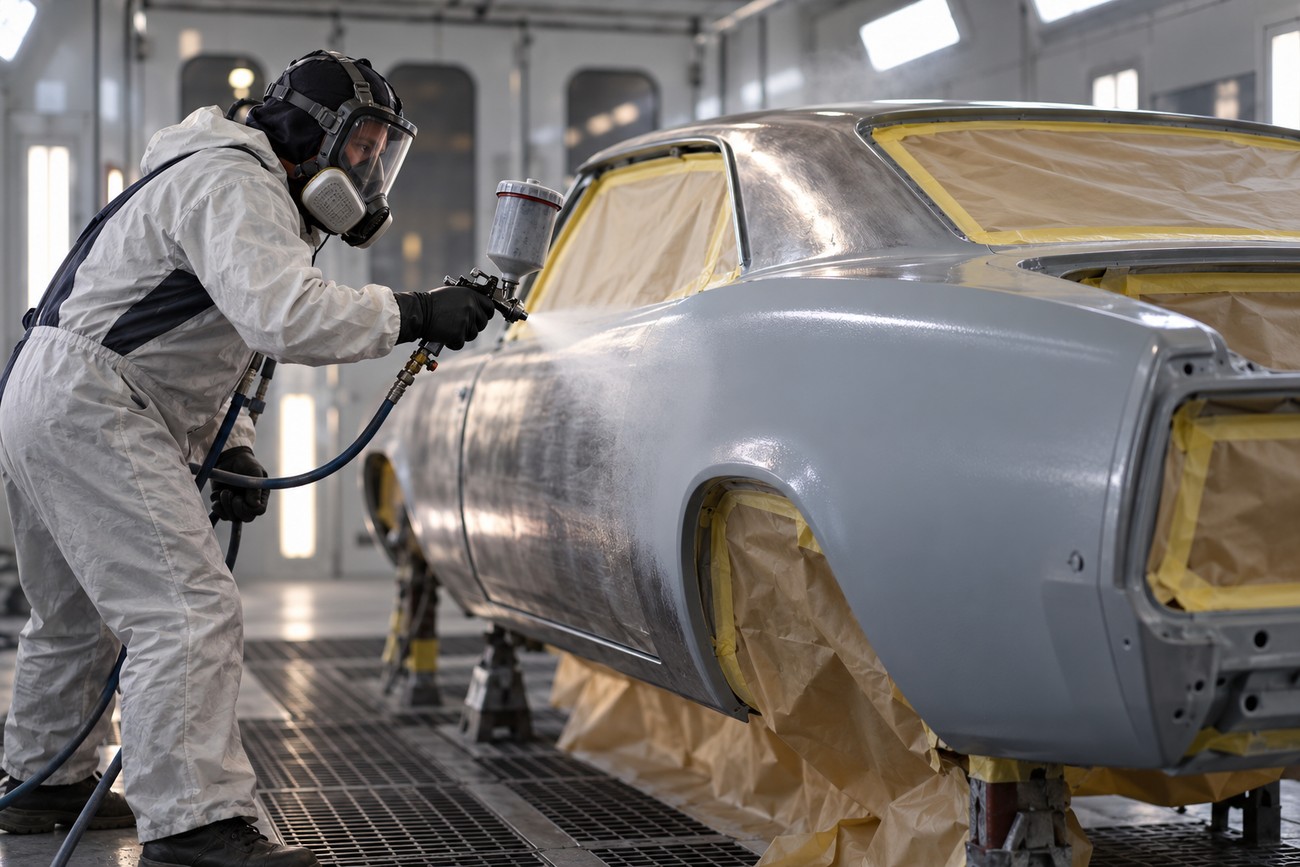
Remove loose rust, welding debris, spent abrasive, and residues before final surface preparation. PPG recommends sanding repaired bare steel with P120–P180, followed promptly by primer or an approved chemical treatment. Verify the preparation requirements for the coating system you will actually use.
Clean the surface with a product compatible with that system and wipe it away while it is still wet, using clean wiping material. Letting a contaminated cleaner evaporate can leave dissolved oil or other residue on the steel. Avoid touching the prepared surface with bare hands before priming.
Two-component epoxy primer provides adhesion and corrosion protection on properly prepared bare steel. It does not cure rust, repair metal, or straighten a panel. Its protective role depends on sound substrate preparation and the specified mixing, application, and subsequent coating steps.
Phosphoric-acid treatment is sometimes recommended before epoxy, but it is not a mandatory addition to every system. Check the technical data sheets for treatment compatibility, residue removal, and the permitted application sequence. Trapped or improperly handled chemical residue can undermine adhesion.
Prime repaired areas promptly once they meet the selected product’s requirements. Inspect edges and recesses for missed coverage rather than treating a uniform-looking outer face as proof that the whole repair is protected. Plan the remaining materials as one compatible system, including any filler and surfacer.
Restore panel shape without hiding a weak repair
Finish metal shaping and weld dressing, then check panel gaps before reaching for filler. A straightedge and the fit of neighboring panels can reveal a low area or displaced edge that primer alone will not correct. Two-component epoxy protects prepared steel; it is not a straightening material.
Use filler only for appropriate surface refinement over a sound repair, within the chosen products’ instructions. A heavy layer can conceal poor geometry or weakened metal, and its outline may become visible after painting. Perforation, deep pitting at critical edges, and swelling between welded layers still call for metal repair.
Treat primer, filler, and surfacer as parts of a specified coating system. Filler-over-epoxy compatibility and timing come from the products’ technical data sheets; an application window reported for one product must not be applied to another. Check whether surface preparation is required if that product’s permitted window has passed.
Protect weld backs, seams, and cavities before closing access
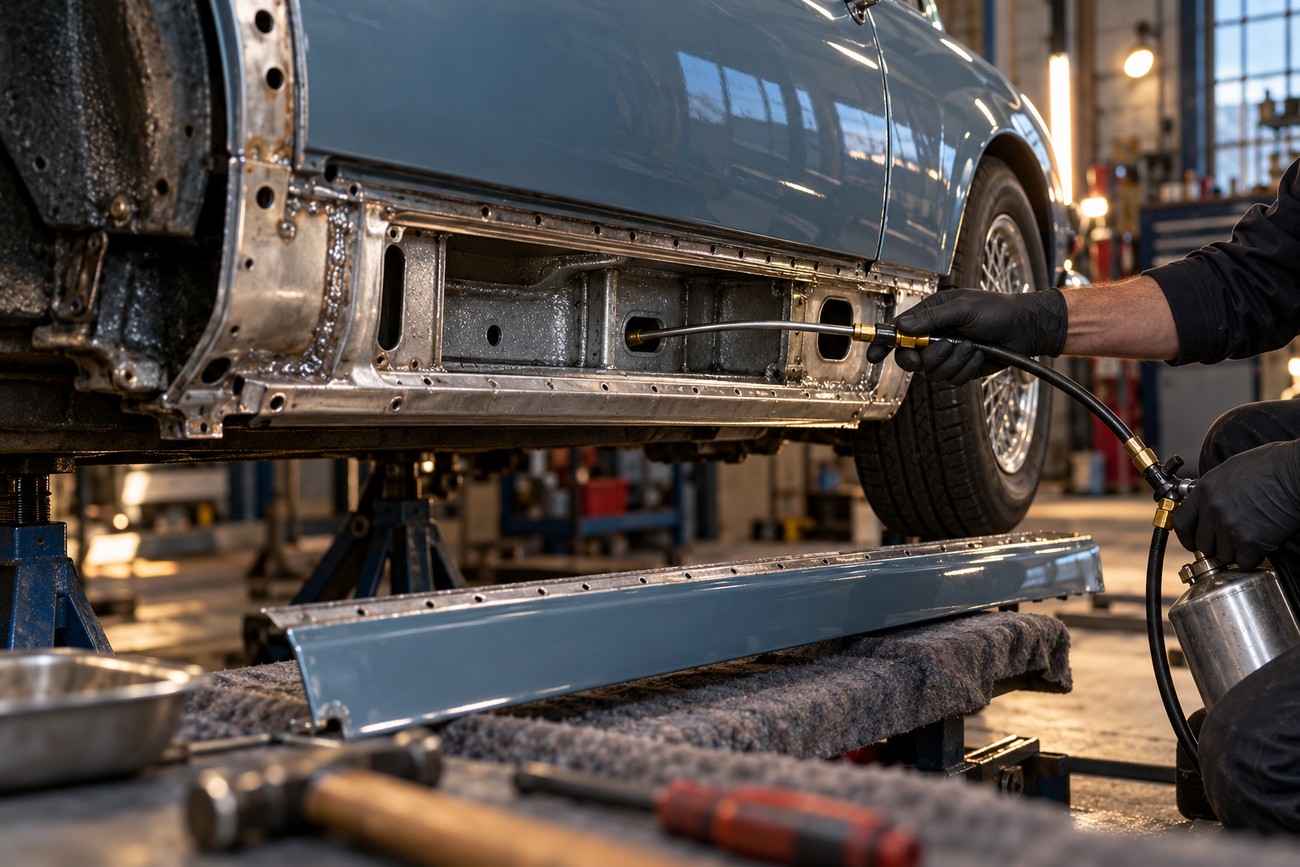
Plan how you will reach both sides of a joint before installing its final piece. After welding, clean accessible weld backs and protect them with materials compatible with the repair and coating system. An exposed reverse side can corrode even when the outer weld has been dressed and primed.
Weld-through primer may be specified for mating flanges, but it does not replace post-weld protection, appropriate seam sealing, or cavity treatment. Heat and welding can disturb protection near the joint. Inspect what remains accessible after welding and restore protection before closing the area.
Seal appropriate seams after the underlying surfaces have been prepared and coated as the system requires. Treat enclosed cavities through suitable access points, while keeping factory drain paths open. A blocked drain can hold water against the repair the coatings were meant to protect.
Pay attention to dissimilar-metal contacts, including fasteners and hinges where different metals touch, because they need separate protection against galvanic corrosion. Epoxy on the visible face cannot seal a chip, an uncoated edge, or moisture entering between lap-jointed sheets. Inspect these contact points and hidden edges as carefully as the broad outer panel.
Check the shell before final surfacing and paint
Recheck door fit, openings, and panel shape while the shell remains correctly supported. Compare them with the original records rather than judging each panel in isolation. Epoxy primer can protect prepared steel, but a smooth primed surface does not prove that the metal beneath it is straight or sound.
Inspect repaired joints for pinholes, missed edges, coating damage, and signs that corrosion remains in a seam. Confirm that reverse sides and cavities received their planned protection. Look closely at the places where moisture can enter despite a well-coated outer face.
Verify that drains are open and mounting points, hinges, and fastener locations remain usable. A sealed cavity with no drainage or a coated-over mounting hole creates work later and may expose fresh metal during assembly. Make these checks before final surfacing limits access.
Finally, compare the planned filler, surfacer, and paint sequence with the technical data sheets for the selected coating system. Check preparation and recoat requirements for the shell’s actual condition, including any areas that have waited in primer. Resolve incompatibilities before applying another layer.
Frequently asked questions
These decisions depend on the shell you uncover and the products you choose. Inspection findings and technical data sheets are more useful than an assumed average cost or universal coating schedule.
How can I estimate the cost of restoring a classic car body shell?
Build an estimate from a documented inspection, listing each area that needs stripping, metal repair, and coating. Check repair-panel availability and identify work that must be outsourced, such as specialist fabrication or blasting. Keep a separate contingency for corrosion concealed in seams and cavities; an estimate based only on visible outer panels is likely to miss it.
What does WD-40 do to automotive paint, and should I use it to protect bare panels?
Occasional contact with an existing sound paint finish is a different issue from preparing steel for coating. An oily product can leave residue that must be thoroughly removed before primer will adhere. Do not use it as a substitute for a compatible primer on bare panels; if it has been applied, follow the coating system’s cleaning instructions before preparation and priming.
How should I store an epoxy-primed shell if painting is delayed?
Keep the shell clean and dry, protected from handling damage, dust, and moisture, and leave drains unobstructed. Before work resumes, inspect for chips, corrosion, or contamination and deal with affected areas. Follow that primer’s technical data sheet for its recoat requirements and any cleaning or surface preparation needed after storage; there is no universal safe storage interval.







