
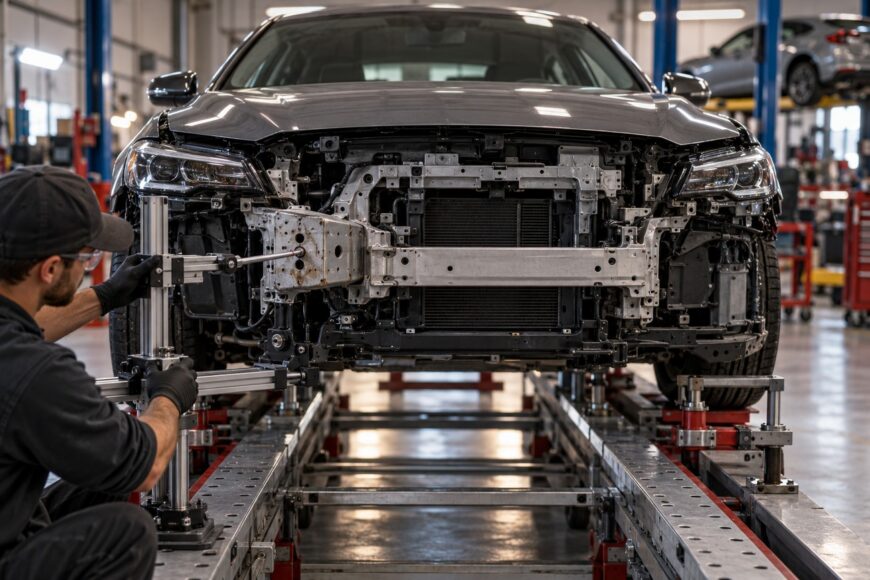
A car can leave a collision shop with smooth paint and even-looking panels, yet still pull to one side or have a door that closes differently than it did before. Those symptoms do not prove structural damage, but a tidy exterior does not prove that the unibody and safety systems have been restored. The distinction depends on inspection, measurement, and the vehicle’s repair requirements.
On a unibody car, the body itself carries loads and locates components such as the suspension. A repair decision therefore goes beyond whether a dent can be removed. The shop must establish where the impact traveled, which parts the manufacturer allows it to repair, and how it will verify the result.
- Why a small-looking impact can become a structural repair
- How a shop finds damage before choosing a repair
- Repair or replace: what changes the decision for each part
- What happens during a proper structural repair
- The work that remains after the panels line up
- How to judge the finished repair and the real estimate
- Frequently asked questions
- What is the $3,000 rule for car repairs?
Why a small-looking impact can become a structural repair
A unibody spreads impact forces through connected panels, rails, pillars, and floor sections. A damaged bumper cover may hide a bent reinforcement or shifted mounting point; a hit near a wheel can affect the suspension attachment behind an apparently repairable fender. The visible dent shows where contact occurred, not necessarily where the force stopped.
Displaced suspension mounts or rails can contribute to pulling and uneven tire wear. A changed door opening may leave irregular gaps or make a latch work harder, while disturbed panel joints and mounts can produce wind noise or squeaks. These symptoms help a shop decide where to inspect, but none identifies the exact damaged part by itself.
Some collisions remain cosmetic: the damage is confined to outer parts, and checks find no affected structural reference points. Where a shop suspects a structural shift, it must assess the relevant points against vehicle-specific OEM specifications. A short drive with the steering wheel straight cannot establish that the underlying geometry meets those specifications.
How a shop finds damage before choosing a repair
Diagnosis begins with the impact area and the parts connected to it. Removing covers, trim, and selected components can expose rails, floor sections, suspension mounts, hinges, and other attachment points that an assembled car conceals. This is why an initial estimate may change after teardown: previously hidden damage can alter the parts list and the permitted repair method.
For suspected structural damage, the shop records relevant unibody reference points before correction and measures them again afterward. Depending on the vehicle and impact, those checks may include diagonals, floor and rail heights, and the symmetry of mounting locations. The target is the vehicle-specific OEM specification, rather than a gap that merely looks even.
Modern measuring systems can resolve millimeter-scale differences, but there is no single allowable millimeter tolerance for every car or reference point. A wheel alignment measures wheel angles; it cannot, on its own, confirm that a rail or suspension mounting location is correctly positioned. Ask which points were assessed and whether the shop can provide the before-and-after results.
Repair or replace: what changes the decision for each part
The vehicle-specific OEM repair procedure determines whether a damaged part may be straightened or sectioned, or must be replaced. The part’s material and location matter as much as how severe the damage looks.
| Part | Possible approach | Decisive OEM check | Effect on scope or estimate |
|---|---|---|---|
| Outer panel | Repair a permitted dent or replace the panel. | Check repair limits, attachments, and any restrictions affecting nearby sensors. | Fit and refinishing work can expand if mounts or adjacent parts are damaged. |
| Deformable structural section | Straighten or section only where the procedure permits; otherwise replace. | Check allowable correction, cut locations, and joining methods. | Measurement, replacement parts, and structural joining add work beyond cosmetic repair. |
| High-strength or hot-stamped component | Follow the specified repair or replacement method for that component. | Check material identification and limits on heat, straightening, and welding. | Restricted methods may require a larger replacement scope or specialized joining. |
Heating or unauthorized straightening can change the properties of some high-strength components. A technician’s experience helps execute the work, but cannot replace the model-specific instructions. Even when an approved repair is technically possible, its full cost may lead an insurer to classify the vehicle as an economic total loss under applicable rules and policy terms.
What happens during a proper structural repair
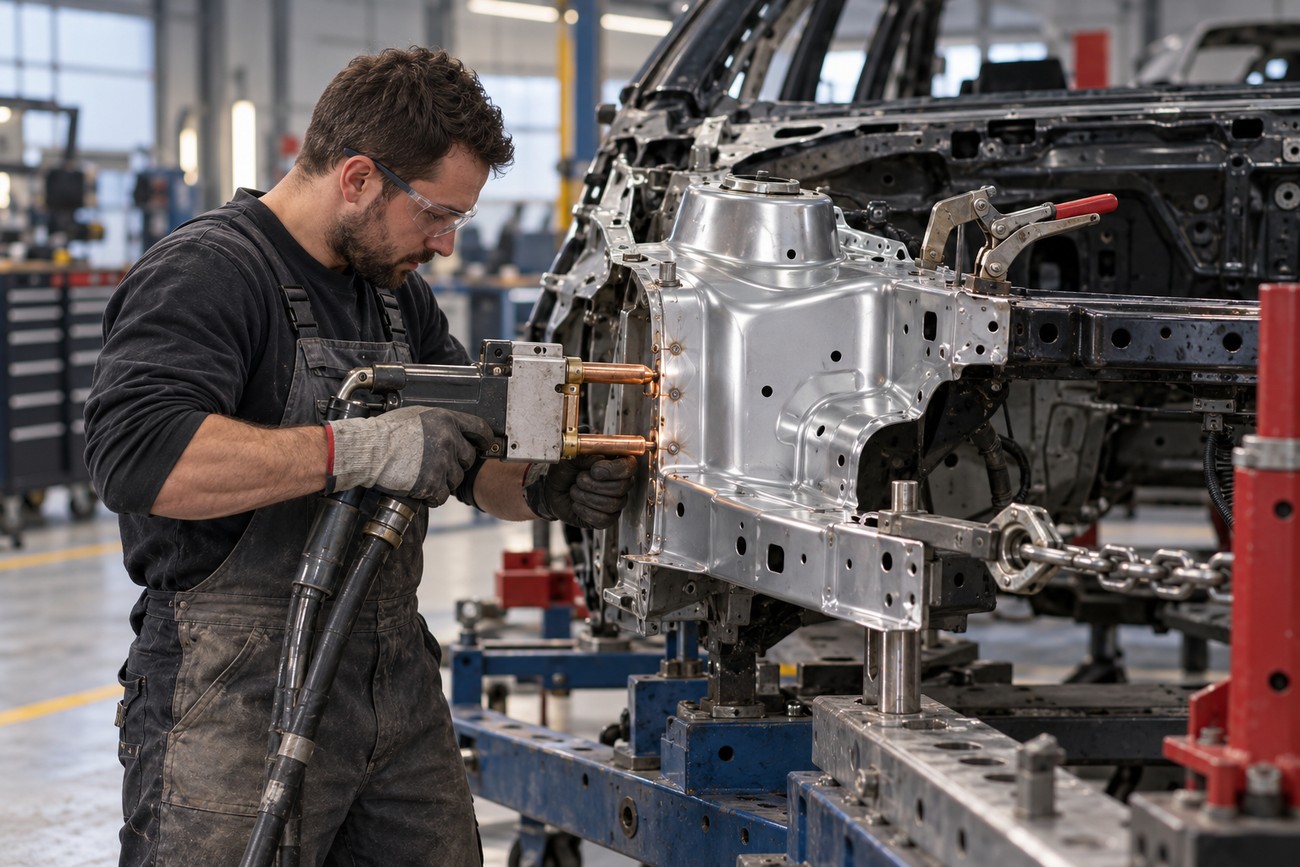
The shop secures the vehicle and checks its reference points before making permitted corrections. If pulling is allowed, the work is controlled and measured rather than guided by panel appearance alone. Components requiring replacement or approved sectioning are then removed and installed according to the vehicle-specific procedure.
Those instructions can limit where a section is cut, whether heat may be used, and which welding, riveting, or bonding method joins the new part. They may also specify adhesives, sealers, and fasteners that cannot be reused. These less visible materials belong in the repair plan because they affect how the finished structure is assembled and protected.
Trial-fitting a door after the opening has been measured helps reveal a remaining geometry problem. Adjusting the door to hide that problem may produce an acceptable gap while leaving persistent closure trouble.
Adjacent panels are trial-fitted before final refinishing so the shop can check gaps, closures, and mounting locations against the corrected structure. Painting and installing outer parts too early can conceal a fit problem until rework is costly. Teardown, structural work, parts supply, refinishing, and later system checks can make a complete repair substantially longer than an advertised one- or two-day cosmetic job.
The work that remains after the panels line up
Structural joining and panel removal can disturb seam sealer, coatings, and protection inside enclosed sections. The shop needs to restore the corrosion protection specified for the repair, including accessible cavities and repaired seams. A clean exterior finish does not show whether these areas were treated.
Mounting locations also need attention after assembly. A bumper, grille, or replaced windshield can alter the position or view of a camera or radar; structural work may affect related brackets. Depending on the vehicle and work performed, the shop may also need to check the steering angle or other affected systems.
Vehicle-specific procedures determine which checks and calibrations are required. Some camera work calls for a prescribed static or driving calibration, while other systems have different conditions; a scan alone does not complete a required calibration. A dashboard without warnings is reassuring, but it does not establish that affected driver-assistance systems are calibrated.
How to judge the finished repair and the real estimate
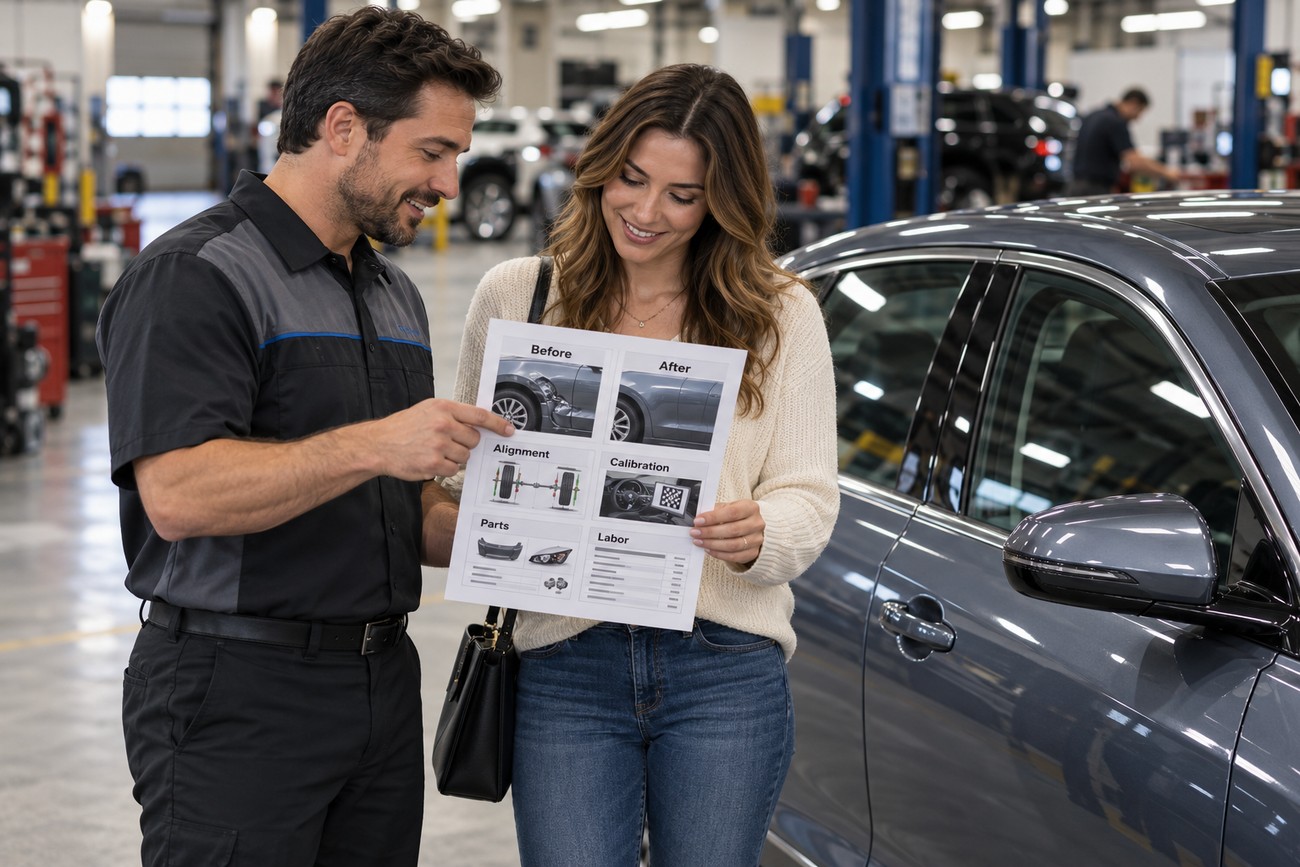
At handover, ask for the before-and-after measurement record for assessed reference points and documentation of the OEM procedures used. Check that the doors, hood, and trunk close consistently and that gaps remain even along their length. Where the impact affected suspension locations, ask for the indicated alignment results rather than relying on how the car felt during a short drive.
Confirm that required scans and calibrations were completed and recorded. Look for water leaks, new wind noise, or squeaks on a suitable road test, and ask how disturbed seams and cavities received corrosion protection. These checks cannot replace the shop’s measurements, but they can expose unfinished fit or sealing work.
A supplement after teardown is reasonable when it identifies newly exposed damage and explains the added parts or operations. The estimate may also change because a replacement panel fits poorly, or because specified adhesives, fasteners, and calibrations were missing from the first assessment. Ask the shop to distinguish newly discovered damage from a change in its original plan before approving additional work.
An insurer’s total-loss decision concerns repair economics under applicable rules and policy terms; it does not, by itself, establish that structural repair is technically impossible. Conversely, a car that can be repaired should only return to service after the required work and verification are complete. Documented, OEM-compliant repair aims to restore specified geometry and function, but it does not erase accident history or guarantee unchanged resale value.
Frequently asked questions
Repair-cost rules of thumb can help with budgeting, but they cannot settle a structural safety question. The versions of the following question refer to the same claimed threshold; what matters is how the amount is being used.
What is the $3,000 rule for car repairs?
There is no universal $3,000 rule that determines whether unibody damage is safe to repair, requires part replacement, or makes a car a total loss. A quoted amount says little about which reference points moved or which OEM procedures apply. A relatively small-looking repair can involve a critical mount, while a higher bill may largely reflect outer panels and refinishing.
If someone uses the “$3,000 rule” to suggest an automatic insurance or return-to-road cutoff, ask which specific policy term or local rule they mean. Total-loss calculations, title status, and requirements for putting a repaired vehicle back on the road vary by jurisdiction and circumstances. As a budgeting rule, $3,000 may prompt an owner to compare the estimate with the car’s value and seek a detailed assessment, but it is not a technical threshold.







