
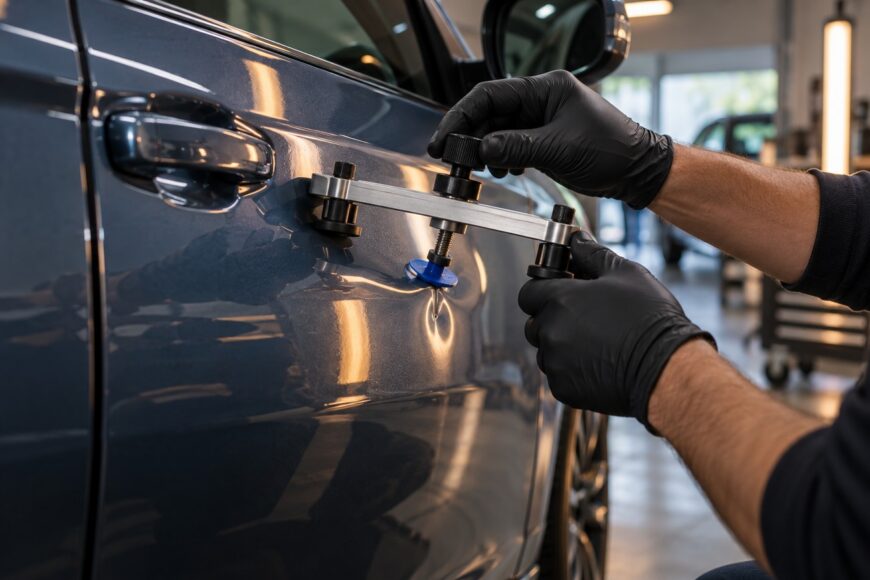
A small door ding can look like an ideal DIY repair until the glue tab releases early, the metal barely moves, or a raised spot appears beside the original damage. The panel may seem simple from the outside, yet its temperature, shape, paint condition, and reinforcement layout all affect the result.
A glue puller can correct suitable shallow damage without repainting. Success depends on clean, dry paint, the right adapter, controlled force, and a clear reflection under a suitable lamp. The method is gradual: several small corrections usually give you more control than one hard pull, and knowing when to stop matters as much as knowing how to start.
- What a Glue Puller Can—and Cannot—Fix
- Prepare the Panel, Paint, and Work Area
- Choose the Right Kit, Glue, and Adapter
- How to Remove a Door Ding With Controlled Pulls
- Why Glue Pulling Fails: Common Errors and Troubleshooting
- Remove the Glue Safely and Know When to Stop
- Frequently asked questions
- What is the best glue dent puller kit for occasional DIY repairs?
- What glue is best for dent pulling?
- How can I test whether my paint is safe before pulling a dent?
What a Glue Puller Can—and Cannot—Fix
Glue pulling is a branch of paintless dent repair. A glue PDR system uses adhesive, a glue tab or adapter, and a pulling tool to transfer force from the outside of the panel. Since the original paint can remain in place, the process is useful for shallow door dings where the metal has enough flexibility to return toward its original contour.
The best candidates are small or shallow depressions on broad, accessible sections of a door. A smooth low spot with no sharp crease usually gives you more predictable movement than damage concentrated along a body line. The aim is to restore the reflected shape gradually, rather than simply lifting the deepest point until it looks level from one angle.
Sharp creases, stretched metal, damaged paint, and dents on an edge are poor candidates for a first glue-pulling attempt. Ribs, curves, door edges, and areas close to door reinforcements can redirect force or prevent the panel from moving freely. Severe deformation may require conventional body repair or access from behind the panel.
Even a suitable ding rarely disappears with one pull. A good result may require several cycles of glue, pull, inspection, and adjustment. Treat the kit as a controlled shaping tool, rather than a lever that guarantees a perfect finish from a single effort.
Prepare the Panel, Paint, and Work Area
Start by inspecting the damage in clean daylight and under a reflection lamp or line board. Look for a sharp crease, cracked paint, a body line crossing the dent, or a nearby edge that could limit movement. Marking the approximate low area with removable tape can help you place the adapter accurately without drawing directly on the finish.
Wash away loose dirt, then dry the panel completely. Degrease the glue area with high-purity isopropyl alcohol of at least 99.5%, when appropriate for the paint system. Use a clean, lint-free cloth and allow the surface to flash off; wax, silicone, moisture, and polishing residue can cause early tab release.
Temperature affects adhesion as much as cleanliness. Professional cold-glue guidance commonly places the working range around +20 to +26 °C, and the metal panel itself should be warm enough to feel pleasantly warm to the palm. A warm room does not guarantee a warm door, especially after the vehicle has been parked outside.
Set up stable lighting before applying glue. A reflection line that bends into the dent shows where the low area is moving, while a tightening or distorted line can reveal a high spot before it becomes obvious from a normal viewing angle. Keep the pulling tool square to the intended direction and make sure the door is stable.
Choose the Right Kit, Glue, and Adapter
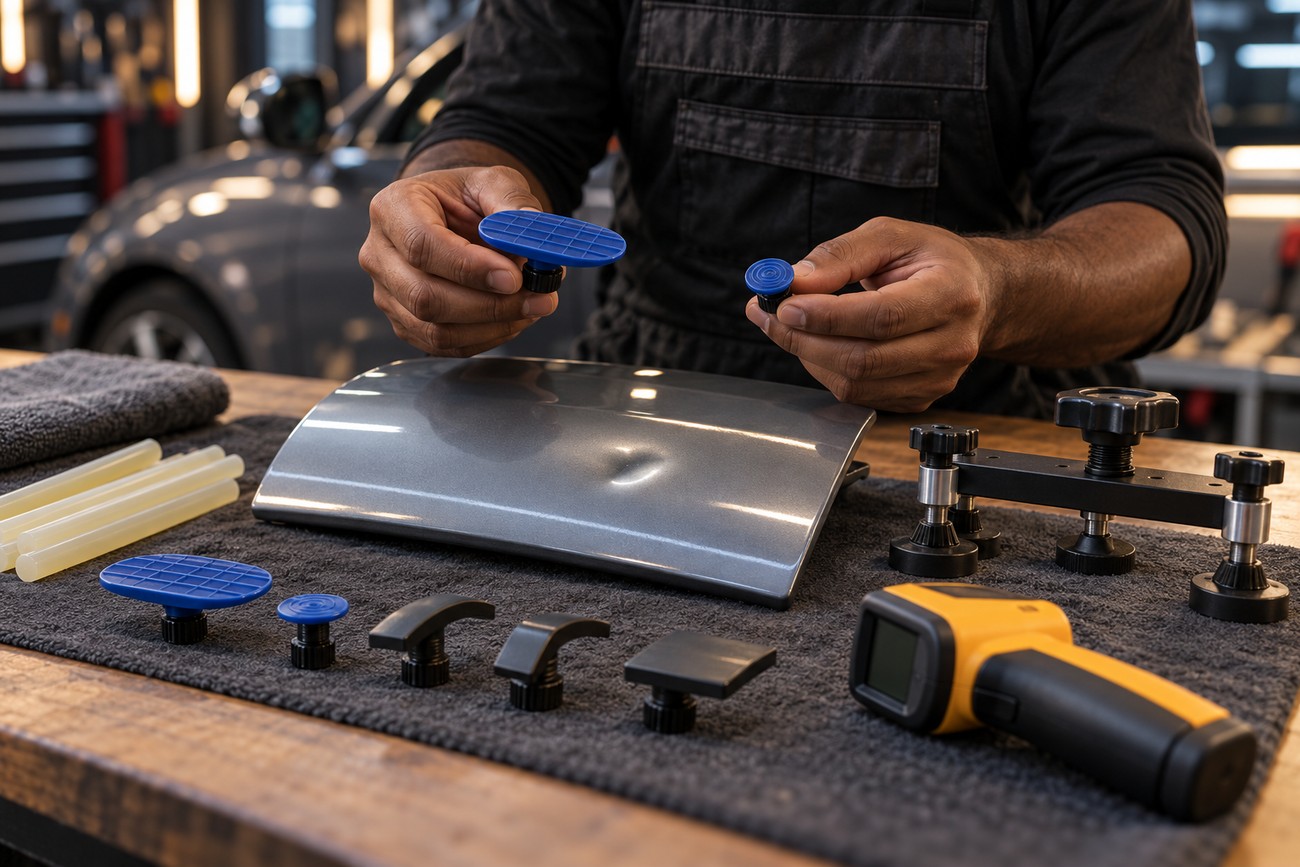
A usable kit includes adhesive, multiple glue tabs or adapters, and a pulling tool. Look for a handle or bridge that allows measured loading instead of an abrupt jerk, tabs with consistent geometry, and glue that suits the system’s temperature and working method. Replaceable tabs matter for occasional users because a damaged or worn tab can make an otherwise suitable repair unpredictable.
Match the tab size and shape to the dent geometry. A large, flat adapter can spread force across too much area on a small ding, while a tiny tab may concentrate force and create a raised spot. Curved or elongated damage may need an adapter that follows the shape of the low area rather than a round tab chosen at random.
Hot-glue and cold-glue systems have different handling requirements. Hot glue typically needs about 1 minute to set before pulling. Cold glue also needs a short setting interval; pulling immediately can break the bond before it has seated properly. Follow the adhesive system’s instructions rather than judging readiness only by appearance.
Low-cost kits often vary in plastic quality, handle stability, tab geometry, and glue consistency. That does not make every inexpensive kit unusable, but poor repeatability makes it harder to tell whether a problem comes from technique or equipment. A modest kit with several sound tab shapes and a paint-safe cleanup option is more useful than one with a single aggressively marketed adhesive.
How to Remove a Door Ding With Controlled Pulls
Apply a thin, even layer of glue to the selected adapter. Place it accurately over the low area while keeping the tab centered and aligned with the intended pull. Allow the adhesive to set for the required interval before attaching the pulling tool or applying load.
Begin with a short, controlled pull. Watch the reflection during the movement and release the load before the panel jumps past its original contour. Reapply the tab as needed, changing only one variable at a time: tab position, pull direction, force, or setting time.
Working from the outer area toward the center often provides better control than attacking the deepest point immediately. Small pulls around the perimeter can relax the surrounding tension and reduce the risk of lifting one concentrated spot. Check the reflection after every pull, even when the visual improvement seems obvious.
Experienced technicians stop pulling when the reflection begins to tighten around the remaining low spot. A light knockdown can then lower the raised area more safely than adding force and chasing the last visible depression.
If a high spot appears, use a punch, knockdown, or suitable PDR tip to lower the raised metal with light, deliberate taps. Protect the paint and keep checking the reflection; the goal is to blend the transition, not create a second depression. Remove the tab according to the adhesive system’s safe release method before repositioning it.
For removal, use a paint-safe adhesive remover or isopropyl alcohol used as directed. A few drops beneath the glue spot may help release it in some professional methods. Never twist or tear the tab off with force, because that can mark the clear coat or pull at a compromised finish.
Why Glue Pulling Fails: Common Errors and Troubleshooting
If the tab releases early, first inspect the basics. A cold, dirty, damp, or poorly degreased surface commonly causes weak adhesion. Warm the panel gradually, clean it again, and allow both the surface and adhesive to reach suitable working conditions before increasing force.
When the dent barely moves, the panel may be stiff, the damage may be larger than it appears, or the tab may not match the shape of the low area. Repeated controlled pulls are normal, especially on heavier door metal. If several correctly prepared pulls produce little meaningful change, reassess the dent instead of simply using a stronger jerk.
A bump usually indicates overpulling, an adapter that is too small, or force concentrated in the wrong place. Stop loading the tab, inspect the reflection, and use a suitable knockdown tip if the high spot is minor and accessible. More pulling can make the contour harder to blend.
Unpredictable movement often comes from a ridge, edge, curve, or door reinforcement behind the panel. These structures can make force transfer uneven, so the tab may slide, tilt, or lift one side of the dent. Improve the lighting, try a better-matched adapter, and change only one factor at a time; persistent irregular movement is a practical reason to stop.
Remove the Glue Safely and Know When to Stop
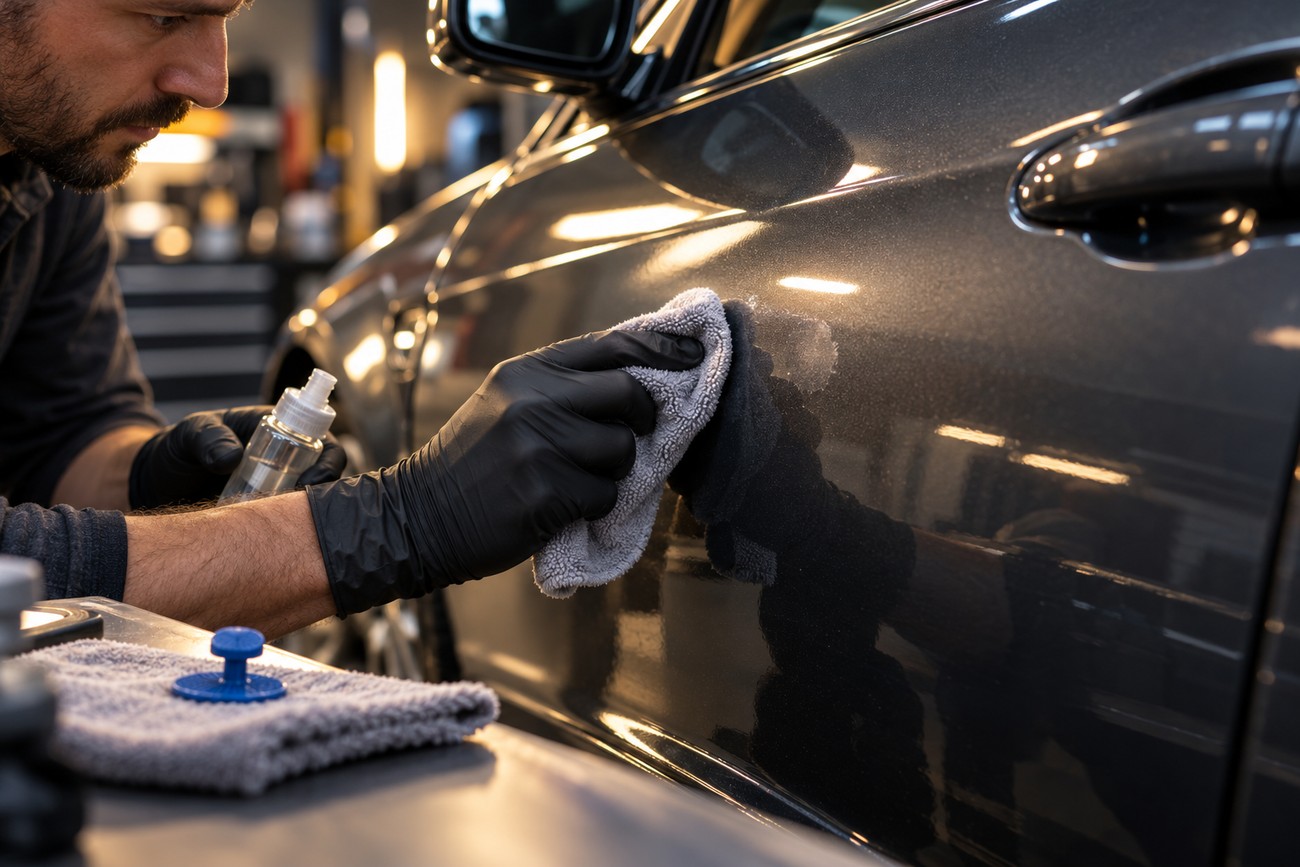
Glue removal is a separate finishing stage, not an afterthought. Use a remover confirmed safe for the vehicle’s paint system, or isopropyl alcohol used as directed where the adhesive instructions allow it. Work gently and inspect the clear coat after the residue has gone, since a clean-looking panel can still show a dull mark or softened finish under angled light.
Do not force a tab off by levering it against the paint. If the adhesive remains firmly attached, apply the recommended release product and give it time to work. Wiping residue across a larger area can spread contamination, so use clean sections of the cloth and finish with a careful visual check.
Stop if the paint is chipped, cracked, or lifting, or if the damage includes a sharp crease. A door edge, body line, or reinforcement area also deserves caution because the force may not travel through the metal as expected. Repeated high spots, slipping tabs, or no meaningful improvement after controlled attempts indicate that the repair has reached the useful limit of the method.
A failed first pull does not automatically prove that the dent is unsuitable. It may indicate cold metal, poor cleaning, an incorrect tab, or insufficient setting time. Repeated failure after those variables have been corrected is different: it is a reason to reassess the panel and consider professional paintless dent repair or conventional bodywork.
Frequently asked questions
Choosing and using a glue puller safely depends on the complete system, the panel, and the finish. The answers below focus on decisions that are easy to miss when comparing kits or interpreting an unsuccessful first attempt.
What is the best glue dent puller kit for occasional DIY repairs?
There is no universally best glue puller kit. For occasional repairs, prioritize replaceable tabs in several sizes and shapes, a pulling tool with stable control, glue with consistent working behavior, and a paint-safe cleanup option. Those features make it easier to adapt the process to different dent geometries.
Long-term value also depends on whether tabs remain available and whether the handle can apply short, repeatable loads. A kit that includes many poorly molded tabs may be less useful than a smaller range of sound adapters. Read the instructions for temperature, setting, and residue removal before judging the kit by its advertised pulling strength.
What glue is best for dent pulling?
The best glue is one compatible with the specific puller system and the working conditions. Match the adhesive to the tab material, the panel temperature, and the manufacturer’s setting guidance. Hot glue typically needs about 1 minute to set, while cold glue also needs a short setting interval before loading.
The strongest-looking adhesive is not automatically the best choice. Excessive grip can make release difficult and increase the chance of lifting or marking vulnerable paint, while weak or poorly conditioned glue releases before the panel moves. Consistent handling and safe removal are more useful than maximum advertised strength.
How can I test whether my paint is safe before pulling a dent?
Test the cleaning and release products on a hidden painted area first, such as an inconspicuous section inside the door if it has a comparable finish. Apply a small amount, follow the intended dwell time, and wipe gently. Stop if you see a change in gloss, color, texture, or clear-coat behavior.
For a glue test, use a small spot in that hidden area and remove it with the same method planned for the visible ding. A successful test does not guarantee every painted panel will respond identically, especially if the visible area has previous repairs. Any uncertainty about paint adhesion, cracking, or repainting is a sound reason to avoid glue pulling.







