
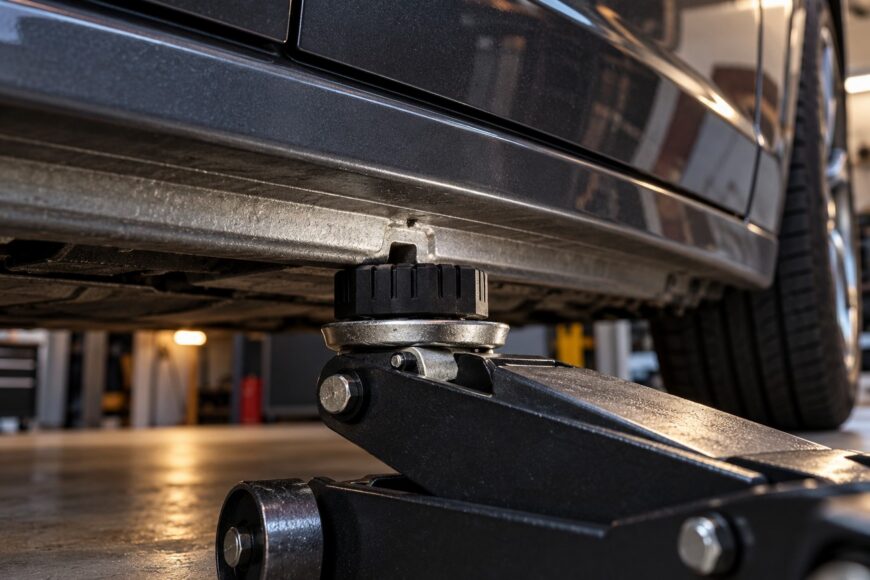
A bent pinch weld or scraped paint can appear after an otherwise ordinary lift, even when a rubber pad was used. The pad may have reduced direct contact with the metal while the jack still loaded the wrong part of the seam, pressed on an edge, or shifted sideways as the vehicle rose.
Safe protection starts with a vehicle-approved reinforced lift point. You then match the adapter’s groove and the jack’s saddle to that point, check the condition of the metal, and confirm that the complete setup can carry the load without tilting or moving.
- Find the reinforced lift point, not just a visible seam
- Choose a pad that fits the seam and the jack
- Lift without shifting the load sideways
- When a pad will not prevent damage
- Check the seam before using it again
- Frequently asked questions
- Where should I place a jack stand if the jack is using the pinch weld?
- How should a badly damaged pinch weld be repaired?
- What should I do about bare metal exposed after jacking?
Find the reinforced lift point, not just a visible seam
The vehicle-specific manual determines approved lifting points; not every pinch weld is one. Use the lifting diagram and instructions for the exact vehicle rather than relying on a general list for a similar model. Body shape, construction, and reinforcement can differ between trims, model years, and markets.
Inspect the sill for the marks, notches, arrows, or cutouts described in the manual. These may identify a specific reinforced section rather than the whole seam. A visible seam can continue well beyond the area designed to accept a jack, and the unreinforced sections may bend under a concentrated load.
Clean away heavy dirt so you can see the marked area and the seam’s shape. Check whether the mark identifies the center of the lifting zone or its boundaries, then place the jack only where the manufacturer indicates. A few inches of apparent alignment can still leave the saddle on a weaker section.
If the manual shows a separate point for a floor jack and another for a support stand, follow each instruction independently. The fact that a seam is close to a marked point does not make every nearby section suitable. Before lifting, confirm that the vehicle is on a stable surface, the parking brake and wheel restraints are used as appropriate, and the planned lift will not force the jack into an unusual angle.
Choose a pad that fits the seam and the jack
Compare the actual seam with the adapter’s groove before applying load. Check the groove width and depth against the seam’s thickness and height, and make sure the seam can sit fully in the groove without contacting only one edge. A groove that does not seat properly can concentrate force on the seam’s edges.
The jack saddle must support the adapter centrally and evenly. A round saddle can press on one side of a narrow adapter or directly against the edge of the seam, while an off-center pad can tilt as the load increases. The pad should sit flat on the saddle before the jack begins to carry the vehicle.
Product specifications are specific to the product. One documented adapter is rated at 8,000 lb and has a 0.6-inch-wide by 0.5-inch-deep groove; these are that adapter’s specifications, not vehicle specifications. Some universal pads are marketed with 3–4-ton ratings, but their rating and claimed fit do not establish the capacity or suitability of a particular vehicle lift point.
Include the jack’s rating, the vehicle’s actual load, cargo, and load distribution in the assessment. The lowest applicable limit controls the setup, and the adapter’s rating does not confirm the strength of the vehicle’s welds, sill, or reinforced metal. A rubber pad can reduce scratching but cannot correct a wrong point, poor fit, or lateral loading.
Lift without shifting the load sideways
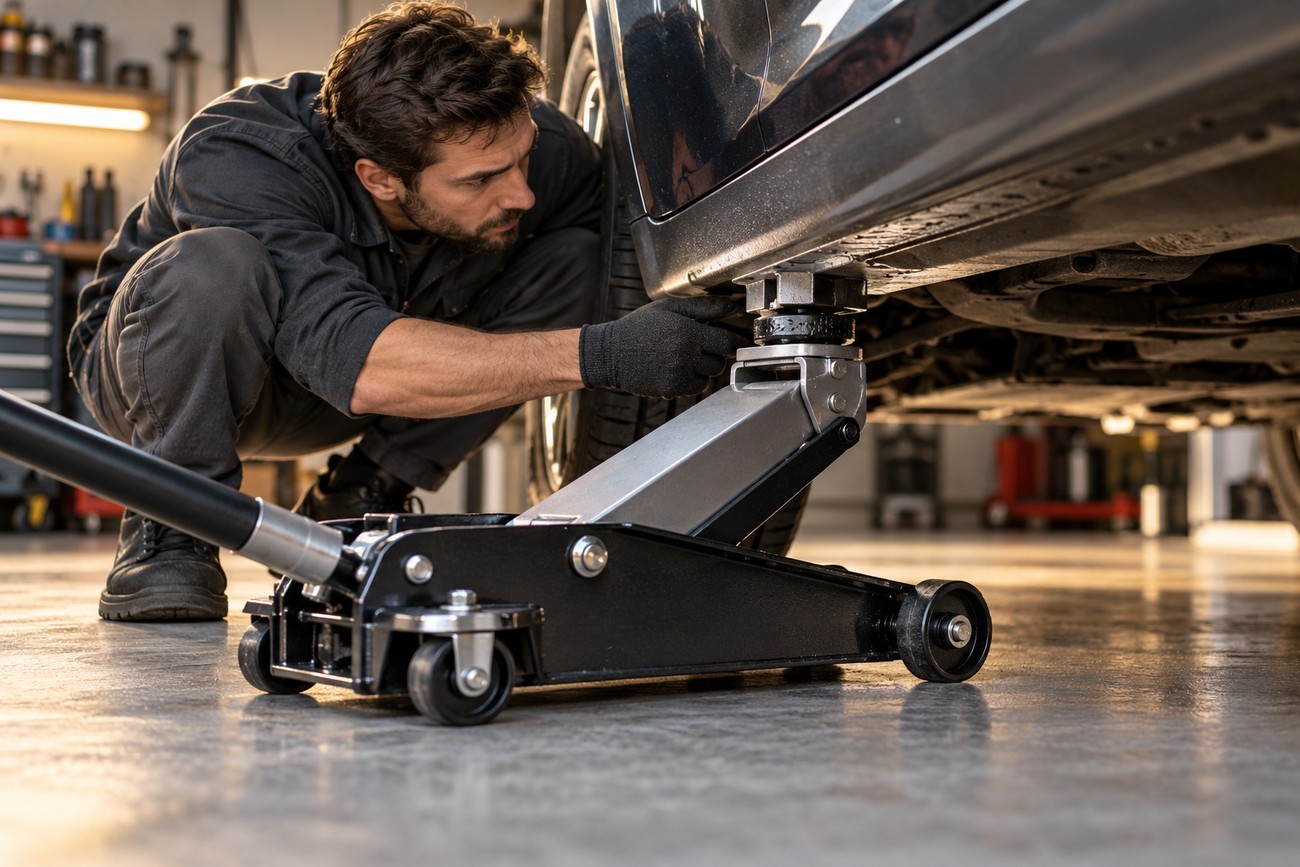
Prepare the lifting area before placing the jack. Use firm, level ground, keep the jack’s wheels and frame able to move as intended, and remove obstacles that could stop the jack from following the vehicle’s movement. Position the groove on the approved seam section, then center the jack saddle beneath the adapter before applying load.
Raise the vehicle only a short distance at first and pause for a stability check. Confirm that the adapter remains seated, the saddle is centered, the jack remains stable and properly aligned, and the vehicle is rising without visible sideways movement. This short initial lift can reveal misalignment before lifting further.
Lateral loading can occur when jack movement is obstructed, the jack tilts, or the vehicle shifts; it can bend the seam or damage the sill. Stop immediately if the pad moves, the jack leans, a wheel is blocked, or the vehicle begins to shift. Lower the vehicle if necessary and reposition the jack so the complete assembly is aligned before lifting again.
Reposition the jack rather than moving the adapter while it is loaded. Sliding an adapter under load can remove its center of support and cause a sudden slip. After the vehicle reaches the required height, place support stands at the separate manufacturer-approved support points, then lower the vehicle onto them in accordance with the vehicle and stand instructions. A jack alone must not support anyone working under the vehicle.
When a pad will not prevent damage
A magnetic pad may stay attached to the jack while the jack itself moves or slips. Magnetic retention does not replace correct positioning or prevent the entire jack from slipping. It also gives no evidence that the groove is fully seated on the reinforced seam.
Rubber can cushion contact and reduce scratching, yet it cannot correct an off-center saddle, sideways force, poor groove contact, or a wrong lifting point. If the groove does not fit the seam, the load may remain concentrated on an edge beneath the rubber. The metal can bend even while the visible paint appears protected.
An adapter’s rating does not establish the capacity of the vehicle’s metal, welds, or sill structure. The same accessory can be presented as suitable for several vehicles while their lift points have different shapes and reinforcement. Marketing terms such as “universal fit” require a physical fit check against the exact vehicle and the jack.
A bent seam, flattened edge, or scraped coating is evidence that the lifting arrangement needs review. Scraped paint can leave exposed metal vulnerable to corrosion, while deformation may affect the way a future adapter contacts the point. Surface protection and structural suitability are separate decisions; a coating or pad cannot restore a distorted lift point.
Check the seam before using it again
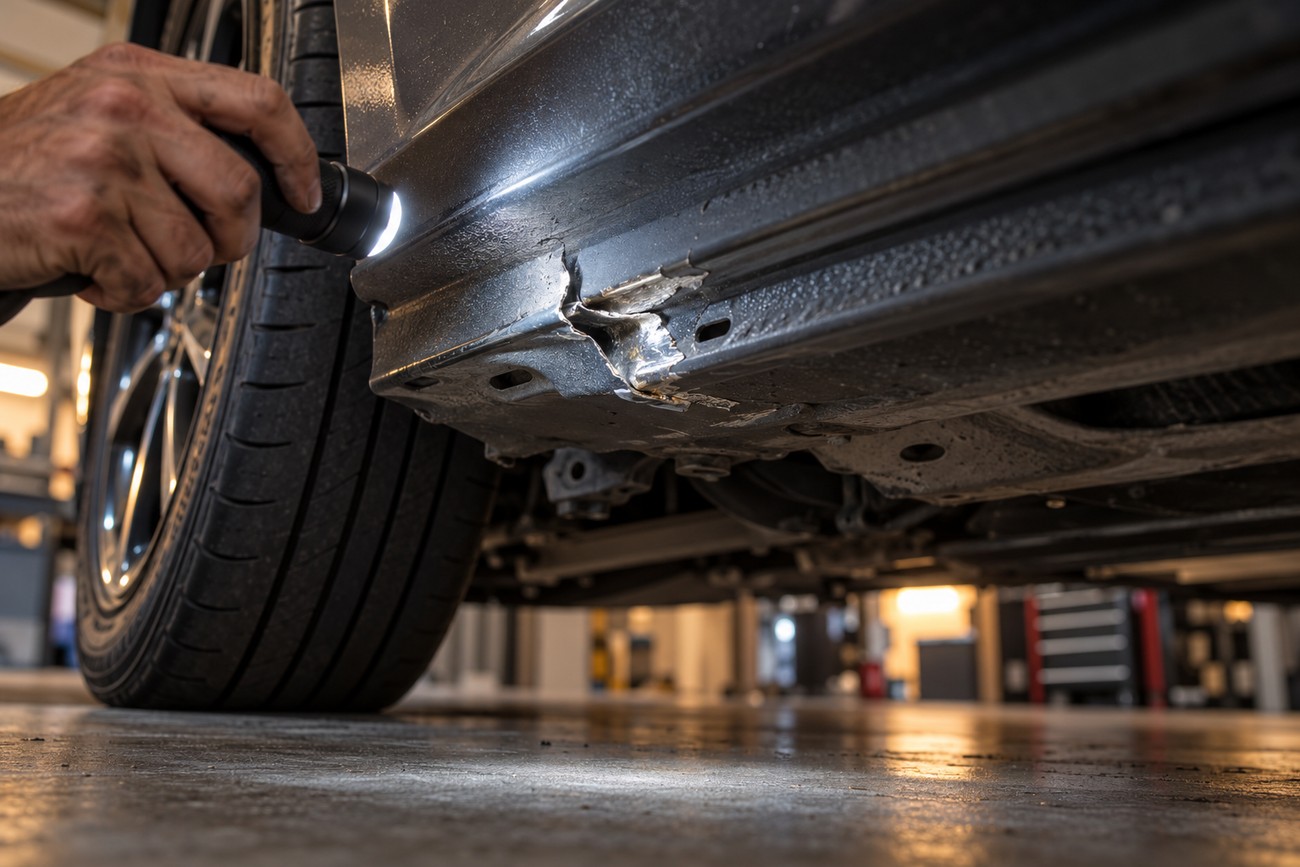
After lowering the vehicle, inspect the entire contact area rather than looking only at the pad. Look for a folded or flattened seam, chipped coating, fresh dents, rust, and marks showing that the adapter bore on one edge. Compare the area with an undamaged section only as a visual reference; appearance alone cannot certify structural strength.
A superficial coating scrape that exposes metal deserves prompt cleaning and suitable corrosion protection. Remove loose contamination, use repair materials intended for the exposed surface, and follow their preparation and curing instructions. Paint can protect a sound surface, but it should not conceal distortion, cracking, or corrosion.
Bent or corroded seam metal can compromise contact at a lifting point. A slightly folded edge may prevent the groove from seating fully, causing the next lift to load a smaller area. Do not assume that a rubber adapter will spread the force enough to make the damaged section safe.
If the intended section is damaged or rusty, use another vehicle-approved point or seek professional assessment rather than relying on a pad. Do not straighten the seam by hand and treat its original appearance as proof of restored capacity. A qualified inspection may be needed to assess the metal, welds, and surrounding sill structure.
Frequently asked questions
Before lifting, identify where the support stand can go without sharing a narrow reinforced section with the jack. After lifting, distinguish a superficial coating scrape from damage to the seam or surrounding structure. The answers below address stand placement, damaged metal, and exposed paintwork.
Where should I place a jack stand if the jack is using the pinch weld?
Place the jack stand only at a support point identified in the vehicle-specific manual. The approved support point may differ from the floor-jack point, even when both are near the sill or pinch weld. Confirm that the stand’s contact surface suits that point and will not crush a seam or load a thin edge.
Plan the stand position before raising the vehicle so the jack and stand do not compete for the same small reinforced section. Never improvise by sharing a narrow marked area with the jack. If the manual does not clearly identify a suitable stand location, obtain model-specific service information or professional assistance.
How should a badly damaged pinch weld be repaired?
A coating scrape can usually be treated as a surface-care issue after the metal is cleaned and protected with suitable repair materials. A bent, split, crushed, or rusted seam requires assessment of the metal and surrounding structure. Straightening it by hand does not establish that it is safe to lift from again.
Until the section has been assessed, use another manufacturer-approved lifting point or have the vehicle inspected. A replacement pad can improve contact with sound metal, but it cannot repair weakened metal, failed welds, or corrosion inside the sill.
What should I do about bare metal exposed after jacking?
For a superficial scrape, clean and dry the area, remove loose material, and apply suitable touch-up or corrosion-protection products according to their instructions. Protecting the exposed metal promptly helps limit corrosion, especially where moisture and road contamination can collect.
If the bare area includes a dent, folded seam, rust scale, perforation, or cracking, have it assessed before covering it with paint. Concealing deformation or corrosion can make the surface look finished while leaving the lift point unsuitable for future use.







