
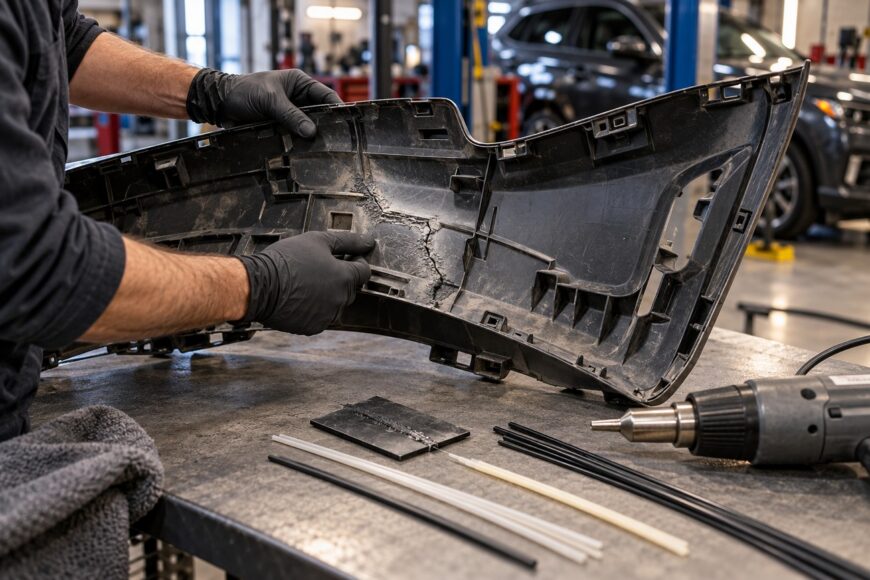
Plastic body-panel repair depends on controlled heat, suitable reinforcement, and a filler that matches the panel. The most powerful welder rarely produces the best result if its airflow is unstable, its nozzle overheats a narrow area, or the consumable belongs to a different polymer.
Warped bumpers, cracked seams, incompatible rods, and visible staples usually trace back to material selection or preparation. A repair can look clean on the bench and still fail after vibration, cold, or repeated flexing. The sound buying decision therefore starts with the panel and its intended service, then works toward the tool.
- Start With the Plastic, Not the Welder
- Plastic Welding Tools for Body Panels: What Each Method Does
- How to Choose a Hot-Air Plastic Welder
- The Repair Process That Prevents Weak or Warped Seams
- Why Plastic Panel Repairs Fail After They Look Finished
- When Welding Is the Wrong Repair Decision
- Frequently asked questions
- How can I identify an unknown bumper plastic before choosing a filler rod?
- How should a repaired plastic panel be checked before painting?
- What welder do I need to weld body panels?
- What tool do you use for plastic welding?
- What type of welder is best for welding car body panels?
Start With the Plastic, Not the Welder
Only thermoplastics can be thermally welded in the ordinary sense. Common body-panel materials include PP/EPDM, TPO, PUR/RIM, ABS, PC-ABS, and PA, and each responds differently to heat, filler, and deformation. A tool that works well on one bumper may give poor results on another, even when the damage looks identical.
Look for a material marking on the reverse of the panel before selecting a rod. The marking may be molded into the plastic, printed on a label, or shown in repair documentation. If identification remains uncertain, a controlled test on an inconspicuous edge or matching scrap is safer than committing a visible repair to an unverified filler.
The filler rod or repair material must match or be compatible with the base polymer. A universal rod is a marketing convenience rather than a dependable repair strategy. Mismatched materials may form a bead that appears bonded while remaining weak under flexing, vibration, or temperature changes.
Thermosets, glass-filled plastics, and many composites generally cannot be repaired reliably by ordinary plastic welding. Some can accept mechanical reinforcement, adhesives, or a specialized composite process, depending on their construction. Treating every dark molded part as weldable can waste time and leave a repair that is difficult to inspect later.
Plastic Welding Tools for Body Panels: What Each Method Does
Three approaches cover much of routine body-panel work: hot air with a compatible filler rod, hot staples for crack reinforcement, and nitrogen welding. They solve different problems, so the correct choice depends on crack geometry, access, polymer, and the required finish.
| Method | Suitable damage | Main advantage | Principal risk | Follow-up work |
|---|---|---|---|---|
| Hot air with filler rod | Open cracks, splits, and missing material in suitable thermoplastics | Creates a material-compatible joint when heat and preparation are controlled | Warping, poor penetration, or a weak joint from incorrect heat or filler | Trim, sand, reinforce, and refinish as required |
| Hot staples | Cracks that need reinforcement from the back | Adds mechanical support while disturbing the visible face less | Staples can protrude, create bumps, or overheat thin plastic | Flatten or cover the back side and check the face for distortion |
| Nitrogen welding | Controlled repairs where reduced oxidation and heat control are useful | Provides a controlled-heat process for compatible plastics | Higher equipment cost and no guarantee of compatibility | Finish the bead and restore the panel surface where necessary |
Hot-air welding is usually the most flexible method for a shop that regularly repairs identified thermoplastics. It demands a stable temperature, controlled airflow, a suitable nozzle, and a compatible rod. Hot staples are valuable for holding a crack together from the rear, especially where the front face must remain easy to finish.
Nitrogen welding is another controlled-heat option, rather than an automatic solution for every panel. It can be useful where the process and consumables are already part of the shop’s workflow. No method is a universal leader, and the polymer still determines whether the repair is technically sensible.
How to Choose a Hot-Air Plastic Welder
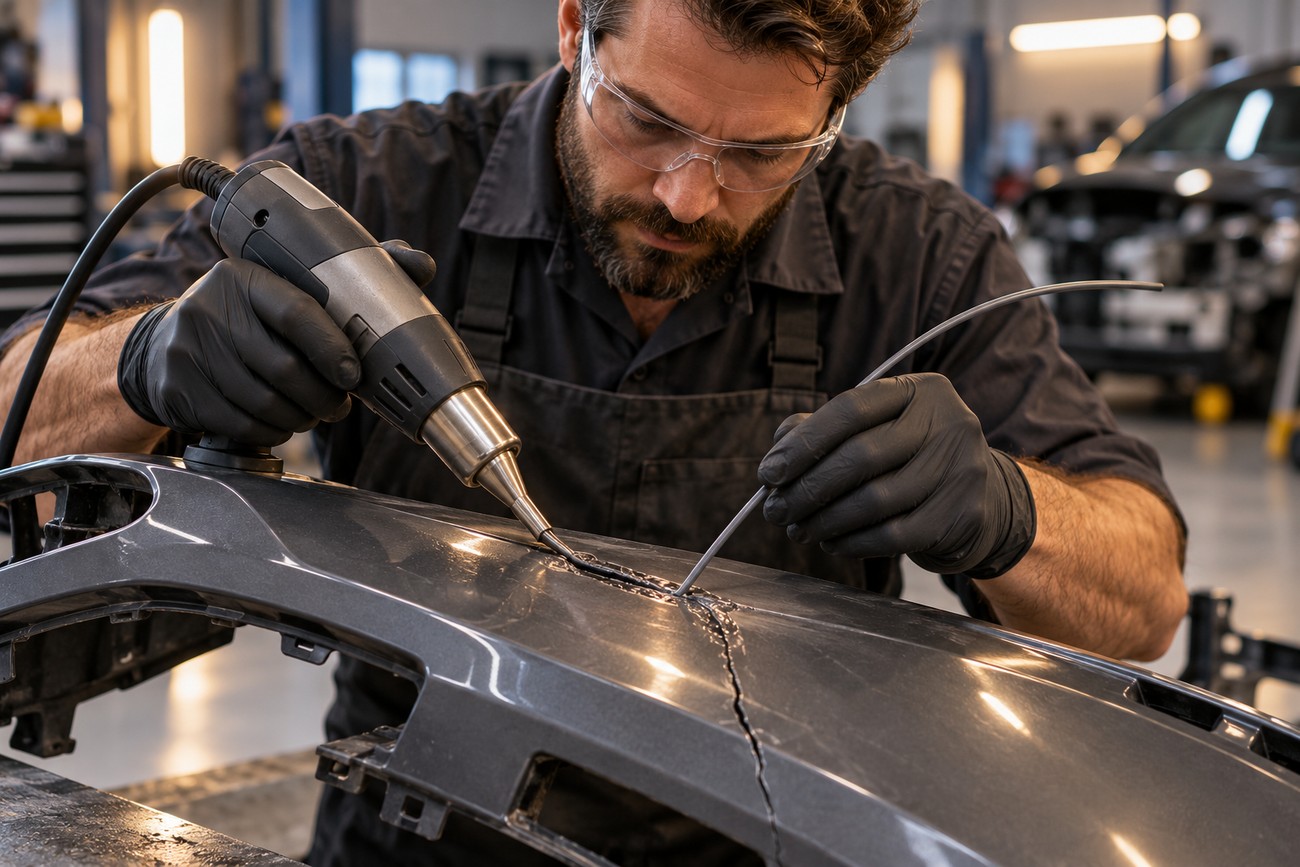
Professional hot-air tool classes commonly span roughly 300–1600 W. That broad range describes different equipment classes rather than a target specification for every repair. In actual work, stable temperature and controllable airflow generally matter more than rated watts alone.
A soft, repeatable air stream is especially important on thin bumpers and long cracks. Insufficient airflow may fail to heat the rod and base material through; excessive airflow can disturb the melt, cool the joint, or spread heat into the surrounding panel. A useful welder lets you make small corrections without a sudden change in the melt zone.
Check whether the tool accepts the nozzles used by your repair method and whether those nozzles are available as replacements. The consumable system matters just as much: common rod profiles, compatible materials, and reliable supply reduce interruptions and prevent improvised filler selection. A temperature scale has value only when the actual output is repeatable at the nozzle.
Repeatable airflow at the nozzle and gentle heat transfer reveal more about a welder’s usefulness than the largest wattage or highest temperature printed on its case.
For occasional garage work, a simpler tool may make economic sense if it offers controlled heat, suitable nozzles, and basic serviceability. Regular shop use justifies attention to duty cycle, grip, adjustment response, and replacement parts. A cheap unit that fluctuates between weak and aggressive airflow can consume more labor in failed beads and distorted panels than its purchase price suggests.
The Repair Process That Prevents Weak or Warped Seams
Begin with inspection rather than heat. Confirm the polymer marking, examine the crack ends, check whether material is missing, and assess the panel’s flexibility and geometry. Old UV-aged plastic may already be brittle, while a stressed crack may need reinforcement beyond a bead on the outer face.
Remove dirt, grease, oxidation, and paint from the repair zone. Cut a V-shaped groove where appropriate so the filler can reach the joint instead of sitting on top of it. Paint and contamination can prevent proper fusion, and a shallow or irregular groove leaves a visually neat seam with little useful penetration.
Heat the workpiece and filler evenly. The objective is to bring both materials into a workable state while limiting heat spread into the surrounding panel. Overheating can cause shrinkage, brittleness, gloss changes, and loss of panel geometry; the edge should not be scorched or allowed to collapse while the rod remains unmelted.
Feed the compatible rod into the prepared groove with steady pressure and a controlled travel speed. A bead pushed across a cold surface is closer to a deposit than a weld. Work in manageable sections, allow the material to stabilize, and keep checking the panel shape against its original contour.
For visible areas, back-side reinforcement with hot staples can carry some of the crack load while leaving the face easier to finish. Staples must be seated without breaking through or creating large raised areas. After cooling, inspect both sides; the outside bead alone cannot show whether the joint is fused, porous, overheated, or supported correctly.
Why Plastic Panel Repairs Fail After They Look Finished
A smooth surface does not prove a strong repair. A heat-affected zone can remain around the weld, and the surrounding plastic may have lost strength even when the bead sands cleanly. This is one reason a repaired seam can survive a short visual inspection and then open after repeated flexing.
Recurring cracks often result from a mismatched rod, poor groove preparation, or stress that was left in the panel. Vibration and cold expose these weaknesses more readily than a warm, stationary test piece. UV-aged plastic adds another problem: the material may hold a repair less reliably than newer plastic, although the difference may not be obvious before failure.
Equipment complaints also point to process control. Weak airflow may never heat the joint through, while an aggressive stream can cool the melt or move it away from the groove. A rough temperature adjustment scale creates the same uncertainty when two repairs made at the same setting receive different amounts of heat.
Hot staples bring their own failure modes. Poorly controlled staples can protrude, leave bumps, or create local stress around the crack. On a visible face, excess grinding may remove more original material than necessary, so rear reinforcement and restrained front-side finishing are usually preferable where access allows.
When Welding Is the Wrong Repair Decision
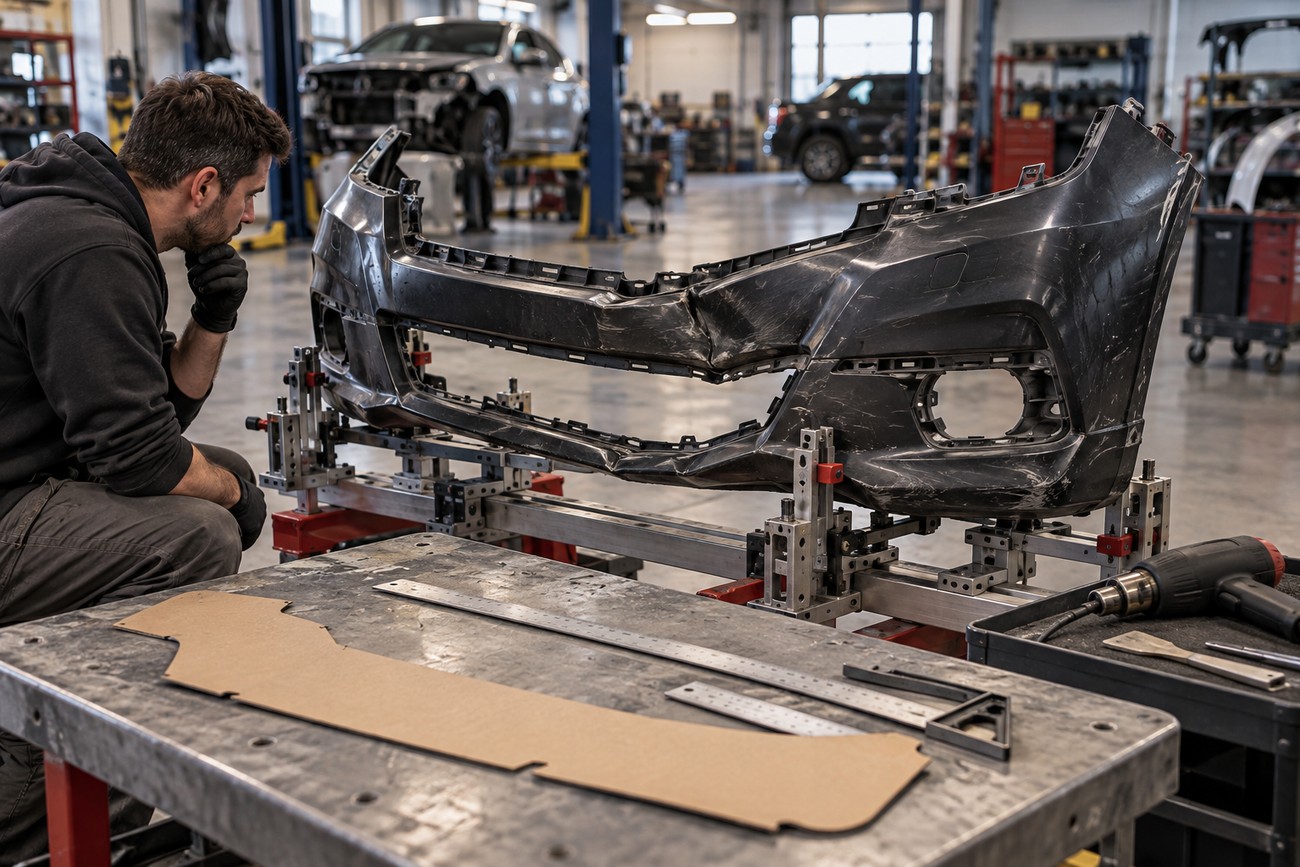
Plastic welding does not replace part replacement in every case. A severely deformed panel may have lost its original geometry, and heating it can make gaps and mounting points harder to restore. Templates or additional correction may be needed, which changes the labor calculation quickly.
Brittle, heavily UV-aged, or unsuitable material can carry more repair risk than value. Missing sections, repeated cracks near mounting points, and damage in a safety-critical location deserve a conservative assessment. A repair that holds on the bench may still be unsuitable for the panel’s service load.
Economics matter as much as technical possibility. A shop that repairs plastic only occasionally may recover the cost of an expensive nitrogen or hot-air setup slowly, especially after adding rods, nozzles, staples, preparation, finishing, and training time. Outsourcing rare work or choosing a simpler repair system can be more rational than buying the highest equipment class.
Replacement is also preferable when the part is widely available and the repair would require extensive cosmetic work. Welding remains useful when the polymer is suitable, the geometry can be restored, and the labor risk is lower than replacement. The correct decision is based on expected service life, inspection access, and total repair effort.
Frequently asked questions
Plastic welding decisions depend on polymer type, panel condition, and intended service load. These checks help turn a tool purchase or repair estimate into a controlled technical decision.
How can I identify an unknown bumper plastic before choosing a filler rod?
Start with the molded marking on the back of the bumper or with the part’s repair documentation. Clean a hidden area, then compare a small controlled test using a suspected rod on an inconspicuous edge or matching scrap. Observe whether the base material and rod soften and combine consistently rather than forming a separate glossy bead.
If the test is ambiguous, stop before working on the visible face. Try to obtain the material specification, use a known sample from the same panel, or refer the part for a repair method suited to uncertain material. A test that merely sticks on the surface is insufficient evidence of compatibility.
How should a repaired plastic panel be checked before painting?
Check the panel against its original mounting points and gaps while it is cool. Inspect the front and back for porosity, unmelted rod, overheated gloss changes, exposed staples, and a groove that was never fully filled. Gently flex the area in the same direction the panel will move in service, looking for opening, clicking, or a visibly different response.
Allow the repair to cool fully before cosmetic finishing. Recheck alignment after cooling because residual heat distortion can pull a bumper out of shape. Sanding can hide surface defects, so inspect the back side and the transition around the weld before applying filler or paint.
What welder do I need to weld body panels?
For suitable thermoplastic panels, a hot-air plastic welder with stable temperature, controllable airflow, compatible nozzles, and matching filler rods covers many routine repairs. Add a hot-staple tool when rear-side crack reinforcement is common. Nitrogen equipment suits workflows that need that controlled-heat process and can support its cost.
The correct choice changes with the polymer, damage, and repair frequency. A metal body-panel welder is a different tool entirely and cannot substitute for a plastic-welding setup.
What tool do you use for plastic welding?
Use a hot-air plastic welder and a rod compatible with the base polymer for an open plastic joint. Use hot staples to reinforce a crack from the back, and use nitrogen welding where the material and shop process justify it.
Preparation tools are equally important: cleaning supplies, trimming and grooving tools, suitable nozzles, and equipment for checking panel alignment. The welding gun alone does not control contamination, geometry, or final distortion.
What type of welder is best for welding car body panels?
The best type is the one that delivers controlled, repeatable heat for the identified panel material. Hot air is a practical general method for compatible thermoplastics, hot staples are useful for reinforcement, and nitrogen welding is another option for controlled repairs.
Choose according to polymer compatibility, access to the damage, required appearance, and expected workload. A high-output welder with unstable airflow can produce a worse repair than a lower-powered tool that transfers heat gently and consistently.







