A clean car can still look dull, distorted, or suspicious in photographs. Glossy panels mirror the sky, buildings, horizon, and photographer, while a small change in camera height can alter the apparent size of the wheels, body lines, and ground clearance. Dark paint may lose its contours, and a bright location can leave half the vehicle washed out.
There is a practical choice behind every automotive shoot: dramatic images can create atmosphere, while accurate images help viewers judge the car. An enthusiast may want both. A private seller should prioritize a consistent, trustworthy record, then add a few expressive frames if they support the vehicle rather than hide it. A repeatable workflow makes that distinction easier to manage.
- Start With the Car, Location, and Shot List
- Control Light and Reflections on the Bodywork
- Choose the Camera Position, Lens, and Geometry
- Build a Complete Exterior and Detail Set
- Photograph the Interior Without Distorting It
- Edit for Color, Condition, and Buyer Trust
- Frequently asked questions
- What is the 30-60-90 rule for cars?
- What is the 20-60-20 rule in photography?
- How much money does a car photographer make?
Start With the Car, Location, and Shot List
Professional-looking results begin before the camera is turned on. Clean the exterior panels, glass, wheels, and tires, then dry every surface so water marks and streaks do not become bright lines in the image. The interior also needs attention: remove loose objects, floor clutter, personal items, and anything that makes the cabin look less representative of its normal condition.
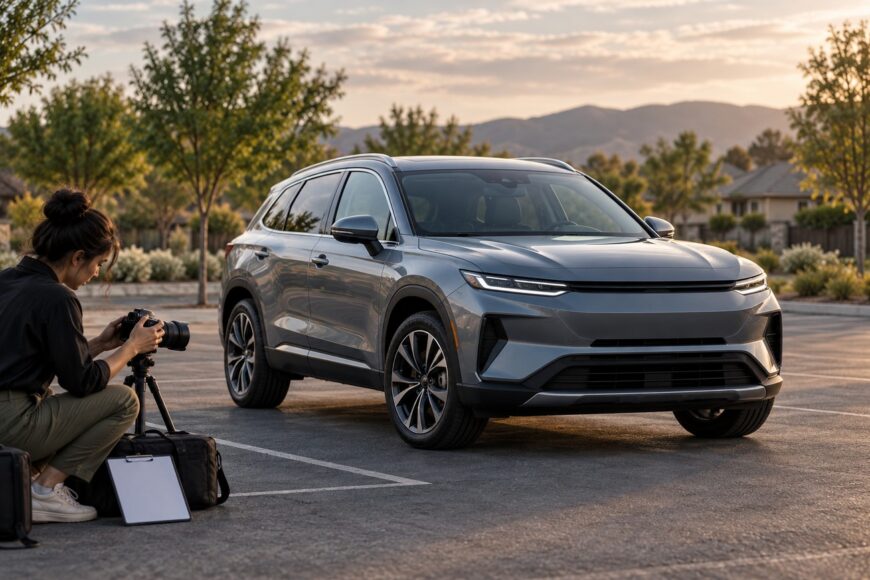
A neutral, clean background usually supports a vehicle better than an impressive location filled with visual competition. Look for a quiet area with enough space to walk around the car and a surface that does not introduce distracting colors. Remove temporary clutter from the scene, and check for people, signs, poles, parked cars, bins, and other objects that may appear behind the car or in its reflections.
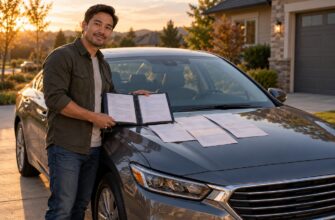
Plan the capture order before taking a hero image. A useful sales set begins with front, rear, side, and diagonal three-quarter views, followed by the cabin, wheels, tires, and relevant condition details. Include identification information such as the VIN or mileage when appropriate for the listing, while respecting any privacy or platform requirements that apply to the sale.
- Make a full walk-around and record the front, rear, both sides, and three-quarter angles.
- Photograph the interior with the doors and trunk open when that improves access and visibility.
- Take separate close images of each wheel and tire, including visible damage or wear.
- Add condition-focused photographs of scratches, dents, repaired areas, controls, the odometer, and other details relevant to the buyer.
This sequence separates a sales-ready record from a portfolio image. One or two attractive photographs may create interest, yet they cannot show whether the tires are worn, the rear bumper has damage, or the interior has heavy use. Consistent coverage gives viewers a way to compare areas of the car without guessing what the camera left outside the frame.
Control Light and Reflections on the Bodywork
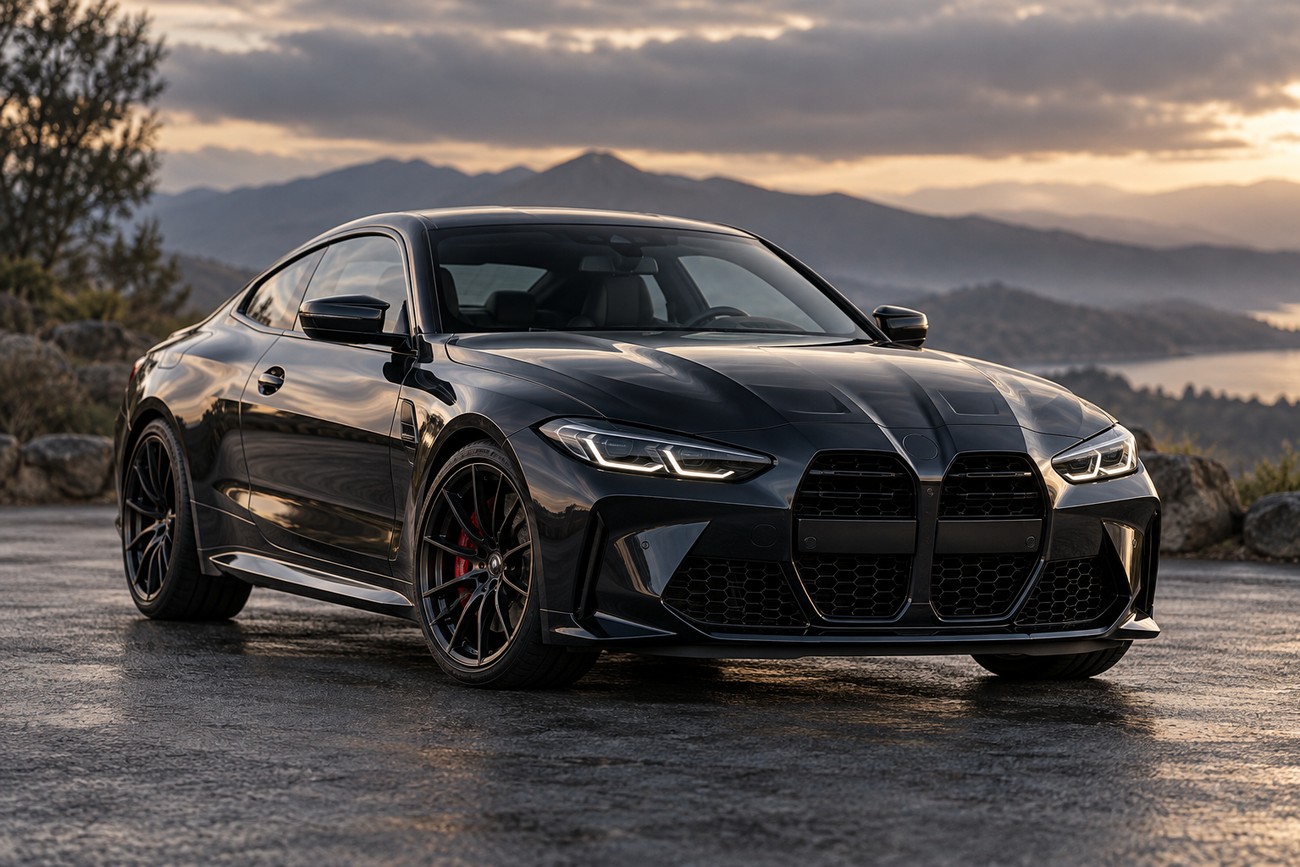
Light determines whether paint looks rich and dimensional or flat and inaccurate. Overcast light, golden hour, and open shade are generally safer and more stable for car photography than hard midday sunlight. They reduce the intensity of the brightest reflections and make it easier to retain detail across the body.
Hard midday sunlight commonly creates blown highlights on glossy bodywork and lost detail in shadows. The hood or roof may turn nearly white while the lower doors become too dark to inspect. Direct sun can also make metallic paint shift in appearance from panel to panel. If midday is the only option, open shade can provide a more controlled starting point, provided the car and background remain evenly lit.
A glossy car body acts like a mirror. The image may contain the photographer, sky, buildings, horizon, and surrounding objects even when none of them is visible in the direct background. Before pressing the shutter, inspect the panels rather than looking only at the scene behind the car. A building line that bends across a door can make a straight panel look damaged, while the photographer’s own silhouette can break an otherwise clean reflection.
Move the car or change the camera position to place a clean, continuous reflection across a panel before reaching for a polarize. The filter is a refinement for selected glare, not a substitute for controlling the reflected environment.
A polarizing filter can reduce some glare on selected surfaces, especially where its angle to the light is favorable. It cannot completely remove reflections, and it does not work equally on paint, glass, and every other surface. Rotate it while watching the effect through the viewfinder or screen, then check whether the filter has made the sky, windshield, or one panel look inconsistent with the rest of the car.
Reflection control often comes from small physical changes. Turn the car slightly, move it away from a bright wall, step sideways, or raise the camera until a distracting horizon leaves the main body line. A polished or waxed surface may look more glossy while also producing stronger reflections, so preparation can increase the need for careful positioning. The goal is a controlled reflection that describes the form rather than erasing the environment through aggressive processing.
Choose the Camera Position, Lens, and Geometry
Camera height and angle strongly change how the car’s geometry, wheels, and ground clearance are perceived. A camera at eye level can make a low car look flat, while a small drop in height may give the body more presence. Moving too close or aiming upward can enlarge the nearest wheel and bend lines along the bumper, making a healthy vehicle appear misaligned.
The often-recommended 24–35 mm range is not universal. Wider lenses can help when space is tight, yet a very wide-angle lens can distort exterior proportions and make the vehicle look unnatural. Longer focal lengths often preserve exterior shapes with less distortion, especially when you have enough room to step back. Distance matters as much as the number printed on the lens: a short lens used close to the car exaggerates perspective more strongly.
A low viewpoint can add visual presence, particularly for a performance car or a vehicle with a strong shoulder line. An excessively low position may distort wheels and bumpers and emphasize an untidy foreground. Keep the camera low enough to communicate stance, then raise it if the ground, curb, or background starts to dominate the frame.
Use a simple geometry check before making the final set. Keep the horizon level, watch vertical building lines, and compare the left and right sides of the car for similar spacing. Leave enough room around the vehicle so the frame does not force you into extreme perspective. If the car looks damaged or twisted in one image while the same panel appears normal in person, change the camera position before assuming the vehicle is the problem.
Build a Complete Exterior and Detail Set
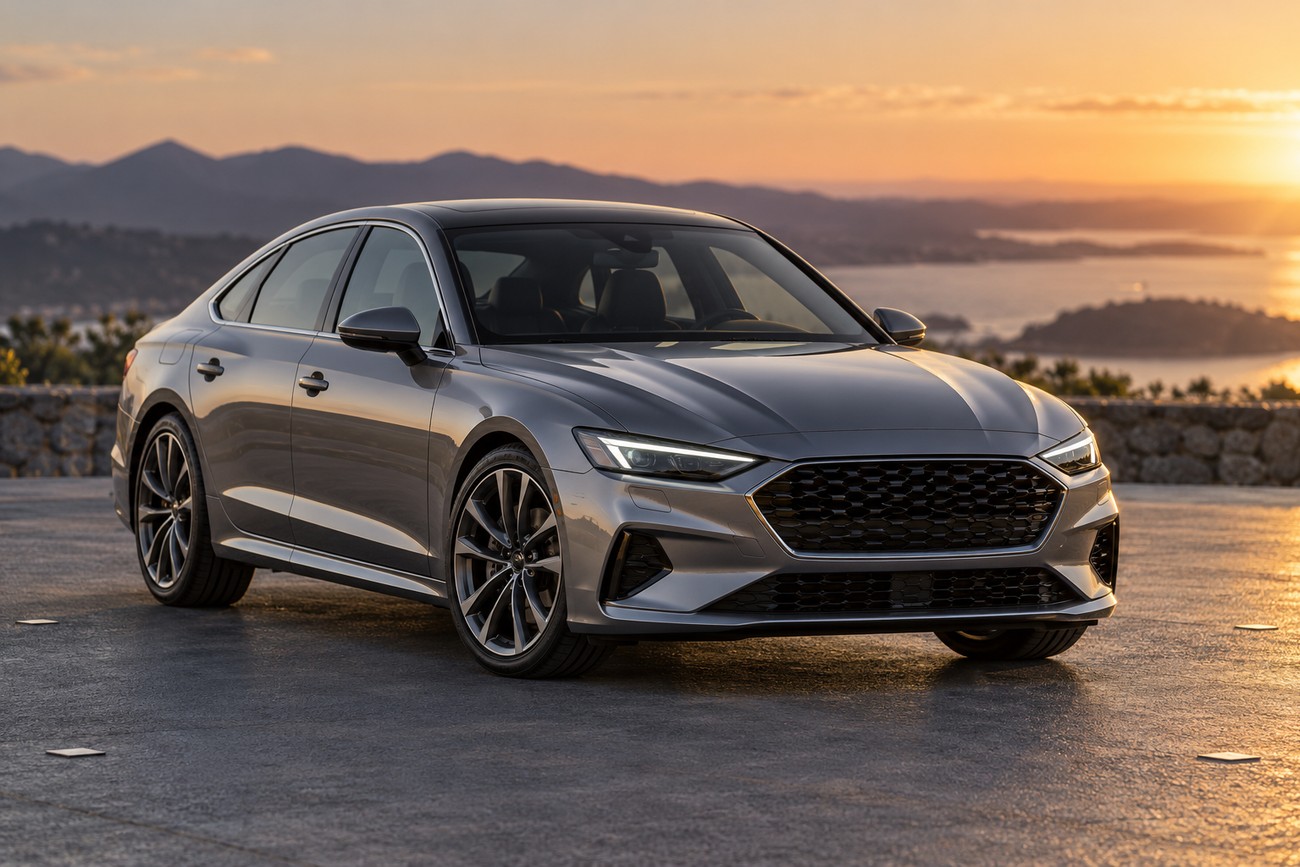
Start the exterior sequence with a straightforward front view, rear view, and both side views. Follow these with front three-quarter and rear three-quarter photographs, using a similar camera height, distance, and exposure throughout. The diagonal views show the relationship between the wheels, body sides, lights, and bumpers, while the direct views make the overall shape easier to judge.
Keep the car’s orientation and the background consistent as far as the location allows. A sudden change from bright sun to deep shade can make a buyer mistake a lighting difference for a paint difference. Consistent exposure also makes condition comparisons easier: the viewer can compare one door with another without compensating for a new visual style in every frame.
Wheels and tires deserve separate, closer images. Photograph each wheel at an angle that shows the rim face, tire sidewall, and visible tread area, then include close views of curb rash, corrosion, scratches, or uneven wear where relevant. These details are easy to lose in a three-quarter image, even though they can influence a buyer’s decision and the cost of ownership.
A listing generally benefits from neutral, readable images with restrained perspective. Enthusiast or editorial work can use a lower angle, stronger background separation, or a more dramatic light direction after the factual coverage is complete. Visual novelty should never replace the essential set: front, rear, side, diagonal, wheels, tires, and condition-focused views all have different jobs.
Photograph the Interior Without Distorting It
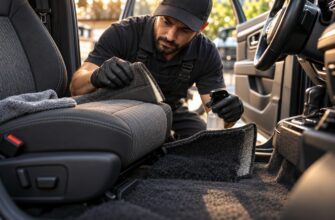
Prepare the cabin as carefully as the exterior. Remove rubbish and personal items, straighten mats, and clean the glass, displays, trim, and touch points without leaving bright streaks. Open the doors and trunk when that gives the camera a clearer path, then check that the added openings do not create harsh patches of light across the seats or dashboard.
A wide-angle lens is often useful for interiors because the camera has limited room between the seats and the door. An excessively wide angle visibly stretches cabin proportions and can make the vehicle look unnaturally long. Keep the lens as level as possible, and step back or use a less aggressive focal length when space permits.
Camera height changes the cabin’s character. A position near the natural eye line can show the relationship between the front seats, dashboard, and controls, while a slightly higher position may reveal storage areas and seat surfaces. Keep dashboard and door lines straight in the frame. A tilted camera can make the cabin look warped even when the lens itself is suitable.
Balance the exposure so the seats, dashboard textures, controls, and relevant wear remain visible. A dark interior often tempts photographers to brighten the shadows heavily, which can produce noise and an artificial appearance. Make an overview image, then add closer photographs of the driver’s seat, steering wheel, controls, rear seating, cargo area, and any wear that matters to the vehicle’s condition.
Edit for Color, Condition, and Buyer Trust
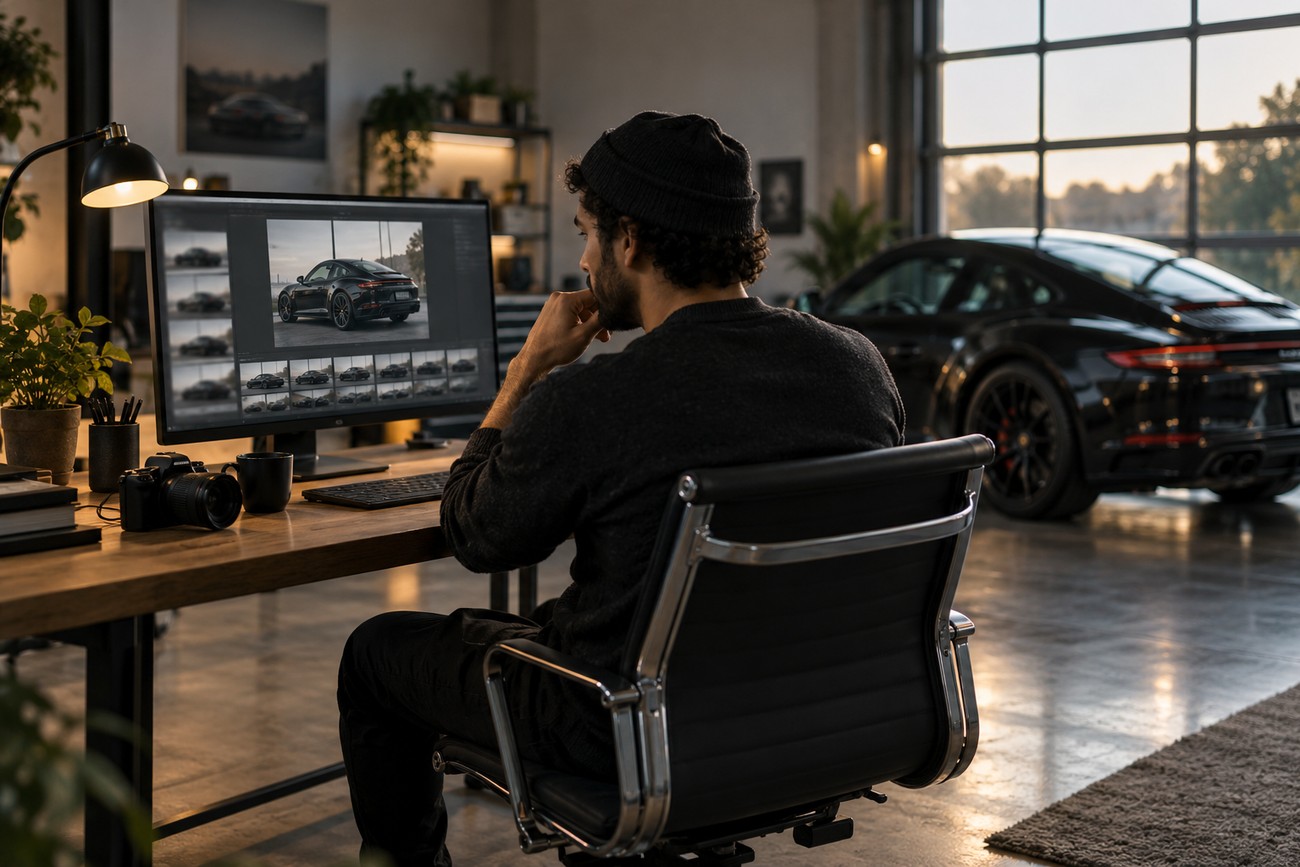
Begin editing with exposure and white balance. The paint should look like the car in neutral light, rather than like a color grade applied across the entire image. Correct highlights and shadows carefully, especially on dark paint, which more easily loses contours and detail when the light is insufficient. Matching the exposure and color across the full set makes the listing easier to trust.
Remove temporary distractions such as a stray piece of litter or an accidental background object when the edit does not change the vehicle’s condition. Keep real scratches, dents, paint differences, corrosion, wear, and repairs visible. Strong processing that hides the car’s condition can create distrust when the buyer sees it in person, even if the original intention was to make the listing look polished.
Polish and wax can improve gloss while also strengthening reflections and making surface or geometric defects more apparent. Competent photography may reveal repair paint and differences in surface texture more clearly than casual viewing because controlled light shows how a panel handles reflections. That information is valuable for a seller who wants fewer surprises and for a buyer who needs an honest record.
- Check that the paint color is consistent across the set and does not shift because of mixed light.
- Review highlights on the hood, roof, and glass for clipped detail.
- Inspect horizons, building lines, and verticals for unwanted tilt.
- Look for dust, water marks, fingerprints, and distracting reflections.
- Confirm that edits have not removed or disguised relevant damage, repairs, or wear.
Accurate color and consistent exposure are more valuable for a listing than cinematic contrast. A final review at normal screen brightness is useful because an edit that appears subtle on a bright monitor may make the interior too dark or a scratch too faint for someone else. The finished set should feel coherent, readable, and truthful from the first image to the last.
Frequently asked questions
These questions cover commonly repeated rules and practical career considerations in car photography. The named formulas below may vary by source, so use them only when they support consistent coverage and clear presentation. The purpose of the images remains the same: show the vehicle’s geometry, condition, and details accurately.
What is the 30-60-90 rule for cars?
The 30-60-90 rule is not a single universal automotive photography standard. Depending on the source, the phrase may refer to camera angles, viewing positions around the vehicle, or a separate workflow for presenting exterior views. Those meanings are not interchangeable, so the source should define the terms before you apply them.
For a practical shoot, use the actual coverage requirement as the guide: direct front and rear views, side views, diagonal three-quarter views, and detail photographs. A named angle rule is useful only when it produces consistent, readable coverage for the intended audience.
What is the 20-60-20 rule in photography?
The 20-60-20 rule is another frequently repeated formula whose meaning can vary by source. It may describe a division of attention, framing, or a particular shooting workflow, yet there is no fixed industry definition that applies to every car photography assignment.
Evaluate the rule by asking what each part controls and whether it improves the result: composition, exposure, vehicle coverage, or editing. Keep the parts that produce a repeatable process, and avoid treating the formula as a substitute for checking reflections, geometry, condition, and the purpose of the images.
How much money does a car photographer make?
Car-photography income varies with market, client type, specialization, location, equipment, editing, and business model. A photographer working for dealerships may price recurring inventory work differently from someone producing editorial campaigns, private-sale packages, social content, or detailed images for collectors.
Earnings also depend on whether the photographer sells individual images or a complete service that includes preparation, travel, lighting, editing, and delivery. Equipment costs, time spent correcting reflections, and the ability to maintain a consistent workflow affect the real return, so a single universal income figure would be misleading.