
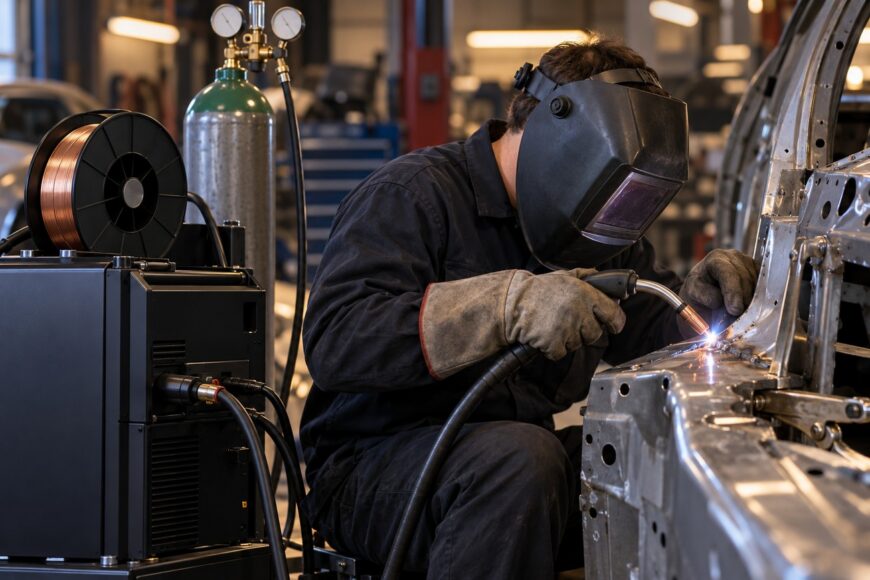
Thin automotive sheet metal can burn through before a beginner sees the puddle collapse, especially where rust has already reduced the edge to less than its apparent thickness. A long bead creates a second problem: heat spreads through the outer panel, pulls it out of shape, and leaves waves that are difficult to correct with filler.
Reliable repair depends on several choices working together: small solid wire, controlled gas-shielded heat, clean steel, accurate fit-up, and short, spaced tacks. No single voltage or machine setting suits every vehicle because panel thickness, corrosion, joint gap, and stored heat change the result from one repair to the next.
- Choose the Right Wire, Polarity, and Shielding Gas
- Starting MIG Settings for Thin Auto Body Sheet Metal
- Prepare the Panel and Make the Fit-Up Do the Work
- Tack-Weld Thin Panels Without Burning Through
- Prevent Warping, Porosity, and the Most Common Failures
- A Practical Repair Sequence for an Exterior Body Panel
- Frequently asked questions
- How do I choose a MIG welder for repairing auto body sheet metal?
- What should I do when the panel is thinner than the surrounding body steel?
- How do I MIG-weld very thin metal?
- What is the best MIG welder for repairing auto body sheet metal?
- What thickness steel is used for car body repair?
Choose the Right Wire, Polarity, and Shielding Gas
Thin body steel needs a welding setup that provides low-output control rather than maximum amperage. The usual solid-wire choice is ER70S-6, 0.023–0.024 in in diameter. The smaller wire helps reduce the current and heat needed to form each tack while still providing suitable filler for common mild-steel body repairs.
Use DCEP/EP polarity: the electrode is positive, and the work clamp is negative. Incorrect polarity can produce an unstable arc, excessive spatter, and poor fusion even when the voltage and wire-feed controls appear reasonable. Confirm the machine connections before troubleshooting your welding technique.
A shielding gas mix of 75% argon / 25% carbon dioxide usually produces less spatter and a more controllable arc than 100% CO₂. Pure CO₂ can provide deeper penetration, but its arc is generally rougher and produces more spatter. Flux-core wire is often marketed for bodywork, yet it is usually less controllable and more heat- and spatter-prone on thin exterior panels than solid wire with gas, making it a poor first choice for clean cosmetic repairs.
Starting MIG Settings for Thin Auto Body Sheet Metal
The values below are test settings, not universal specifications. Verify them on clean scrap with a comparable thickness and the same joint configuration before placing the torch near the vehicle.
| Item | Starting point | Practical limitation |
|---|---|---|
| Solid wire | ER70S-6, 0.023–0.024 in | Smaller wire generally helps limit heat input; use the diameter your machine feeds consistently. |
| Shielding gas | 75% argon / 25% CO₂ | Usually produces a softer, more controllable arc and less spatter than 100% CO₂. |
| Gas flow | 15–20 CFH | Confirm coverage in the actual work position; drafts, leaks, and a damaged nozzle can still cause porosity. |
| Voltage | Approximately 15–17 V | Adjust after testing. Rust, coatings, joint gap, and panel heat can change the required setting. |
| Wire-feed speed | Approximately 150–200 IPM with 0.023 in wire | Use the arc sound and test weld as evidence rather than treating the range as a fixed recipe. |
A machine labeled for 110–140 A bodywork is not automatically stable at the bottom of that range. Published output describes capability, not how smoothly the welder feeds wire and maintains an arc at its minimum setting. Fine wire-feed adjustment and predictable low-output behavior matter more than a large maximum-amperage number.
Set the machine conservatively, then inspect the test weld. A useful tack should start cleanly, wet into both edges, and leave enough metal to support the next tack. If the arc is harsh, the wire pushes the torch away, or the weld instantly digs a hole, reduce heat or shorten the trigger time rather than trying to compensate with a larger gap.
Prepare the Panel and Make the Fit-Up Do the Work
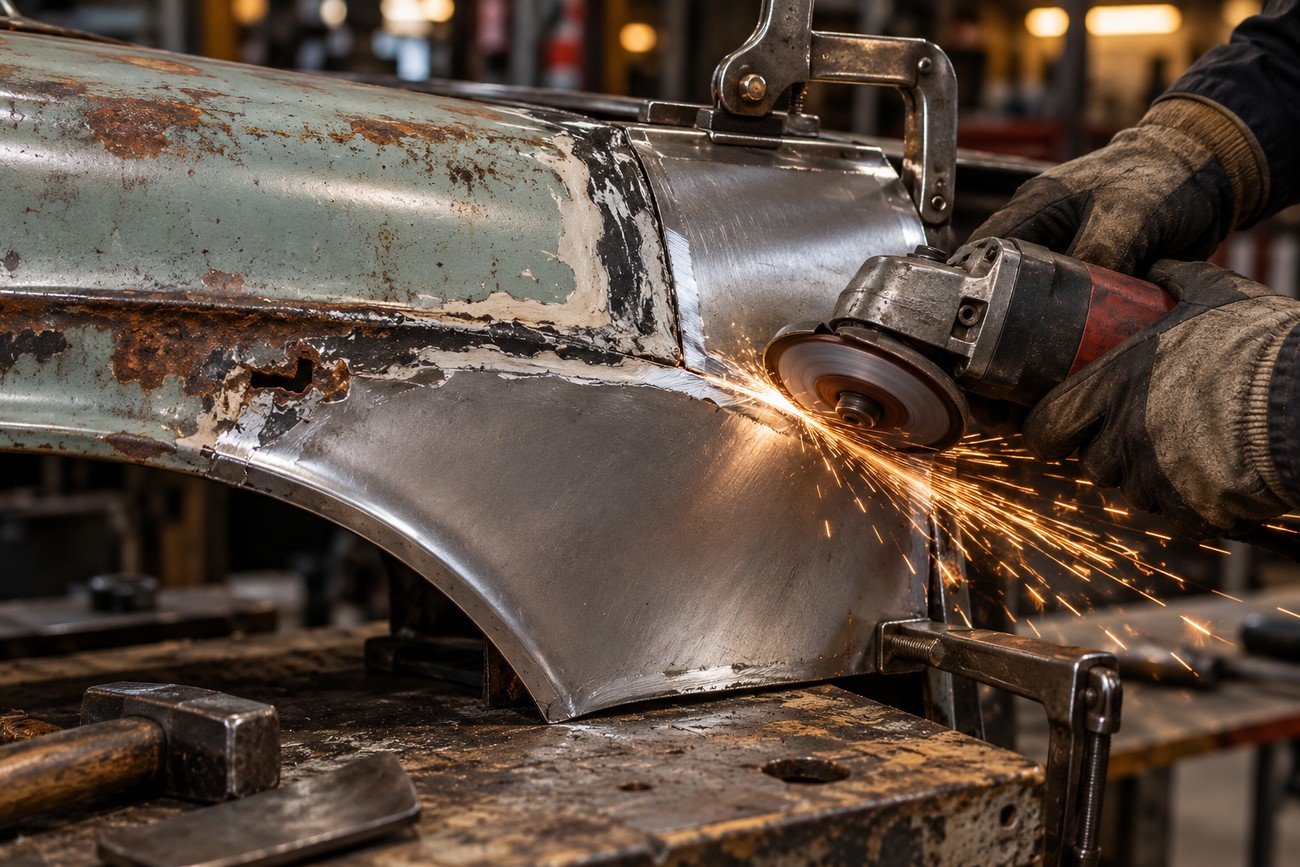
Remove paint, rust, scale, seam sealer, and other contamination until the welding area is bright, sound metal. Automotive body steel is often about 20 gauge or thinner, although the actual thickness varies by vehicle and panel location. A section that looks like normal sheet may be substantially weaker at a rusted edge, so inspect both the repair piece and the vehicle panel before setting the machine.
Clean steel gives the arc a more predictable path and reduces porosity, spatter, unstable arc behavior, and lack of fusion. Grind only the area needed for welding, and avoid thinning the edge with excessive abrasive work. If the surrounding metal flexes or flakes under light preparation, trim farther back to solid material instead of relying on filler metal to replace missing steel.
Fit the replacement piece with a minimal, even gap. A large opening forces you to bridge empty space with a molten puddle, which sharply increases the chance of burn-through and distortion. Increasing voltage or holding the arc longer does not solve poor fit-up; it simply adds heat to a joint that already lacks support.
A copper backing plate can support the puddle and help form the edge of an open joint. It is useful when a small section would otherwise fall through, but it cannot correct contamination, a large gap, or badly misaligned panels. Clamp the repair securely, check the exterior contour, and make sure the joint remains aligned after the first few tacks.
Tack-Weld Thin Panels Without Burning Through
Use short, spaced tacks or very short stitch sections instead of one continuous bead. Place the first tacks far enough apart to hold the shape, then fill the spaces gradually. Moving around the panel distributes heat and gives each area time to cool before you return nearby.
Thin metal may require fast travel, which makes consistent fusion difficult for a beginner. Torch angle, arc length, travel speed, and contact-tip-to-work distance matter as much as the voltage number. Keep the arc short and the gun position consistent, but do not chase a perfect appearance by lingering over a tack that has already fused.
Isolated tacks should follow a changing sequence around the panel rather than closing one corner with consecutive hot tacks. If the metal around the next location has changed color, softened, or begun to move under light pressure, place the next tack elsewhere and let that area cool naturally.
A tack can become a hole when the trigger is held slightly too long or when it lands in metal that is already hot. A longer wire sickout may reduce heat input, but it can also destabilize the arc and weaken gas coverage. Keep sickout within the machine and gun manufacturer’s practical range, and correct burn-through with shorter impulses and better fit-up rather than an excessively long sickout.
After the panel is held securely, add isolated stitches between the existing tacks. Stop before the heat spreads across a broad section, change location, and check that the panel has not pulled out of contour. The weld may look less substantial than a continuous bead, but controlled fusion preserves the shape that the finished repair depends on.
Prevent Warping, Porosity, and the Most Common Failures
Burn-through usually points to a combination of weak metal, excessive heat, and insufficient support. Rust-thinned edges can disappear almost instantly, while a large gap makes even a reasonable setting behave badly. Reduce the length of each impulse, improve the fit, and replace severely weakened metal rather than trying to deposit a heavy bridge.
Warping comes from accumulated heat. A long weld concentrates shrinkage along one path and can pull an exterior panel into waves that are difficult to correct with filler. Alternating locations and using short stitch sections limit local heat buildup. A low-voltage setting does not remove this risk if the trigger remains engaged for too long.
Porosity and spatter deserve separate checks. Dirty steel, poor gas coverage, leaks, drafts, a contaminated nozzle, or an unsuitable wire-and-gas combination can all disturb the weld. The 75% argon / 25% CO₂ mix generally provides a cleaner, more controllable arc than 100% CO₂, while pure CO₂ gives deeper penetration with more spatter.
Automatic programs and settings printed on a machine cannot account for rust, remaining coatings, changing joint gaps, or heat already stored in the panel. Treat them as a starting reference only. A test tack on comparable scrap tells you more about the real repair than a label claiming a broad bodywork amperage range.
A Practical Repair Sequence for an Exterior Body Panel
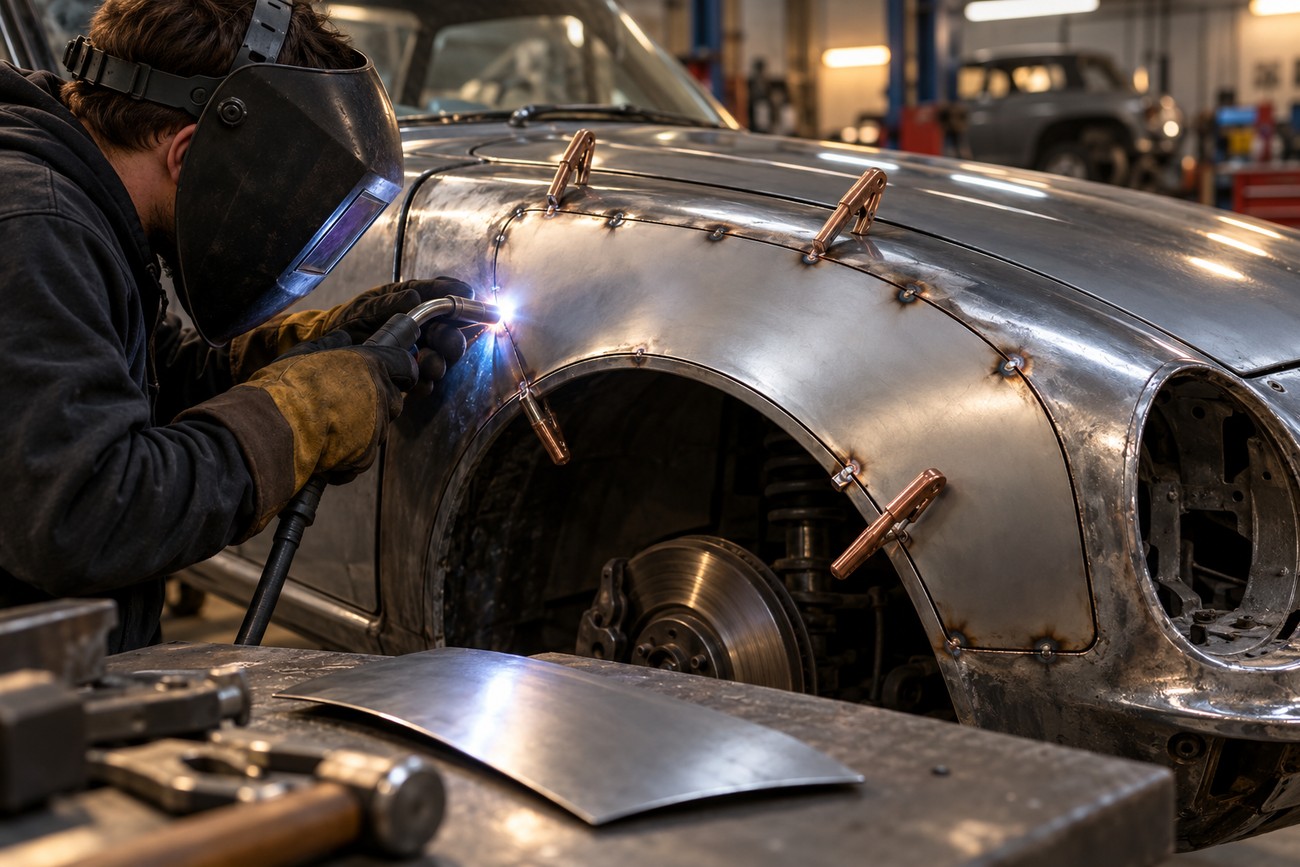
Begin by trimming back to sound metal, cleaning both mating surfaces, and checking the replacement piece against the panel from several angles. Preserve the original contour before welding; a correctly shaped patch with a modest weld is easier to finish than a flat or distorted patch covered by a large bead. Clamp or secure the parts so the gap stays minimal and even.
Make a test weld on metal of comparable thickness and with the same joint configuration. Adjust the machine until a short tack fuses both edges without collapsing the sheet. Then place the first tacks at separated locations, recheck the panel shape, and continue alternating sides or regions rather than closing one area in sequence.
Fill the remaining spaces with short impulses, pausing whenever heat begins to accumulate. Avoid treating a stronger-looking, oversize bead as a better repair; on thin sheet, excess weld metal adds shrinkage and finishing work. Allow the panel to cool under controlled conditions. Cooling with a wet rag is a shop-practice suggestion with limited universal support, so it should not be treated as mandatory for every automotive steel, coating, or repair condition.
Frequently asked questions
The best setup is confirmed by stable low-output control, a clean test weld, and predictable feeding on the actual material. The advertised maximum amperage is only one part of that decision.
How do I choose a MIG welder for repairing auto body sheet metal?
Choose a machine that genuinely controls its low output, feeds 0.023–0.024 in solid wire smoothly, and supports shielding gas with DCEP/EP polarity. Fine wire-feed adjustment is valuable because thin panels often need small changes between sound metal and a rust-weakened edge.
Test the lowest useful settings on comparable scrap before buying or committing to a repair. A welder with a larger maximum rating may be less suitable than a smaller unit if its arc is unstable at low output or its controls make short, repeatable tacks difficult.
What should I do when the panel is thinner than the surrounding body steel?
Test the thinnest area first and reduce the scale of each tack there. Severely rust-thinned edges should usually be trimmed back and replaced with sound metal rather than forced into a long weld that will burn through.
Use the thicker surrounding steel to help establish the initial fit, then shorten the impulses as the torch reaches the weak section. A repair piece must follow the thinnest sound edge because settings that work on the adjacent panel can still be excessive for the damaged area.
How do I MIG-weld very thin metal?
Use clean steel, a minimal, even gap, small solid wire, and short, spaced tacks. Start on comparable scrap, then place isolated impulses while moving around the panel. Stop before a tack becomes a hole; returning to a hot area is a common cause of sudden burn-through.
Keep the arc controlled and avoid using a long bead to compensate for poor alignment. If the joint will not stay close and even, correct the fit before changing the voltage or extending the arc.
What is the best MIG welder for repairing auto body sheet metal?
The best choice is a welder with stable low-output operation, smooth fine-wire feeding, DCEP/EP polarity, and compatibility with solid wire and shielding gas. A model should be judged by the quality of short test tacks, not by maximum amperage alone.
For exterior panels, the machine is only one part of the result. Accurate fit-up, clean metal, and heat control determine whether the panel stays straight and the weld fuses without excessive finishing work.
What thickness steel is used for car body repair?
Typical automotive body metal is about 20 gauge or thinner, but thickness varies by vehicle and panel location. Rust, previous repairs, and forming can make the actual welding edge thinner than the nominal panel.
Measure or test the specific area whenever possible, especially if the repair crosses a transition into reinforcement or a heavily corroded section. Set the process for the thinnest sound metal in the joint, not for the thickest nearby piece.







