
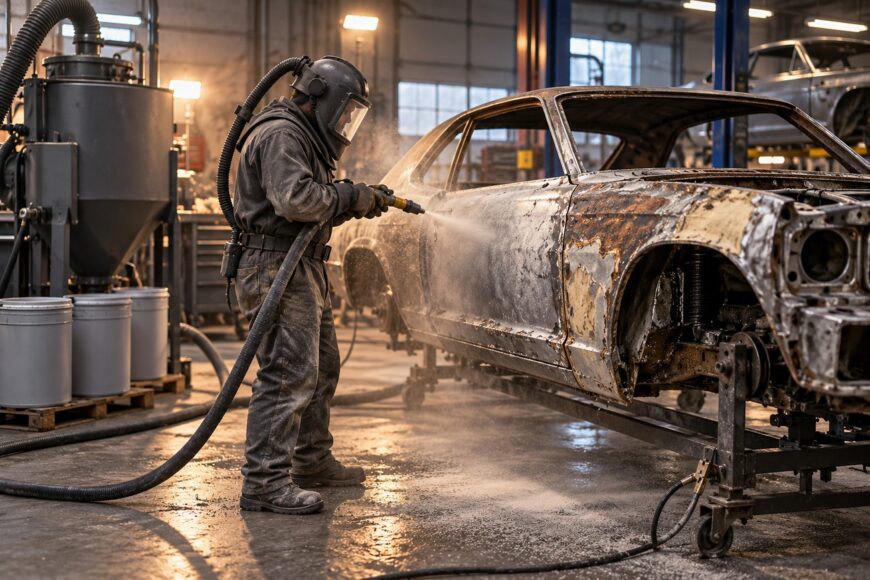
Media blasting is a material-selection and process-control decision, not a universal cure for rust. The right approach depends on panel thickness, contamination, corrosion severity, existing coatings, and the coating planned afterward.
A poor setup can warp a roof or door, trap abrasive in seams, leave chemical contamination behind, or create a rough surface that demands excessive filler and primer. Bare steel can also develop flash rust if cleaning, drying, inspection, and priming are delayed.
- What Media Blasting Does for Body Restoration
- Blast Media Options for Car Body Restoration
- Matching Media to Panels, Rust, and Existing Coatings
- Pressure, Nozzle Angle, and Panel Warp
- What Blasting Misses: Contamination, Seams, and Hidden Damage
- From Bare Metal to Paint: Prep, Primer, and Shop Controls
- Frequently asked questions
- How much does media blasting a car body cost?
- How long can bare steel sit after media blasting?
- How can I verify what blast media a restoration shop used?
What Media Blasting Does for Body Restoration
Blasting removes paint, scale, surface corrosion, and some old repair material by directing abrasive against the metal. It exposes weak areas that may be hidden under coatings, making later cutting and welding decisions more reliable. The result depends on the media, pressure, nozzle, angle, and the operator’s control of dwell time.
Blasting does not fully remove oils, silicones, waxes, or other chemically active contamination. Those residues can remain in seams or on apparently clean metal, so washing and degreasing are still required before primer. A clean-looking surface is not automatically a chemically clean surface.
Silica sand is a hazardous crystalline-silica dust source and is not a recommended default for professional automotive body restoration in the United States or European Union. Glass bead, garnet, soda, plastic media, and walnut shell are safer choices when matched to the panel and the required finish.
Blasting removes corrosion; it does not provide permanent corrosion protection. Long-term protection comes from cleaning, suitable primer, seam sealer, the subsequent coating system, and maintenance. Claims that blasting alone creates complete anti-corrosion protection should therefore be treated cautiously.
Blast Media Options for Car Body Restoration
Each medium trades cutting power against heat, surface profile, cleanup, and the chance of damaging thin metal. The following comparison is a starting point, since pressure and technique can change the result substantially.
| Media | Aggressiveness and applications | Surface profile | Limitations and safety |
|---|---|---|---|
| Glass bead | Moderate; useful for sound panels, light rust, and old coatings | Fine to moderate; common bodywork grades are about 80–120 mesh | Can warp thin panels if overworked; control dust and recover spent media |
| Garnet | Moderate to high; suitable for corrosion and stronger body or structural areas | Defined profile; commonly about 80–120 mesh | Coarser grades cut harder and require careful pressure control |
| Soda | Gentle; suitable for delicate cleaning and light coatings | Little anchor profile | Poor on heavy rust and layered paint; residue must be washed away; may be unsuitable for powder coating |
| Plastic media | Low to moderate; suitable for paint removal on sensitive parts | Shallow profile | May lack enough surface tooth for some powder-coating systems; media selection matters |
| Walnut shell | Gentle; suitable for light deposits and delicate cleaning | Low profile | Limited on rust and thick coatings; residual particles still require removal |
| Silica sand | Aggressive; historically used for heavy removal | Often deep and uneven | Hazardous crystalline-silica dust; unsuitable as a normal professional bodywork option |
Glass bead and garnet are often the most versatile bodywork choices, though neither is suitable for every panel. Soda, plastic, and walnut shell help preserve delicate surfaces, while severe corrosion may require a stronger medium or a separate mechanical method. The correct choice is the one that achieves the required cleanliness without exceeding the panel’s tolerance.
Matching Media to Panels, Rust, and Existing Coatings
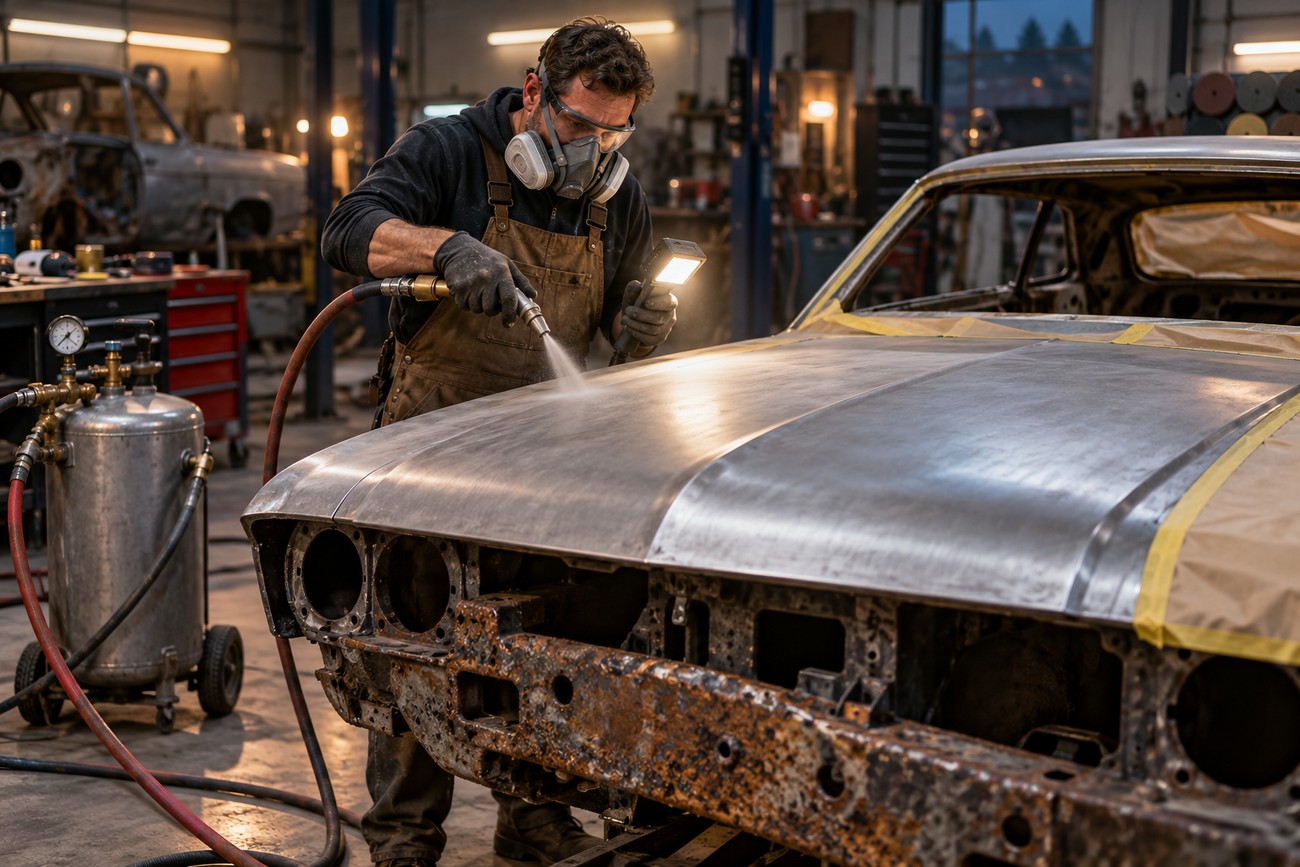
Large flat panels such as roofs, hoods, and doors are vulnerable to oil-canning and permanent waves. They generally need softer media, lower pressure, short passes, and frequent inspection. Frames, lower structure, and heavily corroded areas can tolerate more aggressive treatment when their condition and geometry support it.
A complete restoration commonly combines methods. Chemical or induction paint removal can take off thick coatings before light blasting, reducing exposure time and deformation risk. Chemical residues must then be neutralized or removed according to the product requirements before abrasive work and coating.
Closed double panels, factory-bonded seams, and narrow drain paths deserve special caution. Abrasive can enter these areas and remain beyond the reach of ordinary air pressure or washing. Chrome, thin decorative parts, rubber, wiring, and delicate trim should be removed or specifically protected rather than included in a broad blasting pass.
A test area on a representative panel can reveal whether the selected medium cuts the coating, leaves an acceptable profile, and exposes old repairs without excessive heat or distortion. A setting that works on a frame may be destructive on a door skin. Treating the entire vehicle with one recipe is poor process control.
Pressure, Nozzle Angle, and Panel Warp
Automotive sheet metal is commonly handled around 60–90 psi, with the exact setting adjusted for media, nozzle, panel condition, and distance. Above approximately 100–120 psi, the risk of panel deformation rises sharply. Pressure alone does not determine the outcome, but it is a major control that should be documented.
Nozzle size, stand-off distance, spray angle, pass speed, and dwell time can matter as much as the selected media. A perpendicular stream held in one place concentrates energy; a controlled angle and moving pass distribute it. Operators should begin with a test area and reduce exposure as the panel becomes clean.
Pressure, stand-off distance, and spray angle should change from one panel to another because a roof, a door skin, and a boxed frame absorb energy differently. One machine setting across the vehicle is a warning sign, especially when large flat panels are involved.
Complaints that a roof or doors became wavy usually reflect excessive heat, pressure, dwell time, or repeated passes over thin metal. Aggressive or repeated blasting may reduce local body-metal thickness by approximately 10–20% in affected areas, weakening both stiffness and corrosion resistance. Dustless equipment lowers airborne dust, yet it does not remove the risk of incorrect pressure or technique.
What Blasting Misses: Contamination, Seams, and Hidden Damage
Residual abrasive can remain in seams, frame rails, rocker cavities, drain paths, and other hidden spaces. It may retain moisture and later contribute to corrosion, rattles, or grinding noises. A vehicle blasted in assembly also risks damage to bearings, seals, wiring, glass, and trim, while cleanup becomes slower and less complete.
Blasting is not a substitute for degreasing and washing. Oil, silicone, undercoating residue, and old polish can interfere with primer even after the visible coating is gone. The cleaning method must suit the chosen media; soda residue, in particular, requires thorough washing before coating.
Freshly exposed steel can develop flash rust when humidity, condensation, or a delay before priming is present. The risk rises in damp shops and during temperature changes. Scheduling the blast, final cleaning, drying, inspection, and first protective coat as one handoff is safer than leaving bare metal exposed for several days.
Stripping can reveal thin metal, cracked filler, poor previous repairs, and hidden perforation. A small test area helps identify those conditions before the full vehicle is processed. It also gives the owner a better basis for approving welding, panel replacement, or a revised restoration scope.
From Bare Metal to Paint: Prep, Primer, and Shop Controls
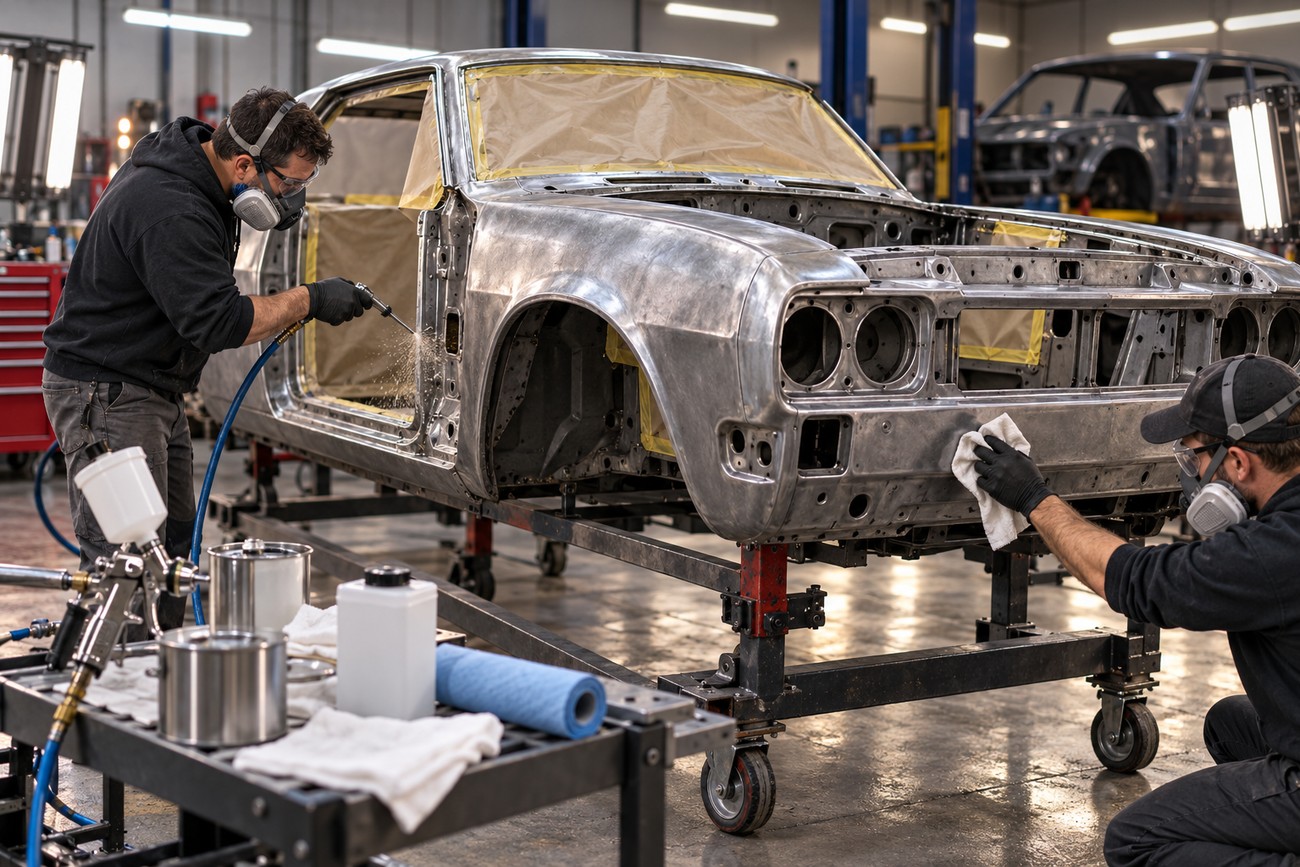
After blasting, the shop should remove loose media from the body, cavities, seams, and work area, then wash or otherwise clean the surface as appropriate. The metal must be dried thoroughly, degreased, inspected under good light, and primed without unnecessary delay. The chosen primer must also be compatible with the intended filler and topcoat.
Coatings need an anchor profile: controlled surface roughness that gives mechanical adhesion. A profile that is too deep increases primer and filler work and can telegraph through a finish. Soda or plastic media may leave too little surface tooth for some powder-coating systems, so the coating specification should guide media selection before blasting begins.
Good handoff control includes cavity cleaning, moisture removal, inspection for exposed defects, and protection of every cleaned surface until primer is applied. If a shop cannot explain how it will remove abrasive from rails and seams, its visible blast result does not tell the whole story.
- Request the exact media name and grade, rather than accepting “sandblasting” as a description.
- Confirm the planned pressure range and require a test area before full removal.
- Agree in writing which glass, trim, chrome, seals, wiring, and decorative parts will be removed or protected.
- Ask how seams, cavities, rails, and drain paths will be cleaned.
- Confirm the cleaning, drying, inspection, primer, and coating schedule before bare steel is exposed.
Frequently asked questions
Media blasting costs, timing, and results depend on the vehicle’s condition and the shop’s process. The questions below focus on estimating the work, protecting bare steel, and verifying the agreed blasting method.
Clear documentation of media, pressure, cleanup, and primer work makes the restoration easier to evaluate.
How much does media blasting a car body cost?
Cost depends on vehicle size, the amount of disassembly, corrosion severity, media consumption, containment, access to cavities, cleanup, and post-blast primer work. A bare shell with easy access has a different labor requirement from an assembled car with layered paint, hidden rust, and extensive trim removal.
Ask for separate estimates for stripping, disassembly, abrasive cleanup, repairs revealed by blasting, and primer. This makes a low initial quote easier to compare and reduces the chance that essential cavity cleaning or coating work appears later as an unexpected addition.
How long can bare steel sit after media blasting?
There is no universally safe multi-day waiting period for freshly blasted steel. Humidity, condensation, shop temperature, surface cleanliness, and the metal condition affect flash-rust risk, so the shop should plan cleaning, drying, inspection, and primer application as one continuous handoff.
If work must stop, require the shop to state how the surface will be protected and rechecked before coating. Covering a damp or contaminated body does not replace drying and inspection.
How can I verify what blast media a restoration shop used?
Request the media name and grade, the pressure range, photos of the test area, and a list of excluded or protected parts. The shop should also describe how it will clean cavities and seams and which primer or coating will follow.
Compare those details with the work area, material bags, job sheet, or written process record where available. A shop that can explain its settings and handoff is easier to hold to the agreed process than one offering only a generic “dustless” or “safe blasting” label.







