Hand waxing looks simple until heat, contamination, excess product, or incorrect wipe-off timing turns a clean finish into haze and streaks. A hot panel can make the product flash-dry, while road film and fine grit can be dragged across the clear coat. Too much wax creates more residue without automatically providing stronger protection.
The goal is controlled preparation and a thin, even film. Work on manageable areas, use clean microfiber, and follow the label for the product you are using. Traditional carnauba wax, silicone formulas, ceramic products, and hybrid waxes may all be sold as wax while behaving differently during application and curing.
- Start With the Right Waxing Conditions
- Wash, Decontaminate, and Test the Paint
- Set Up Your Pads, Towels, and Work Area
- How to Wax a Car by Hand, Panel by Panel
- Wipe Off, Inspect, and Decide Whether to Add a Second Coat
- Fix Streaks, Haze, and Other Common Waxing Failures
- What Hand Wax Can—and Cannot—Protect Against
- Frequently asked questions
- How often should I wax my car?
- How should I clean microfiber towels after waxing?
- What is the best way to hand wax a car?
- What not to do when waxing a car?
- How long should you let car wax sit before wiping off?
Start With the Right Waxing Conditions
Most hand waxes are applied to clean, dry, cool paint in the shade. These conditions slow premature drying and make the product easier to spread and remove evenly. Shade also lets you see streaks and remaining residue before they become difficult to correct.
The product’s technical instructions take priority over general waxing rules. Some formulas are designed for dry paint, while others allow damp application. For example, 3M Quick Wax may be applied to a dry or wet surface, but its product guidance warns against hot paint and direct sunlight.
Do not assume that a product labeled ceramic or hybrid can be handled like a traditional paste wax. Silicone, ceramic, and hybrid products can differ in chemistry and curing behavior, even when the bottle uses the word “wax.” Their surface requirements, working time, and final wipe may therefore be different.
Choose a cool working area and avoid panels that are warm from driving or direct sun. Unless the specific instructions explicitly allow it, never apply wax to hot paint or in direct sunlight. If conditions change during the job, pause and move the vehicle into shade rather than trying to compensate with harder pressure.
Wash, Decontaminate, and Test the Paint
Wash the vehicle before opening the wax. Road film, dust, sand, and dried traffic grime remain abrasive under an applicator, and wax does not neutralize that material. Rinsing alone may leave an oily film that interferes with even coverage and makes later inspection unreliable.
After washing, deal with heavier contamination according to the directions for the cleaner being used. Tar and metallic particles can remain bonded to paint after a normal wash, so they should be removed before waxing. Any chemical or mechanical decontamination should be followed by the required rinse or wash, and the surface should then be dried fully if the wax calls for dry paint.
A small test on a less visible area is worthwhile, especially with a new formula or an unfamiliar finish. The test can reveal how the paint reacts to solvents, dyes, or polishing additives and can show whether the product leaves a haze that is difficult to remove. This is particularly useful on older, repainted, or unusually soft clear coat.
Wax may temporarily mask minor defects by filling or visually blending them, yet it does not restore clear coat or remove deep scratches. If the paint needs correction, decide that before waxing. Applying wax over defects may improve the immediate appearance while making the underlying condition easier to overlook.
Set Up Your Pads, Towels, and Work Area
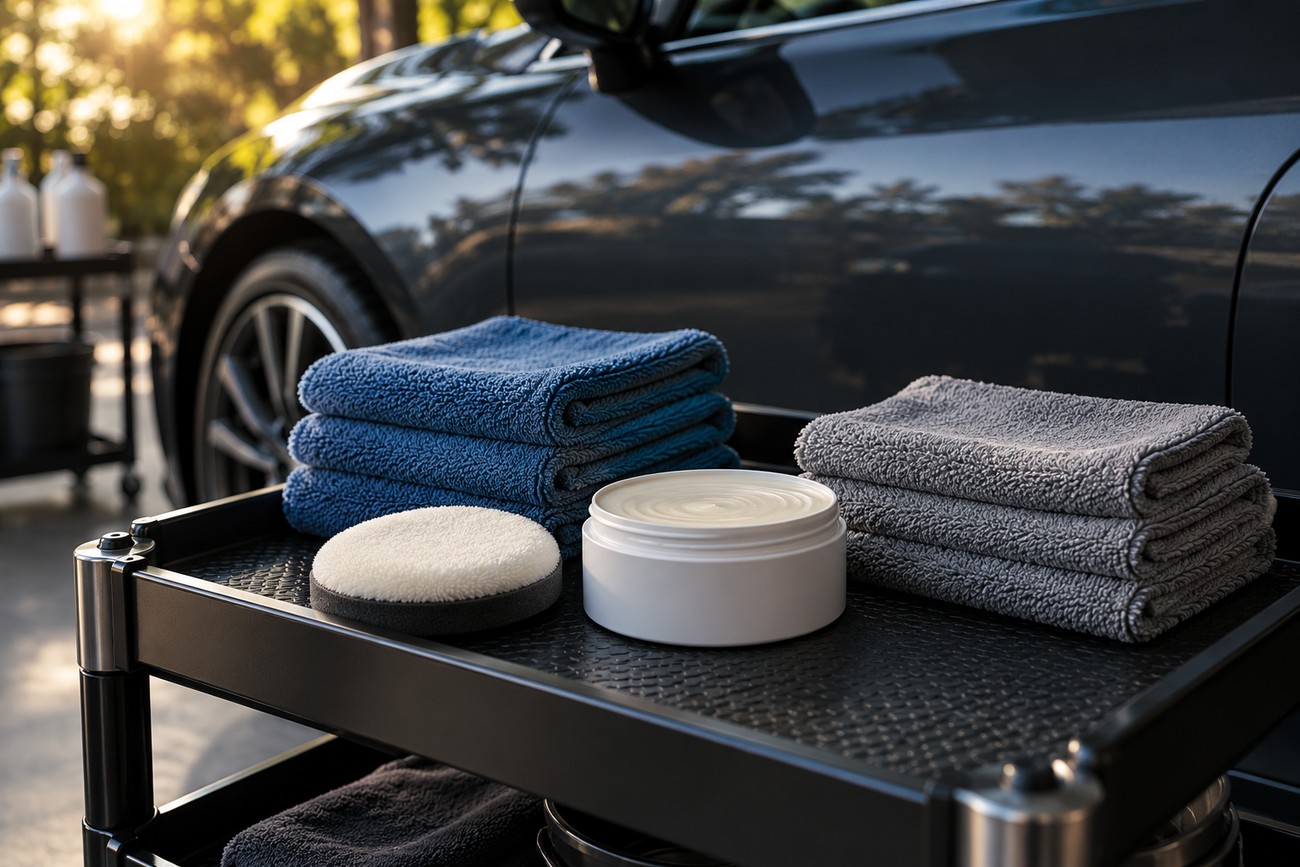
Prepare a clean applicator, several microfiber towels, and a place where the vehicle can remain cool while you work. Keep the materials off the ground and away from open containers of cleaner. A small amount of grit caught in a towel can cause more trouble than an imperfect wax layer.
Use separate clean materials for spreading the product and removing residue. Fold each microfiber so a clean side faces outward, then refold or replace it when that side becomes saturated with wax. A towel loaded with residue loses its ability to level the film and can leave oily-looking marks, especially on dark paint.
Work in small zones rather than covering the entire car before checking the first panel. Small areas make it easier to maintain a consistent layer and prevent residue from drying completely. Protect textured trim, emblems, gaps, and rubber seals from unnecessary contact because dried wax can collect in their edges and become difficult to remove.
Read the label before using the product on glass, brakes, hot components, or matte finishes. Do not apply wax to those surfaces unless the instructions specifically permit it. Masking delicate trim may be faster than cleaning hardened residue from a textured surface later.
How to Wax a Car by Hand, Panel by Panel
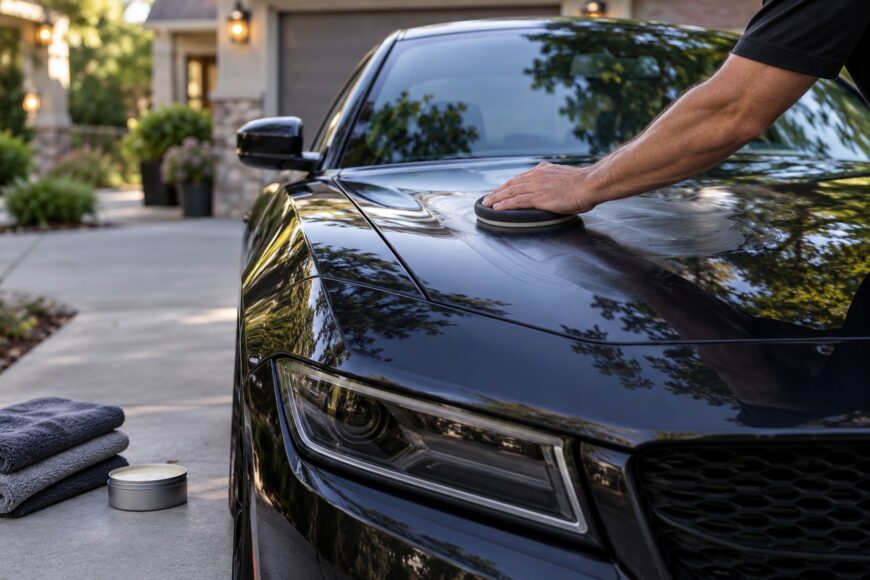
Shake or mix the product only as directed, then prime the applicator with a small amount. Spread a very thin, even film using light pressure. The applicator should glide across the paint; a thick, wet-looking coat is usually excess product rather than better coverage.
- Choose one panel or a small working zone.
- Apply the product in overlapping passes with light, even pressure.
- Keep the film thin and uniform, including the panel edges where practical.
- Follow the label’s wipe-off instructions for that formula.
- Remove the residue with a clean microfiber before it becomes difficult to buff.
Work methodically and avoid aggressive circular polishing. The purpose of the applicator is to distribute the product, not to correct paint. If a dry product begins to drag, reduce the area, check the amount on the pad, and follow the stated working time instead of increasing pressure.
The moment an applicator starts dragging, the surface is usually too dry or the product is too heavy. Harder pressure adds friction and can spread residue unevenly; correcting the amount or working area is the safer response.
Product-specific timing matters. Meguiar’s Hybrid Ceramic Liquid Wax specifies application to one panel at a time, followed by a 3–5 minute wait before removal with microfiber, according to that product’s instructions. Do not transfer that 3–5-minute interval to another wax. No universal waiting time exists because formula, temperature, humidity, layer thickness, and the surface itself all affect drying.
For a wax intended for dry paint, leave the panel dry before application. A product that permits damp application may behave differently because the water changes spreading and residue removal. The label decides which method applies; a wet application can dilute or disturb a formula designed for a dry surface.
Wipe Off, Inspect, and Decide Whether to Add a Second Coat
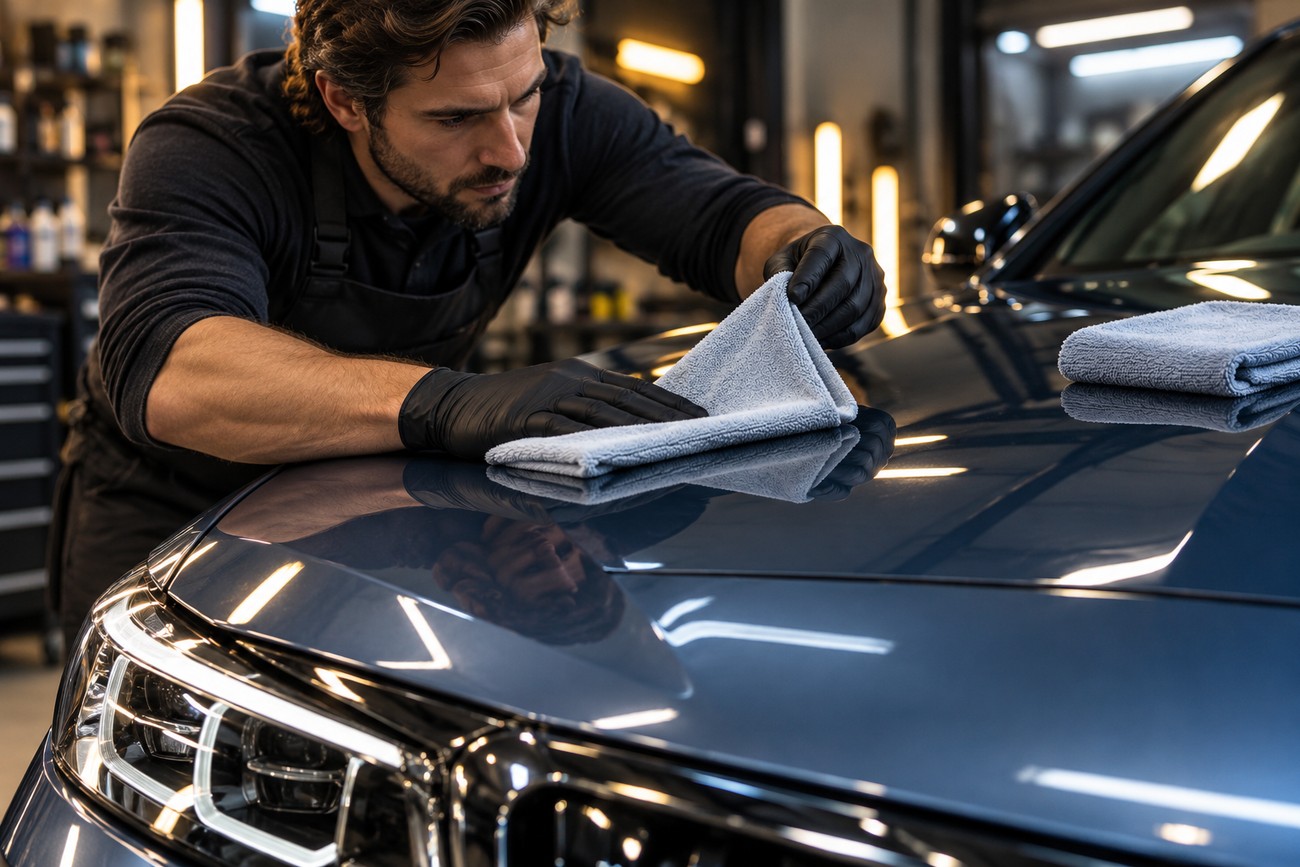
Judge the wipe-off by the product instructions and the surface response, rather than by a universal timer. Some products are removed while they remain easy to level, while others require a specified short wait. Temperature, humidity, layer thickness, and the base surface can all change how quickly residue sets.
Use a clean side of the microfiber and turn the towel often. A panel allowed to dry completely is more likely to require extra effort during removal, which increases the chance of smearing residue or adding unnecessary friction. If a section feels sticky, use a fresh towel and follow the product’s correction instructions instead of immediately adding more wax.
Inspect the panel from several angles and under different lighting. A glossy appearance and strong water behavior may indicate that a surface film is present, but they do not by themselves prove long-term protection. Some visual improvement comes from filling minor texture or changing how light reflects from the paint.
Two thin applications may be easier to control than one thick layer, but use this approach only when the manufacturer provides compatible layering guidance. Compatibility is not guaranteed between products, and a second coat can disturb the first if the formula needs additional curing. If the instructions are silent, a single correctly applied thin layer is the safer choice.
Fix Streaks, Haze, and Other Common Waxing Failures
White streaks, cloudy film, and difficult buffing usually point to excessive product, a panel that became too warm, or residue that was left too long. Thick application commonly produces these symptoms. Remove the residue with a clean microfiber and the method permitted by the label, then reduce the amount on the next section.
Oily, hologram-like marks on black paint often come from a dirty or unsuitable towel, uneven removal, or an overly heavy layer. Use a fresh, short-pile or product-approved microfiber, fold it into clean faces, and inspect under direct but controlled lighting. Avoid trying to erase the marks with force, since pressure can increase micro-marring.
Wax trapped in textured plastic, emblems, gaps, and rubber seals is easier to prevent than to remove. Use less product near these areas and keep the applicator edge under control. For residue that is already present, follow the wax maker’s cleaning advice and test any cleaner on an inconspicuous spot first.
Hot paint can make the product dry prematurely and leave a sticky film. Move the vehicle into shade and allow the surface to cool before continuing. Adding fresh wax over a sticky patch generally increases the residue and hides the cause, so correct the temperature and application thickness first.
What Hand Wax Can—and Cannot—Protect Against
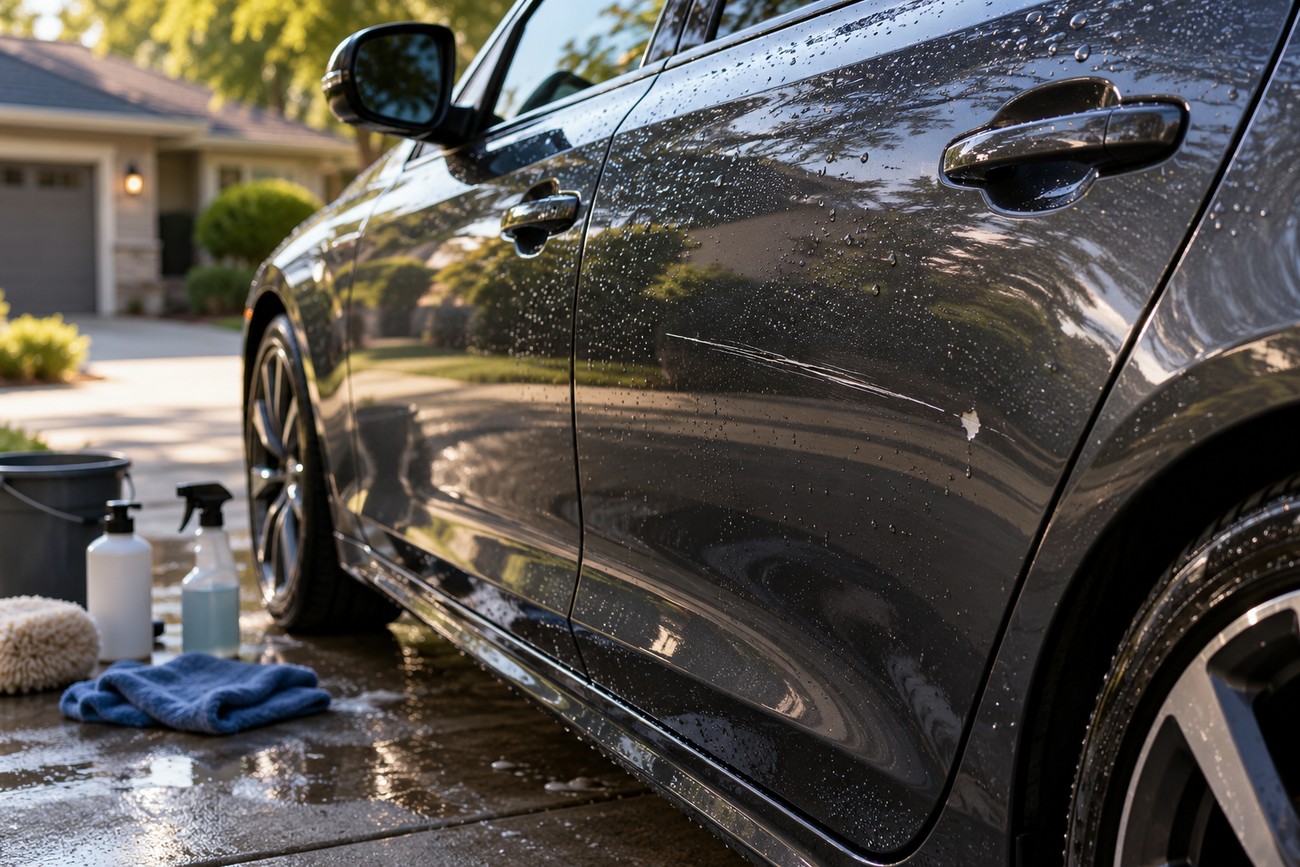
Hand wax leaves a protective film that can improve gloss, alter water behavior, and temporarily disguise minor defects. Those benefits concern surface appearance and contamination resistance. The film does not repair paint, restore clear coat, or remove deep scratches.
Wax is not a shield against stone chips, deep scratches, bird droppings, or chemical etching. Contaminants should still be removed promptly and safely, because time, heat, and strong chemicals can damage paint through or around a wax layer. A waxed vehicle still needs sensible washing and inspection.
Marketing may promise months of protection, but noticeable real-world performance varies with washing, chemicals, climate, and the product. Frequent alkaline washing or harsh contact can reduce the visible effect sooner than a mild maintenance routine. Water beading can also change independently of the film’s overall condition, so it should not be treated as a precise durability test.
Some solvent-containing formulas may loosen old residue or contamination, yet incorrect use can mark plastic. Keep such products on approved surfaces, respect dwell times, and remove them as directed. The wax label and the cleaner label both matter when a product performs more than one apparent function.
Frequently asked questions
How often should I wax my car?
Use the condition of the finish and the product guidance rather than a fixed calendar. Reapply when the product’s surface behavior and appearance have declined after normal washing, provided the paint is cleaned and prepared again first.
Washing chemistry, climate, parking conditions, and exposure to contamination all affect noticeable performance. A wax that still spreads evenly and remains compatible with the maintenance routine does not need to be reapplied simply because a set number of weeks has passed. Excessive reapplication can add residue without improving the finish.
How should I clean microfiber towels after waxing?
Separate wax towels from towels used for wheels, glass, or heavy cleaning. Shake out loose debris, wash them according to the towel and detergent instructions, and avoid mixing them with materials carrying abrasive dirt. Do not return a towel to paint if hardened residue remains in its fibers.
Dry the towels fully and store them covered or in a clean cabinet. A towel that feels stiff, greasy, or contaminated after washing should be downgraded to a less sensitive task. This prevents old wax and trapped grit from being carried onto the paint during the next application.
What is the best way to hand wax a car?
The most reliable method is to prepare clean, cool paint, use a clean applicator, spread a thin, even film over one small area, and remove it with a separate clean microfiber according to the label. Keep the work controlled enough that no panel is left fully dry and difficult to buff.
Choose the application method from the product category rather than its marketing name. A traditional wax, a ceramic product, and a hybrid liquid may need different surface moisture, waiting time, and curing treatment.
What not to do when waxing a car?
Do not wax over sand, heavy road film, tar, or metallic contamination. Do not use a thick layer, work on hot paint or in direct sunlight unless the label explicitly allows it, or use one dirty towel for both application and removal.
Avoid applying the product to glass, brakes, hot components, textured trim, or matte surfaces without specific permission. Do not expect wax to remove deep scratches, and do not add more product to correct haze before checking the temperature, towel, and layer thickness.
How long should you let car wax sit before wiping off?
Follow the timing stated for the specific product; there is no universal waiting time. Formula, temperature, humidity, layer thickness, and the surface affect how quickly the residue becomes ready for removal.
For one product-specific example, Meguiar’s Hybrid Ceramic Liquid Wax instructs users to work one panel at a time and wait 3–5 minutes before removing it with microfiber. That interval should not be applied to other waxes automatically. If the label gives no clear timing, use a small test area and remove the film while it remains easy to level.