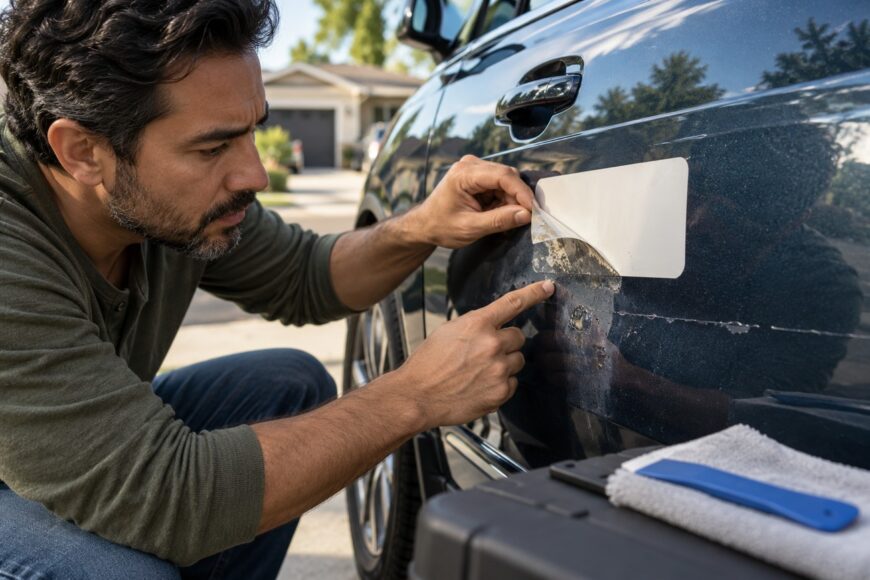
Removing the film is often easier than removing the adhesive left behind. A cold sticker may tear into small pieces, while its glue remains bonded to the clear coat and forms a sticky outline that ordinary washing cannot remove.
The safest method balances enough heat to soften the adhesive with enough restraint to protect the paint. A darker or brighter shape under the sticker may also result from sun fading or an exposure difference, so removing the glue will not always restore a uniform finish.
- Check the Paint and Sticker Before You Start
- Gather the Right Tools and Use Controlled Heat
- Peel the Sticker Slowly Without Pulling the Paint
- Dissolve Adhesive Residue Without Scrubbing It In
- Know When a Clean Removal Still Leaves a Visible Mark
- Common Mistakes and Myths That Cause Paint Damage
- Frequently asked questions
- How can I tell adhesive residue from paint fading under a sticker?
- How can I remove stickers without removing the paint?
- What is the best way to remove car stickers without damaging the paint?
- How can I remove stickers without damaging car paint?
Check the Paint and Sticker Before You Start
The paint condition determines how much risk the removal process carries. A paint-safe claim generally applies to most fully cured factory automotive coatings. Fresh repairs, damaged paint, poorly cured layers, and unknown refinishes can lift together with the sticker or adhesive.
Inspect the sticker’s edges and the surrounding panel for peeling clear coat, chips, bubbling, or signs of repainting. An old sticker may be strongly bonded to a weak surface, so a gentle test on one corner is more informative than applying force across the whole panel.
Wash the area first and remove grit before applying heat or pressure. Dirt trapped under a towel or tool can drag across the clear coat and create fine scratches during an otherwise careful removal.
Test any adhesive remover in an inconspicuous area, including nearby plastic, rubber, vinyl, or trim. Compatibility depends on the coating, paint age, clear coat, and contact time, and a product that is suitable for paint may still discolor an adjacent material.
Gather the Right Tools and Use Controlled Heat
Prepare a hair dryer or another controllable low-heat source, clean microfiber towels, a plastic applicator or plastic scraper, and an adhesive remover that has passed a compatibility test. Keep a fresh towel available so softened glue is lifted away instead of spread across the panel.
Begin with a hair dryer and minimal controllable heat on painted surfaces. Heat softens the adhesive and reduces the force needed for removal; it should not be used to melt the sticker or make the panel excessively hot.
For graphics, 3M gives an approximate working range of 72–93 °C, but this is not a target temperature for ordinary painted panels. Stronger heat is not automatically safer, especially on repaired or unfamiliar paint.
Use a plastic applicator or plastic scraper if an edge needs help. Knives, razor blades, and metal scrapers can cut or scratch the clear coat, while clean microfiber is less likely to shed lint or abrade a dirty surface than rough paper towels.
Peel the Sticker Slowly Without Pulling the Paint
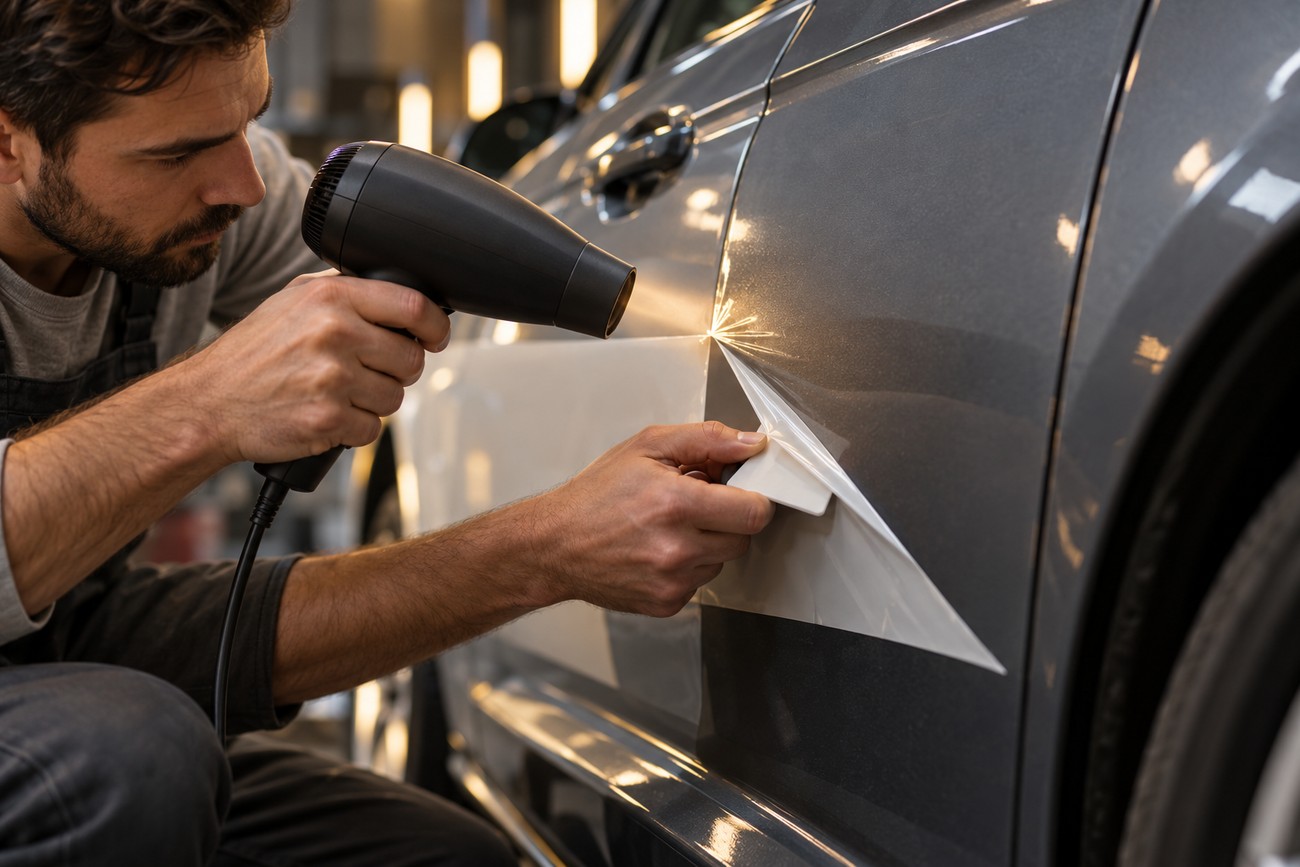
Warm a small section near one edge, then lift the corner with a fingernail or plastic tool. Pull the film slowly at a low angle, keeping the peeling motion close to the panel rather than pulling sharply upward.
Move the heat toward the direction of removal instead of heating the entire panel. This keeps the adhesive workable where it is separating and limits unnecessary heat exposure elsewhere on the paint.
A cold sticker may tear while leaving adhesive fragments behind. If the film starts splitting, stop pulling, warm the next small section, and resume with steady tension rather than trying to remove a large piece in one jerk.
Stringy adhesive is a signal to slow down. Reheat the small area where the glue is stretching, then continue gradually; increasing the pulling force can lift weak paint or leave a thicker residue layer.
Keep the hair dryer moving continuously. Holding heat in one place or using a construction heat gun at maximum power can soften or damage the coating, even though controlled heat makes the sticker easier to release.
Dissolve Adhesive Residue Without Scrubbing It In
Apply a tested adhesive remover to a small area or to part of a microfiber towel. Allow a few minutes of contact, then wipe with a fresh section of microfiber and repeat if necessary. This gives the solvent time to weaken the glue before mechanical cleaning begins.
3M Adhesive Remover is stated to be safe for most fully cured automotive coatings when used as directed. That statement is not a guarantee for fresh, repaired, damaged, or unknown paint, and the product should still be tested before wider use.
Applying remover to a small microfiber area gives you control over dwell time and spread. Flooding the panel can carry solvent onto trim or allow it to dry on the paint before you can wipe it away.
Do not let the solvent evaporate on the surface, and do not scrub dry adhesive aggressively. A product safe for paint may still affect rubber, plastic, vinyl, or decorative finishes, so keep the working area limited and wipe any accidental contact promptly according to the product directions.
After the residue is gone, wash the panel to remove solvent traces. If a slight film remains, gentle cleaning or clay may help, followed by a suitable protective wax or sealant once the surface is clean and dry.
Know When a Clean Removal Still Leaves a Visible Mark
A sticker outline can remain even after all adhesive has been removed. Paint exposed to sunlight changes over time, while the covered area is shielded, creating a darker or brighter shape that cleaning cannot dissolve.
Check the surface by feel and under different lighting. Adhesive residue often changes the texture, gloss, or tackiness of the panel and may respond to controlled cleaning. A smooth surface with a persistent color difference points more toward exposure-related fading.
Removing all adhesive does not guarantee that the panel will match the surrounding paint. A light polish may reduce the visible border when the difference is in the surrounding oxidation or surface finish, though polishing cannot reverse deeper color change.
If paint lifts with the sticker, stop the process rather than pulling harder. Damaged, repainted, or poorly cured coatings may need professional evaluation before further solvent use, scraping, or machine polishing.
Common Mistakes and Myths That Cause Paint Damage
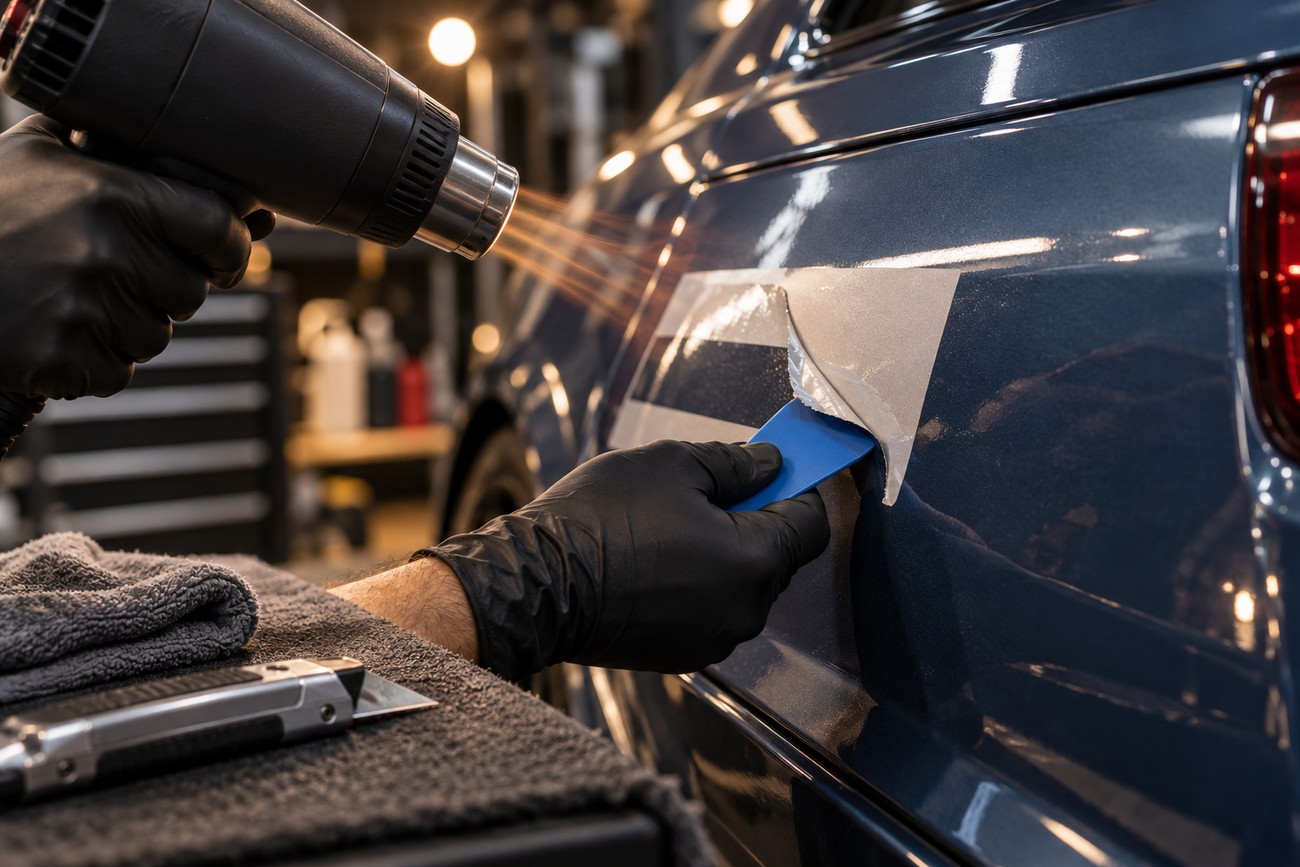
Metal tools create a direct scratch risk, even when they seem useful for a stubborn corner. A plastic scraper and controlled heat provide more forgiving contact with the clear coat.
Maximum heat is also a poor shortcut. Heat helps release adhesive, yet stationary or excessive heat can soften the coating itself. A moving hair dryer at a low, controllable setting gives you time to observe how the film and paint respond.
Dry rubbing often spreads glue and traps dirt against the panel. Acetone, gasoline, general solvents, WD-40, and Goo Gone should not be assumed compatible with every coating; test any such product first, use limited contact, and follow its directions.
Claims of removal “without traces” should be treated cautiously. Sticker film, adhesive type, age, and exposure time all affect the result, and some adhesive systems may leave more than 30% residue. A second chemical treatment or later polishing can therefore be part of a normal correction process.
Frequently asked questions
The remaining mark is easier to diagnose when you separate surface contamination from a change in the paint itself. Use the least aggressive test that can answer that question, especially on older or repaired panels.
How can I tell adhesive residue from paint fading under a sticker?
Adhesive residue usually changes the surface feel, gloss, or tackiness. In a clean, shaded area, wipe a small section with a tested remover and fresh microfiber; residue may soften or transfer to the towel.
If the panel feels smooth and the color difference remains after controlled cleaning, the outline is more likely an exposure-related paint difference. Compare the area in direct and indirect light, since reflections can make a fading boundary appear stronger than it is.
How can I remove stickers without removing the paint?
Use gradual heat, low-angle peeling, and short working sections. Let the adhesive release instead of pulling against it, and stop immediately if the paint begins to lift, crack, or change texture.
For a vehicle with fresh repairs, peeling clear coat, or unknown refinishing, a professional assessment is safer than escalating the heat or solvent. The sticker may be holding a weak surface together.
What is the best way to remove car stickers without damaging the paint?
The most controlled approach is to clean the panel, test the coating and nearby trim, warm a small area with a hair dryer, and peel slowly while keeping the heat moving. Treat remaining adhesive separately with a tested remover and limited contact time.
Direct sunlight makes heat control less predictable because the panel may already be hot. Work in shade when possible, and judge the surface temperature by how it responds rather than trying to reach a high numerical target.
How can I remove stickers without damaging car paint?
Start with the least aggressive combination of clean microfiber, controlled low heat, and plastic tools. Avoid knives, metal blades, dry scrubbing, and untested solvents, since each can create damage that is harder to correct than the original adhesive.
Check adjacent rubber, plastic, vinyl, and trim separately before using a remover. Even when the painted panel tolerates the product, nearby materials may stain, soften, or lose their finish.