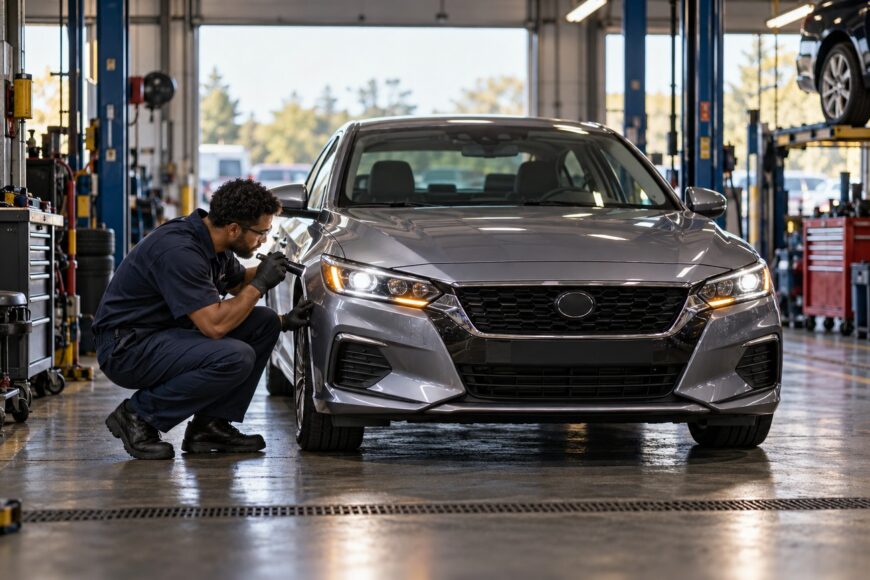
A car can drive normally and still fail a state vehicle inspection because of one burned-out lamp, an incorrect tire specification, a warning light, excessive window tint, or a paperwork problem. Inspection stations judge formal safety and emissions criteria, so a vehicle that feels fine on the road may still be rejected.
The safest approach is to prepare for the exact state program before booking. Separate the safety checks from emissions and OBD requirements, verify the documents, and inspect visible equipment yourself. Avoid last-minute repairs or code resets that can create a new failure, especially if the vehicle needs time to complete its OBD readiness checks.
- Start With Your State’s Inspection Rules
- Documents and Vehicle Basics to Check Before You Go
- Safety Items Inspectors Commonly Check
- Safety and Emissions Inspections: What Each One Can Fail
- Get OBD-II and Emissions Ready Before the Appointment
- Tires, Glass, Tint, and Modifications That Create Surprises
- Use a Pre-Inspection Checklist and Test Drive
- If the Vehicle Fails: Read the Report Before Repairing It
- Frequently asked questions
- How long should I drive after disconnecting the battery or clearing a code?
- What should I do if the failure is caused by aftermarket tint, LED bulbs, or another modification?
- How to successfully pass an auto inspection?
- What are the requirements to pass a vehicle inspection in Texas?
- What are the requirements for passing the Missouri auto inspection?
Start With Your State’s Inspection Rules
U. S. vehicle inspection requirements depend on the state. Some programs are safety-only, some are emissions-only, some combine both, and some states do not require a mandatory annual inspection. The rules may also vary by vehicle age, fuel type, location, or the type of inspection station you use.
Before searching for an appointment in Texas, Missouri, North Carolina, or another state, confirm the current requirements through the official state program. Check whether your vehicle needs a safety inspection, an emissions test, both, or no mandatory annual inspection. A general internet checklist can help you prepare, but it cannot replace the rules that apply to your registration address and vehicle.
Frequency, covered vehicles, fees, required documents, and retest procedures may all differ. Some stations also have their own appointment, payment, and document requirements. VIN, license plate, insurance, and registration may be checked before the inspection begins, although the exact document set depends on the state and station.
Retest rules deserve attention before you book. A state or station may set a limited period for returning after a failed inspection, and the second visit may involve a reduced fee, a separate fee, or another full inspection charge. Confirm this in advance so a repair delay does not turn into an avoidable expiration or additional cost.
Documents and Vehicle Basics to Check Before You Go
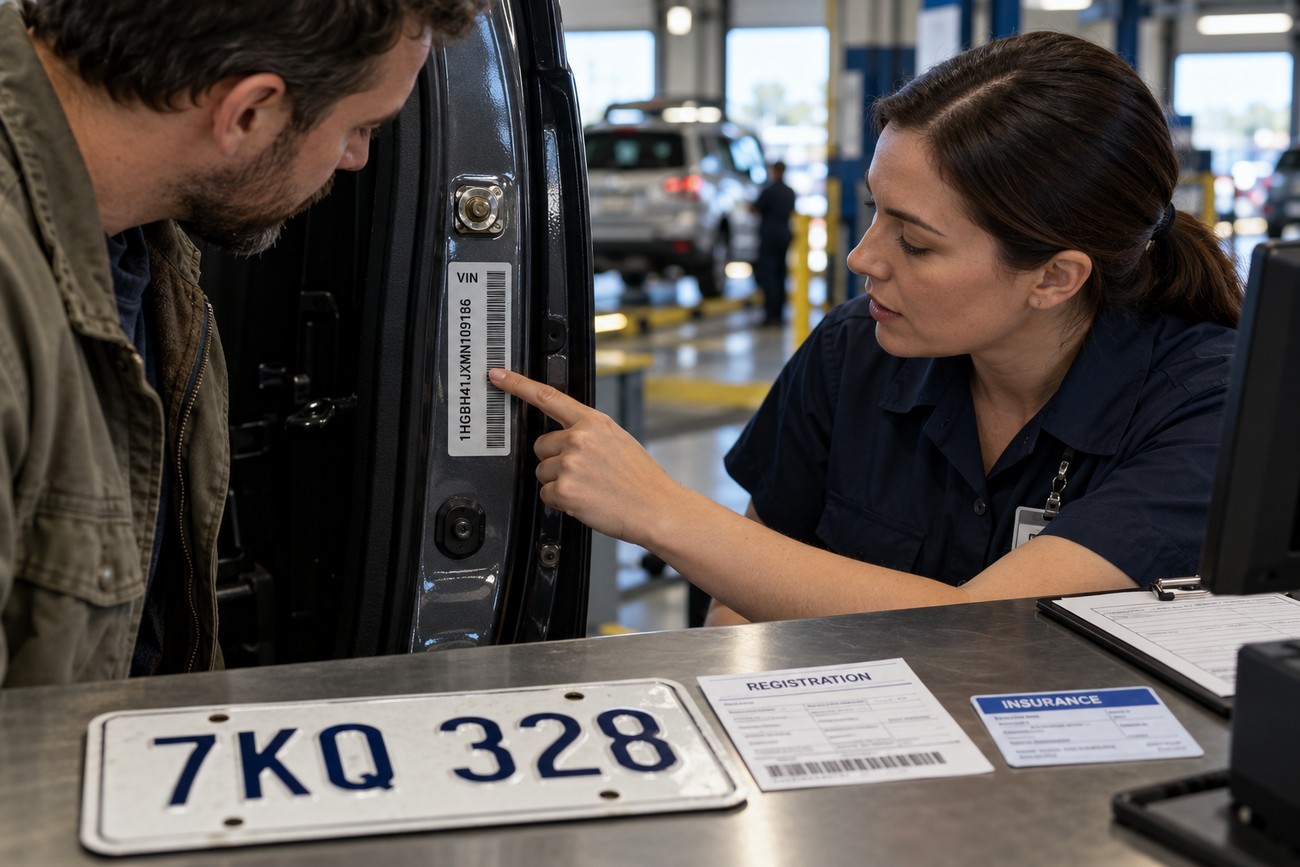
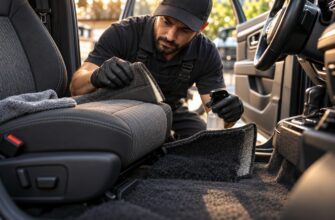
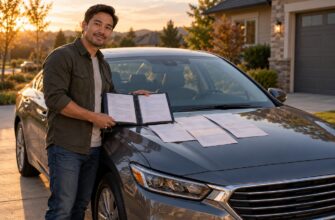
Prepare the vehicle and the paperwork together. Make sure the VIN is visible and readable, the license plate is properly attached and legible, and the registration and insurance information meet the station’s requirements. Clean dirt from identification areas if it hides a plate, VIN label, or required marking.
Many stations may require the VIN, license plate, insurance, and registration to be in order before they start testing. This is a practical screening step rather than a universal national document list. Call the station or check the current state instructions if you are unsure, particularly when the vehicle is newly purchased, recently transferred between states, or registered to someone else.
Look for basic conditions that can stop the appointment before the formal inspection. A serious fluid leak, loose body component, damaged exhaust, or control that does not work may require attention first. Test the horn, windows, mirrors, wipers, washers, parking brake, and seat belts rather than assuming they are fine because the car starts and drives.
Arriving with a mechanically prepared vehicle but missing registration or an unreadable VIN is especially frustrating. The inspection station may turn you away before any diagnosis takes place. A short document check the day before can prevent that wasted trip.
Safety Items Inspectors Commonly Check
Typical safety inspection areas include brakes, lights, tires, glass, steering, suspension, seat belts, exhaust or smoke, VIN, and signals; the exact list varies by state. Inspectors generally combine visual checks with functional tests, so a component can fail because it is missing, damaged, incorrectly installed, or unable to perform its intended function.
Walk around the vehicle with the ignition on and check the headlights, turn signals, brake lamps, hazard lights, reverse lamps, and license-plate illumination. Ask another person to operate the controls while you watch each lamp. Burned-out or noncompliant lights are common failure points, including lamps that work intermittently or have the wrong color or brightness.
Lighting legality can depend on color, brightness, optical compatibility, and required marking. An LED replacement may appear brighter and still be unsuitable for the original housing or state requirement. Check the headlamp aim and lens condition as well, because a cloudy lens, poor beam pattern, or damaged housing can affect the result even when the bulb illuminates.
Inspect the windshield for cracks or damage in the driver’s viewing area, and make sure the wipers clear water without leaving broad streaks. Check tires for visible damage, uneven wear, low pressure, and insufficient tread. Test the service brake and parking brake on a safe surface, and pay attention to pulling, vibration, unusual noise, or a pedal that feels soft.
A home inspection is useful for finding obvious problems, but it is not a substitute for professional diagnosis. Steering and suspension wear may be hidden under the vehicle, and a brake problem may appear only during a measured test. Do not assume every state checks every item in the same way; use your state’s inspection list as the final reference.
Safety and Emissions Inspections: What Each One Can Fail
The framework below compares common program types. It is a practical preparation guide rather than a universal state-by-state rule, because the covered vehicles, test methods, and failure thresholds vary.
| Program type | Typical checks | Common failure triggers | What to verify |
|---|---|---|---|
| Safety-only | Brakes, lights, tires, glass, steering, suspension, belts, signals, VIN, and sometimes exhaust or smoke | Burned-out lamps, poor braking, worn tires, damaged glass, loose steering or suspension parts, inoperative belts, or unreadable identification | Confirm the state’s covered items and inspect visible equipment, controls, tires, and glass before the appointment |
| Emissions-only | OBD-II data, emissions-related trouble codes, readiness monitors, and sometimes exhaust or emissions hardware | Active emissions faults, monitors that are not ready, a missing or altered catalytic converter, EVAP leaks, or removed emissions equipment | Scan the vehicle before booking and repair the cause of a warning rather than clearing the code |
| Combined | Both safety equipment and emissions requirements | Any applicable safety defect or emissions failure, even if the vehicle drives normally | Prepare for two separate groups of requirements and allow time for post-repair OBD readiness |
| No mandatory annual inspection | No statewide mandatory annual inspection of the type described, although other registration, local, or emissions rules may apply | Requirements may still apply to particular areas, vehicles, transactions, or emissions programs | Check the current state and local rules instead of assuming that no annual inspection means no compliance obligations |
Get OBD-II and Emissions Ready Before the Appointment
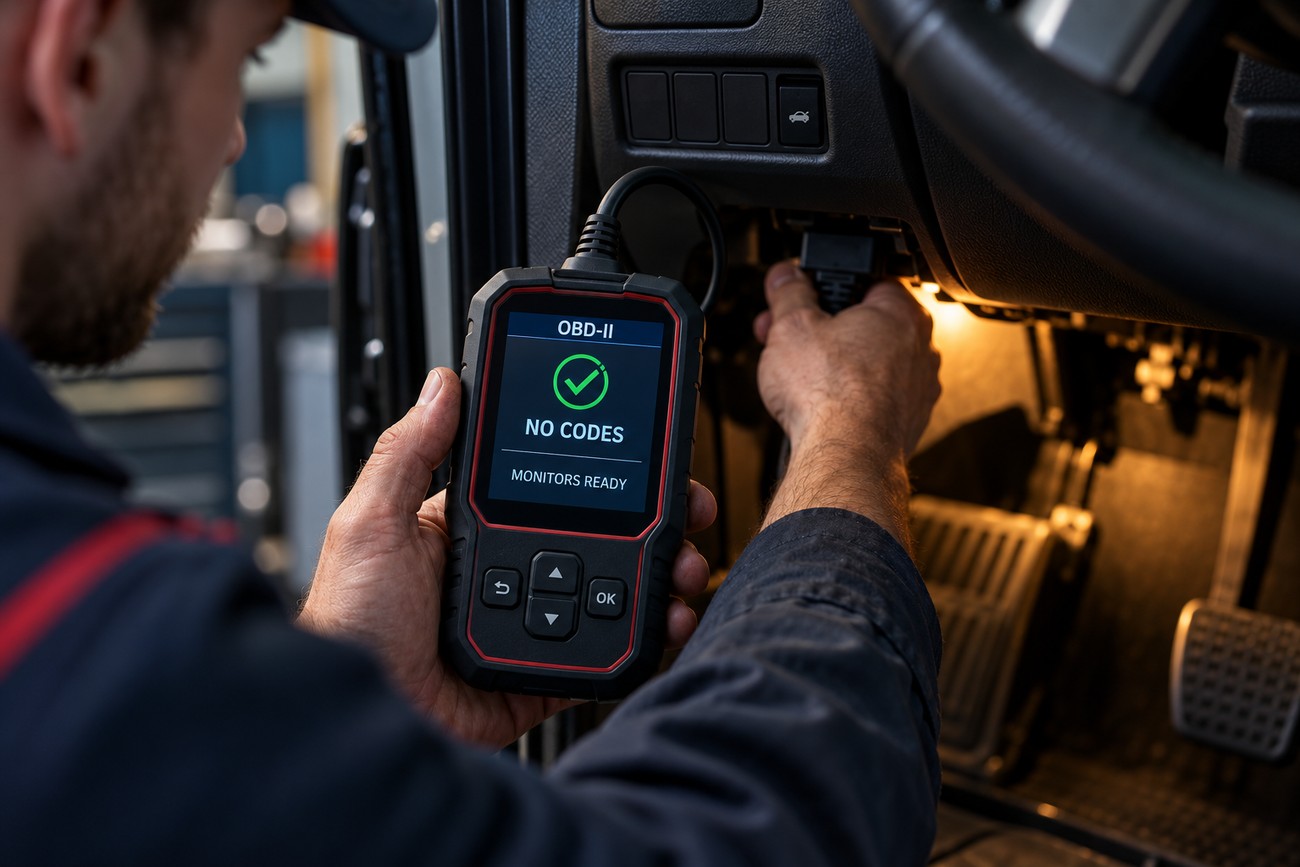
Many states use OBD-II emissions testing for gasoline vehicles from model year 1996 onward. An emissions inspection may check active emissions-related trouble codes and whether required OBD readiness monitors have completed. The vehicle’s dashboard behavior is only one clue; a car can have no obvious drivability problem while the scan still shows a failure condition.
A lit check-engine warning is a clear reason to diagnose the vehicle before inspection. Common causes include a loose fuel cap, a leaking EVAP system, sensor faults, ignition problems, or other emissions-related defects. Tightening a fuel cap may solve a simple leak, but the warning and monitor status still need time to update and should be confirmed with a scan.
Emissions hardware matters as well. A missing, damaged, removed, or visibly altered catalytic converter or emissions system can cause failure in an emissions inspection program. Inspectors may notice altered exhaust routing, unusual welds, missing components, or other signs that emissions equipment has been removed or replaced improperly.
Technicians verify monitor readiness and often repeat-scan the vehicle after repairs because turning off the check-engine light does not prove that the underlying fault is fixed or that the required monitors have completed.
Do not clear codes or disconnect the battery immediately before the appointment as a way to hide a warning. Clearing codes or disconnecting the battery can make OBD monitors not ready until the vehicle completes sufficient drive conditions. A short trip may fail to reproduce a fault that returns after the engine warms up, the vehicle carries a load, or the emissions system runs through a particular test.
Tires, Glass, Tint, and Modifications That Create Surprises
Tire condition is only part of tire compliance. Some jurisdictions use 2/32 inch as a legal tread-depth benchmark, but tire minimums and inspection rules vary by state. Inspectors may also consider visible damage, uneven wear, tire size, load specification, and whether the tire is appropriate for the vehicle.
Check the size and load information against the vehicle placard and applicable state requirements before replacing tires. A recently installed tire can have adequate tread and still create a problem if its specification does not match what the vehicle or local rules allow. Correct inflation will not repair an incorrect size or a damaged sidewall.
Window-tint limits are state-specific and are commonly expressed through visible light transmission, or VLT. Tint that passed at another station or in another state may fail where the vehicle is now registered. Windshield stickers, reflective film, large decals, and damage in a regulated viewing area can also matter, depending on the local rule.
Aftermarket lighting deserves the same caution. A replacement LED may fit the socket but produce an unsuitable beam pattern, color, or brightness, or lack the required marking. If the inspection report identifies a modification, compare the exact defect with the state requirement and be prepared to restore compliant factory-style equipment before the retest.
Suspension lifts, lowered springs, exhaust changes, and other modifications may receive closer attention when they affect safety or emissions. Visible evidence of catalytic-converter removal or emissions-system alteration can cause failure in an emissions program. A vehicle can feel stable and quiet while still failing a formal equipment rule.
Use a Pre-Inspection Checklist and Test Drive
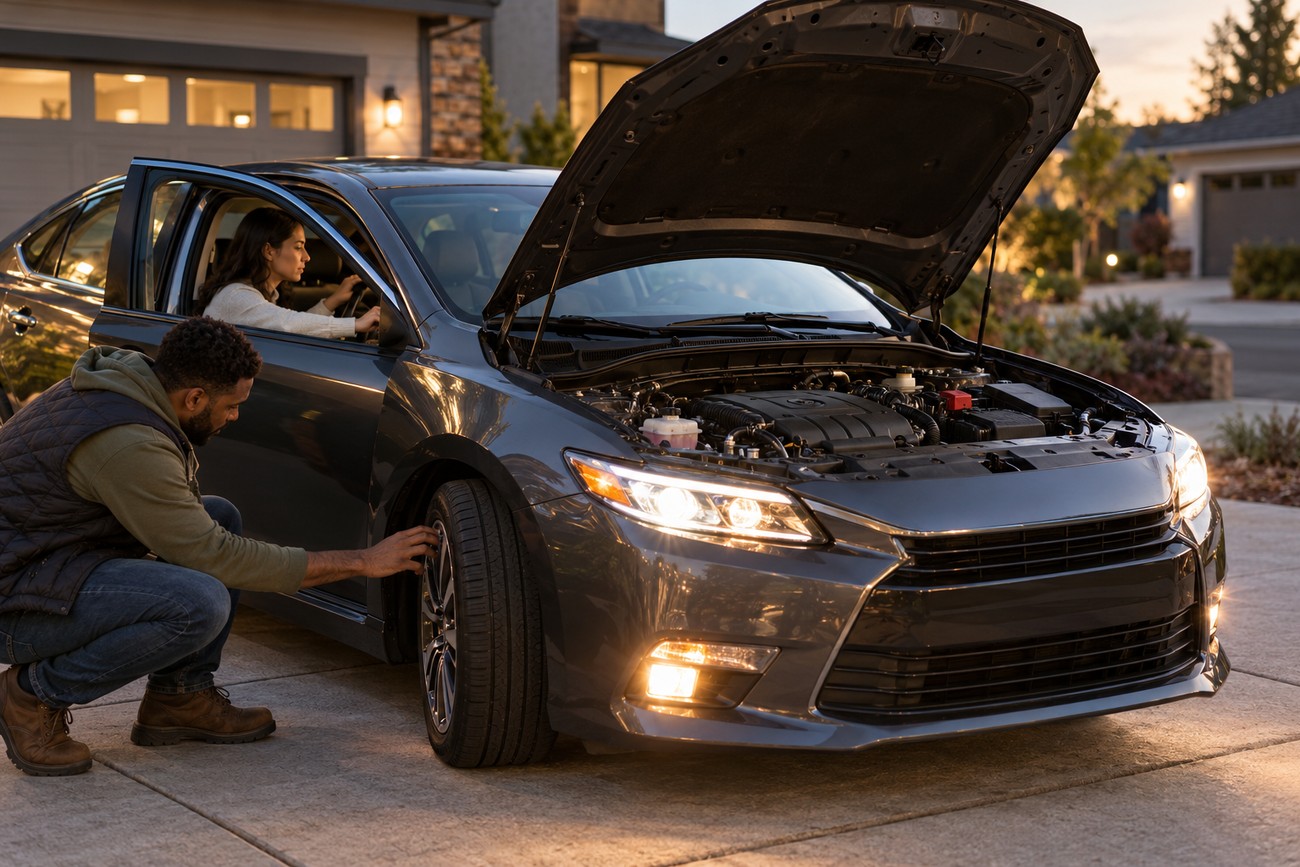
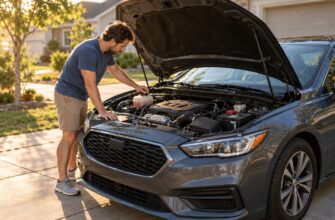
Do the basic checks the day before, when there is still time to correct a problem. Inspect every exterior lamp with another person, check tire pressure and tread, test the horn, wipers, washers, belts, parking brake, windows, and warning indicators, and confirm that the license plate and VIN are readable. Look underneath for fresh leaks or loose components.
If the vehicle has recently had a check-engine repair, scan OBD status before booking. The scan should show whether emissions-related codes are active and whether the required monitors are ready. After a battery disconnect or code reset, follow the vehicle’s required drive conditions and confirm readiness with another scan rather than relying on a guessed distance.
Use a longer mixed drive with a full warm-up when checking a recent repair. A short trip may not bring the engine to the conditions needed for an EVAP, catalyst, oxygen-sensor, or other monitor. It may also fail to expose a hesitation, warning, or fault that appears only under load or after the vehicle has been driven for some time.
A practical final check is simple: documents, VIN, plate, lamps, tire pressure, tread, glass, wipers, washers, horn, belts, parking brake, warning lights, leaks, and OBD readiness. This checklist can identify preventable problems, but it cannot guarantee that the official inspection will pass. A professional inspection or scan is appropriate when you find a warning, unusual brake or steering behavior, suspension noise, or an emissions fault.
If the Vehicle Fails: Read the Report Before Repairing It
Start with the inspection report. Identify the exact failed item or test result and separate it from advisories or comments that do not themselves constitute a failure. “Needs attention” and “failed under the inspection rule” can have different consequences, so ask the station to explain any wording you do not understand.
Use the result to choose a targeted repair. A failed lamp may need a bulb, socket, wiring repair, lens, or compliant housing; replacing random parts can waste money. An emissions failure requires diagnosis of the code and monitor status, while a tire or tint failure may require a specification change rather than a mechanical repair.
Keep invoices, scan results, part information, and photographs when they help document the work. Generic replacement parts are not automatically acceptable: universal components may fail to meet applicable size, certification, optical, or emissions requirements. After a repair, scan the vehicle again and complete the required readiness conditions before returning.
Ask about the retest deadline and fee before leaving the station. Repeat-inspection timing, fees, and whether a full fee is charged again vary by state and station. Moving to another station simply because the first inspector identified a problem may create another cost and will not correct the defect; use a different station only after understanding the rule, report, and repair path.
Frequently asked questions
The questions below address common preparation issues, including OBD readiness, aftermarket modifications, and state-specific requirements. Use the applicable state program as the final reference. The official inspection report remains the best guide after a failure.
How long should I drive after disconnecting the battery or clearing a code?
There is no universal mileage promise. The vehicle must complete the relevant drive conditions for its OBD monitors, and the time required depends on the vehicle, the monitor, operating temperature, fuel level, traffic, and the original fault.
Use a scan tool to confirm that the monitors are ready instead of relying on a guessed distance. If a monitor remains incomplete or the warning returns, diagnose the vehicle before visiting the station. A recent reset can leave the car unable to pass even when it appears to run normally.
What should I do if the failure is caused by aftermarket tint, LED bulbs, or another modification?
Read the report and identify the exact compliance issue first. Compare the tint, lamp, exhaust, suspension, or other equipment with the current rule for the state where the vehicle is being inspected.
If the modification cannot meet the requirement, restore compliant factory-style components or have the equipment corrected by a qualified shop. Obtain a targeted recheck within the applicable deadline and keep documentation of the work. A modification that passed elsewhere is not proof that it meets the current state requirement.
How to successfully pass an auto inspection?
Confirm the state program, documents, and retest policy before booking. Then check every lamp, tire, window, wiper, belt, brake control, plate, VIN, warning light, and visible leak, and scan OBD status if the vehicle is subject to emissions testing.
Repair documented defects rather than clearing warnings. Complete the vehicle’s required post-repair drive conditions, verify OBD readiness, and use the official inspection report to guide any final correction. These steps reduce preventable failures, but only the authorized inspection can determine the result.
What are the requirements to pass a vehicle inspection in Texas?
Texas requirements can depend on the current state program, the vehicle, and the location where it is registered or inspected. Verify the applicable safety, emissions, document, fee, and retest rules through the official Texas source before choosing a station.
Prepare for the specific inspection assigned to the vehicle rather than applying a generic national checklist. Confirm the VIN, plate, insurance, and registration requirements, inspect safety equipment, and check OBD readiness if an emissions test applies to the vehicle and location.
What are the requirements for passing the Missouri auto inspection?
Missouri inspection requirements depend on the current state rules and may vary according to the vehicle and location. Check the official Missouri program for the applicable inspection type, required documents, fees, and retest deadline before the appointment.
Use the state information to determine whether you need safety checks, emissions testing, or both. A preliminary inspection can reveal lights, tires, brakes, glass, or OBD problems, but it cannot guarantee an official pass because the authorized station applies the current inspection criteria.