A jump-start can fail or damage vehicle components when the voltage, clamp order, contact point, or battery condition is wrong. A spark near a damaged battery can create a serious hazard, while poor contact can overheat cables and make a healthy starting system appear defective.
The procedure involves more than matching red and black clamps. Confirm the vehicle’s voltage, inspect the battery, follow the manufacturer’s instructions, and use a safe engine-ground point. The steps below apply to many 12-volt vehicles, but model-specific instructions take priority.
- Check Whether the Car Is Safe to Jump-Start
- Prepare Both Vehicles and the Jumper Cables
- Connect the Cables and Start the Car
- If the Engine Does Not Start or the Cables Get Hot
- Remove the Cables and Check What Caused the Failure
- Frequently asked questions
- How can I tell whether a jumper-clamp connection is good?
- What should I do if a jumper cable sparks during connection?
- What is the correct procedure to jump-start a car?
- What is the correct way to jump-start another car?
- How do you jump-start a car with jumper cables?
Check Whether the Car Is Safe to Jump-Start
Confirm the electrical system voltage before connecting anything. A 12-volt vehicle must use a matching 12-volt donor or booster; do not connect it to a 24-volt source. Check the plus and minus symbols on the battery or designated terminals rather than relying on cable color alone.
Inspect the battery carefully. Do not jump-start a battery that is swollen, cracked, leaking, damaged, or frozen. These conditions can make external power unsafe, so arrange professional assistance or replace the battery according to the vehicle manufacturer’s guidance.
Work in a well-ventilated area because a battery can release explosive hydrogen gas. Keep cigarettes, flames, and sparks away from the battery, and remove rings, watches, and other metal items that could create an unintended electrical path.
Read the vehicle manual before starting, especially for hybrids and modern vehicles. Some models use dedicated remote jump terminals, prescribed grounding points, or special procedures that differ from the common cable arrangement.
Prepare Both Vehicles and the Jumper Cables
Position the vehicles close enough for the cables to reach, while ensuring that they do not touch each other. Place both vehicles in Park or Neutral, and engage the parking brakes. Keep people clear of the engine compartments during the connection.
Switch off the ignition and electrical accessories before connecting the cables. Turn off headlights, climate controls, audio equipment, chargers, and other loads. Open the vehicle manuals or identify the approved jump points before handling the clamps.
Lay the cables out so their clamps cannot touch each other. Route them away from fans, belts, pulleys, and other moving components. A fan can start unexpectedly, and a belt can pull a loose cable into the engine.
Inspect the cables before use. Long or thin cables may heat up and may not deliver enough starting current, especially with a deeply discharged battery, a diesel engine, or cold conditions. Damaged insulation and loose clamps are reasons to use a different set or call for assistance.
Connect the Cables and Start the Car
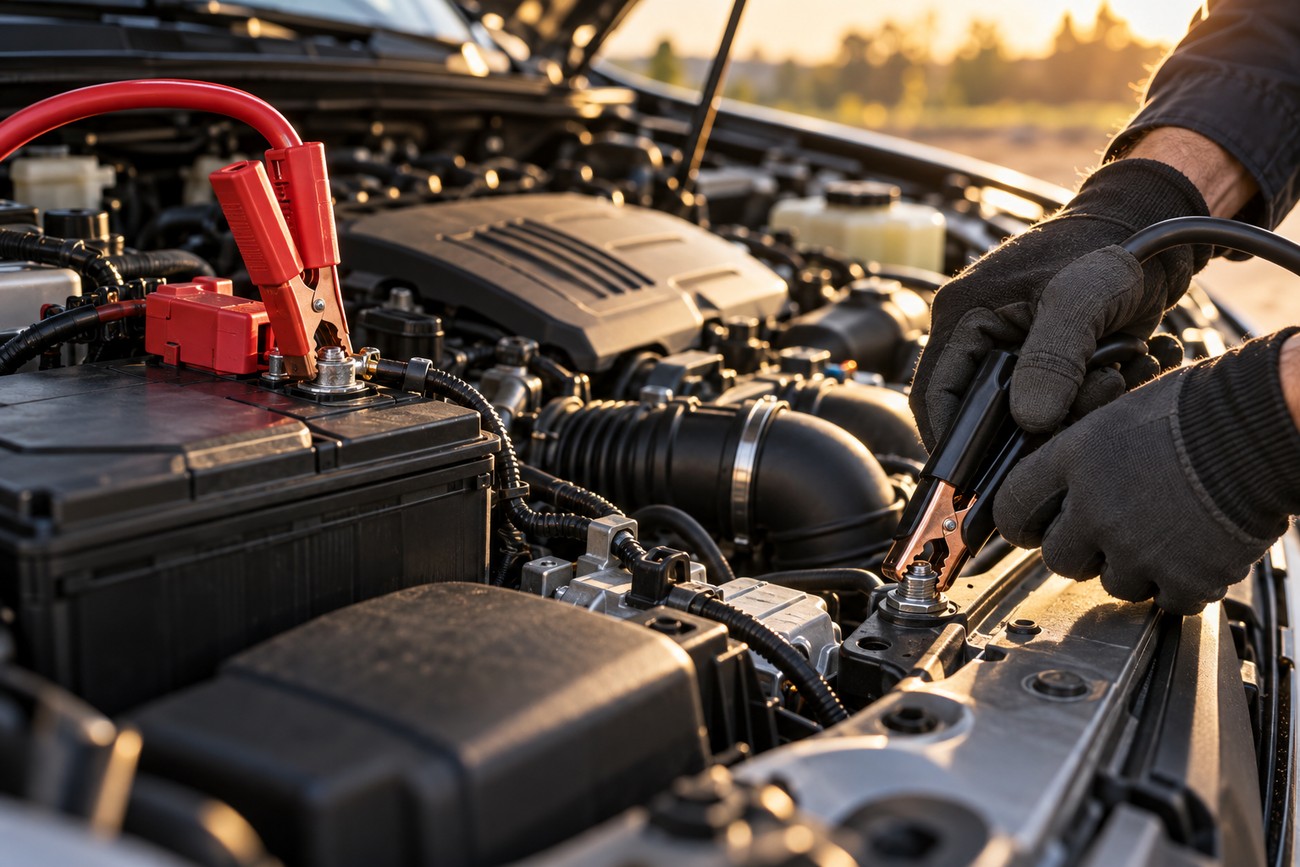
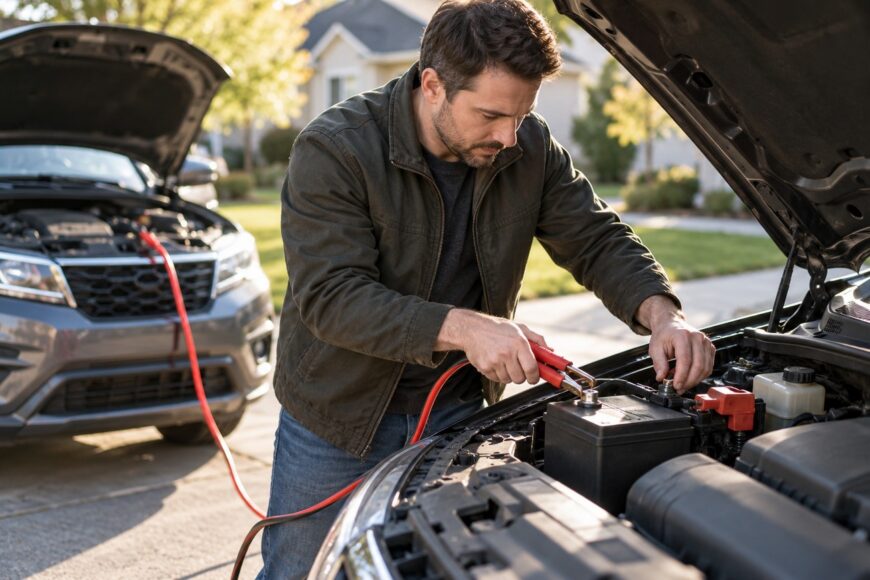
Confirm polarity once more using the plus and minus symbols. Then connect the clamps in this order:
- Connect the red clamp to the positive terminal of the dead battery.
- Connect the other red clamp to the positive terminal of the donor battery.
- Connect the black clamp to the negative terminal of the donor battery.
- Connect the final black clamp to clean, fixed metal on the disabled engine, away from the battery and moving parts.
The final black connection should be made on a clean, stationary engine-ground point. Avoid placing it on the dead battery negative terminal because a spark near hydrogen gas can ignite it. Do not use painted, rusty, thin, or moving metal as the ground point.
Choose a rigid engine-ground point that gives the clamp a firm metal-to-metal bite. If the battery negative terminal is inaccessible, corroded, painted, or close to moving components, a clean fixed engine bracket or approved grounding point is usually safer than improvising with nearby sheet metal.
Start the donor vehicle and leave it running for about one minute before the first start attempt. This allows the disabled battery to receive some charge. Then try to start the disabled vehicle without pressing the accelerator unless the manufacturer specifically instructs you to do so.
Do not crank the starter for more than about 20 seconds per attempt. If the engine does not start, stop and wait about two minutes before another attempt. Repeated long cranking can overheat the starter, clamps, and cables, while a poor connection will usually require inspection rather than more force.
If the Engine Does Not Start or the Cables Get Hot
Stop immediately if the cables or clamps become hot, the insulation softens, smoke appears, or you smell burning. Switch off the donor vehicle before inspecting the setup, and keep the clamp ends separated. Heat can indicate excessive resistance, an unsuitable cable set, a poor connection, or incorrect polarity.
Check that every clamp is secured on solid metal. Clean oxidation from an accessible terminal or grounding point, and remove dirt that prevents the jaws from biting. Paint, rust, and oxidation can sharply reduce current transfer, even when the clamps appear to be attached.
A difficult engine bay can make the correct ground point hard to reach. Use the model’s designated ground terminal when provided, or choose clean, fixed engine metal that is away from belts, fans, and the battery. Never hold a clamp against the point by hand while attempting to start the vehicle.
If the connection is sound and the engine still does not start promptly, stop repeated attempts. The battery may be too damaged or discharged, the cables may be inadequate, or the fault may involve the starter, fuel system, ignition system, or charging system. Arrange a proper diagnosis rather than continuing to stress the electrical components.
Remove the Cables and Check What Caused the Failure
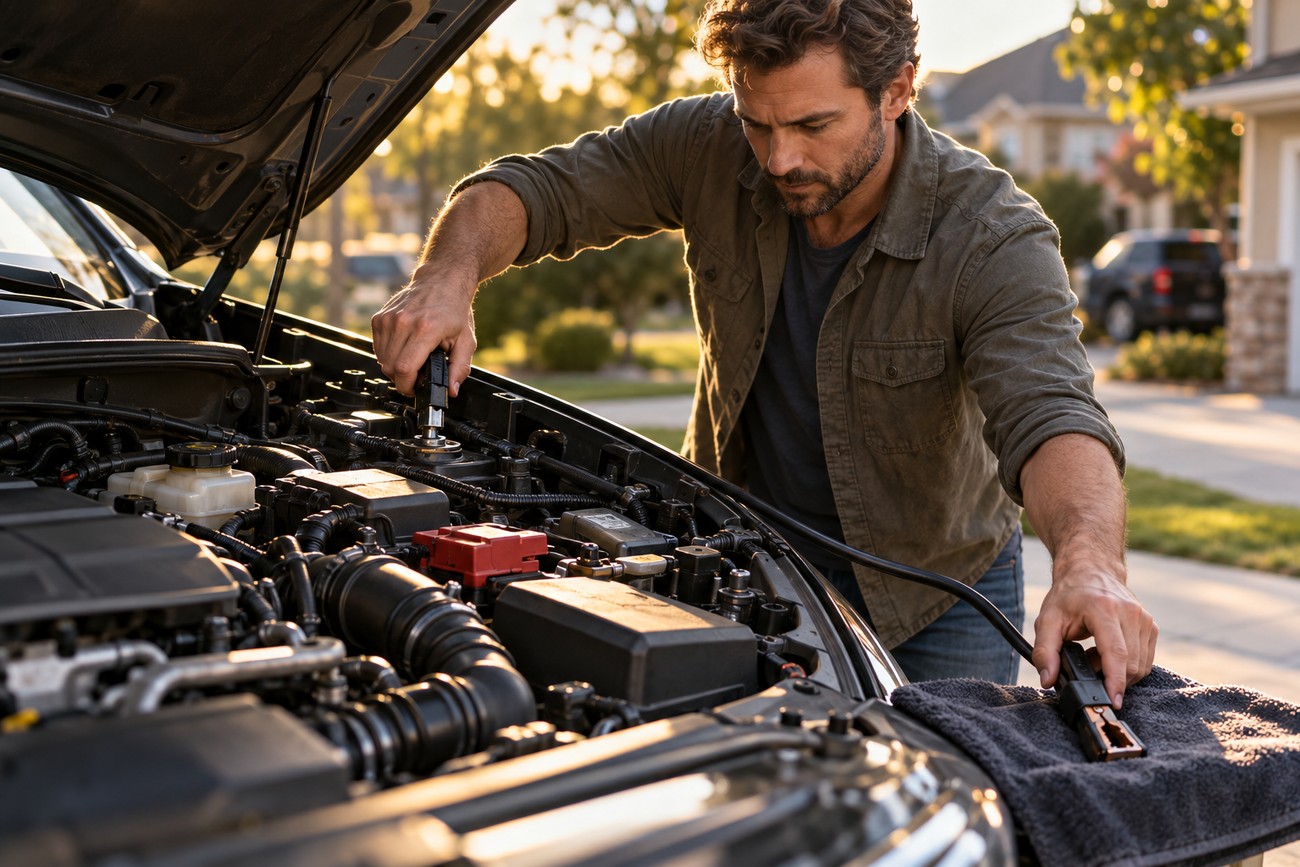
Once the disabled vehicle starts and runs steadily, remove the clamps in the reverse order of connection:
- Remove the black clamp from the disabled engine.
- Remove the black clamp from the donor battery.
- Remove the red clamp from the donor battery.
- Remove the red clamp from the previously dead battery.
Keep the metallic clamp ends from touching each other or unintended metal contacts during removal. Place each clamp where it cannot fall onto a terminal, belt, fan, or other conductive part.
A successful start does not prove the battery is healthy. A short drive may leave the battery undercharged, and it does not confirm that the alternator or other charging components are working correctly. Have the battery and charging system tested if practical.
If the vehicle fails again after several hours or the next day, possible causes include a charging-system fault, parasitic drain, or poor electrical connection. Inspecting the battery terminals and cables can reveal a basic contact problem, but repeated failure warrants a complete electrical diagnosis.
Frequently asked questions
These answers summarize the connection, starting, and removal steps described above. Always give priority to the vehicle manufacturer’s instructions. Stop if the battery is damaged or the cables become hot.
How can I tell whether a jumper-clamp connection is good?
A good connection has firm metal-to-metal contact, and the clamp does not slide when lightly moved. The jaws must bite into a clean terminal or approved grounding point rather than resting on paint, dirt, rust, or oxidation.
Color alone cannot confirm a correct connection. Verify polarity with the plus and minus symbols, then inspect whether the clamp is contacting solid metal. A poor connection can restrict current enough to resemble a dead battery.
What should I do if a jumper cable sparks during connection?
Stop the connection and keep the clamps from touching. Switch off the donor vehicle if it is running, then safely disconnect the clamps in reverse order. Before trying again, verify that both systems have matching voltage, polarity is correct, and the battery is not swollen, cracked, leaking, damaged, or frozen.
Reassess the connection points and use the manufacturer’s designated terminals where applicable. Persistent sparking, smoke, heat, or a damaged battery is a reason to stop and request professional assistance.
What is the correct procedure to jump-start a car?
Use a matching-voltage source, place both vehicles in Park or Neutral with the parking brakes engaged, and switch off the ignition and accessories. Connect red to the dead-battery positive, red to the donor positive, black to the donor negative, and the final black clamp to clean, fixed metal on the disabled engine.
Leave the donor running for about one minute, then limit each start attempt to about 20 seconds with about two minutes between attempts. Remove the clamps in reverse order after the engine starts.
What is the correct way to jump-start another car?
Park without allowing the vehicles to touch, confirm that both systems use matching voltage, and follow the disabled vehicle’s manual. The donor vehicle should be switched off while the clamps are connected, with both ignitions and accessories off.
After checking the clamp order and cable routing, start the donor vehicle and allow it to run for about one minute before the first attempt on the disabled vehicle. Stop if the cables heat up, the battery appears damaged, or the engine does not respond after controlled attempts.
How do you jump-start a car with jumper cables?
Use cables that are long enough to reach without crossing fans or belts, while recognizing that long or thin cables may heat up and deliver insufficient starting current. Attach the four clamps in the prescribed order and use a clean engine-ground point for the final black clamp.
If the vehicle is a hybrid or has modern electronics, use its dedicated jump terminals and model-specific procedure. The advertised current rating of a portable booster or cable set does not guarantee performance in cold weather, with a deeply discharged battery, or with a diesel engine.