Old coolant may need replacing, especially when its service history is uncertain or it has become contaminated. Yet a flush can leave a car worse off if rinse water dilutes the new coolant or air remains trapped after filling. Even a careful drain does not empty every part of the system, so the work requires more than opening a valve and pouring in fresh fluid.
Start with the service instructions for your exact vehicle and let the engine cool completely. Those instructions determine the drain points, coolant specification, filling method, and bleeding procedure; the steps below are a general framework where they do not conflict. Before draining anything, decide whether you are maintaining the system or trying to solve a fault that needs diagnosis.
- First, decide whether a flush is the right repair
- Gather the right coolant, water, and safety equipment
- Drain the old coolant without assuming the system is empty
- Rinse the cooling system without damaging it
- Handle a blocked heater core as a separate problem
- Refill to the correct coolant concentration
- Bleed trapped air using your vehicle’s procedure
- Check the result and recognize problems a flush cannot solve
- Frequently asked questions
- How often should I flush my cooling system?
- What if my local recycling center will not accept used coolant?
- What should I use to flush an engine cooling system?
- How do I flush my car’s cooling system?
- How do I flush the engine cooling system in a Chevy?
First, decide whether a flush is the right repair
A flush is reasonable when coolant replacement is due and the manufacturer calls for rinsing, or when contamination warrants cleaning before the correct coolant goes in. A routine coolant change may need only a drain and refill, depending on the vehicle and the condition of the old fluid. Unnecessary rinsing adds water that must be accounted for during the final fill.
Overheating needs a different starting point. A flush cannot repair a failed water pump, thermostat, cooling fan, pressure cap, or head-gasket fault. If the temperature rises repeatedly, investigate the cause before treating dirty coolant as the explanation; continuing to run an overheating engine can cause further damage.
Brown or cloudy coolant can point to deposits or corrosion, but its appearance does not identify where a restriction lies. Likewise, clear-looking water at the drain does not prove that the block, radiator, and heater core passages are clean. Liquid can take an easier route through the system while debris remains elsewhere.
Stop and diagnose an active leak, oil-contaminated coolant, or persistent overheating before flushing. Cleaning can disturb deposits that have been masking pre-existing corrosion or weak seals, so a leak that appears afterward is not a reason to use a stronger cleaner. Damaged parts need inspection and repair.
Gather the right coolant, water, and safety equipment
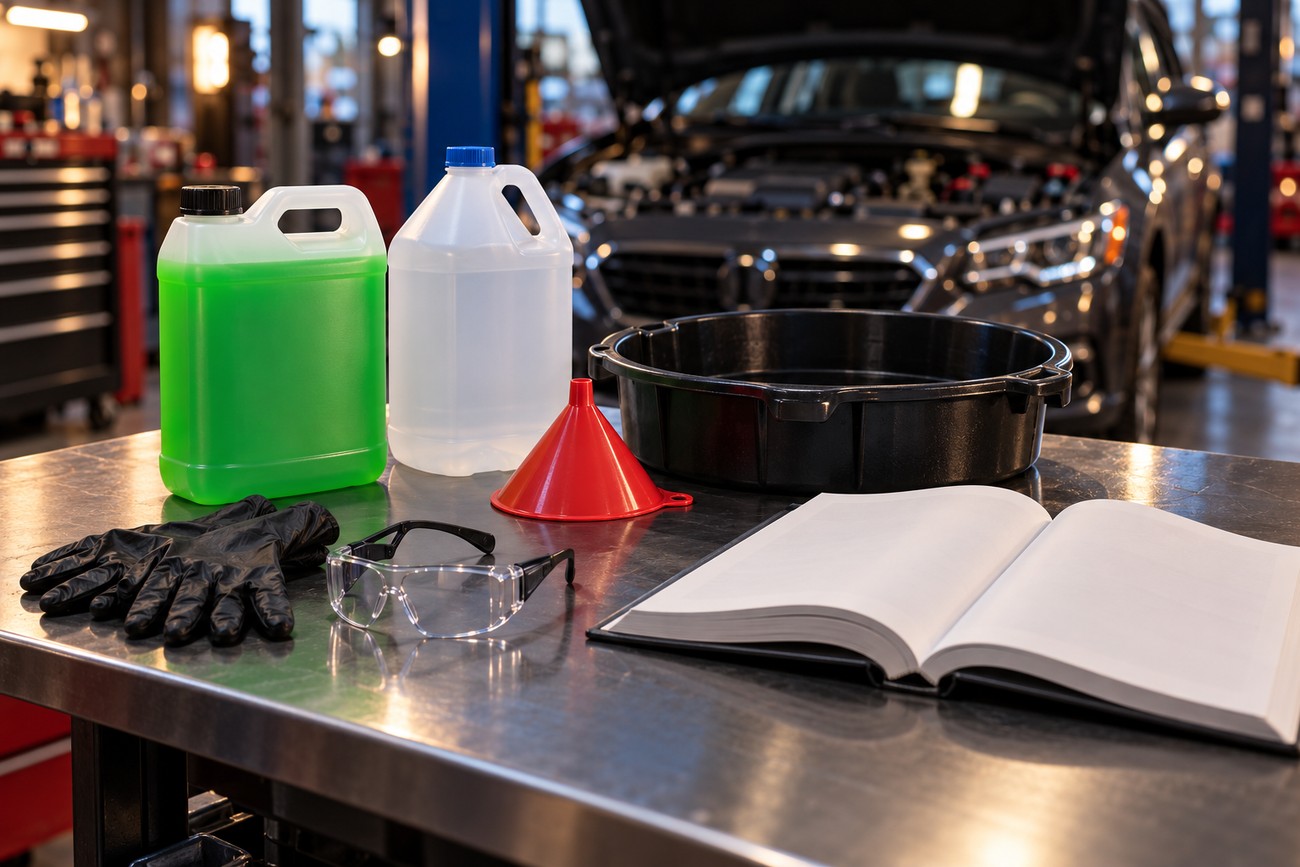
Find the vehicle’s service procedure before choosing supplies. Note the specified coolant approval and concentration, system capacity, approved drain and fill points, and any bleed screws or vacuum-fill requirement. Check whether the procedure calls for rinsing at all and how it directs you to circulate rinse water. These details take priority over a generic flush sequence.
Use coolant meeting the exact vehicle manufacturer specification; color, brand, and a “universal” label do not establish compatibility. ASTM D3306 addresses glycol-based passenger and light-duty coolant, while D4985 and D6210 address heavy-duty applications. These general standards do not replace a vehicle-specific coolant approval, and the right approval does not by itself guarantee the right mixture strength.
Have distilled or deionized water ready if the procedure permits a water rinse. You will also need a drain pan large enough to catch the flow, salable containers for used liquid, and suitable gloves and eye protection. Use a funnel or filling equipment appropriate to the vehicle, and keep absorbent material nearby so spills can be contained promptly.
Work only on a fully cooled engine. Do not open a hot, pressurized cooling system: removing a cap or opening a drain can release scalding liquid and steam. Keep collected coolant away from children and animals, and plan an appropriate local collection route before starting. Contaminated rinse water needs containment as well.
Drain the old coolant without assuming the system is empty
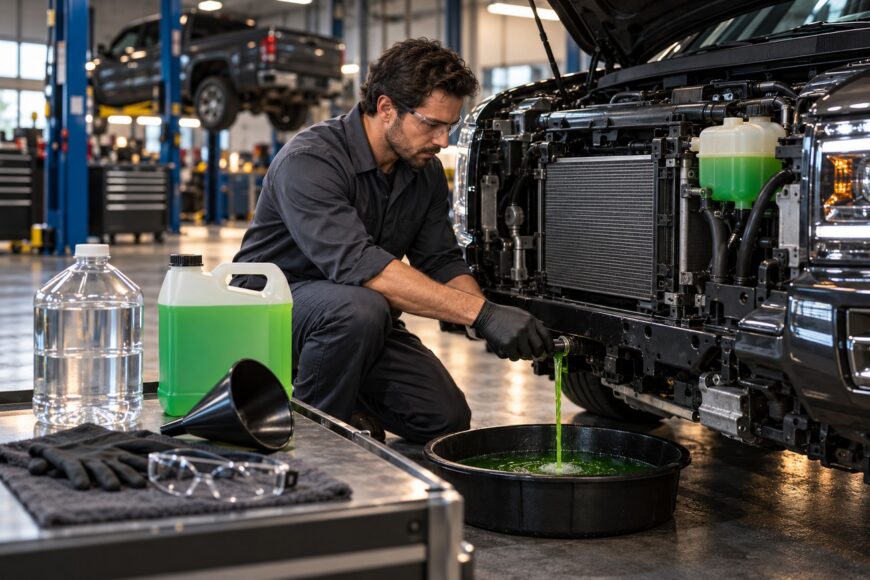
Park safely, switch off the engine, and wait until it has cooled completely. Locate the cap and manufacturer-approved drain points in the service instructions; access may require removing a specified cover. Only when the system is cool should you slowly remove the cap as directed and position the drain pan beneath the first drain point.
Open the specified drains and catch the coolant rather than letting it run across the floor or ground. Some vehicles have more than one drain point, while others require a different service method. Do not loosen an unfamiliar plug to chase the last of the liquid: a mistaken fastener can be difficult to reseal or may belong to another system.
When the visible flow stops, close the drains using the vehicle’s specified method. A routine drain rarely empties the whole system; liquid can remain in the block, heater core, and hoses. The amount you caught is therefore not a reliable measure of total system capacity, a distinction that matters when you later calculate the final coolant mixture.
Transfer used coolant to suitable, sealed containers and clean up splashes immediately. Keep it separate from other waste fluids so a collection facility can handle it appropriately. If a drain or hose connection is damaged or will not seal, resolve that problem before proceeding with a rinse or refill.
Rinse the cooling system without damaging it
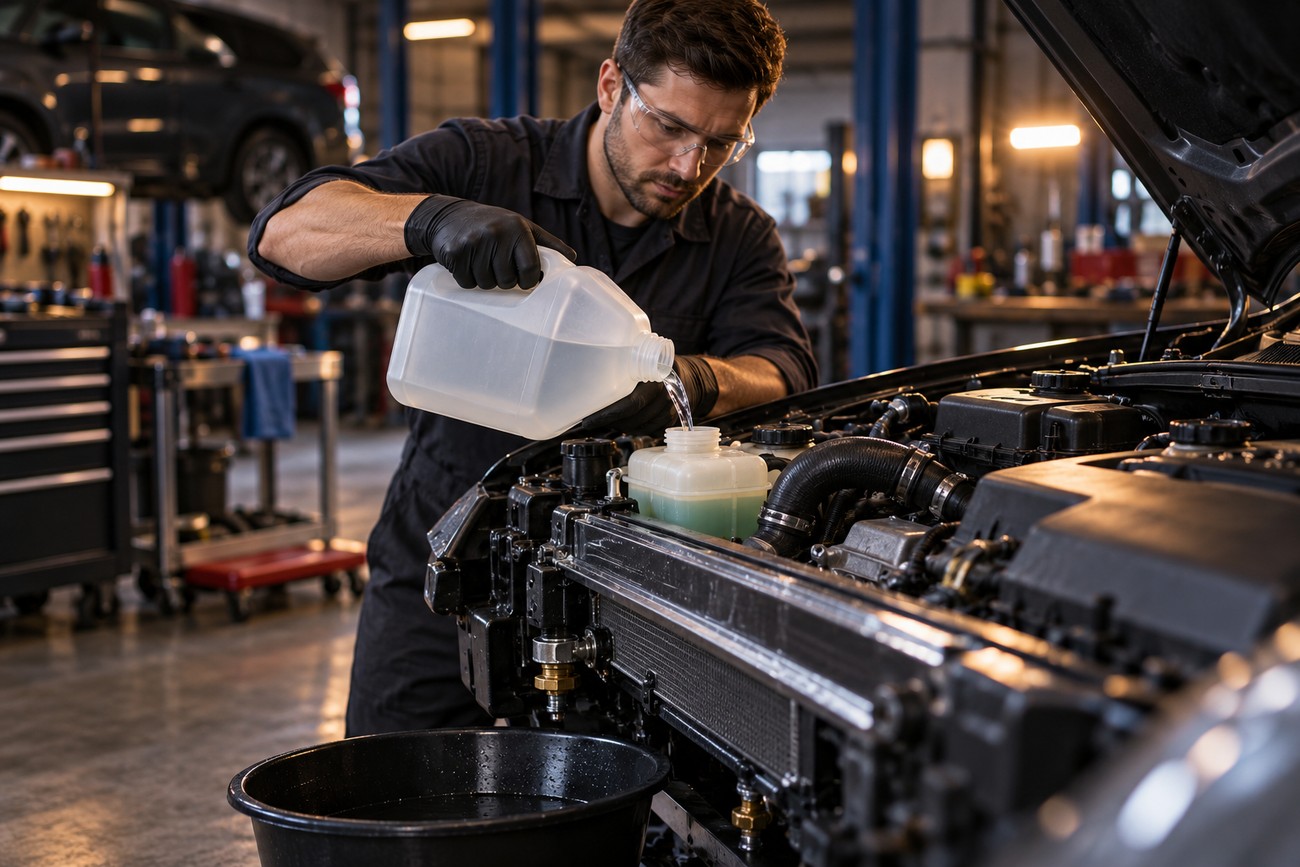
If the vehicle procedure permits rinsing, close the drains and fill through the specified point with distilled or deionized water. Follow the prescribed method for circulating it, then shut the engine off and let it cool completely before opening any cap or drain. Catch each discharge and repeat only as needed under that procedure; do not leave plain water in place as the normal operating fill.
Flow through the system depends on thermostat position and valve design. With a thermostat closed, a rinse through the radiator may reach little of the block; pouring water into a reservoir alone may also miss some circuits. The manufacturer’s circulation and cooldown instructions matter more than an arbitrary running time or the appearance of water at one outlet.
Distilled or deionized water avoids adding tap-water minerals that can contribute to deposits. If earlier rinses used tap water, a final distilled-water rinse may reduce what remains, provided the vehicle procedure allows it. That final rinse still leaves water in the block, heater core, and hoses, so account for it when selecting and mixing the replacement coolant.
A compatible chemical cleaner may be justified for deposits that a water rinse will not remove. Confirm that it suits the cooling system and follow its instructions for dilution, circulation, dwell time, and removal. Do not extend its contact time in the hope of fixing a restriction: cleaning can expose existing corrosion or failing seals, and a clear drain does not prove every passage is clean.
Avoid forcing water through the system with an unrestricted garden hose. High pressure can damage a heater core, radiator, or connection, while uncontrolled flow offers little evidence that the intended passage was cleaned. If contamination persists or a component appears blocked, identify the affected circuit before applying a more targeted method.
Handle a blocked heater core as a separate problem
Cold cabin air after a flush does not automatically mean the heater core is blocked. Trapped air and incomplete filling can prevent hot coolant from reaching it, particularly just after the first warm-up. Check the cooled coolant level and complete the vehicle’s bleeding procedure before disconnecting heater hoses.
If the system is properly filled and bled but heater performance remains poor, diagnose the cause before attempting a separate rinse. Valve operation and other vehicle-specific controls may affect flow. The service information should show whether the heater core can be isolated and which hoses connect to its inlet and outlet.
Where access and the procedure permit, disconnect the heater hoses only after the engine has cooled, protect nearby electrical parts and trim, and direct the outlet into a container. A controlled, modest reverse-flow rinse can sometimes clear a restriction that whole-system rinsing missed. Keep the flow gentle; forceful hose pressure can damage narrow core passages and connections.
Reconnect and refill exactly as specified, then bleed the system again. A fragile, corroded, or already leaking heater core needs diagnosis and likely repair rather than a stronger flush. If access is uncertain or coolant could spill into the cabin, have the work assessed before separating the hoses.
Refill to the correct coolant concentration
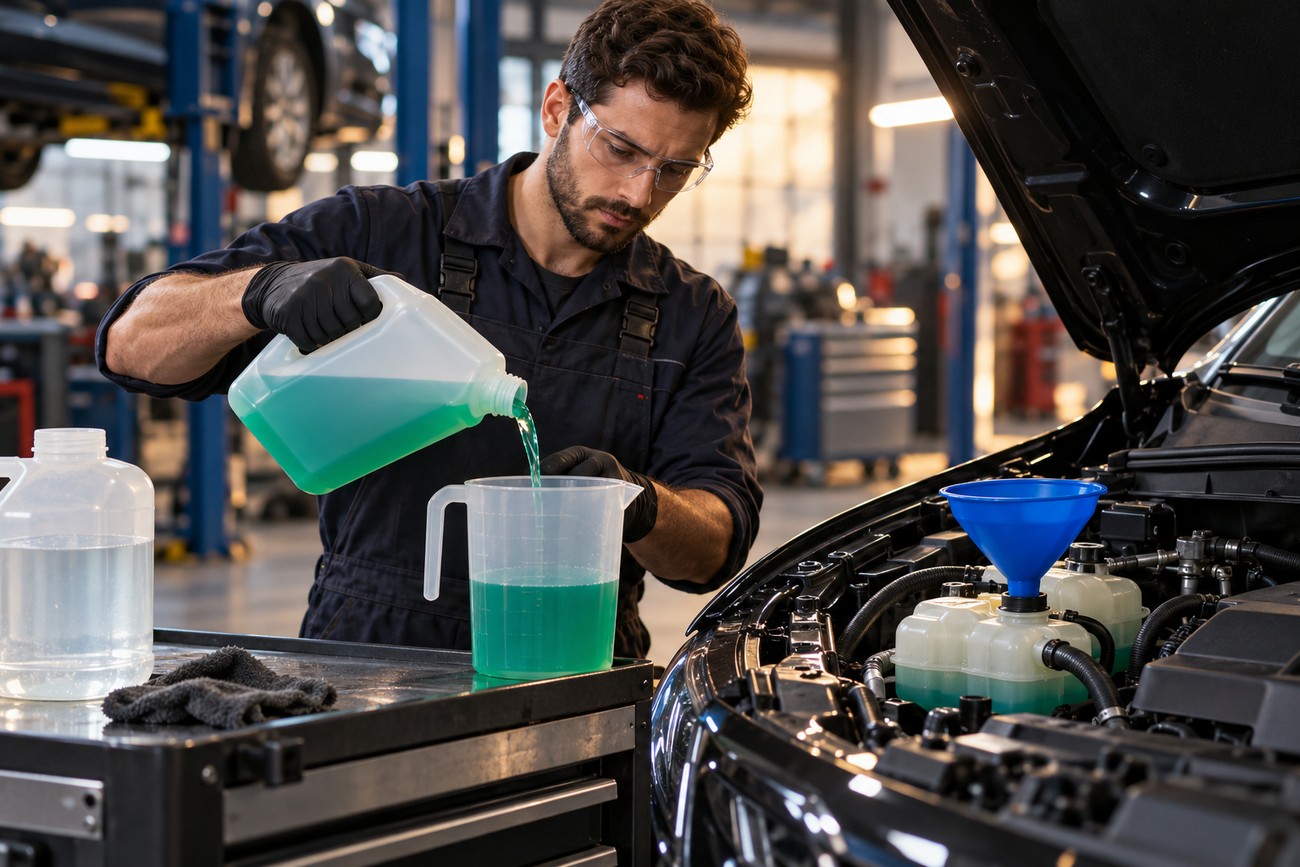
Use the specified total system capacity and the manufacturer’s target concentration to plan the fill. A routine drain rarely removes all liquid from the block, heater core, and hoses; after rinsing, much of that retained liquid may be water. Pouring premixed coolant into that water can leave the finished mixture weaker than the label on the container suggests.
A practical starting calculation is to multiply the specified system capacity by the target glycol fraction. That gives the amount of concentrate needed in the finished system, assuming the retained liquid is rinse water. Subtract the water already trapped inside when deciding how much additional water can go in. Follow the vehicle’s mixing and filling instructions, and do not exceed its specified concentration.
Treating the amount drained as the system’s full capacity is a common calculation error. The block and heater circuit may still hold rinse water, even when the drain pan has stopped filling.
Retained old coolant makes that calculation less certain because its amount and concentration may be unknown. If the service procedure allows it, verify the mixture with an appropriate coolant tester after the fluid has circulated and the system has cooled. A reading taken before thorough circulation may not represent the mixture throughout the system.
Concentrate is commonly used at 40–70% of the finished mixture, but follow the vehicle manufacturer’s specified concentration rather than treating that range as a universal target. Coolant approval and mixture strength are separate requirements. If the required quantity of concentrate will not fit because too much rinse water remains, use the manufacturer’s method to remove more liquid or seek service help rather than guessing.
Bleed trapped air using your vehicle’s procedure
After filling, use the exact bleeding procedure for the vehicle. Some systems have dedicated bleed points; others require a specified vacuum-fill method to prevent air pockets. Open only the points and at the stages the instructions identify. A gravity fill that appears to reach the reservoir mark may still leave part of the engine or heater circuit unfilled.
Follow the specified warm-up sequence while watching the temperature indication and checking for leaks. Set the heater controls as instructed; maximum heat helps with bleeding only where that vehicle’s design or procedure calls for it. Avoid assuming that warm cabin air alone proves all air has escaped.
If the temperature rises abnormally or cabin heat disappears during the procedure, stop the engine and let it cool completely. Then check the level and revisit the prescribed fill and bleed steps. Never loosen a hot cap to release air: the pressurized system can eject scalding coolant and steam.
Air can move after the initial bleed, so the level may change once the vehicle has been driven and cooled. Complete any follow-up bleed called for by the service instructions. If the system repeatedly draws in air or needs frequent topping up, look for a leak or another fault instead of treating repeated bleeding as routine maintenance.
Check the result and recognize problems a flush cannot solve
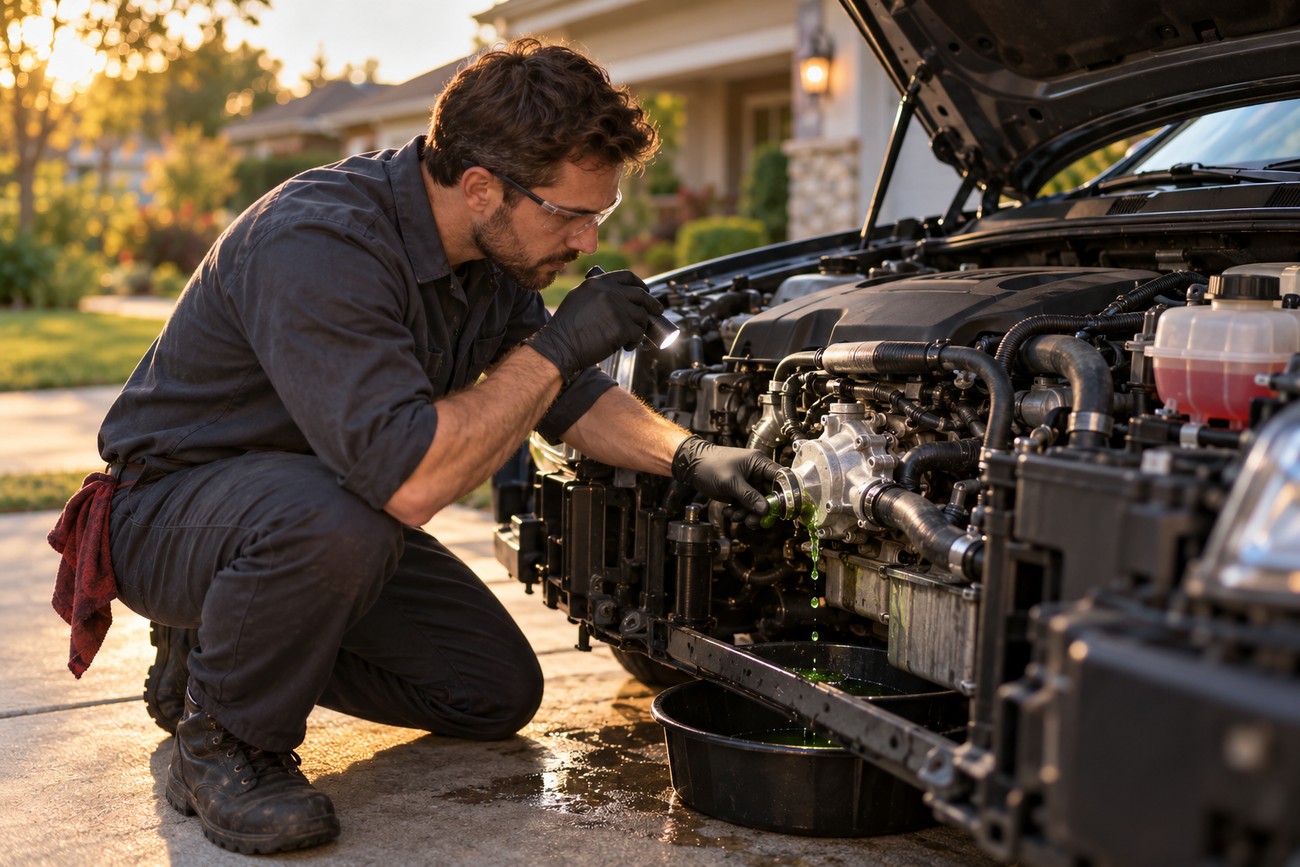
Before driving, inspect the cap, drains, hoses, and any connections disturbed during the work. Confirm that the coolant level is at the specified mark under the stated temperature conditions. During a cautious first drive, monitor the temperature indication and cabin heat; stop safely if the engine begins to overheat.
Let the engine cool completely after that drive before checking the level again. Remaining air may have moved through the system, causing the level to fall. Top up with the specified coolant mixture as directed, and repeat the prescribed bleeding procedure if needed. Never remove a hot cap simply because the reservoir appears low.
Persistent overheating calls for diagnosis of components such as the thermostat, pump, fan, cap, or possible head-gasket fault. Cold cabin heat may mean air, a low fill, or a heater-circuit restriction. If coolant quickly becomes discolored again, investigate contamination or deposits rather than assuming another full-system rinse will solve it.
Look for fresh leaks over the next checks, including around older radiator and heater-core connections. Cleaning may expose pre-existing corrosion or failing seals; a new leak does not establish that stronger cleaning is needed. Repair the source before returning the vehicle to normal use.
Keep used coolant and contaminated rinse liquid in sealed, labeled containers until they can go through an appropriate local collection route. Do not pour either onto the ground or into a drain. Wipe up spills promptly and store the containers where children and animals cannot reach them.
Frequently asked questions
The answers below cover common decisions that a general flush procedure cannot settle for every vehicle. Your maintenance schedule and service instructions remain the authority for the coolant and method your car requires.
How often should I flush my cooling system?
Follow the vehicle’s maintenance schedule and coolant specification rather than a universal time or mileage interval. Check the service history as well: if the coolant type or last replacement is unknown, identify what is in the system and consult the vehicle procedure before deciding whether it needs a flush or simply a scheduled coolant change.
What if my local recycling center will not accept used coolant?
Ask a local hazardous-waste program or an automotive service facility where sealed, labeled used coolant can be taken. Keep coolant and contaminated rinse liquid contained while you arrange collection, and do not mix them with oil, fuel, or other waste fluids; mixing can make proper handling harder.
What should I use to flush an engine cooling system?
Use distilled or deionized water for a rinse where the vehicle procedure permits one. Use a chemical cleaner only if it is compatible with the system and its instructions suit the job. For the final fill, choose coolant meeting the exact vehicle manufacturer specification and prepare the concentration it requires; rinse water is not a substitute for that mixture in normal operation.
How do I flush my car’s cooling system?
With the engine completely cool, drain at the approved points, collect the old coolant, and perform controlled fill-and-drain rinses according to the vehicle procedure. Refill with the specified coolant at the correct final concentration, bleed air by the prescribed method, and recheck the level after a cautious drive and a full cooldown. Diagnose overheating or leaks before using a flush as a repair.
How do I flush the engine cooling system in a Chevy?
Use the service instructions for your specific Chevrolet model, engine, and model year; drain locations, coolant approval, capacity, and bleeding methods vary. Confirm those details before buying coolant or opening a drain. Then follow the approved cool-engine drain, rinse, refill, and bleed procedure rather than assuming that instructions for another Chevrolet apply to yours.