
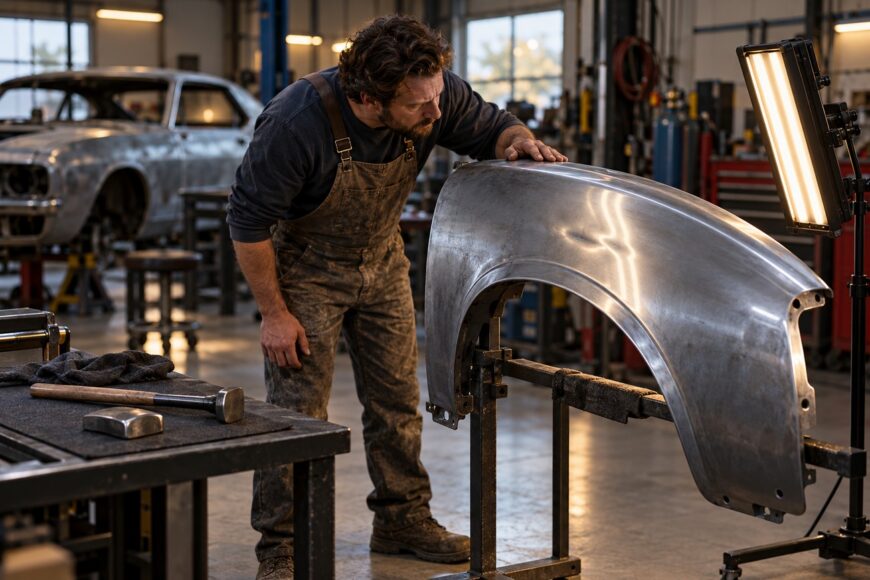
A dent can look smaller after hammering while a broad wave spreads across the panel. The deepest spot has moved, but the surrounding metal no longer holds its original contour. Hitting harder usually makes that problem more difficult to correct, especially on a thin door or fender skin.
Hammer-and-dolly work depends on controlled support behind the panel, accurately placed taps, and frequent inspection. The tools can move a manageable dent back toward its original shape, but they can also stretch metal or leave a new high spot. Before choosing where to strike, read the whole damaged area: the low, the raised metal around it, and the contour the panel is supposed to follow.
- Read the Dent Before You Pick Up the Hammer
- Choose a Hammer and Dolly That Match the Panel
- On-Dolly vs. Off-Dolly: Where the Tools Meet
- Straighten the Panel in Controlled Passes
- When Straightening Creates a Wave or a New High Spot
- Steel, Aluminum, and Modern Panel Repair Limits
- Check the Finish and Know When to Stop
- Frequently asked questions
- What is the best hammer and dolly set for a beginner?
- What if you cannot reach the back of the panel with a dolly?
- How should you use a hammer and dolly?
- Should you avoid on-dolly techniques when straightening aluminum?
- What is the best hammer and dolly set?
Read the Dent Before You Pick Up the Hammer
Start beyond the visible center of the dent. Look for a raised perimeter, a displaced crown—the panel’s gentle original curve—and any edge that has changed position. Pressure that pushed one area inward often moved nearby metal outward, so the deepest low may be only part of the repair.
Move a light or change your viewing angle and watch how its reflection travels across the surface. A straightedge held against the panel can help reveal a low or a broad wave that disappears in frontal light. Compare the damaged area with an undamaged portion of the same panel where possible; touch can help confirm a change in shape, but it should not be the only check.
Find any sharp crease, stretched-looking area, or damaged edge before deciding how far hand straightening can go. A shallow dent with limited deformation and no stretching or sharp crease may permit a near-metal-finished result. Stretched or creased metal often needs further repair, and repeated tapping will not automatically put excess metal back into its former space.
Choose a Hammer and Dolly That Match the Panel
Match the working faces to the shape you are trying to restore. A dolly that broadly follows the panel’s contour supports the metal more predictably than one that contacts it along a narrow edge. The hammer and dolly face shapes should suit the panel contour and material; no single pairing suits every repair.
Check both faces before they touch the panel. A nick, burr, or rough patch on a hammer can stamp marks into the surface, while a poorly fitting dolly can press a new ridge from behind. Clean, smooth faces make it easier to distinguish movement in the panel from damage made by the tools.
Stable access matters as much as tool shape. You need to know where the dolly contacts the back of the metal and be able to adjust it as the shape changes. If trim, an inner structure, or limited hand room prevents that control, do not assume a harder strike will compensate.
Pay particular attention near a flange, panel edge, or reinforcement. Edges and reinforcements respond differently from unsupported, flatter panel areas because the surrounding structure restricts movement. A dolly that works well across an open section may concentrate pressure and make a fresh bend near a stiff edge.
On-Dolly vs. Off-Dolly: Where the Tools Meet
The terms describe where the hammer lands relative to the dolly, not fixed settings for an entire repair. Choose the placement for the local high and low, then check what actually moved.
| Arrangement | Dolly position and hammer strike | Intended effect and useful situation | Principal risk |
|---|---|---|---|
| On-dolly | The hammer strikes directly over the supporting dolly. | Works a small area between the tool faces when direct support is needed to refine its shape. | Repeated or heavy direct blows can stretch the metal and leave a raised strike area. |
| Off-dolly | The dolly supports a nearby low while the hammer strikes an adjacent high, offset from the dolly. | Works adjacent highs and lows without directly sandwiching the strike point. | Poor placement can create another high or ridge; offsetting the tools does not undo metal that is already stretched. |
Straighten the Panel in Controlled Passes
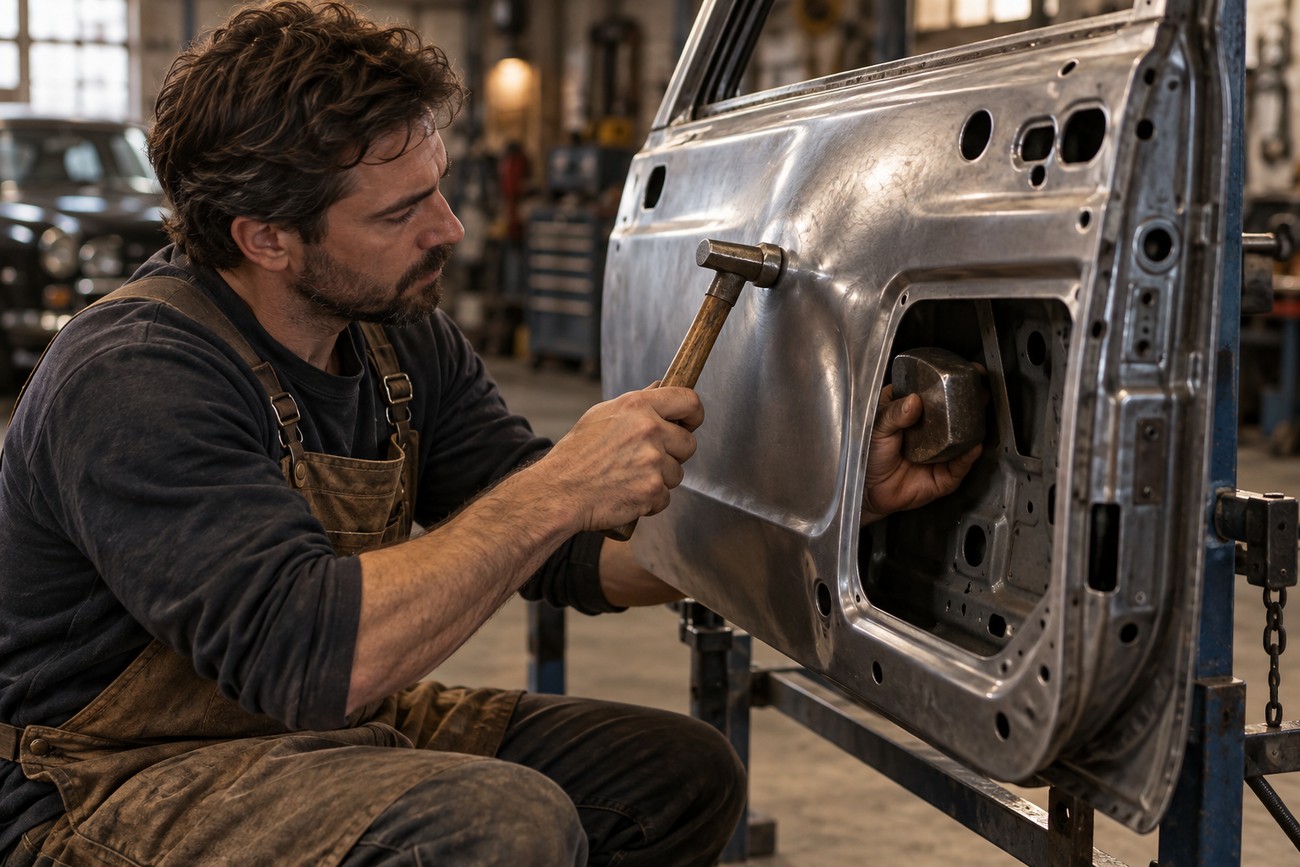
Establish access to the back of the panel and settle the dolly against the area you intend to support. Confirm its contact position before the first strike; guessing from the outside is a common way to raise the wrong spot. Keep the hammer face aligned so its edge does not make the first mark.
Restore the surrounding contour and crown before chasing the deepest remaining low. Work across the displaced perimeter and neighboring highs in small sections, checking whether the broader curve is returning. Driving straight at the center with a heavy blow can leave the surrounding distortion in place or spread it into a wave.
On thin panels, repeated light, accurately placed taps give more control than a few heavy blows. Select on-dolly or off-dolly placement according to the local shape, and let the panel’s response guide the next pass. On-dolly means striking over the supporting dolly; repeated or heavy direct blows can stretch the metal.
A low spot can become a raised strike mark when the dolly stays fixed after the surrounding metal has moved. Shift its support slightly between light passes so it continues to follow the area that needs correction.
Pause often. Move the light, change your viewing angle, check with a straightedge, and feel carefully for a transition that remains too high or too low. Changing reflections and a straightedge help reveal highs, lows, and residual waves; they also tell you when a planned strike is no longer aimed at the same problem.
When Straightening Creates a Wave or a New High Spot
A wave that widens as the dent becomes shallower is a warning to stop and reassess. Heavy blows or repeated direct strikes over the dolly may have stretched the metal. Check the surrounding contour under moving light before trying another pass; changing hammer position alone may not remove a stretched wave.
A sharp new ridge often points to misplaced support or a dolly face that contacts along too narrow a line. Recheck the tool’s position behind the panel and whether its shape suits the contour, especially near an edge or reinforcement. Do not flatten the ridge by striking blindly along its length; first identify the adjacent low it borders.
Distinct hammer marks suggest excessive force, an angled blow, or damage on the working face. Stop and inspect the tools before continuing. Repeated light, accurately placed taps give more control on thin panels than a few heavy blows, but even light taps will reproduce a nicked or poorly matched face.
If a low stops responding while the metal around it moves, look again for a crease or stretching. A limited dent may approach a metal finish; stretched or creased metal often needs further repair. Continuing to strike simply because the low remains can make the repair area larger.
Steel, Aluminum, and Modern Panel Repair Limits
Do not carry a steel repair routine over to aluminum without checking the procedure for that panel. Aluminum is less tolerant of repeated bending than steel, so cycling a spot back and forth can make a marginal repair worse. Material- and vehicle-specific repair guidance matters more than a rule that treats every panel alike.
A blanket ban on on-dolly work for aluminum is misleading. Whether direct support is appropriate depends on the panel and its specified repair procedure; aggressive, repeated blows remain a risk. If the material or the permitted repair method is uncertain, establish those facts before working the metal.
Cold working avoids unnecessary heat, but heat is not a default solution for a stubborn low or stretched area. Factory coatings, galvanized surfaces, and bonded areas can impose limits that are not visible from the outside. Any heat use must follow vehicle-specific limits for coatings and bonded areas.
Modern panel construction also affects what can be reached and supported safely. Adhesive bonds, inner reinforcements, and layers behind the skin may prevent the dolly from sitting where the repair requires it. Even after the visible shape improves, stretched or creased metal may need further repair or finishing rather than more hand straightening.
Check the Finish and Know When to Stop

Inspect the panel from several angles with a moving side light, then check its contour with a straightedge and careful feel. A reflection that looks smooth from the front can break into small waves from the side. Changing reflections and a straightedge help reveal highs, lows, and residual waves that a single flattering view can hide.
Improved shape is not the same as a paint-ready surface. Small highs, micro-waves, tool marks, or a stretched area can remain after useful metal correction. Limited deformation without stretching or a sharp crease may permit a near-metal-finished result; other damage may call for additional professional repair or finishing.
Stop when each pass produces less improvement, or when movement begins to spread beyond the original damage. Repeated light, accurately placed taps offer control only while you can see a useful response. If the panel develops a broader wave or the remaining low will not move without disturbing nearby metal, more striking is unlikely to be the careful option.
Frequently asked questions
These answers cover the choices that often arise before a repair begins: which tools to buy, what to do without rear access, and where to check the limits of a technique. They do not replace an assessment of the specific panel.
What is the best hammer and dolly set for a beginner?
Choose a small set with smooth, undamaged working faces and a few complementary contours rather than a large assortment of near-identical tools. Handle control matters: you should be able to place a light tap accurately and hold each dolly steadily against the back of a practice panel. Check the faces and fit in your hand before treating the number of pieces as a sign of usefulness.
What if you cannot reach the back of the panel with a dolly?
Do not treat unsupported hammering as equivalent to hammer-and-dolly straightening. Without controlled backing, you cannot reliably direct the same local movement, and a blow may enlarge the distortion. First assess whether trim removal provides safe access; if it does not, evaluate a suitable alternative repair method with a qualified repairer before striking.
How should you use a hammer and dolly?
Confirm that the dolly is contacting the area you mean to support, keep both tool faces clean, and use taps light enough that you can check the result after a short pass. Practice placing strikes on scrap or a noncritical panel before working on visible bodywork. If you cannot track where the dolly sits or what each pass changes, pause rather than increasing force.
Should you avoid on-dolly techniques when straightening aluminum?
No blanket rule covers every aluminum panel. Check the vehicle-specific repair procedure to determine whether the panel may be straightened and which methods are permitted. Do not use repeated direct blows as a substitute for that guidance; aluminum is less tolerant of repeated bending than steel.
What is the best hammer and dolly set?
The best set is the one whose face shapes suit the panels and materials you actually work on. For a purchase beyond a beginner set, identify the contours you cannot support well with your current dollies, then add tools that fill those gaps. Smooth faces and reliable handling are more useful than a nominally universal kit with poor contact on your panels.







