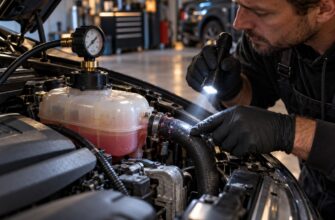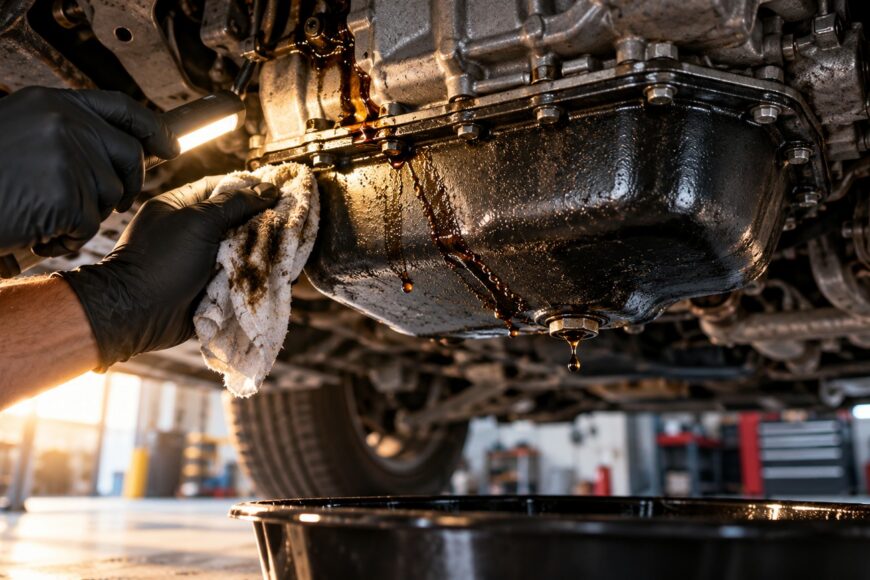
Finding oil beneath the pan after a repair is frustrating, especially when a new gasket has just gone in. The pan is one of the lowest parts of the engine, though, so oil from a higher leak can collect on its edge and drip from there. A wet pan is evidence to investigate, not proof that the pan joint has failed.
Before buying parts or removing bolts, clean the area and find where fresh oil first appears. That observation determines whether you need a drain-plug repair, a pan reseal, a replacement pan, or work on a component above it. It can also spare you a difficult pan removal that would never have stopped the leak.
- Confirm the oil pan is actually leaking
- Choose the fix that matches the leak
- Check access and prepare the pan for removal
- Install the gasket or RTV without creating another leak
- Allow the seal to cure, then refill and check for leaks
- Why an oil pan leak comes back
- Frequently asked questions
- How much does it cost to fix an oil pan leak?
Confirm the oil pan is actually leaking
With the engine off and cool, clean accumulated oil from the pan, its seam, the drain plug, and nearby engine surfaces. Use a suitable degreaser without spraying electrical connectors or forcing cleaner into openings. Once the area is dry, a fresh trace will be easier to distinguish from old grime.
Start the engine briefly and inspect from a safe position, keeping clear of moving parts and hot exhaust components. Trace fresh oil to its highest wet point. Check around the oil filter and its housing, upper engine joints, the rear seal area, the pan seam, and the drain plug; oil from above can run down and mimic a pan leak.
At the upper rear corners, look for the first fresh trace before committing to pan removal. Oil tracking down from a rear joint can reach the pan edge and make the seam appear to be the source.
If nothing appears at idle, a short drive may bring out a leak that occurs only with the engine warm or under load. Park on a clean surface, let hot parts cool, and inspect again. The dirtiest patch may simply be where oil has collected over time; the highest point where fresh oil begins is more useful.
Choose the fix that matches the leak
A leak centered on the drain plug calls for a different repair from oil emerging along the pan joint. Inspect the plug, threads, sealing seat, and washer. Replace the washer when the vehicle manufacturer specifies it, and tighten the plug to the vehicle-specific torque rather than coating its exterior with sealant.
Damaged threads or a marred sealing seat may prevent the plug from sealing even with a new washer. Stripped threads can require a suitable thread repair or pan replacement, depending on the pan and vehicle procedure. If the pan itself is cracked or badly damaged, a gasket change will leave that leak untouched.
Fresh oil starting along the pan-to-engine joint points toward a failed gasket or RTV seal, provided the surfaces above it remain dry. Tightening every pan bolt is not a dependable shortcut: a damaged seal will remain damaged, and overtightening may distort a thin flange. Confirm the source and inspect the parts before deciding to reseal.
Check access and prepare the pan for removal
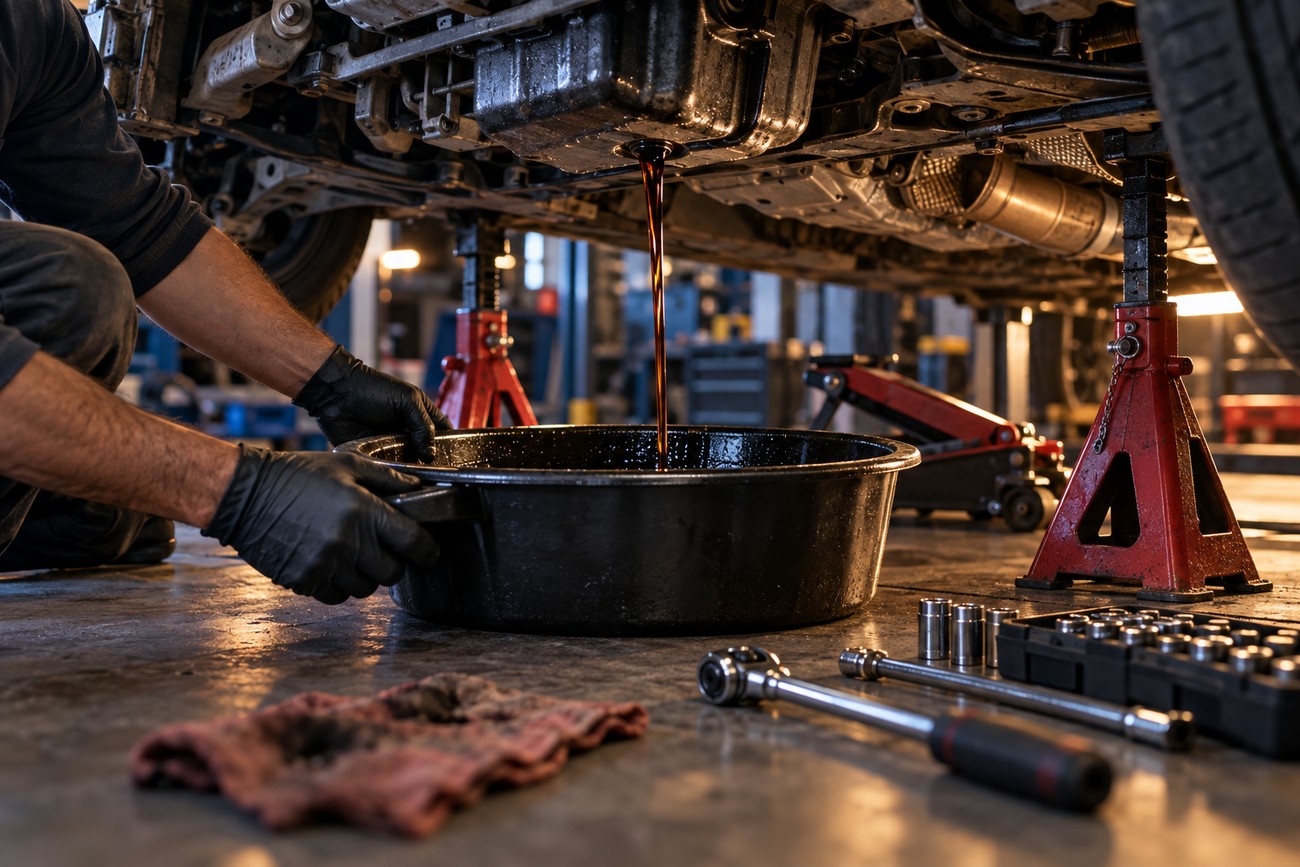
Consult the vehicle service procedure before draining the oil or undoing the pan. Secure the vehicle on level ground with properly rated supports, and never work beneath one held only by a jack. Allow hot oil and exhaust parts to cool, then drain the oil into a suitable container.
Some pans cannot be removed until a subframe, exhaust section, or drivetrain component is moved. Other procedures require the engine to be supported while mounts or crossmembers are removed. If the job calls for equipment or support methods you cannot provide safely, have a repair shop handle it.
After removal, clear old gasket material or RTV from both mating surfaces without gouging them or dropping debris into the engine. Remove oil, loose particles, and remaining sealant so the new joint can seat properly. Inspect the pan flange for dents, bent bolt holes, or other distortion; a new gasket or RTV joint cannot compensate for a flange that no longer sits flat.
Install the gasket or RTV without creating another leak
Identify the sealing method specified for your engine before opening a tube of RTV. A formed gasket may need sealant only at particular joint corners, while another pan may use RTV as its primary seal. Follow the vehicle procedure for gasket placement, sealant locations, and preparation of the mating surfaces.
For an RTV-sealed pan, apply the specified bead size to clean, dry surfaces and assemble the joint within the product’s installation window. A larger bead is not extra protection. Excess RTV squeezed inward on a liquid-sealed pan can restrict the oil pickup, while sealant placed where a formed gasket should seat may prevent proper contact.
Position the pan without dragging it across the fresh sealant, then hand-start all bolts so the flange can settle evenly. Tighten them in the stages and sequence specified for the engine; procedures commonly work from the center outward in a crosswise pattern, but the applicable service instructions take priority. Pulling one edge down before the other bolts are started can skew the joint.
Use a torque wrench and the vehicle-specific pan-bolt specification. A PSI bulletin specifies 10 lb-ft for its 8.8L engine application; that figure is not a general oil-pan setting. The correct torque and sequence depend on the particular engine and joint, and overtightening can worsen flange distortion.
Allow the seal to cure, then refill and check for leaks
Check the RTV instructions and vehicle procedure before adding oil or starting the engine. Published instructions vary: some call for a wait of 1–2 hours, while others specify up to 24 hours. The product, conditions, and vehicle procedure govern the timing; there is no safe universal wait period.
Before refilling, inspect the drain plug, threads, sealing seat, and washer. Replace the washer if the vehicle manufacturer specifies it, and tighten the plug to the vehicle-specific torque. Add the specified oil, check the level as directed for the vehicle, and correct it before running the engine.
Inspect the cleaned repair area after an initial run and again after a drive. Look for fresh seepage at the plug and pan joint, rather than treating an old stain as a failed repair. Check the oil level again, and address a continuing leak before it leads to a low-oil condition.
Why an oil pan leak comes back
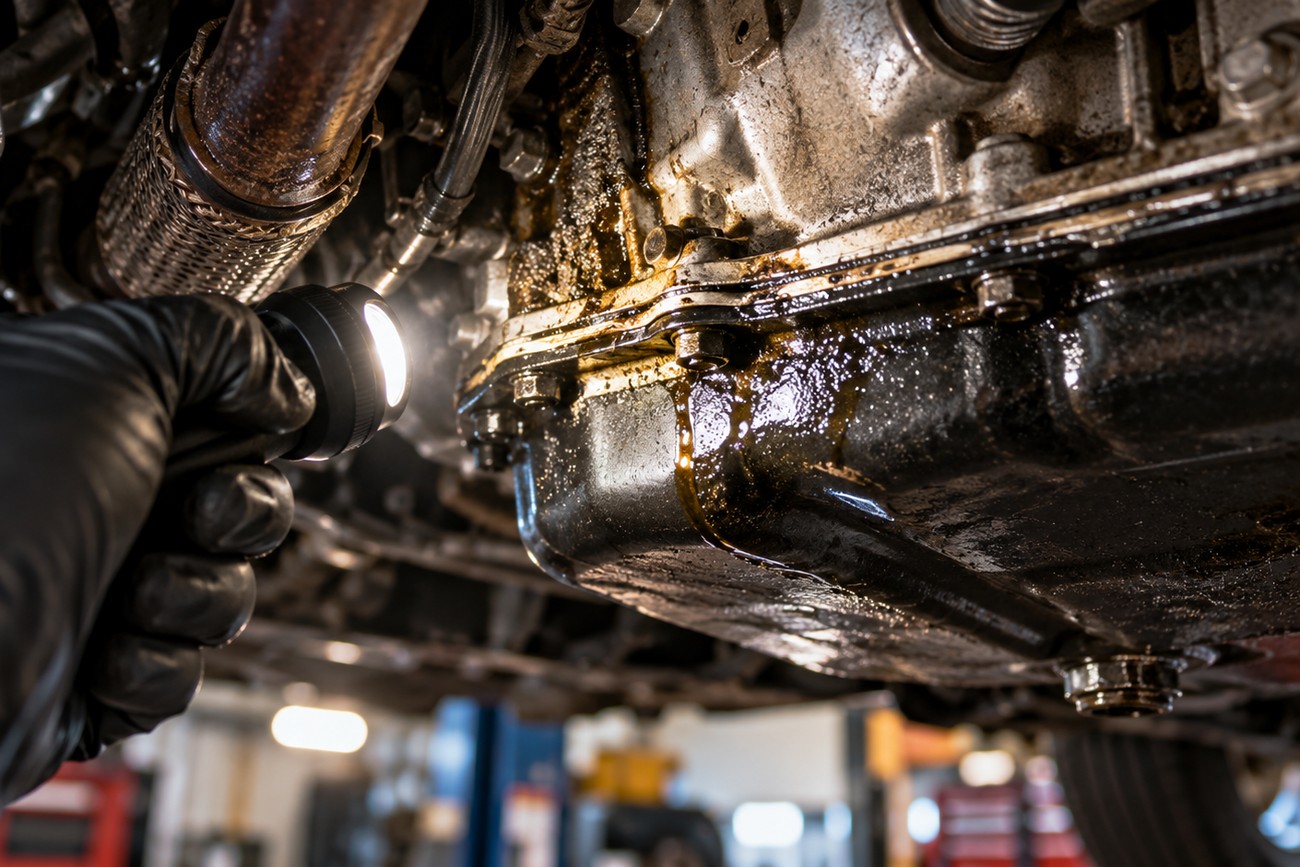
Oil on a newly sealed pan may still be coming from higher on the engine. Clean the area and trace fresh oil to its highest wet point again before taking the pan off a second time. A filter housing, upper joint, or rear seal area can leave a convincing trail across the pan.
If fresh oil truly begins at the pan joint, revisit the condition of the flange and mating surfaces. A bent or dented flange can defeat a new gasket, while trapped oil, debris, or old RTV can interrupt the seal. Incorrect RTV placement or assembly outside its installation window can also leave a path for seepage.
Excessive crankcase pressure or a PCV system fault may deserve attention when leaks keep returning, particularly if oil is escaping at more than one seal. Tightening bolts harder can distort the flange, and adding more RTV to a liquid-sealed pan can create problems inside it. Stop and reassess the source and underlying condition before repeating the same repair.
Frequently asked questions
The repair needed matters more to an estimate than the fact that oil is dripping from the pan. Confirming the leak source first helps a shop quote the work that will actually stop it.
How much does it cost to fix an oil pan leak?
There is no useful flat price without identifying the source. A plug or washer repair is a different scope of work from resealing or replacing a pan, and access may require substantial additional labor. If oil starts at a component above the pan, the estimate should cover that component instead.
Ask for a quote that separates diagnosis, parts, oil and seal materials, and any access work. When comparing quotes, check that each shop has identified the same leak and included the same repair. An estimate for a drain-plug washer cannot be compared directly with one for pan removal and resealing.