
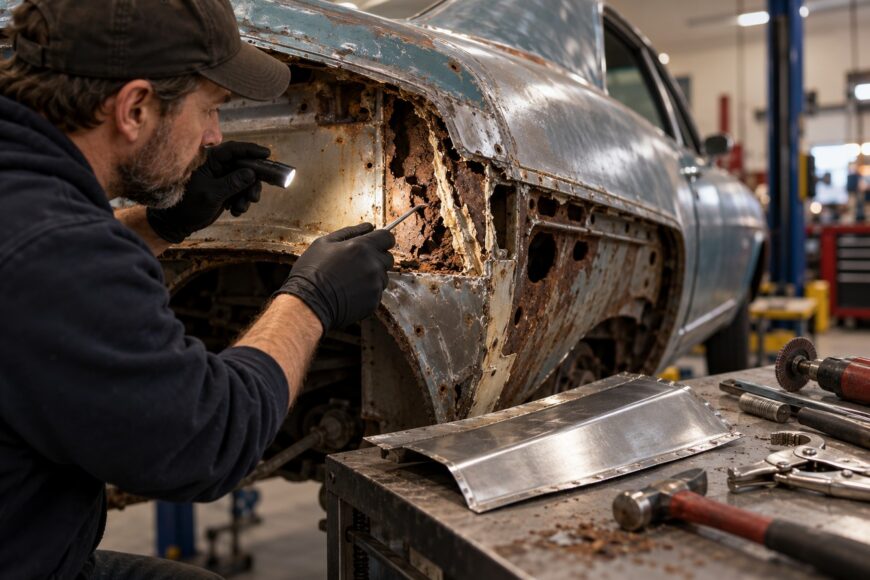
A rust patch can look convincing from the outside and still fail because the metal does not match the surrounding shape, the weld pulls the panel out of line, or corrosion remains on the reverse side. Thin body steel gives little margin for careless cutting, excessive heat, or aggressive grinding.
The practical choice is to fabricate a patch, adapt a purchased panel, or refer the repair to a qualified shop. That decision depends on the panel’s shape, the condition of the surrounding metal, access behind it, and whether the area contributes to vehicle strength or safety. Start by assessing the metal itself before choosing a repair method.
Body rust repair can be suitable for careful DIY work on simple, accessible cosmetic areas. Structural sections, uncertain corrosion around suspension or seat-belt mounts, and repairs near safety-critical components require vehicle-specific procedures and appropriate equipment.
- Decide What Can Be Patched Before Cutting
- Cut Back to Sound Metal and Preserve Your References
- Choose Steel and Tools for the Shape You Actually Need
- Build a Template That Captures More Than the Hole
- Form the Patch in an Order That Protects the Body Line
- Test-Fit the Patch and Prepare the Joint
- Weld Without Pulling the Panel Out of Shape
- Protect the Back of the Repair, Not Just the Visible Face
- Diagnose a Patch That Fits Poorly, Warps, or Rusts Again
- Frequently asked questions
- How can I make my own car body panels?
- How do I create a patch panel?
- What thickness metal for car body repairs?
- How can I repair rusted body panels on my car?
Decide What Can Be Patched Before Cutting
Visible rust rarely shows the full extent of corrosion. Moisture can travel behind paint, seam sealer, or an overlapping flange, leaving thin metal beyond the obvious brown stain. Probe the surrounding area carefully and remove enough coating to find where the steel remains solid.
Inspect the reverse side whenever access allows. Look for swollen seams, perforation, scale, damp debris, and previous repairs that have trapped moisture. A clean-looking outer surface can conceal weakened metal inside a cavity, especially around flanges and folded panel edges.
Identify the panel’s function before treating the hole as a simple fabrication task. A small opening in a broad quarter-panel may be a manageable cosmetic repair, while corrosion near a structural rail, suspension mounting area, seat-belt anchorage, door hinge reinforcement, or crumple zone can require a qualified repairer and manufacturer-specific guidance.
Repair suitability depends on panel shape, rear access, and the condition of the surrounding original metal. If the metal continues to crumble after cleaning, the rear face cannot be inspected, or the repair would affect alignment and occupant protection, stop and obtain a professional assessment rather than relying on a universal patch.
Cut Back to Sound Metal and Preserve Your References
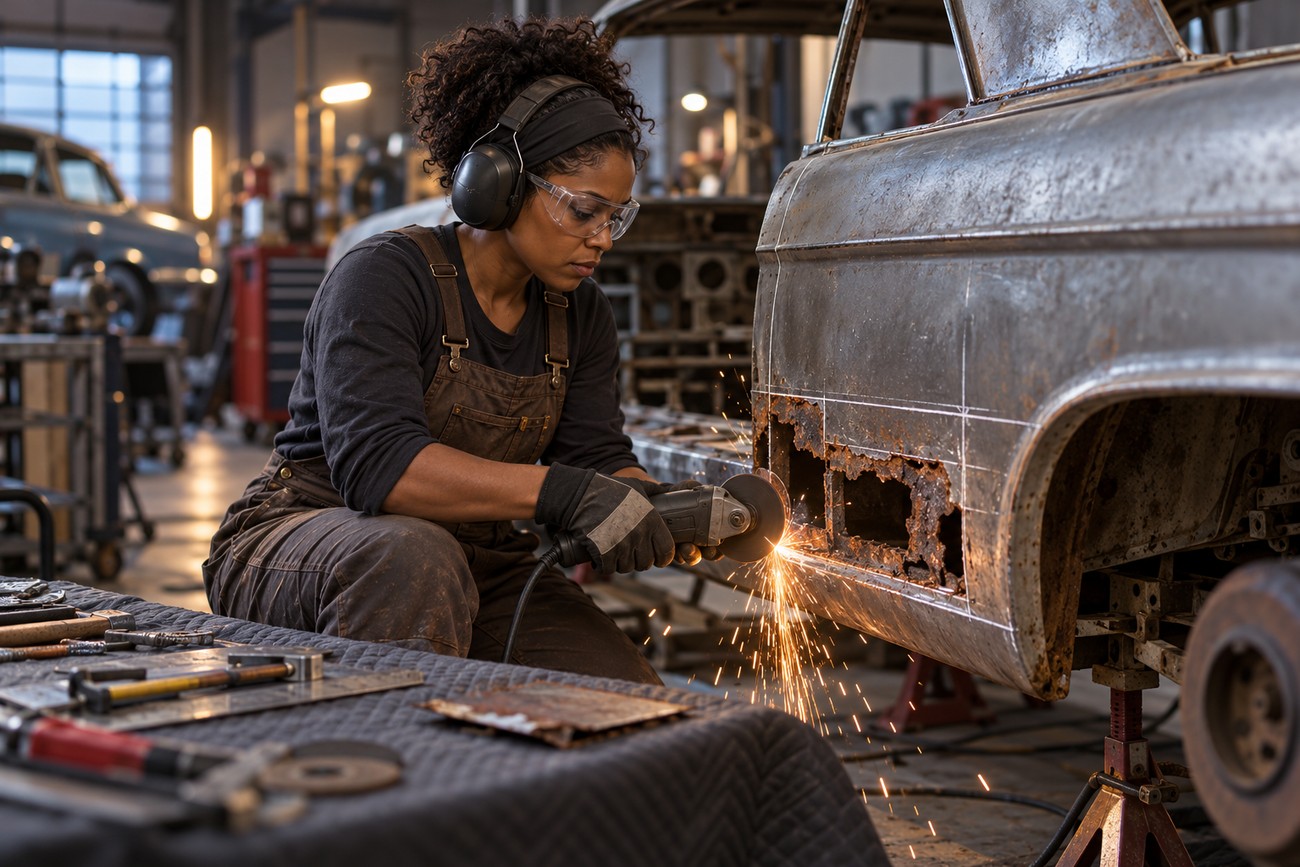
Remove trim, insulation, wiring, fuel-related components, and other hazards as appropriate before cutting or welding. Protect areas that could catch sparks or heat, and record how nearby clips, moldings, and drain paths are positioned. These references help restore the panel without creating a new fit problem.
Mark the body line, panel edges, flange locations, and nearby fixed points before opening the repair area. Photographs and simple measurements are useful where a cut will remove the original shape. A line that appears straight from one angle may carry a subtle crown or radius that the replacement must reproduce.
Cut beyond visibly rusted or thinned metal until the remaining edge is sound. Cutting tightly around the visible spot usually leaves weakened steel in the joint and makes it difficult to establish a clean weld. Leave a practical opening with an even edge, then inspect the newly exposed metal before deciding whether more material must be removed.
Clean the joining surfaces thoroughly. Paint, rust, oil, and scale left on the edges undermine welding and coating adhesion. Remove loose material, inspect for pinholes and lamination, and keep the final cut controlled enough to preserve the body-line and flange references needed for the new patch.
Choose Steel and Tools for the Shape You Actually Need
Body steel is often approximately 0.028–0.047 inch thick (0.7–1.2 mm, roughly 22 to 18 gauge); verify the thickness on the specific vehicle and original panel. Aim to match the original panel’s steel thickness. Thickness affects stiffness, welding behavior, heat input, grinding allowance, and how the repaired area blends with the surrounding sheet.
A basic repair may need sheet steel, aviation snips or a nibbler, a file, hammer and dolly, clamps, a scribe, a straightedge, and a welder suited to thin material. A magnetic drill or punch can help with flanged joints. The exact tool list should follow the shape and joint design rather than the marketing description of a repair kit.
Complex curves can demand more time, forming equipment, and skill than flat repairs. A shriner/stretcher, English wheel, bead roller, or additional forming dies may be useful where the panel changes curvature in several directions. Hand tools can produce excellent results on simple shapes, though forcing a compound curve with a hammer often creates unwanted oil-canning and stretched areas.
A purchased patch panel can save fabrication time when its crown, flange, and material match the vehicle. “Direct fit” and “factory thickness” claims still require checking against the actual car. Some panels shift the work from forming to trimming, reshaping, and correcting the fit, so compare the part with the vehicle before committing to the cut.
Build a Template That Captures More Than the Hole
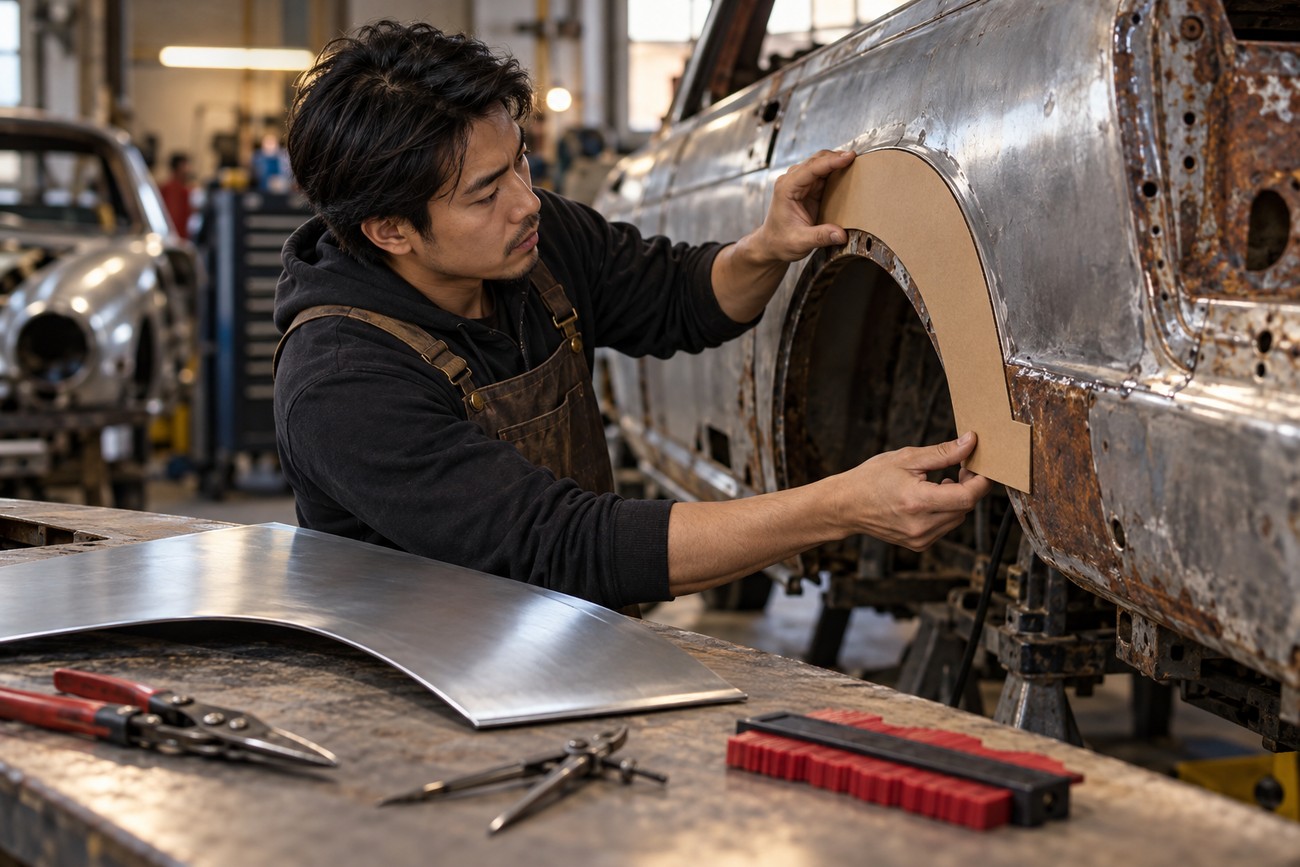
Make a cardboard template before cutting the metal. Transfer the opening, body line, curvature, flange position, and orientation onto the card. Mark the top, front, rear, and any bend lines so the template cannot be accidentally reversed or rotated.
Test the template on the car rather than judging it only on the workbench. Hold it against the surrounding panel and check it from several angles, including along the body line and across the crown. A flat outline may match the opening while its surface shape fails to match the vehicle’s radius.
Use relief cuts or separate card pieces to understand where the template must bend. Mark the edge that will become a flange and any overlap or butt-joint boundary. If the opening changes shape as it approaches a corner, preserve that transition instead of simplifying it into a rectangle.
Transfer the corrected template to the sheet and leave the first metal blank slightly oversize. Trim it to fit in small increments after the main shape is formed. Cutting the blank to the final outline too early removes the adjustment margin needed for accurate gaps and panel alignment.
Form the Patch in an Order That Protects the Body Line
Build the broad shape before refining flanges and localized shrink or stretch. Establish the main crown or sweep with controlled hammer-and-dolly work, then develop the edges that locate the patch. This order keeps the large surface stable while the smaller details are added.
Use repeated trial fitting to compare the patch with the vehicle. Check the panel from the side, along the body line, and across the opening. A patch can sit correctly at its corners while remaining too flat or too proud through the center, so several viewing angles are essential.
Simple repairs on flat or gently curved areas may be formed with a hammer, dolly, and careful edge work. Compound curves often require localized shrinking or stretching. A shriner/stretcher can control these changes more predictably, while improvised hammering may leave stretched metal that later moves during welding.
Form flanges only after the broad surface is close to its final shape. Bending a flange too early can pull the panel into the wrong radius and make later correction difficult. Keep checking the flange height, direction, and relationship to adjacent seams, drain paths, and reinforcement.
Filler should refine a sound metal repair, not replace correct panel geometry. If the patch rocks, sits high, leaves a visible body-line mismatch, or needs a thick layer to disguise a poor curve, remake or reform the metal before welding. This usually takes less time than correcting a distorted finished surface.
Test-Fit the Patch and Prepare the Joint
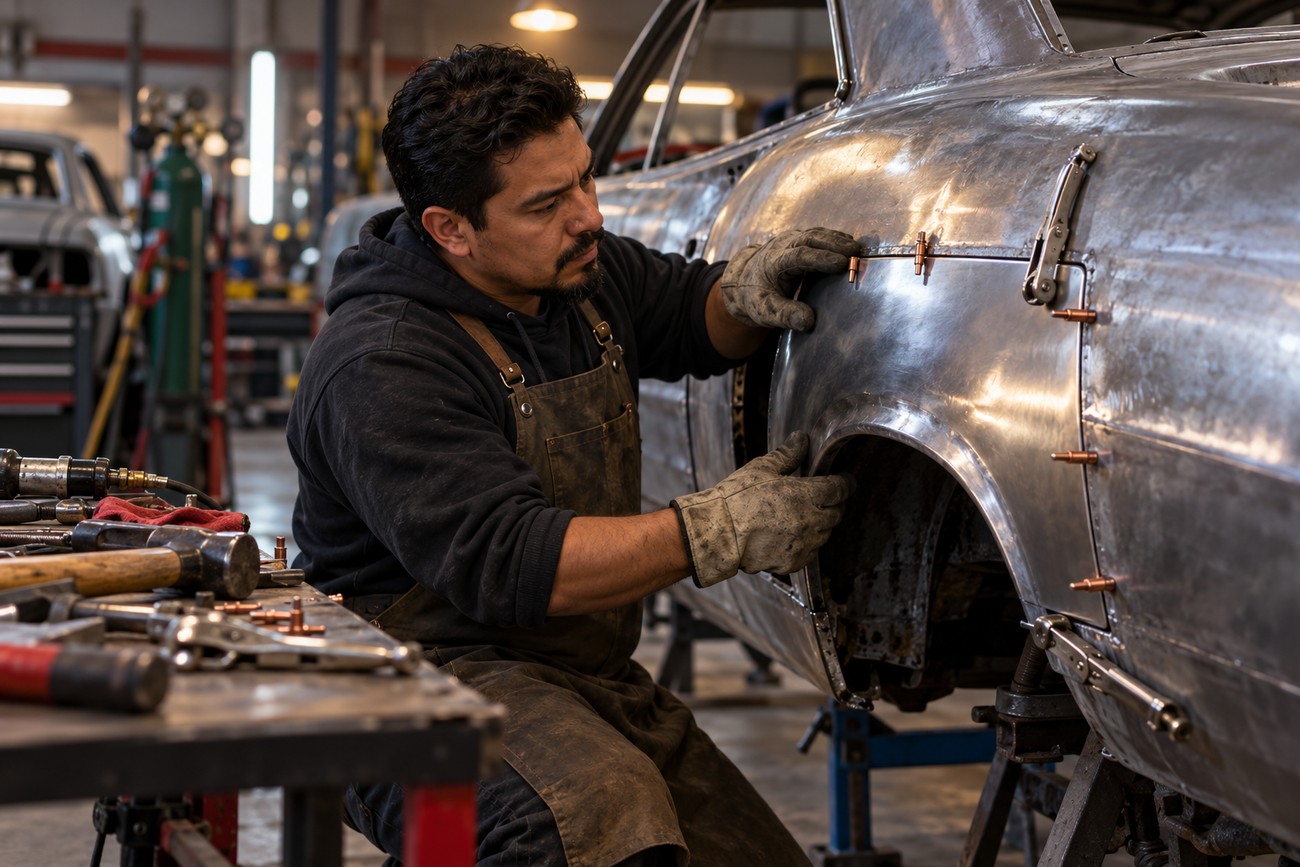
Trim in small increments and test-fit repeatedly. The patch should settle into position without being forced into a curve it does not naturally hold. Clamps, magnets, temporary screws, or clecos can help maintain alignment while you inspect the joint and confirm that the surrounding panel has not moved.
A butt joint keeps the replacement and original sheet in the same plane and usually demands accurate edge preparation. A butt-joint fit-up gap of about 1/16 inch appears in practical guides; adjust to the joint, process, and vehicle-specific repair guidance. An uneven or excessive gap increases heat demand and makes distortion more likely.
A factory-style flanged joint uses an overlap and plug welds through the replacement flange. Example plug-weld holes are 5/16 inch with welds spaced 1.5–2 inches apart; follow applicable vehicle-specific repair guidance. These dimensions are starting points from practical guidance, rather than universal specifications for every body shell or repair position.
Clean both sides of the joining area before final positioning. Paint, rust, oil, and scale undermine welding and coating adhesion. Where possible, plan access to the back of the joint so you can inspect the welds, remove residue, seal the seam appropriately, and apply corrosion protection after the heat-producing work is complete.
Weld Without Pulling the Panel Out of Shape
Secure the patch with distributed tacks rather than closing one section of the joint in sequence. Place initial tacks around the repair so the heat and shrinkage are shared. Check the body line and the panel’s flushness after the first attachment points, before adding more weld.
Short, separated MIG tacks or stitches with cooling pauses help limit distortion in thin body sheet. Move around the joint, allowing each area to cool before returning nearby. A wet rag or suitable heat-control method may be useful when appropriate, though contamination must be kept away from the weld zone and the panel must not be quenched in a way that creates other problems.
The first distributed tacks must preserve the nearby body line before the remaining joint is closed. Further welding can reinforce a correctly positioned panel, but it cannot reliably restore a line that has already shifted.
Concentrated heat causes the sheet to expand and contract unevenly, pulling the joint and creating a hollow, ridge, or waviness. Long continuous welds are especially likely to warp thin body sheet. Alternate locations, keep the welds short, and reassess the shape as the joint develops.
Grind only what is necessary and use controlled abrasives. Grinding a weld flush too aggressively can thin the panel and joint, leaving a weak area that may crack or corrode. If the patch moves, the gap changes, or the body line wanders, correct the fit and welding sequence rather than burying the problem under filler.
Filler should refine a sound metal repair, not replace correct panel geometry. A thin finishing layer can address minor surface marks after the weld and surrounding sheet are stable. A thick build-up signals that the patch shape, joint fit, or heat control needs to be revisited.
Protect the Back of the Repair, Not Just the Visible Face
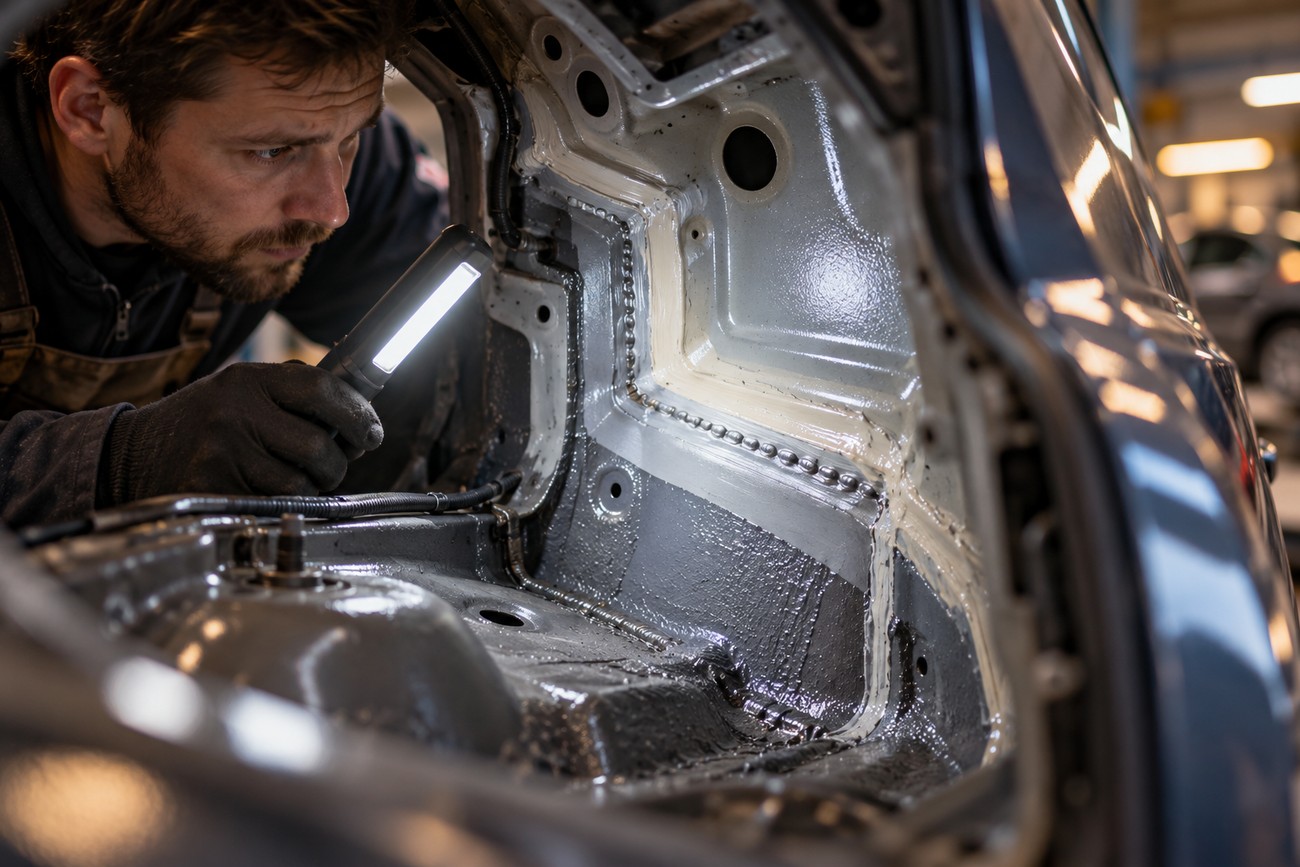
Inspect the completed weld from every accessible side. Look for missed sections, pinholes, sharp edges, trapped grinding debris, and areas where the original metal remains thin. The outer face may appear smooth while the reverse side still contains an open path for water.
Prepare the repaired surfaces according to the products being used. Remove dust, oil, loose scale, and contamination, then use a compatible primer and coating system. Product instructions matter because weld-through primers, epoxy primers, seam sealers, and cavity products have different preparation and curing requirements.
Apply seam sealer where the original construction or repair design requires it, keeping drainage paths open. After heat-producing work and coatings have cured as specified, protect accessible cavities and reverse-side edges with a suitable cavity treatment. Avoid sealing moisture into a dirty or wet space.
Untreated reverse-side edges and cavities can allow corrosion to return despite a clean-looking exterior. This is especially important where folded flanges overlap, where spray cannot reach easily, or where old moisture-absorbing debris remains inside the panel. The repair is only as durable as its least protected edge.
Diagnose a Patch That Fits Poorly, Warps, or Rusts Again
A patch that will not sit flush usually points to a template or forming problem. The card may have captured the hole while missing the crown, body line, or flange direction, or the metal may have been cut to the outline before it was formed. Recheck the broad shape and trim gradually instead of forcing the panel into place.
A wandering body line often begins when localized shrink or stretch is attempted before the main curve is established. Return to the broad shape, compare the patch against the car, and correct the metal in controlled stages. Filler cannot reliably recreate a sharp factory line over a panel with the wrong underlying geometry.
Distortion after welding usually reflects concentrated heat, a large gap, insufficiently distributed tacks, or inadequate cooling pauses. If the panel has shifted substantially, excessive grinding and filler can weaken the repair while leaving the alignment wrong.
Rust returning behind an attractive finish indicates incomplete cleaning, unprotected reverse-side edges, trapped moisture, or a failed seam. Open the affected area far enough to find sound metal and identify the moisture path. Remaking the patch may be preferable to adding material over corrosion that remains hidden inside the joint or cavity.
Frequently asked questions
The questions below cover panel fabrication, patch-panel design, material thickness, and rust repair. The same principles apply throughout: match the original shape and thickness, control heat, and protect the reverse side.
How can I make my own car body panels?
Make a cardboard pattern from the vehicle, transfer it to matching sheet steel, form the broad curve first, and refine the flanges and edges afterward. A basic hand-forming setup can handle simple panels, while compound curves may require a shriner/stretcher, English wheel, or comparable forming equipment.
Use the original panel as the reference for thickness and shape, and leave the first blank slightly oversize for trimming. A hand-made panel becomes practical when you can control the form, maintain access to the rear, and protect the finished repair from corrosion.
How do I create a patch panel?
Expose sound metal, record body-line and flange references, make and test a cardboard template, then cut a slightly oversize blank from steel that matches the original panel. Form the broad surface before trimming the joint and refining local bends.
Choose a butt joint or a vehicle-appropriate flanged joint, clean the mating surfaces, and secure the patch without forcing it into position. Welding, grinding, sealing, and cavity protection all affect the result, so a patch panel is a complete repair process rather than a piece of shaped metal alone.
What thickness metal for car body repairs?
Body steel is often approximately 0.028–0.047 inch thick (0.7–1.2 mm, roughly 22 to 18 gauge); verify the thickness on the specific vehicle and original panel. Aim to match the original panel’s steel thickness because a mismatch changes stiffness, heat response, welding settings, and the way the repair blends with adjacent metal.
Catalog descriptions such as “factory thickness” are useful indications, though they do not replace measuring the actual vehicle panel. The correct thickness also depends on the repair position and the vehicle’s repair instructions.
How can I repair rusted body panels on my car?
Remove enough coating and metal to determine the full corrosion boundary, cut back to sound steel, and replace the damaged section with a correctly formed patch. Weld with controlled heat, inspect both sides, and protect the joint, reverse-side edges, and nearby cavities.
Cosmetic repairs on accessible sheet metal may suit a capable DIY worker. Corrosion affecting structural members, suspension or restraint mountings, inaccessible cavities, or uncertain load-bearing areas should be assessed and repaired by a qualified shop using vehicle-specific guidance.







