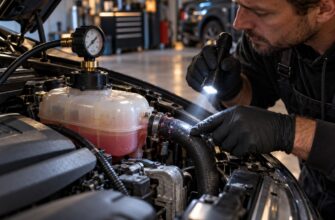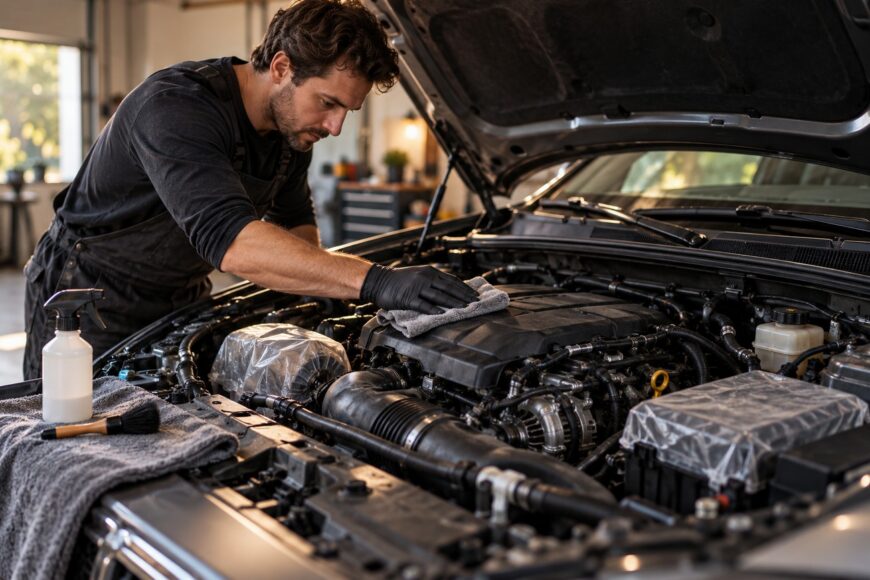
Removing grime from an engine bay can make leaks and damaged parts easier to spot. The trade-off is water: trapped in a coil well or connector, it can cause a misfire or an electrical fault later. A bay that tolerates rain and road spray is not necessarily prepared for a concentrated wash jet.
The safer approach uses controlled moisture, targeted cleaning, and thorough drying. You can often lift dirt with a soft brush and cloth, using liquid only where needed. The vehicle maker’s instructions and the condition of the parts in front of you should guide how much cleaning is sensible.
- Is it safe to wash an engine bay?
- Inspect and protect the bay before cleaning
- Choose a cleaner and tools that limit water
- Clean the engine bay with controlled moisture
- Dry and check before restarting
- Why an IP67 connector is not a pressure-washing permit
- If the engine misfires or will not start afterward
- Frequently asked questions
- How often should I clean my engine bay?
- What should I do with oily cleaning runoff?
- How can I wash an engine bay without damaging anything?
- What should I avoid when cleaning the engine bay?
- How safe is it to wash your engine bay?
Is it safe to wash an engine bay?
Yes, an engine bay can often be cleaned safely if the vehicle is in sound condition and you follow its maker’s guidance. Safety depends on where the water goes, how forcefully it arrives, and whether it can drain and dry afterward. There is no blanket assurance that every vehicle or every installed electrical connection will tolerate the same wash.
Water in coil or spark-plug wells and connectors can cause a misfire or no-start. Moisture inside a connector may also produce an electrical fault immediately, while corrosion-related symptoms can emerge days or weeks later. An engine that starts normally after cleaning has passed only the first check.
Ordinary exposure to rain and road spray does not establish resistance to a concentrated jet directed at connector faces, wire entries, or seals. Likewise, a water-resistance rating on one component does not establish the water resistance of the installed engine bay. If you find damaged wiring, a loose connector, or a visibly failing seal, postpone wet cleaning in that area until the defect is addressed.
Inspect and protect the bay before cleaning
Let the engine cool before applying liquid. Spraying cold water onto hot components adds avoidable thermal stress, particularly where materials have aged. While the bay is dry, lift out leaves and loose debris by hand or with a soft brush; removing them first reduces the water needed to deal with the remaining grime.
Locate the alternator, control modules, ignition coils, connectors, exposed wiring, and air intake before you start. Also look for recessed coil and spark-plug wells, where water can sit out of sight. This quick inspection helps you decide which surfaces can be wiped and which need to be kept largely dry.
Temporary covers can help keep stray spray away from vulnerable parts and the intake, provided they can be secured and removed before operation. They are splash shields, not a reason to use a pressure washer. Avoid trapping cleaner or water beneath them.
Pay attention to cracked housings, damaged seals, and connectors whose latches are not fully engaged. Any of these can admit water despite a water-resistant design; the wire-entry end of a connector also deserves inspection. Repair or secure suspect parts rather than washing over them and assuming the outside appearance will protect the contacts.
Choose a cleaner and tools that limit water
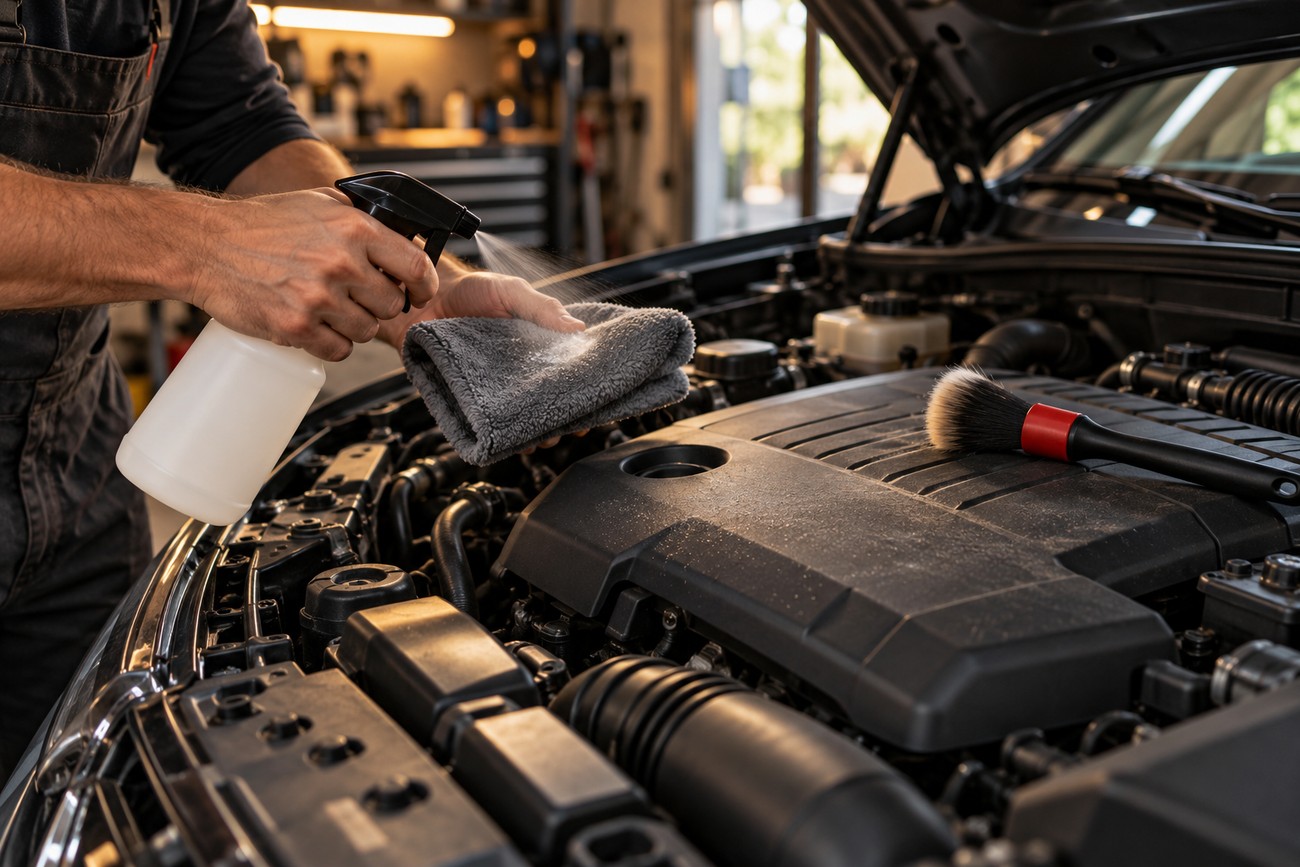
Choose an automotive cleaner suitable for the surfaces you plan to treat, and check both its label and the vehicle guidance. A soft brush and absorbent cloth give you control on dusty covers and around hoses. A controlled spray or gentle rinse is preferable to a narrow, high-pressure jet aimed into the bay.
Strongly alkaline all-purpose cleaners warrant caution around finishes and electrical areas. Follow the product’s directions instead of assuming one dilution or contact time suits every cleaner. Apply it where you can work it promptly, agitate gently, and remove it before it dries on the surface.
Pressure can turn a minor cleaning job into a repair. A strong jet may damage older hoses, wire insulation, clips, and brittle plastic, even where no immediate electrical fault appears. It can also force water into places that a cloth or light spray would never reach.
Clean the engine bay with controlled moisture
Work in small areas so you can see where the cleaner and runoff travel. Apply cleaner locally to a dirty surface rather than soaking the whole bay. Loosen deposits with a soft brush, using light pressure around wiring, hoses, and clips.
Wipe away loosened grime with a cloth. Where the cleaner requires rinsing, use a controlled spray or gentle flow and keep runoff away from openings and electrical parts. Replace a dirty cloth as needed so you are lifting grit off the surface rather than dragging it across finishes.
Do not aim water at electrical components, connector faces or wire entries, coil wells, seals, or the air intake. Avoid directing a high-pressure jet at electronics or wiring even if a nearby component carries a water-resistance rating. Cleaning locally limits the volume of water that can collect beneath covers and in recesses.
A forceful jet can push water and grit beneath seals and remove lubricant from moving parts. Flooding the whole bay also leaves more water to find and remove before starting the engine. If a deposit will not lift with gentle cleaning, pause and reassess the surface and product rather than increasing pressure indiscriminately.
Dry and check before restarting
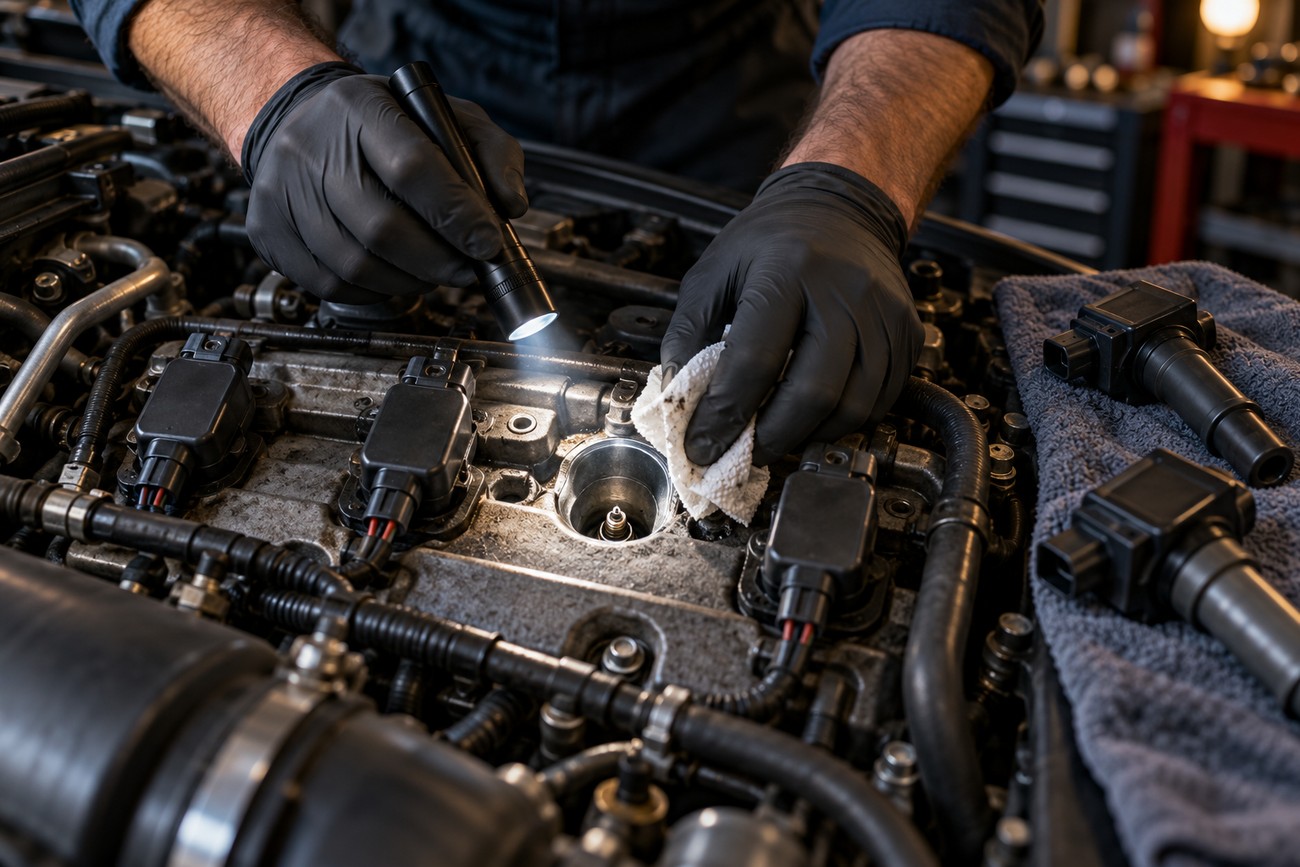
Blot accessible wet surfaces with absorbent cloths, then allow time for remaining moisture to dry. Check coil and spark-plug wells, connector undersides, grounds, and drains, where trapped water may be easy to miss from above. Remove every temporary cover before the engine runs.
To clear a recessed well, guide gentle airflow across its opening so water moves outward. Pressing an air nozzle into a connector seal can drive moisture farther in.
Inspect the lower edges of connectors and nearby wire entries after the visible surfaces look dry. A seal can resist liquid water without guaranteeing that water vapor or condensation will never be present inside. If you cannot tell whether an accessible recess is dry, give it more time rather than restarting immediately.
Once the bay is dry and clear of tools and covers, restart according to the vehicle’s normal procedure and watch for rough running or warnings. A successful restart does not rule out moisture-related corrosion. If electrical symptoms appear days or weeks later, mention the recent cleaning when arranging diagnosis.
Why an IP67 connector is not a pressure-washing permit
IP67 denotes dust protection and immersion up to 1 m for 30 minutes; it does not establish resistance to a high-pressure jet. Water directed into a joint under pressure is a different exposure from immersion under the specified test conditions. An IP67 label alone is therefore a poor basis for choosing a pressure washer.
IPX5/IPX6 address water jets, while IPX9K addresses hot high-pressure washing. Each rating applies to the tested construction and conditions, rather than granting permission to wash everything surrounding the rated part. Even a connector designed for demanding exposure should be treated according to its actual installation and the vehicle maker’s guidance.
A component rating does not automatically cover its installed harness, wire entries, aged seals, or damaged or incompletely latched connectors. Water may gather at a wire entry or find a path along wiring that the component test did not represent. Connector seals resist liquid water, but they do not guarantee the absence of water vapor or condensation inside.
Some sellers present IP67 as sufficient for engine-bay pressure washing; that claim needs separate evidence of jet or pressure-wash resistance for the relevant construction. The practical decision remains straightforward: protect connections from direct spray, and do not assume a marking on one part makes the complete engine bay pressure-wash safe.
If the engine misfires or will not start afterward
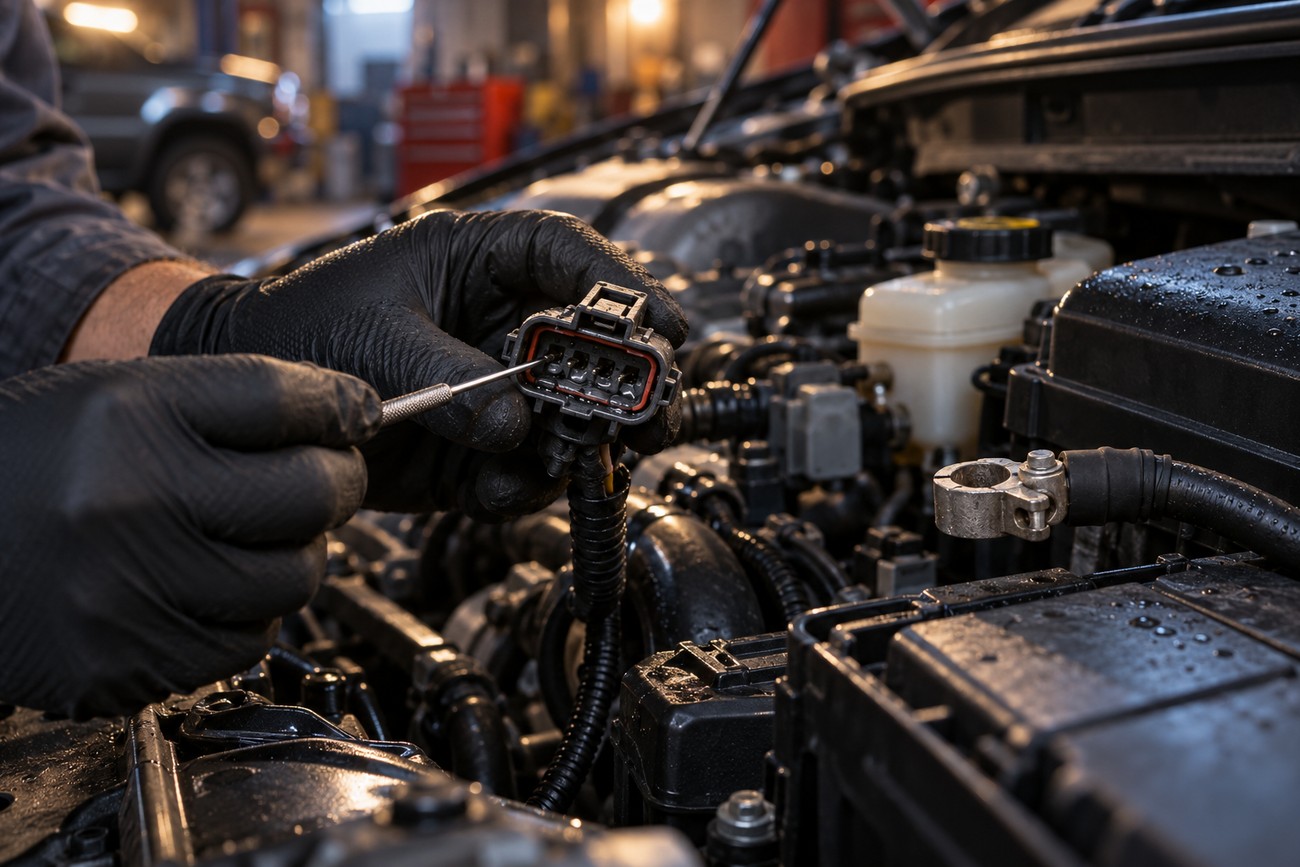
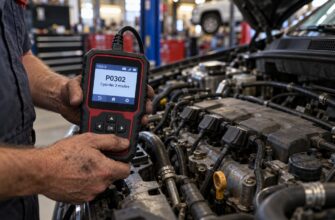
Stop repeated start attempts and look for visible moisture in accessible coil or spark-plug wells and connector areas. Water in these locations can cause a misfire or no-start, though the symptom alone does not identify the exact fault. Do not reach into moving parts or disconnect electrical components while the vehicle is powered.
If one connector appears suspect and you can access it safely, isolate power according to the vehicle’s procedure before disconnecting it. Inspect the separated contacts for water, corrosion, or damage, dry them fully, and check that the terminals and latch hold securely when reassembled. Battery disconnection is not a universal pre-cleaning or diagnostic requirement; follow model-specific power-isolation guidance.
Drying may resolve a simple moisture issue, but it cannot repair corroded contacts, loose terminals, or a damaged seal. Seek professional diagnosis if the fault persists, contacts are damaged, or you are uncertain how to isolate the circuit. Moisture-related electrical faults can appear immediately or develop into corrosion-related symptoms days or weeks later, so later problems also merit attention.
Frequently asked questions
Engine bays differ in layout, age, and condition, so routine choices should follow what you can see and what the vehicle maker specifies. These answers address when cleaning is worthwhile, how to handle runoff, and where to draw the line on water use.
How often should I clean my engine bay?
Clean it as needed when accumulated leaves, dirt, or grime make inspection difficult or need removing. There is no established interval that suits every vehicle. A brief dry tidy-up may be sufficient if the bay is otherwise clean; investigate a fresh oily deposit before washing away evidence of its source.
What should I do with oily cleaning runoff?
Contain oily runoff rather than letting it flow into a storm drain or onto the ground. Use absorbent materials or a suitable collection method for the area you are cleaning, then handle the collected liquid and used materials according to local requirements. If you cannot contain runoff where the vehicle is parked, choose a facility equipped to manage it or postpone wet cleaning.
How can I wash an engine bay without damaging anything?
No method can guarantee that every engine bay will remain undamaged. Reduce the risk by checking the vehicle’s instructions and the condition of its seals and wiring before deciding whether to use water. If access is tight or a vulnerable connection cannot be protected and dried, clean the surrounding surfaces by hand and leave that area alone.
What should I avoid when cleaning the engine bay?
Do not spray a hot engine, direct a narrow high-pressure jet at vulnerable parts, or leave cleaner to dry on surfaces. Avoid covering up damaged wiring or loose connectors with a wash, and do not start the engine with temporary shields still fitted. If a deposit needs aggressive force to remove, stop rather than risk driving water and grit into a seal.
How safe is it to wash your engine bay?
It is a manageable task on many sound vehicles when cleaning is local and moisture is controlled, but the risk varies with design and condition. A previously repaired harness, deteriorated seal, or inaccessible coil well calls for more restraint than an open, easily dried area. Treat component water-resistance markings as limited information, and follow any model-specific restrictions.