
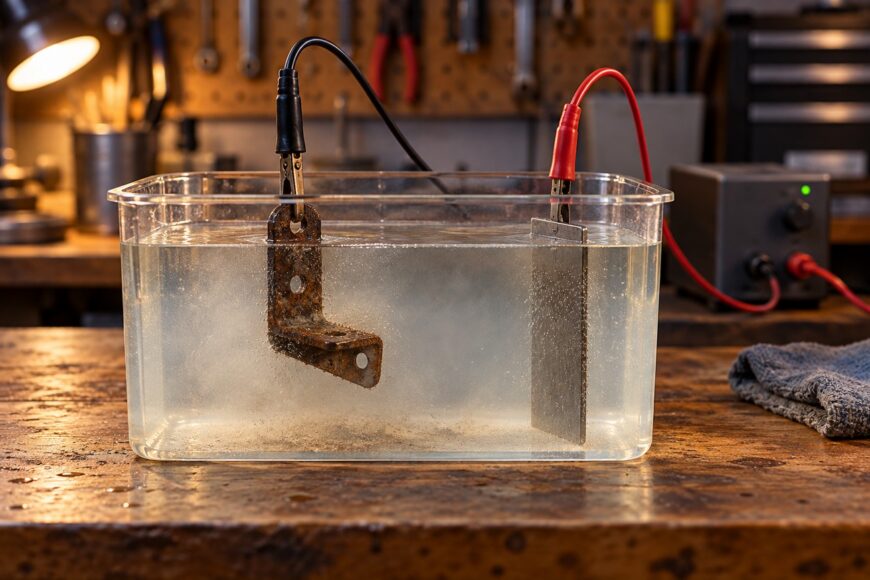
Small steel parts can be awkward to clean by electrolysis. A screw, bracket, or fitting may turn in the bath and end up too close to the anode, leaving one face less exposed. Once the part comes out, fresh rust can appear quickly if it stays damp and bare.
A stronger current will not fix poor positioning or an unreliable connection. The result depends on clean electrical contact, a stable gap between the electrodes, and prompt cleaning and protection after you switch off the power.
- When Electrolysis Makes Sense for Small Steel Parts
- Safety and Materials Before You Start
- Set Up a Stable Bath for Small Parts
- Run the Bath and Judge Progress
- Why Rust Removal Stalls or Turns Uneven
- Clean, Dry, and Protect the Part
- Frequently asked questions
- Why won’t my automatic battery charger start the reaction?
- How can I clean a group of rusty parts with electrolysis?
When Electrolysis Makes Sense for Small Steel Parts
Electrolysis is useful for removing rust from steel pieces whose shapes make ordinary brushing difficult, such as small brackets and fasteners. The rusty part is connected as the cathode (−), while a separate iron or mild-steel electrode serves as the sacrificial anode (+). In a washing soda solution, current helps loosen corrosion so you can remove the remaining residue afterward.
The method can reduce the amount of scraping needed around edges and recesses, but it cannot rebuild a damaged part. Rust removal exposes the surface beneath it; metal already lost to pitting stays lost. Check heavily corroded threads, thin edges, and load-bearing parts for damage rather than judging them solely by their cleaner appearance.
Holes, deep cavities, and areas shielded from the anode may clean less thoroughly because current is distributed unevenly. A part with several hidden faces may need repositioning between checks, with the power off each time. Existing finishes and close-fitting surfaces also deserve caution: do not assume the process will preserve every coating or restore precise dimensions.
Safety and Materials Before You Start
Use a nonmetallic container, a suitable low-voltage DC power source, and an anode made from ordinary iron or mild steel. Make the electrolyte with sodium carbonate, also called washing soda, dissolved in water. Practical guides give different starting amounts, from roughly 1–2 teaspoons per liter to 1 tablespoon per gallon; these are guides, not a single required formula.
Use washing soda rather than table salt or a mixture of whatever cleaners are at hand. Avoid stainless steel and galvanized metal for the anode because they can introduce unwanted reaction products into the bath. Keep the power source out of the splash area, and use only equipment whose instructions permit the intended setup.
Hydrogen forms at the cathode and oxygen at the anode. Work outdoors or with strong ventilation, leave the container unsealed, and keep flames and other ignition sources away. A closed lid can trap gas, while a cramped, poorly ventilated workspace allows it to collect near the equipment.
The alkaline solution can irritate skin and eyes. Wear gloves and eye protection when mixing it, handling wet parts, and cleaning the bath. Set the container where it cannot be knocked over, and arrange the leads before energizing the setup so you do not have to reach into a live bath.
Set Up a Stable Bath for Small Parts
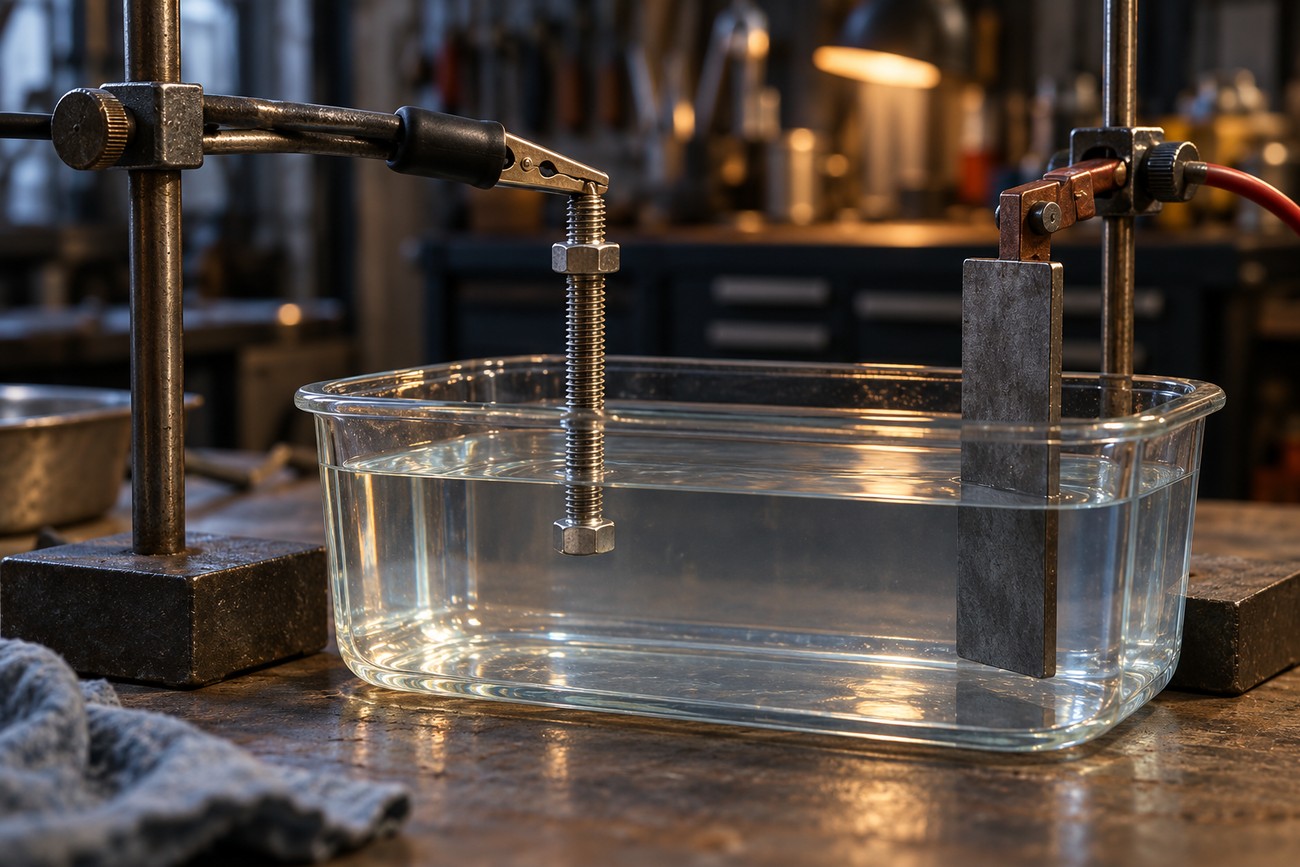
First, remove grease and loose dirt from the steel part. Clear a small patch of paint or rust where the electrical connection will touch clean metal; an oily or rusty contact can prevent current from reaching the part. Attach it securely so the connection will not slip when the piece is submerged.
Suspend the part so it cannot roll or swing toward the anode. Small items need particular attention: a piece that hangs correctly while dry can turn once immersed. Position the iron or mild-steel anode with several inches between it and the part, and make sure they cannot touch even if the support shifts.
Place the anode to give the surfaces you want to clean reasonable exposure. More even placement matters more for a small part than simply increasing current; crowding the electrodes can produce uneven results or a short circuit. Keep clamps and electrical connections above the solution, where they will remain dry.
Before switching on, trace both leads: the steel part being cleaned is the cathode (−), and the sacrificial iron or mild-steel anode is connected to (+). Reversed polarity can dissolve the part you meant to save. Check the gap once more, then power the bath without leaning over it.
Run the Bath and Judge Progress
After switching on the DC supply, look for bubbles on the part. They indicate that a reaction is taking place, but they do not show whether every face is cleaning evenly. A darkening bath and loosened residue are also reasons to inspect the work, rather than reasons to turn up the current.
Treatment may take several hours, and practical guides also describe overnight runs. Do not treat that as a reason to leave an improvised bath running without oversight or to assume that a longer run is harmless for every part. Check progress at intervals appropriate to the item and your ability to supervise the setup.
Switch off the power before lifting the part to examine its surface. If one side remains rusty, inspect its position, the anode’s exposure to that face, and the electrical connection before continuing. Keep the container open and ventilated throughout the run; gases are produced whenever the bath is operating.
Disconnect power before moving either electrode or correcting a slipping support. Adjusting live connections can create a spark near gas that has collected above the bath. Once the part is secure and the gap has been checked again, you can restart and assess whether the change improves the uneven area.
Why Rust Removal Stalls or Turns Uneven
If little happens after startup, switch off the power and inspect the contact first. Paint, grease, or rust beneath a clamp can interrupt the path even when the lead looks firmly attached. Clean a small area of metal and reconnect it, then confirm that the power source is actually supplying DC output.
If only one face improves, check whether the part has rotated or whether its position leaves the rusty face shielded from the anode. A stable support and a better anode position usually address this more directly than a higher current setting. Keep several inches of clearance: moving the electrodes together until they nearly touch invites a short circuit.
When progress slows during a run, examine the anode after disconnecting power. An iron or mild-steel anode collects deposits and gradually wears away; clean or replace it as needed. Sludge in the bath can also make the work harder to inspect, so clear residue from the part before deciding whether it needs more time.
Clean, Dry, and Protect the Part
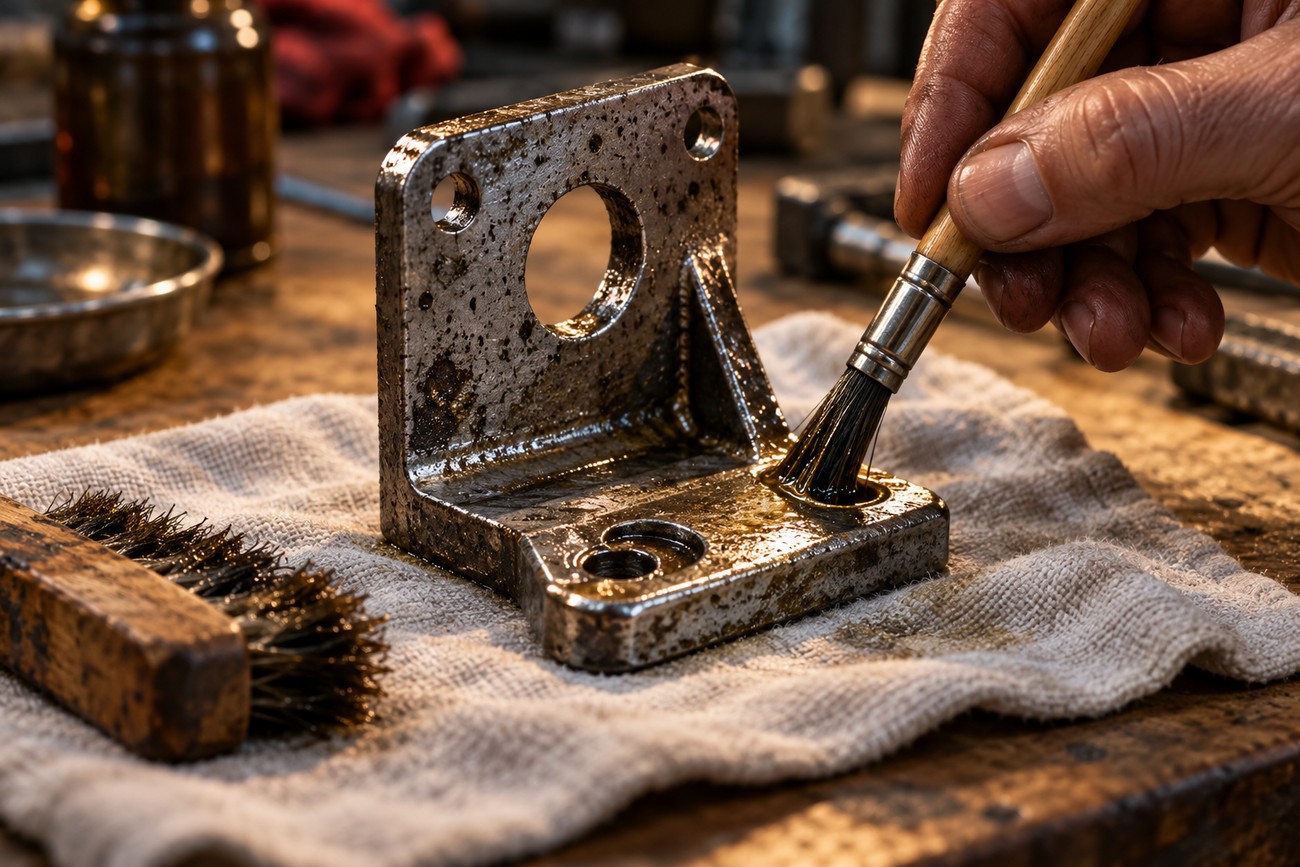
Turn off the power before removing the part. Brush away loosened dark residue, paying attention to corners and threads, then rinse the surface. Electrolysis loosens corrosion, but the part still needs this physical cleanup before you can judge the metal underneath.
Dry the part thoroughly, including holes, seams, and recesses that hold water. Apply an appropriate protective finish immediately; oil may suit a part where oil is acceptable, while another item may need a different coating compatible with its use. Leaving freshly cleaned steel damp or unprotected can allow rust to return quickly.
A dark surface or the absence of orange rust is not itself a protective coating. Examine pits and weakened sections once the residue is gone, especially where the part must carry a load or fit closely with another piece. The process removes corrosion products but cannot replace metal lost to pitting.
Keep cleanup in mind for the bath as well as the part. The solution accumulates iron sludge and other impurities, so do not assume it is safe to pour down a drain. Check local disposal rules for the spent liquid and collected solids, particularly if the part had paint, plating, or other unknown material on it.
Frequently asked questions
Two common problems arise outside the basic setup: a power source that never starts and a group of parts that needs cleaning. In either case, check the cause before changing the bath or increasing the power.
Why won’t my automatic battery charger start the reaction?
Some automatic chargers will not provide output unless they detect a battery, so a correctly connected electrolysis bath may show no reaction. Check the charger’s manual to see how it starts and whether it is suitable for this use. If it requires a detected battery, choose an appropriate DC power source instead of bypassing the charger’s protective controls.
How can I clean a group of rusty parts with electrolysis?
For a group of small steel parts, arrange them so each is reliably connected to the negative (−) lead and none can touch the anode (+) or shift into it. Inspect the pieces individually afterward: a fastener with a clean exterior may still have rust in its threads or pits beneath the former corrosion. Brush and rinse each piece, dry it completely, then protect it promptly with a finish suitable for its intended use.







