
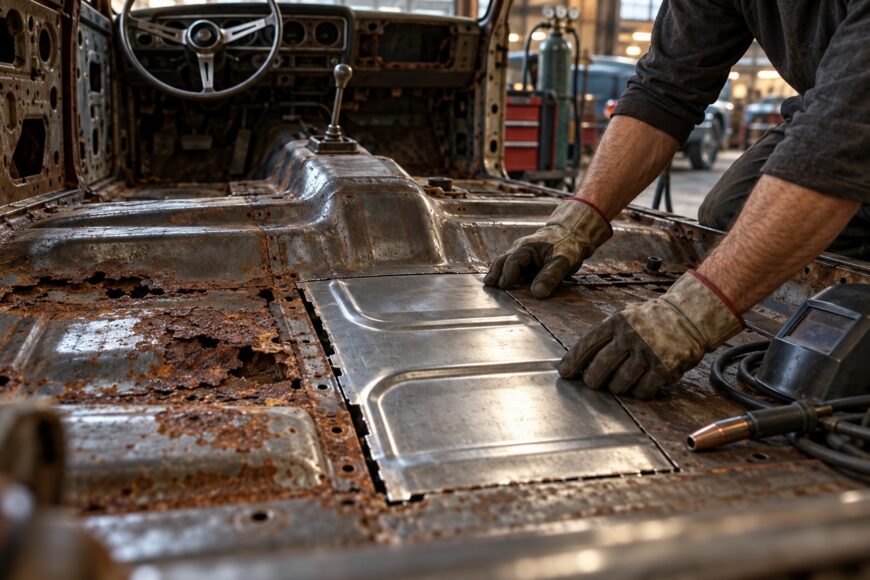
A small hole in a floor pan can hide a much wider area of corrosion beneath the carpet or along a seam. The metal around the opening may look firm from above while an overlap or reinforcement is thinning underneath. Cutting a patch to match the visible hole risks welding it to metal that is already failing.
Start by finding the boundary of sound steel and checking what the rust has reached. A local insert can repair a damaged section of floor skin when its surrounding joints and supports remain sound. If the damage extends into a load-bearing member, seat mount, or seat-belt anchorage, the job calls for a larger, vehicle-specific repair.
- Decide whether a patch is enough
- Strip the interior and trace the real rust boundary
- Cut back to sound metal and fit the new panel
- Weld the patch without weakening or warping the floor
- Prime, seal, and protect both sides of the repair
- Check fit, leaks, and the failure points people miss
- Frequently asked questions
- How much does it cost to repair a rusted car floor pan?
- How can I check whether rust has spread inside a boxed reinforcement?
- How do you fix rusted-out floor pans?
Decide whether a patch is enough
Inspect the floor from inside the cabin and below the vehicle before choosing a cut line. Pay particular attention to the edges, where moisture collects, and to seams, overlapping panels, and reinforcements. Visible perforation may understate corrosion; probe beyond it for soft, swollen, or paper-thin metal.
Identify whether the damage is confined to the floor skin or continues into a sill, crossmember, rail, seat mount, or seat-belt anchorage. A local floor patch is not an adequate substitute for properly repairing compromised load-bearing members or critical mounting points. Covering the opening may keep out splashes, but it does not restore a weakened attachment.
Check the vehicle-specific body repair information before dismantling factory joints. Floor panels commonly meet other panels at spot-welded flanges, and the finished repair must restore the specified joint or a vehicle-approved equivalent. A few cosmetic tacks around an overlapping plate do not establish that the original connection has been replaced.
If structural attachments are corroded, reference points appear displaced, or doors and openings no longer align, have a qualified body shop assess the shell. That assessment can establish the repair boundary before a seemingly modest floor patch turns into an improvised structural repair.
Strip the interior and trace the real rust boundary
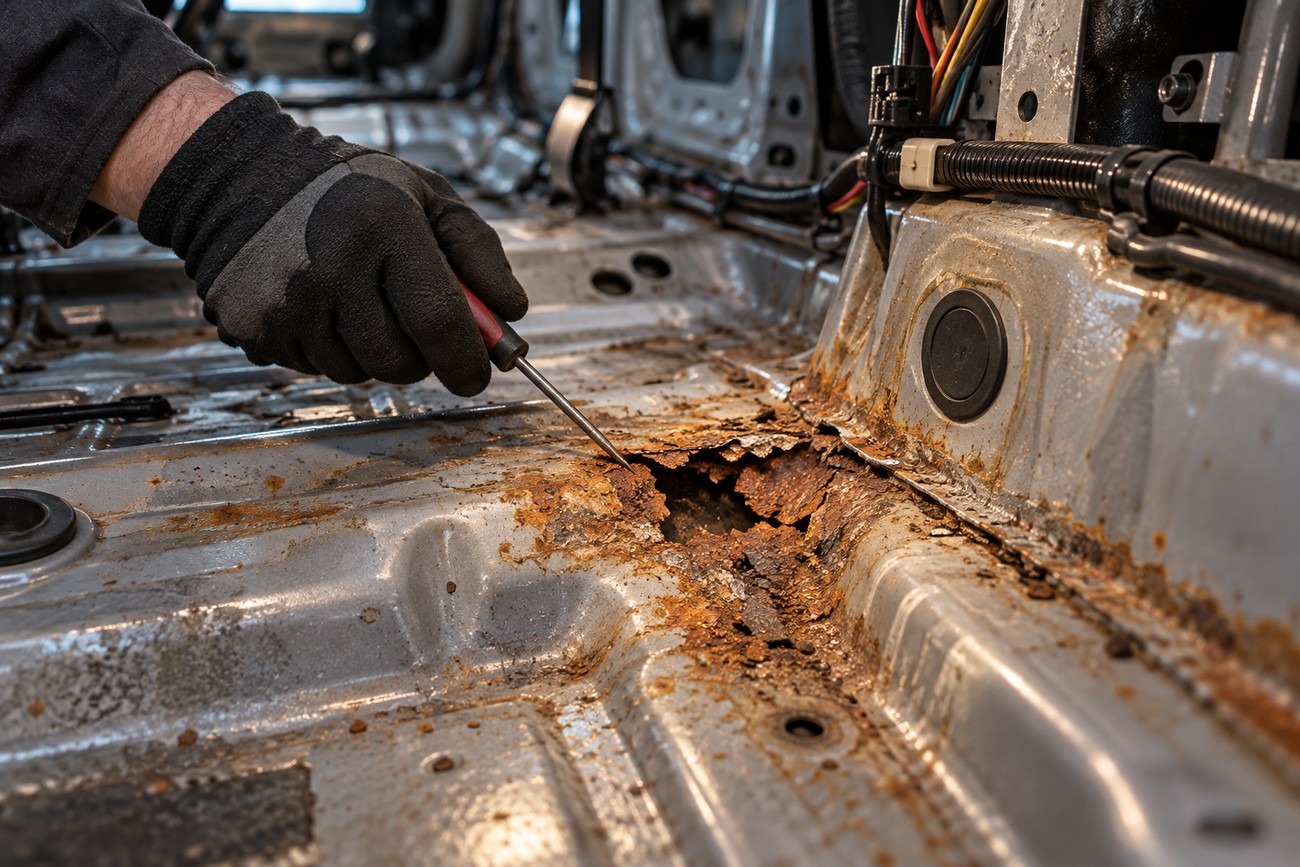
Remove the seats, carpet, insulation, and trim needed to expose the affected area. Move wiring, fuel and brake lines, and nearby underbody components clear of cutting and welding, or protect them as the repair procedure requires. Disconnect and handle electrical equipment according to vehicle instructions, particularly where restraint-system wiring runs near the work.
Prepare for sparks before making the first cut: clear flammable material from both faces of the floor, keep suitable fire-fighting equipment close, provide ventilation, and watch the far side during and after hot work. Underseal, trapped insulation, and debris can ignite where they are difficult to see. Avoid cutting until you know what lies beneath the panel.
Lift damp insulation and dry the exposed floor so staining, seams, and thin metal are easier to judge. Water may enter through a door seal, adjoining seam, or blocked drain and collect some distance from its entry point. Closing the rust hole without tracing that path can leave the new panel wet as soon as the interior goes back in.
Probe outward from the perforation and mark a proposed boundary only after finding sound metal. Check the underside and the accessible edges of overlaps as well; the top face alone can conceal deterioration between layers. Stripping the cabin and finding a reliable edge may take longer than the welding, but it determines whether the patch has anything sound to join.
Cut back to sound metal and fit the new panel
Expose the relevant factory joins and separate affected metal using the method appropriate to that joint. Keep the cutter clear of supports, lines, and wiring below. As each layer comes off, inspect the next one: rust between an overlap and a reinforcement may force the cut farther than the first outline suggested.
Remove loose corrosion and contaminated metal until the remaining edges are sound enough to prepare for joining. Do not keep a thin lip solely to preserve a tidy cut shape. If the cut reaches a load-bearing member or a critical mounting point, pause and obtain the vehicle-specific repair method rather than extending a floor-skin patch over it.
Trim the insert a little at a time, then offer up the seat hardware before welding. A panel can sit neatly in the opening while leaving a seat rail or belt fitting out of position.
Use a formed repair panel where floor contours, flanges, or reinforcing details matter. Trim it incrementally, clean the joining areas, and clamp it for a full trial fit. Verify body reference points and the positions of seat and belt fittings before permanent attachment; there is no universal cut shape or sheet thickness that suits every floor.
Weld the patch without weakening or warping the floor
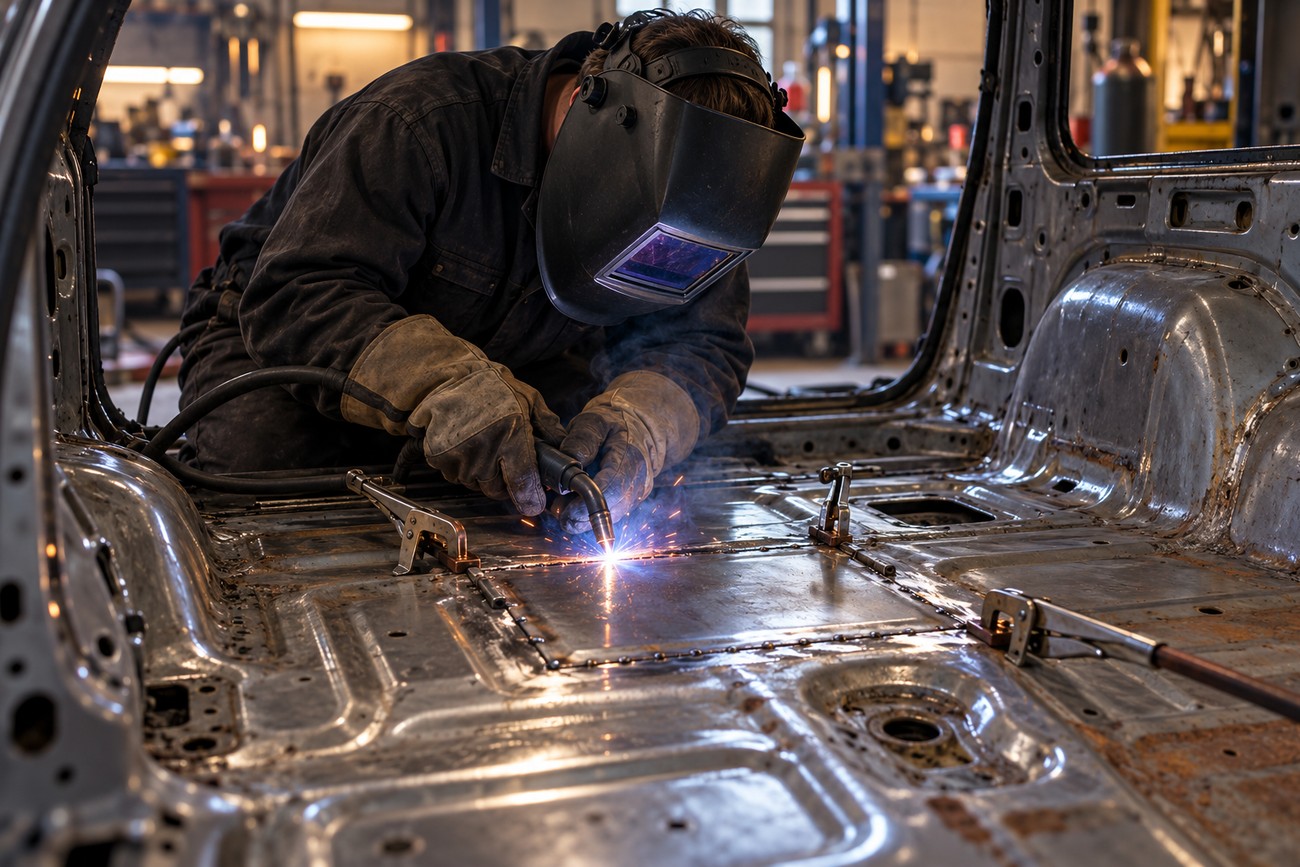
Confirm the specified joining method for each edge of the insert. A joint at a factory flange may require restored spot-weld locations or a vehicle-approved equivalent, while a butt joint in the floor skin has different fit and welding demands. Neither should be replaced by a scattering of tacks chosen only because the panel appears secure.
Clamp the panel firmly, check that its contours and mounting points still line up, and join only clean, dry, sound metal. Remove loose rust, scale, coatings, and contamination from the weld area as required by the welding process. Material trapped in a joint can cause poor fusion or leave a place for corrosion to start beneath the repair.
Where the specified joint permits it, make short, spaced welds and allow the panel to cool between passes. Move around the repair rather than concentrating heat along one edge, checking fit as you go. A long, indiscriminate bead can pull thin floor steel out of shape; short welds, however, do not replace any continuous or structural joining the repair method requires.
Inspect completed welds before grinding or coating hides them. Correct gaps, burn-through, or suspect attachment while both faces are still accessible. Repairs involving seat-belt anchorages and other critical attachments are no place to improvise a weld pattern or assume a smooth surface proves adequate strength.
Prime, seal, and protect both sides of the repair
After welding, remove residue and prepare the accessible metal for a compatible primer and coating system. Follow the product instructions for surface preparation, application, and drying. Primer applied over loose rust or contamination may cover the discoloration temporarily, but it cannot give the coating a sound base.
Protect both faces of the insert, including its underside, where road moisture and abrasion can wear away an exposed finish. Seal repaired seams using a product suited to the coating system and the vehicle location. Check the edges of adjacent panels, since water often reaches the repair through a nearby seam rather than through its center.
Overlaps and enclosed sections need separate attention after hot work is complete. Treat reachable cavities as appropriate using the vehicle and product instructions, and avoid sealing in water or debris. The back of an otherwise tidy patch is easy to miss once insulation and underbody coverings are replaced.
Keep protection separate from the quality of the metalwork: seam sealer, cavity treatment, and underbody coating cannot make a porous weld or weakened reinforcement sound. If a coating masks an uncertain joint, clean it back and resolve the joint before finishing.
Check fit, leaks, and the failure points people miss
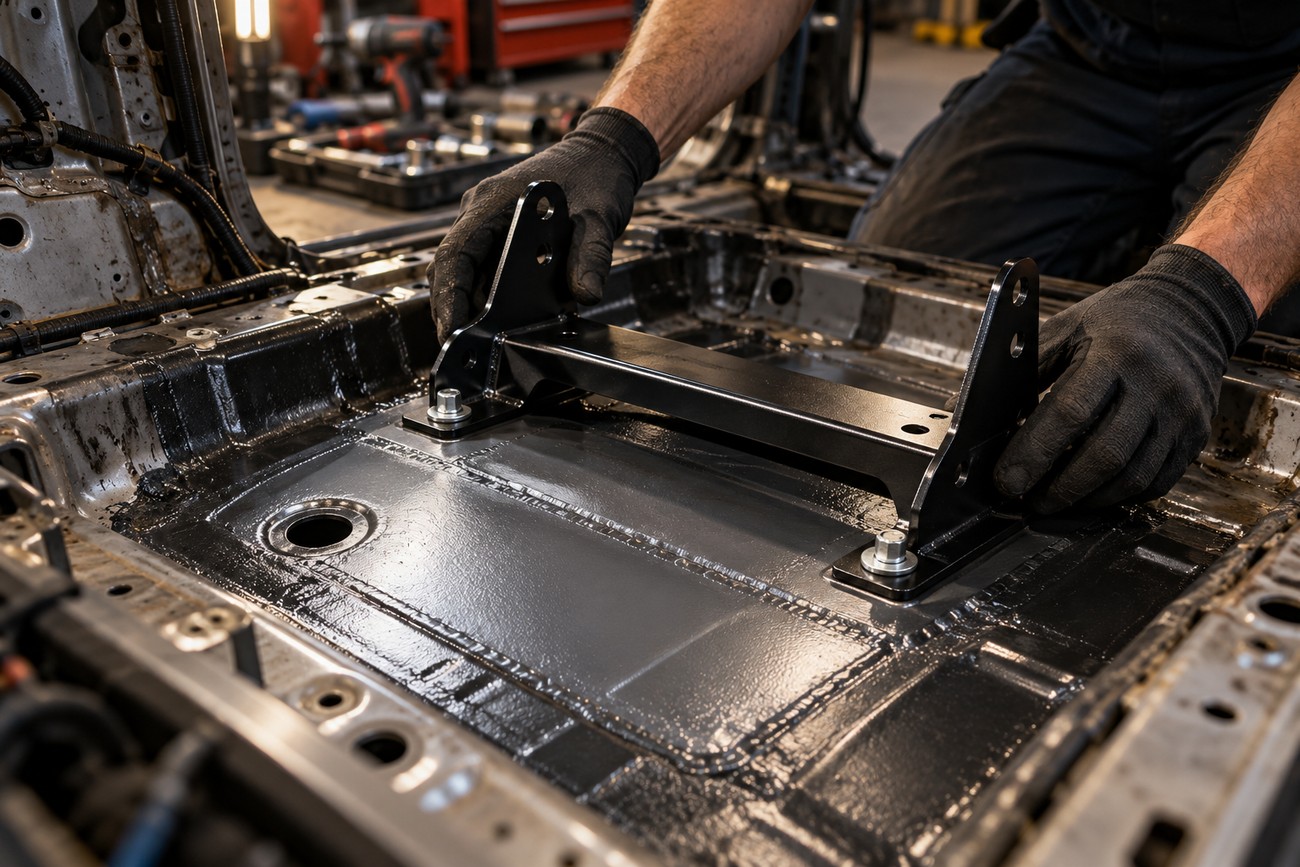
Before reinstalling the interior, inspect the joints from every accessible side. Confirm that repaired seams are fully sealed, drains remain open, and adjoining cavities are dry. Recheck the original water-entry route so a leak from a nearby seam does not soak the new work.
Trial-fit the seats, belt fittings, fasteners, and carpet before final assembly. Hardware should locate correctly without forcing a bracket or hiding a misaligned hole under trim. Compare body reference points where the repair procedure calls for them, and check that doors and openings still align after welding.
A controlled water check can reveal an immediate leak, but a dry result does not prove that an enclosed overlap will stay dry in service. Inspect again after the coating and sealant have been applied, while both faces remain accessible. This is also the time to correct an uncovered edge or a blocked drain.
Recurring rust often begins at an untreated overlap beside an otherwise sound insert. If the final checks expose further thinning in a reinforcement or mounting area, stop treating it as a finished local patch and have the additional damage assessed.
Frequently asked questions
The scope of a floor repair can change once the carpet is lifted or an overlapping joint is opened. These answers help you plan the estimate and the next inspection step. They do not replace a vehicle-specific repair procedure.
How much does it cost to repair a rusted car floor pan?
There is no reliable universal price because concealed corrosion can change the amount of labor and metal required. Ask for a written estimate that separates interior removal, the planned panel work, replacement metal, corrosion protection, and any structural repair. It should also explain how work discovered after the floor is opened will be assessed and approved.
How can I check whether rust has spread inside a boxed reinforcement?
Use existing access openings and suitable inspection equipment, such as a small inspection camera, where access and the vehicle design allow it. Look for flaking metal, heavy scale, or trapped moisture rather than judging the member by its outer paint alone. If the inside remains inaccessible or looks suspect, have a body shop assess it instead of cutting into a structural member blindly.
How do you fix rusted-out floor pans?
Remove the damaged floor metal, fit a suitable replacement panel to sound edges, join it using the vehicle-specific repair method, then protect and seal both sides. The deciding step is establishing that the surrounding structure and mounting points can support a local repair. If they cannot, the repair must address those parts as well; closing the floor opening alone is insufficient.







