
Grime around an engine can put buyers off. Yet a bay cleaned to a fresh, uniform shine may make them wonder whether oil or coolant traces were wiped away just before the viewing. For a private sale, moderate cleaning is usually the more credible aim.
Before you touch the dirt, look at what is already there. A little dust, a patch of old residue, and an unexplained wet area tell different stories, and cleaning removes some of the evidence you need to assess the car honestly.
- Why a Spotless Engine Bay Can Hurt Your Sale
- Inspect for Leaks Before You Clean
- Choose Supplies and Protect Vulnerable Parts
- Clean Gently Without Pressure Washing
- Dry, Test and Look for Fresh Residue
- Present a Clean Bay Without Concealing Faults
- Frequently asked questions
- What if the engine will not start after cleaning?
- Where should dirty cleaner and runoff go?
- What should I clean my engine bay with?
- What not to do when cleaning the engine bay?
Why a Spotless Engine Bay Can Hurt Your Sale
A layer of leaves, dust, and road dirt can make routine inspection awkward. Buyers need to see hoses, joints, and accessible surfaces clearly enough to judge their condition. Removing loose debris and obvious grime helps them do that without making the engine bay look freshly staged.
An unusually spotless bay can also raise concerns about concealed leaks, especially if every surface appears recently washed. That suspicion does not mean a clean engine has a fault. It means the finish may prompt questions that ordinary, moderate cleanliness would not.
Aim for a tidy, inspectable space: clear the debris, clean the areas that need it, and avoid coating plastics and hoses in gloss. Some normal signs of use are unsurprising on a used car. A buyer should be able to look at the engine rather than through a layer of dressing.
Keep the work in perspective. External engine-bay cleaning does not repair leaks or address internal engine deposits. Its useful purpose before a sale is to make the car easier to inspect and to present its condition accurately, without implying a mechanical improvement.
Inspect for Leaks Before You Clean
With the engine off and fully cool, look over accessible areas before wiping anything. Note where you see oil, coolant, or other residue, and take a clear photo if a patch may need comparing later. Include nearby hose joints, seams, and lower surfaces where fluid might collect.
Dry, settled dust is different from an area that looks newly wet, but appearance alone may not identify the fluid or its source. Residue can spread from another point or remain from an earlier repair. Treat an unexplained wet patch as a reason to investigate, rather than assigning it a cause from a glance.
If you suspect an active leak, prioritize diagnosis and repair, or be clear with buyers about an unresolved concern. External cleaning cannot fix the underlying problem, and a temporarily dry surface cannot confirm that it has gone away. Keep relevant repair information available if work has already been done.
Cleaning can temporarily remove visible evidence of a leak, so plan to recheck afterwards. That comparison also helps you avoid mistaking old residue for a new fault. If fresh fluid appears, address it as a condition issue before deciding how much further cosmetic preparation makes sense.
Choose Supplies and Protect Vulnerable Parts
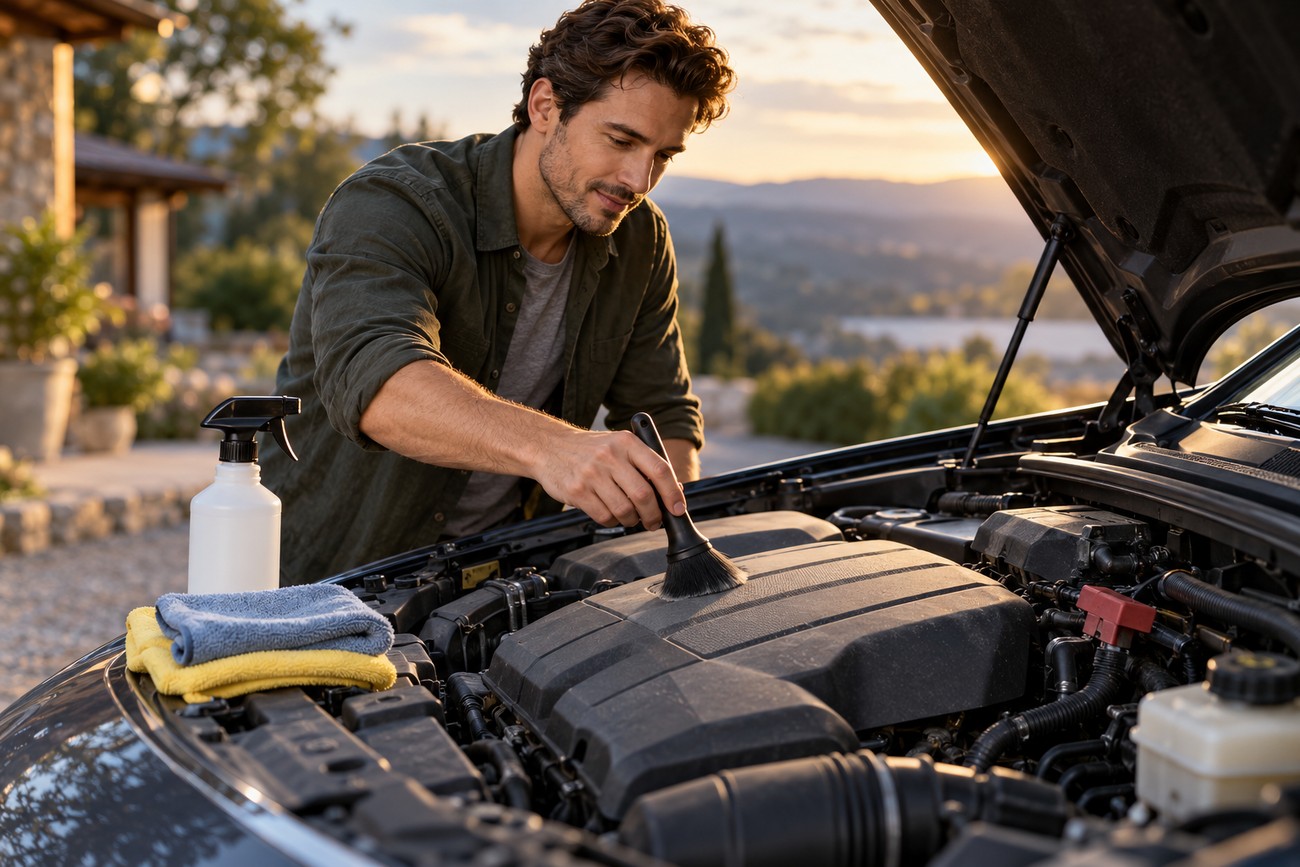
Gather soft brushes, microfiber cloths, and a cleaner suited to what you found. A mild product may be enough for dust and light dirt; oily deposits may call for a compatible degreaser. Follow the label, check its suitability for nearby materials, and test cautiously on an inconspicuous area.
Let the engine become fully cool and keep it off throughout cleaning. On a hot surface, cleaner can dry before you can remove it, making the job harder to control. Set out dry cloths before starting so you can lift loosened dirt without spreading it across clean areas.
Locate the alternator, exposed electronics, electrical connectors, and air intake before bringing in moisture. Shield vulnerable areas where appropriate, and keep both water and cleaner out of them. Temporary covers are a precaution, not permission to spray directly at the parts beneath them.
Cars differ in how exposed these components are. If you cannot identify an opening or protect it with confidence, leave that area dry and clean around it by hand. A limited, careful job is preferable to soaking a part simply to make the finish uniform.
Clean Gently Without Pressure Washing
Start by lifting out leaves and other loose debris while everything is dry. A soft brush can free dirt from accessible corners; use a cloth to collect it rather than pushing it deeper into gaps. This first pass reduces the amount of cleaner and moisture needed later.
Work on small dirty areas with the appropriate product and a brush or cloth. Give the cleaner only the contact and removal treatment its label calls for, and avoid letting it dry on the surface. Lift loosened residue with a damp cloth, changing to a clean part of the cloth as it becomes dirty.
Where the vehicle and product instructions allow rinsing, use carefully controlled, low-volume water and direct it away from vulnerable parts. Many bays are easier to manage with damp cloths alone. Avoid directing high-pressure water into the engine bay, particularly at connectors, ignition components, and the intake.
Pressure can force water past seals or into sheltered electrical areas that are difficult to inspect and dry. Rinsing the visible surface later does not remove that risk. This is external cleaning only; it does not flush the inside of the engine or solve a running problem.
Dry, Test and Look for Fresh Residue
Remove temporary protection carefully so trapped water does not spill onto the parts it covered. Dry accessible surfaces with clean cloths, then check recesses and sheltered areas for remaining moisture. A dry-looking plastic cover does not establish that every connector beneath or beside it is dry.
Do not start the engine until the bay is dry. Moisture left around electrical components can cause starting or running problems, and it may remain where a cloth cannot reach. If you cannot tell whether a vulnerable area is dry, avoid repeated starting attempts and seek qualified help.
Once the bay is dry, start the car and check that it operates normally. After an ordinary drive, inspect the places you recorded before cleaning, including hose joints, seams, and accessible lower areas. Fresh residue in a previously wet location deserves investigation; cleaning itself does not prove a leak has been repaired.
Watch for a new warning, rough running, or an unusual smell as well as visible fluid. If something seems wrong, stop treating it as a detailing issue and have the fault assessed. A presentable bay is of little use if the cleaning has introduced a problem or obscured one that needs attention.
Present a Clean Bay Without Concealing Faults

Leave the finish restrained. Wipe away cleaner residue and avoid dressing every hose and plastic cover until it shines. Moderate cleanliness can improve presentation, while an unusually spotless bay may raise concerns about concealed leaks.
If a buyer asks, explain plainly what you cleaned and why. You might say that you removed leaves and surface grime so the area could be inspected, rather than suggesting the cleaning changed the engine’s condition. Keep the answer consistent with what you observed before and after the work.
Be accurate about known leaks, completed repairs, and concerns that remain unresolved. A photo from before cleaning can help show where residue appeared, but it is not proof of mechanical condition. Likewise, a clean surface after a drive is useful to observe without being a guarantee that a fault is absent.
Allow the buyer time to inspect the bay and arrange an independent inspection if they wish. That openness gives them more useful information than a showroom finish. External engine-bay cleaning does not repair leaks or internal deposits, so let the car’s actual condition guide how you present it.
Frequently asked questions
A careful clean also means knowing what to do if the car does not start afterward. Product choice and disposal matter, too. The answers below cover these practical questions and the cleaning methods to avoid.
What if the engine will not start after cleaning?
Stop repeated starting attempts and check for obvious remaining moisture from a safe position. Do not open or probe electrical components to look for water. If the problem persists, seek qualified help; a no-start condition cannot be diagnosed reliably from the timing of the cleaning alone.
Where should dirty cleaner and runoff go?
Contain oily residue and used cleaning materials rather than washing them into a storm drain. Check local disposal requirements for contaminated cloths, cleaner, and collected runoff. If you cannot manage the wash water at home, use a facility equipped to handle automotive cleaning waste.
What should I clean my engine bay with?
For a lightly dusty bay, start with a soft brush and microfiber cloth; you may need little or no chemical cleaner. Use a mild cleaner for remaining light dirt, or a compatible degreaser only where oily residue needs it. Check the product label for material restrictions and removal instructions before applying it.
What not to do when cleaning the engine bay?
Do not clean a hot engine, direct a pressure washer into the bay, or spray cleaner into the alternator, exposed electronics, connectors, or air intake. Avoid soaking areas you cannot dry and starting the car while moisture may remain. Do not use a polished finish to imply that an unresolved leak has been repaired.