Leather seats can still look dirty after a routine wipe-down because grime settles into texture, seams, perforations, and side bolsters. A cleaner may remove surface dust while leaving the darker film that makes the seat appear unchanged. More rubbing is rarely the safest answer.
Excess liquid, unsuitable household chemicals, and aggressive tools can mark or damage the factory finish. The safer method is controlled: identify the upholstery, test the product, remove abrasive particles first, and clean small areas with limited moisture. This approach also makes it easier to see whether the problem is dirt or a failing coating.
- Before You Clean: Identify the Surface and Test the Product
- What You Need for Safe Leather Seat Cleaning
- The Right Method: Vacuum, Agitate, Wipe, and Dry
- Why Seams, Perforations, and Bolsters Stay Dirty
- Common Mistakes That Cause Streaks, Stickiness, and Damage
- Conditioning, Protection, and a Practical Maintenance Schedule
- How to Finish the Job Without Recontaminating the Seats
- Frequently asked questions
- How can I clean leather car seats naturally?
- How do I know whether residue is still left on the leather?
- What should I do if the leather is already peeling or cracking?
Before You Clean: Identify the Surface and Test the Product
Seats described as leather may use coated leather, synthetic leather, or combination upholstery. These materials can share a similar appearance while responding differently to moisture, cleaners, and friction. The factory coating often provides much of the visible color and protection, so care should be chosen for the actual surface.
Check the vehicle manual or upholstery information before applying anything. Inspect the seat for a uniform coated finish, exposed grain, synthetic sections, perforations, piping, and areas that already feel dry or loose. A cleaner suitable for one material should not automatically be treated as suitable for every seat in the cabin.
Test the product on an inconspicuous area first, such as a lower edge or a hidden section beneath the seat. Apply a small amount using the intended method, allow the area to dry, and check for color transfer, dullness, tackiness, or a change in texture. Stop if the surface reacts unexpectedly.
Incorrect pH, excess product, and prolonged wetting can damage the factory coating. A label that promises gentle care does not remove the need for a small test, especially on older upholstery, repaired areas, or seats with unknown materials.
What You Need for Safe Leather Seat Cleaning
Use a neutral-pH automotive leather cleaner, a soft-bristle brush, clean microfiber towels, and a vacuum with a narrow attachment. One specialist source recommends a cleaner with anionic surfactants and a neutral pH for nonprofessional leather-seat cleaning. The goal is controlled soil removal with minimal residue and moisture.
The vacuum removes loose sand, grit, and crumbs before they can be dragged across the surface. A soft brush helps lift grime from texture and stitching, while microfiber collects the loosened soil and remaining solution. Several clean towels are useful because a saturated or dirty towel can spread residue back over the seat.
Choose soft bristles rather than a stiff brush, and use microfiber instead of abrasive fabric. Household cleaners are poor defaults because their chemistry, fragrance, solvents, or alkalinity may be unsuitable for automotive upholstery. A product that works on a hard household surface can leave leather or synthetic coating dull, sticky, or uneven.
Apply the cleaner to the brush or microfiber, not directly to the leather. This limits overspray and prevents one area from receiving a concentrated pool of liquid. It also gives you better control around seams, controls, and perforations.
The Right Method: Vacuum, Agitate, Wipe, and Dry
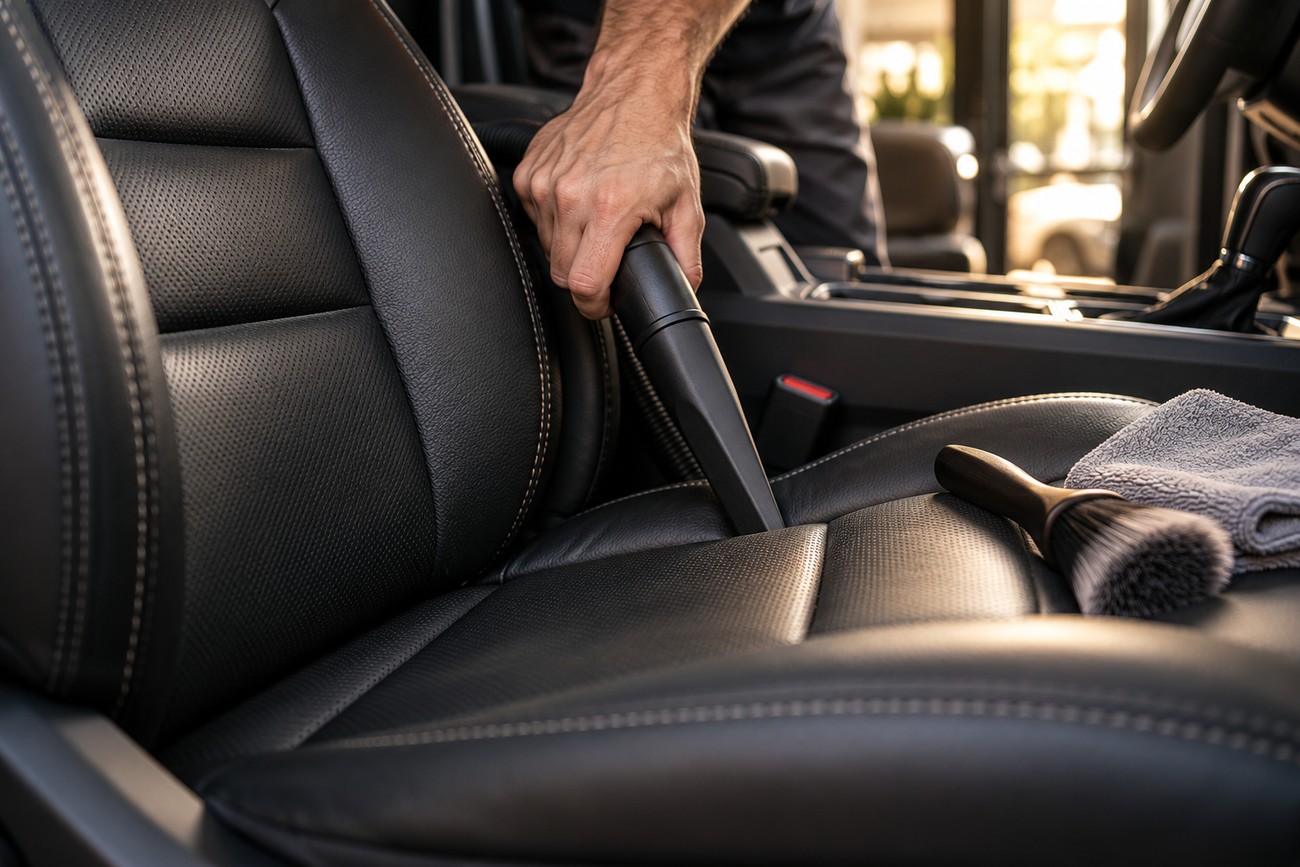
Begin by removing loose objects and vacuuming the entire seat. Use the narrow attachment around seams, piping, and the gap between the seat cushion and backrest, keeping the nozzle from scraping the surface. Vacuuming first removes sand and other abrasive particles that could scratch the finish during wet cleaning.
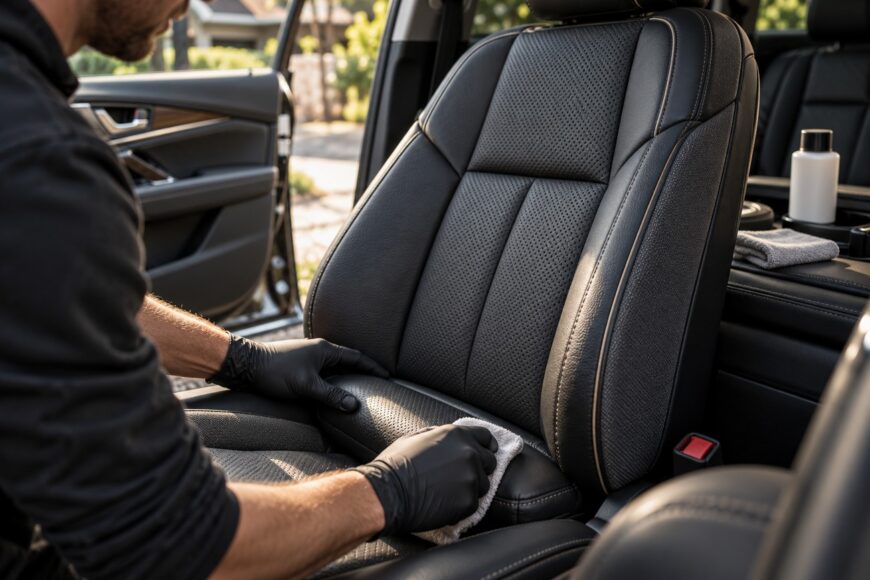
Divide the seat into small sections, such as one bolster, one cushion panel, or a limited area of the backrest. Apply a small amount of cleaner to the brush or microfiber, then work with short passes and light pressure. Give the product enough contact to loosen the film, while avoiding the temptation to soak the panel or scrub dry dirt forcefully.
Moisture is easier to control when one small panel is cleaned at a time. Changing to a clean side of the microfiber before residue dries prevents loosened soil from being redistributed across the finish.
After agitation, wipe the section with a clean microfiber towel. Repeat only where soil remains, using fresh product sparingly rather than increasing pressure. For textured areas, let the soft bristles reach the recesses; forceful brushing can abrade the coating without improving the result.
Use a final microfiber pass to remove cleaner residue and moisture. Check the towel and the surface as you go, changing to a clean side when it becomes damp or dirty. This final pass helps prevent streaks, uneven gloss, and the sticky feel that can result when product dries on the seat.
Allow the surface to become completely dry before applying conditioner or protection. Drying time depends on the amount of moisture, ventilation, temperature, and the seat material. Do not compensate for slow drying by adding more product or placing concentrated heat close to the upholstery.
Why Seams, Perforations, and Bolsters Stay Dirty
Seams, perforations, piping, and side bolsters collect more contamination than broad, flat panels. Body oils transfer to the steering wheel and bolsters, while dust and grit settle into stitching and perforation openings. A single broad wipe often leaves this material in place, which explains why the seat can look dirty again as soon as it dries.
Use a narrow vacuum attachment to remove loose debris from tight areas. Follow with a soft detailing brush loaded with a small amount of cleaner, working along the seam or across the textured surface rather than pressing liquid into it. Short, controlled movements loosen soil without forcing it deeper.
Perforated upholstery needs particular restraint. Excess liquid can enter the holes and take longer to dry, while residue may remain below the visible surface. Apply cleaner to the tool, keep the area lightly damp, and use a clean microfiber to collect moisture promptly.
Conditioner or leather lotion cannot remove embedded grime from seams or perforations. These products may support later care, depending on the material, but mechanical cleaning is required first. Applying lotion over trapped dirt can preserve the dirty appearance and make later cleaning more difficult.
Common Mistakes That Cause Streaks, Stickiness, and Damage
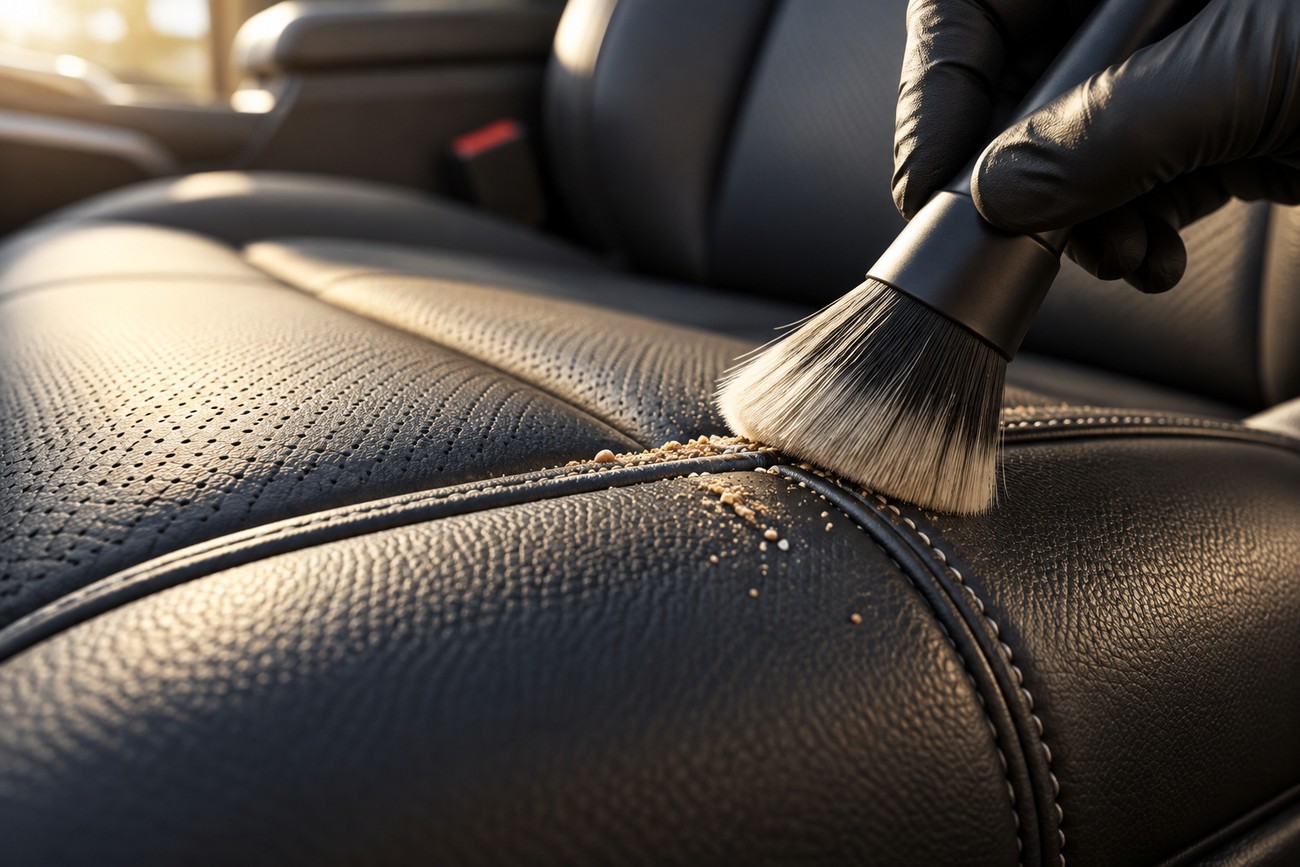
Skipping the vacuum is one of the easiest ways to increase scratching risk. Sand can be pushed deeper into the texture when a damp towel or brush moves across it. Vacuum the seat, seams, and gaps before introducing cleaner.
A stiff brush, rough cloth, or aggressive dry scrubbing can damage the finish. Scrubbing harder may remove some visible soil while also creating dull patches or worn areas. Use soft bristles, light pressure, short passes, and a second cleaning cycle when necessary.
Spraying directly onto the seat creates uneven wetting and can send liquid into seams, controls, or perforations. Too much cleaner can leave streaks, residue, uneven gloss, or a sticky feel. Applying the product to the brush or microfiber keeps the amount easier to control.
Ordinary soap may appear effective on heavy grime, which is why it remains a popular shortcut. Specialist automotive guidance favors a neutral-pH product designed for automotive upholstery, since household soap may leave residue or interact poorly with the factory coating. If a seat is heavily soiled, controlled mechanical agitation is safer than simply increasing the strength or quantity of the chemical.
Conditioning, Protection, and a Practical Maintenance Schedule
Conditioning or protection comes after cleaning, residue removal, and complete drying. Applying it to a damp or dirty surface can trap moisture, create an uneven sheen, or leave the seat feeling greasy. Follow the product instructions and confirm that the product is suitable for the material identified in the vehicle.
Cleaning and protection serve different purposes. Cleaning removes soil; conditioner or protestant may support the surface after cleaning, depending on the upholstery and product. The steering wheel, front seats, and side bolsters deserve more frequent inspection because they receive more handling and friction than the rear seat.
One specialist maintenance recommendation suggests care or protection every 2–3 months. The steering wheel may need attention monthly, while one recommendation shortens the interval to 6–8 weeks in a hot climate. General leather-care guidance sometimes recommends cleaning 3–4 times per year, but the useful schedule depends on use, climate, visible soiling, and the material.
Claims of UV protection or crack prevention remain manufacturer claims unless supported by specific testing. Protection may be worthwhile, but it should not encourage overapplication or replace shade, sensible interior temperatures, and prompt removal of contamination.
How to Finish the Job Without Recontaminating the Seats
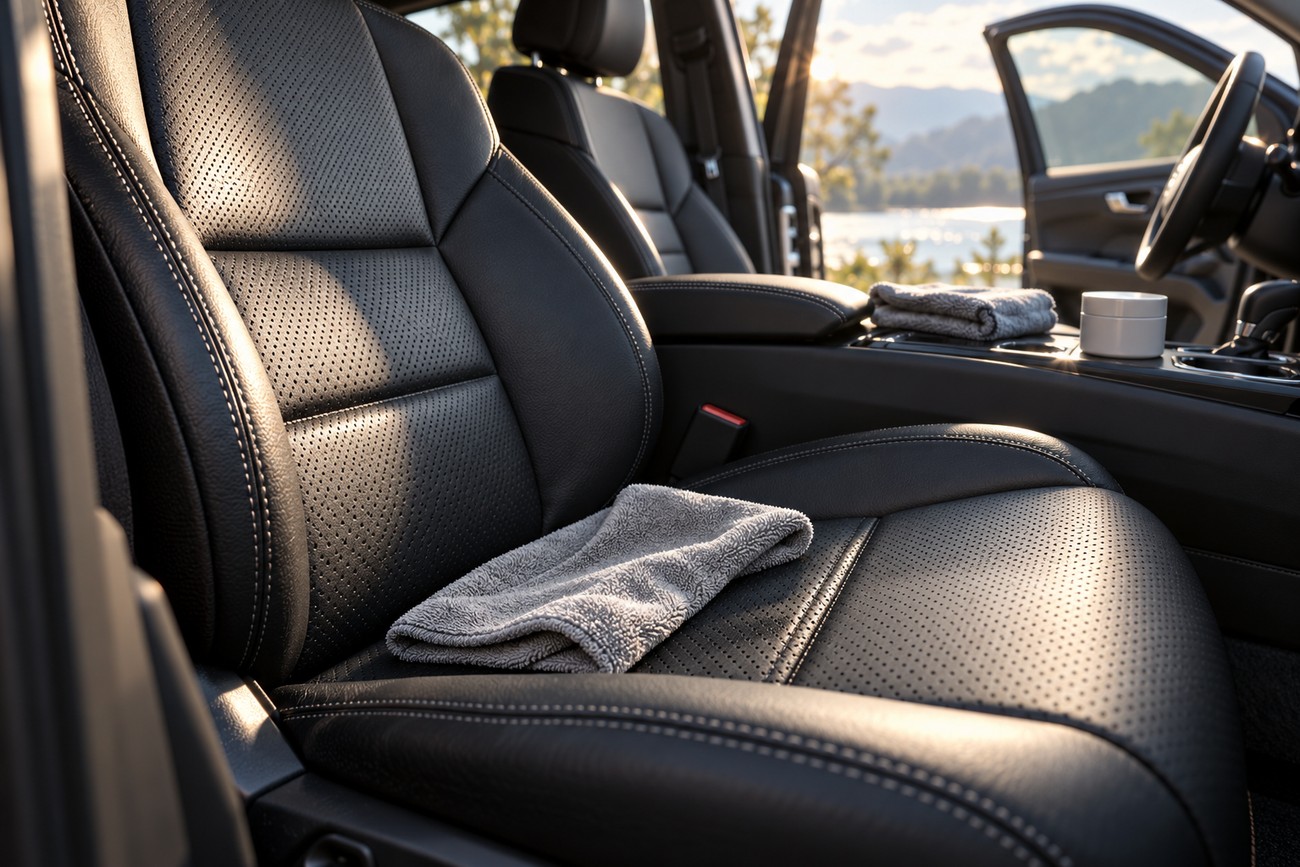
Inspect each treated panel under reflected light after the final wipe. Look for remaining residue, streaks, dark edges, or an uneven sheen, then use a clean, lightly damp microfiber only where correction is needed. A towel that is already dirty can make a clean surface look finished while quietly spreading contamination.
Check seams and perforations again once the seat has begun to dry. If moisture or cleaner remains in a recess, collect it with a folded microfiber rather than adding more product. Keep doors open when conditions allow, and let the upholstery dry naturally with reasonable ventilation.
One specialist source recommends keeping the closed vehicle away from direct sunlight for approximately 12 hours after processing. Treat this as a cautious single-source recommendation rather than a universal timing rule, while still avoiding immediate intense sun exposure after wet treatment.
Cleaning cannot restore a damaged, peeling, or failing factory coating. Stop if color transfers excessively, the finish lifts, or cracks expose a different layer, and seek a professional assessment. Further scrubbing or extra conditioner can conceal the problem briefly while accelerating damage.
Frequently asked questions
Proper cleaning depends on the upholstery’s material and condition. Test every method in an inconspicuous area, use minimal moisture, and allow the surface to dry before applying protection. If the finish is peeling, cracking, or reacting unexpectedly, stop and seek a professional assessment.
How can I clean leather car seats naturally?
Water-only cleaning and kitchen ingredients are not automatically safer for automotive upholstery. Vinegar, baking soda, oils, and household soap can leave residue, alter the surface, or react unpredictably with a coated or synthetic finish.
If you are avoiding dedicated products, use the least aggressive tested approach: vacuum first, dampen a clean microfiber lightly with plain water, and test it on a hidden area. Work on a small section, dry it promptly, and stop if the finish changes. A suitable neutral-pH automotive cleaner remains the more controlled option when water alone does not remove the soil.
How do I know whether residue is still left on the leather?
Feel the dry surface with clean fingertips. Residue may present as tackiness, drag, or an unusually slick film rather than visible discoloration. View the panel from several angles in reflected light, where streaks and uneven sheen are easier to see.
Finish by wiping a small area with a clean, light-colored microfiber towel. If the towel picks up a visible film after the seat has already been wiped and dried, use a lightly damp clean section to remove it, then dry the area again. Avoid adding conditioner until the towel remains clean and the surface feels even.
What should I do if the leather is already peeling or cracking?
Stop cleaning once peeling, exposed layers, or structural cracking becomes apparent. Surface dirt can be removed carefully, but a failing coating cannot be repaired by stronger chemicals, harder brushing, or additional conditioner.
Keep moisture and friction to a minimum and follow the material supplier’s instructions for newly installed or repaired leather. For extensive peeling, deep cracking, or uncertain material, seek a professional assessment before applying any further product.