
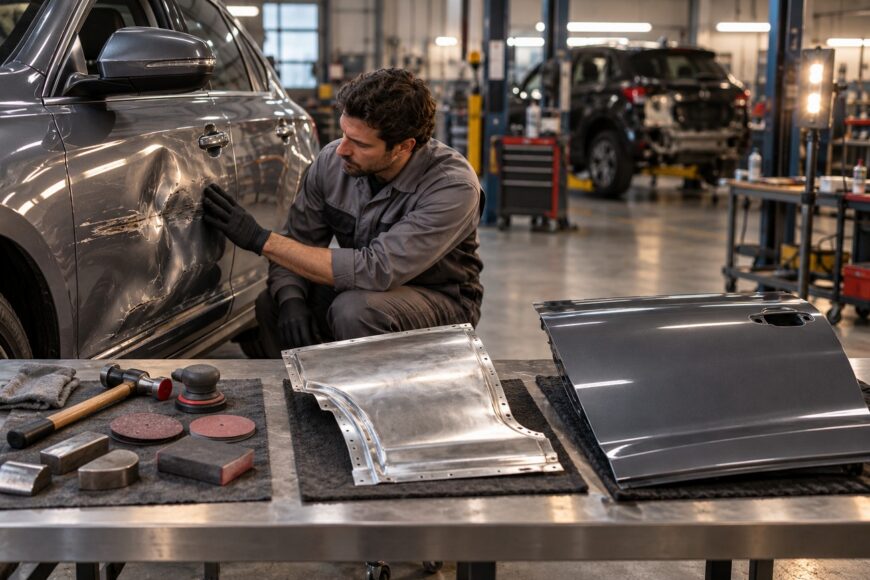
Choosing between repairing a damaged exterior panel and replacing it is rarely a simple matter of keeping the original part or installing a new one. Repair may preserve the factory panel, while replacement may appear faster or safer, yet neither option is automatically correct. The suitable method depends on how the metal moved, where the damage ends, and how the panel is attached to the vehicle.
A smooth surface is only one part of a proper result. The OEM repair procedure takes priority over general advice, shop shortcuts, and marketing claims. Damage location, flanges, mounting points, material, hidden structure, corrosion protection, paint matching, and the complete estimate all influence the decision. A sound repair must restore safe function, geometry, strength, durability, and correct fit alongside the visible finish.
- Repair, partial replacement, or full replacement: what each option means
- How to decide: damage location matters more than the dent alone
- Repair versus replacement: what the estimate really includes
- Aluminum, corrosion, and attachment points change the answer
- The finish is part of the repair: color, fit, and timing risks
- Common mistakes and a quality-control checklist before approval
- Frequently asked questions
- What is the $3,000 rule for car repairs?
- At what point is it no longer worth repairing a car?
- How can I tell whether a replacement body panel is the correct part?
Repair, partial replacement, or full replacement: what each option means
I-CAR considers three basic paths for an exterior panel: repair, partial replacement, and full replacement. Repair keeps the existing panel and corrects its damaged metal. Partial replacement removes a defined section and joins a replacement section according to an approved procedure. Full replacement removes the exterior panel and installs another panel over the vehicle’s existing structure.
Panel repair involves more than pulling a dent outward. The technician may need to gain access, straighten or reshape the metal, reduce stretched areas, and control the final surface before applying a limited amount of filler. The repaired area then requires suitable preparation, primer, and refinishing. Excessive filler can conceal poor metal correction and may create durability or appearance problems later.
Partial replacement can preserve an undamaged portion of the original panel when the manufacturer permits sectioning in that location. The cut line, joint design, welding or bonding method, and corrosion protection are all controlled operations. A section that looks convenient to replace may be unsuitable if it crosses a reinforcement, seam, mounting area, sensor zone, or another restricted part of the panel.
Full replacement may be appropriate when the metal is severely stretched, torn, corroded, inaccessible, or damaged around an attachment point. It still requires correct removal, preparation, fitting, attachment, refinishing, and protection of the underlying structure. The OEM repair procedure determines whether repair, partial replacement, or full replacement is acceptable for the specific vehicle and damage location.
How to decide: damage location matters more than the dent alone
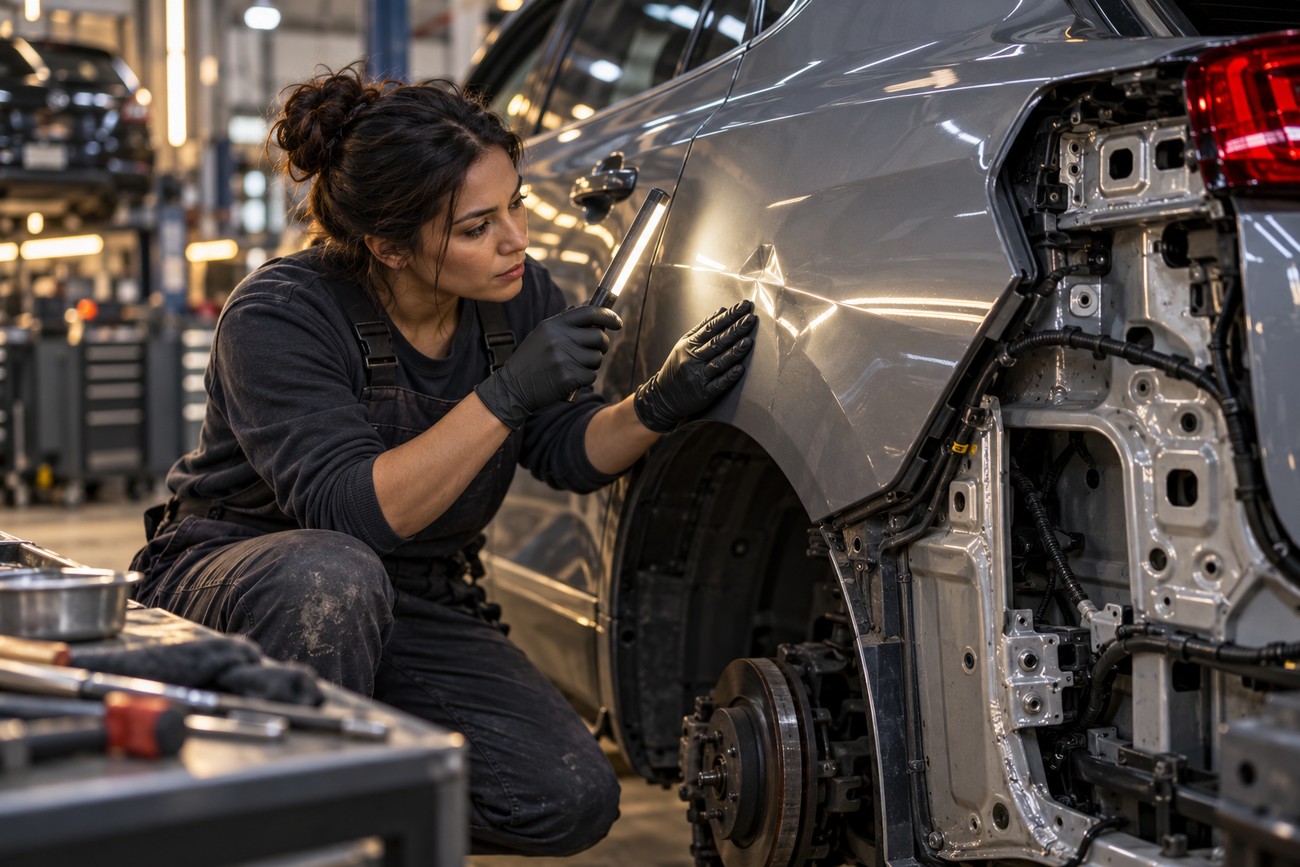
The decision starts with the damage itself and then extends into the surrounding panel and body structure. A technician should assess access to the rear of the panel, the amount of stretched or torn metal, the condition of edges and seams, and whether the panel can return to its intended shape without excessive force. A visible dent is only the entry point for that assessment.
A dent on a character line does not automatically require replacement. Character lines can make metal correction more demanding, yet the line’s presence alone does not establish that the panel is beyond repair. The relevant questions are whether the metal remains workable, whether the contour can be restored, whether access is adequate, and whether the OEM procedure allows repair in that area.
Flanges, mounting points, seams, and areas joined with rivets or adhesive require particular caution. These locations transfer loads and establish the relationship between the exterior panel and the rest of the vehicle. An incorrect repair can weaken the joint, alter panel position, or prevent the attachment from performing as designed. Damage around a sensor or its mounting area may also require special inspection and related procedures.
Structural acceptance is broader than a smooth reflection in the paint. The completed work must support safety, geometry, strength, durability, and correct fit. A panel can look acceptable while an inner flange is distorted, a mounting point is misaligned, or a joint has been weakened. Conversely, a difficult-looking crease may still be repairable if the structure and approved repair limits remain intact.
The manufacturer may permit sectioning in one location and require full panel replacement in another. There is no universal rule that every severe dent must be replaced or that every original panel should be saved. The estimate should identify the proposed method and the relevant OEM procedure before cutting, drilling, welding, bonding, or final refinishing begins.
Repair versus replacement: what the estimate really includes
A meaningful comparison uses the complete scope of both operations. The price of a replacement panel by itself says little about the final cost, just as a basic repair line may omit access work, hidden damage, and refinish correction.
| Estimate area | Repair | Panel replacement |
|---|---|---|
| Labor | Metal correction, access, surface preparation, and refinishing; panel removal may be needed. | Removal, preparation, fitting, attachment, reassembly, and refinishing. |
| Parts and materials | Repair materials, clips, fasteners, and possible internal parts if access reveals damage. | Panel, fasteners, clips, attachment materials, and possible inner reinforcement or mounting parts. |
| Hidden damage | May appear after the panel is opened or removed, increasing correction time. | May be exposed when the damaged panel is removed and can require structural or mounting repairs. |
| Paint and blending | Primer, refinishing, and possible blending into adjacent panels. | Preparation of the new panel, refinishing, and possible blending into adjacent panels. |
| Fit and adjustment | Existing panel remains available for adjustment after metal correction. | New-panel gaps, shape, edges, and alignment must be checked and may require fitting. |
| Corrosion protection | Required after exposed metal, drilling, welding, or other operations. | Required after removal, drilling, welding, sectioning, or attachment work. |
| Calibration or related operations | May apply if sensors, cameras, or related mounting areas are disturbed. | May apply after reassembly or if a sensor mounting relationship changes. |
| Timing and revision risk | Can expand when access is difficult, corrosion is discovered, or paint damage is wider than expected. | Can expand because of part availability, fit problems, hidden damage, or refinish correction. |
Repair estimates can grow when the technician needs to remove the panel to reach the back side, or when the visible damage conceals stretched metal, corrosion, or damage to an inner component. A repair that initially appears localized may also require additional paint preparation or blending. These possibilities should be identified before approval where they can reasonably be anticipated.
Replacement estimates have their own omissions. The panel may need preparation before paint, and an aftermarket panel may require adjustment to achieve suitable gaps and alignment. Removal can expose damaged flanges, reinforcements, or mounting points. Fasteners, adhesives, welds, clips, corrosion protection, reassembly, and related calibration can all affect the total.
Color blending belongs in the comparison as well. A replacement panel does not automatically match an older finish, and repair does not guarantee that only the damaged area will be painted. Compare labor, paint, preparation, fasteners, fitting, corrosion protection, calibration where applicable, and hidden-damage work before deciding which estimate is lower.
Aluminum, corrosion, and attachment points change the answer
Steel-panel methods cannot be assumed to apply to aluminum. Aluminum requires dedicated tools and material-specific procedures, and the work area may need separation from steel repair to prevent contamination. The OEM procedure controls the permitted method, equipment, and sequence for the particular panel and vehicle.
The attachment method is as important as the material. Rivets, adhesive, and welding create different limitations for removal, repair, and installation. A method that appears mechanically simple may be unacceptable if it changes the joint’s strength, heat exposure, corrosion behavior, or position. The technician must know which attachment system the manufacturer specifies before choosing a repair path.
Corrosion can change the economics of the job over time. Damaged coating or exposed metal may allow deterioration to extend beyond the original impact area, turning a localized repair into partial or full replacement. Drilling and welding also disturb protective layers, so the affected areas require restoration of anti-corrosion protection as part of the repair.
Repeated aluminum panel replacement can leave too little sound material for new holes or fasteners. Attachment planning must account for the inner structure and remaining material, rather than treating each replacement as an independent bolt-on operation.
Removing an exterior panel can reveal damage to an inner reinforcement, flange, or mounting point. That discovery may explain why the original panel did not fit correctly and may require additional approved work before the outer panel is installed. The visible replacement part is therefore only one component of the repair plan.
The finish is part of the repair: color, fit, and timing risks
Panel replacement does not guarantee a perfect color match. An older vehicle may have fading, weathering, or changes in gloss that are absent from a new refinish. The result also depends on lighting, viewing angle, application technique, paint preparation, and painter skill.
Blending into adjacent panels may be needed to make the transition acceptable. That increases the work area and may affect the estimate, but it can produce a more consistent visual result than stopping new paint at a sharp panel boundary. The correct scope depends on the existing finish, the color, the panel size, and how the surfaces meet in normal viewing conditions.
Inspect the finish under more than one light source and from several angles. A panel can appear well matched inside a controlled paint area and show a visible difference outdoors or under different illumination. Look for changes in color, metallic orientation, gloss, texture, edge quality, gaps, and the relationship between adjacent panels before final approval.
A new aftermarket panel may differ in shape, gaps, coating thickness, or fitting effort. “New” describes its condition, not necessarily its conformity to the factory part. Hidden damage, part availability, fit corrections, and refinish work can also extend the promised turnaround, so timing should be treated as an estimate until the panel is opened and checked.
Common mistakes and a quality-control checklist before approval
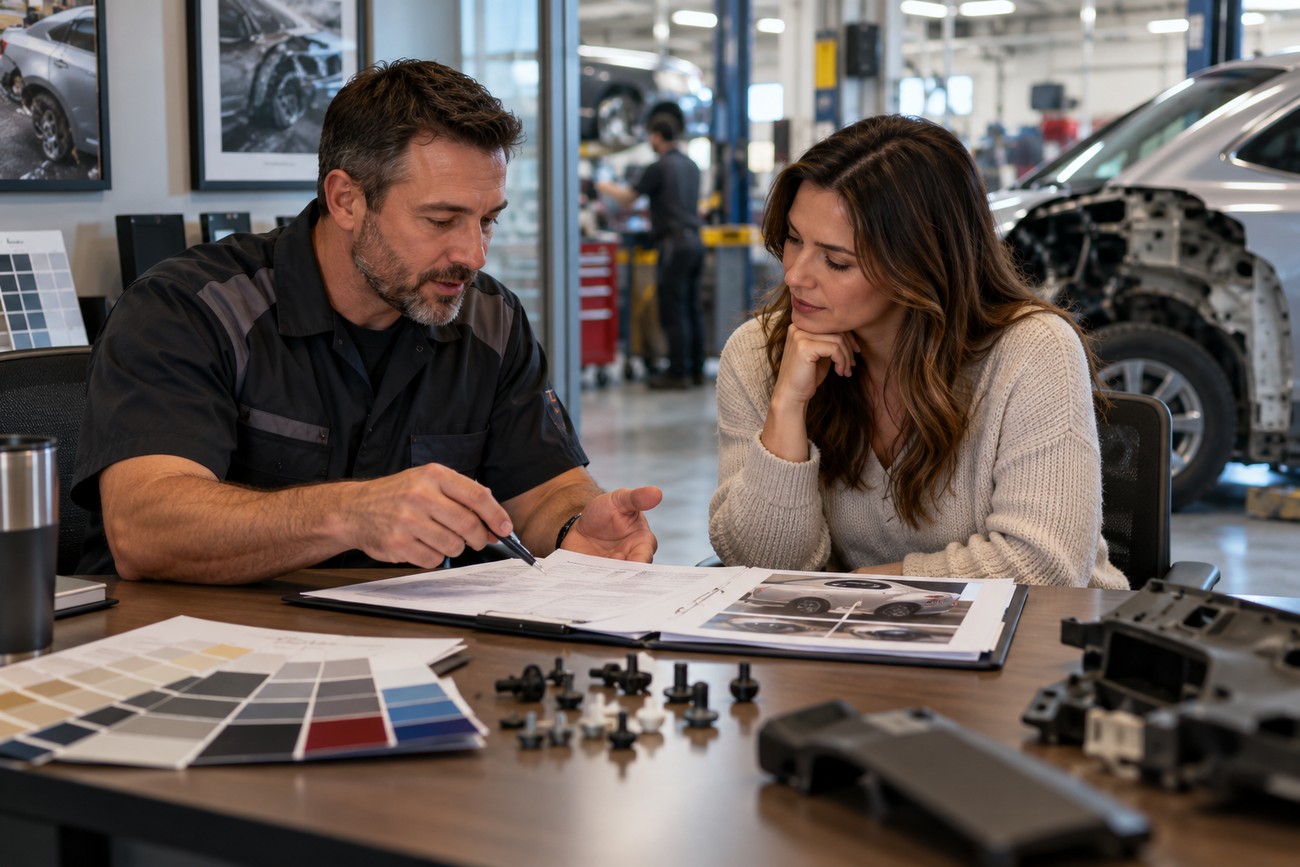
The most common financial mistake is choosing by the part price alone. A low-cost panel may still require more fitting, preparation, paint, blending, fasteners, and labor. A repair that has no new panel price may require extensive access work, corrosion treatment, or correction of hidden damage. Compare the complete operation rather than one line on the estimate.
Approval should follow a clear explanation of the proposed method. Ask which OEM procedure applies, whether repair or sectioning is permitted in the damaged area, how the panel will be attached, and what happens if the inner structure is damaged. For aluminum, ask whether dedicated tools and the correct material-specific process will be used.
Request the identity of the proposed replacement part and the plan for checking its fit before final paint. The estimate should address preparation, fasteners, attachment materials, corrosion protection, paint and blending, sensor or camera calibration where applicable, and reassembly. A replacement is not automatically safer than a repair; safety depends on correct attachment, structural restoration, and compliance with the manufacturer’s procedure.
Documented procedures, parts, and completed operations provide stronger evidence than an oral promise. Keep the final invoice or repair record and confirm that the listed part, attachment method, and additional operations match the approved scope. Forum complaints about incorrect replacement parts do exist, although the available evidence does not establish their frequency or scale. Verification remains sensible before paint hides the part identity or fit issues.
Before accepting the vehicle, use this practical sequence:
- Check the panel gaps, edge alignment, trim fit, and operation of nearby doors, lids, or closures.
- Inspect the finish under different light sources and viewing angles.
- Look for overspray, rough texture, sanding marks, uneven gloss, and visible blend boundaries.
- Confirm that sensors, cameras, lamps, and related features work as intended.
- Ask whether required calibration or post-repair checks were completed.
- Obtain documentation showing the parts and procedures used.
Frequently asked questions
Financial rules can help organize a conversation about repair costs, but they do not replace a technical inspection. The manufacturer’s repair procedure remains the authority for allowable panel work, while the owner must consider the wider cost and condition of the vehicle.
What is the $3,000 rule for car repairs?
The $3,000 rule is an informal repair-budget heuristic suggesting that a repair approaching that amount deserves closer comparison with the vehicle’s value and alternatives. It is not a universal safety standard, insurance rule, OEM requirement, or proof that replacement or scrapping is the correct choice.
A dollar threshold cannot determine whether a panel repair is structurally acceptable. The decision still depends on the approved repair method, the damage location, the complete estimate, and the condition of the vehicle. Use the rule as a prompt to review the numbers, not as permission to bypass the OEM procedure.
At what point is it no longer worth repairing a car?
There is no universal point at which every vehicle stops being worth repairing. Consider the total repair cost alongside vehicle value and condition, safety, reliability, expected future maintenance, and realistic alternatives. A lower-value vehicle may still justify repair if it is reliable and replacement options are poor; a more valuable vehicle may be a poor choice if major hidden damage affects long-term reliability.
Separate the panel decision from the ownership decision. First establish what safe, compliant repair requires, including hidden damage and related operations. Then compare that complete cost with the vehicle’s overall condition and the cost, risks, and availability of another vehicle.
How can I tell whether a replacement body panel is the correct part?
Verify the part identity against the vehicle configuration before final paint and reassembly. The shop should be able to document the part number or other identifying information, confirm compatibility with the vehicle’s body style and equipment, and check the panel against the original for shape, mounting points, edges, and attachment details.
Fit checks should cover gaps, alignment, adjacent trim, fastener locations, and any sensor or camera mounting relationship. Ask that discrepancies be resolved before refinishing, and retain documentation of the part and completed work. A panel that can be painted and installed is not necessarily the correct panel unless its fit and attachment conform to the applicable OEM procedure.







