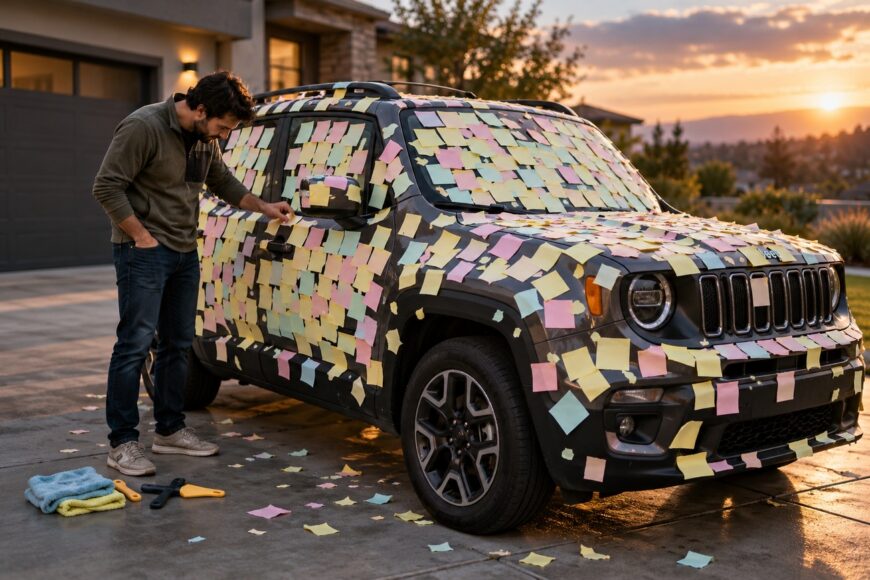
Finding a Jeep Renegade covered in sticky notes is frustrating because the paper may peel away quickly while torn fragments, glue, and marks on black trim remain. Pulling every note off at once can feel like the quickest way to get your vehicle back, but the cleanup often takes longer than the prank itself.
The safer approach is controlled and surface by surface. Paint, glass, textured plastic, mirrors, badges, and seals present different risks, so work in small sections and remove the paper before tackling the adhesive. That gives you a chance to spot trouble early, before a scratch or a changed patch of trim becomes the lasting reminder.
- Before You Peel: Check the Surfaces and Gather Gentle Tools
- Lift the Sticky Notes Without Shredding Them
- Clear the Glue Without Harming Paint or Black Trim
- Check for Residue and Shadows in Side Light
- Shortcuts That Make a Sticky-Note Prank Worse
- Frequently asked questions
- What if sticky notes are attached to the inside of a window?
- What if rain soaked the notes before I could remove them?
- When should I stop cleaning and call a professional detailer?
Before You Peel: Check the Surfaces and Gather Gentle Tools
Walk around the Renegade before touching the notes. Identify which ones sit on painted panels, textured exterior plastic, glass, mirror housings, badges, or door seals. A cleaner that works on glass may affect paint, rubber, or plastic, and a note spanning two materials needs extra care at the boundary.
Set out clean microfiber cloths, a soft plastic scraper, a source of gentle heat, and a cleaning solution suitable for the surface you plan to treat. Keep separate cloths for paper debris and adhesive so you do not drag sticky fragments across the finish. Leave metal blades and stiff scrapers aside; they can scratch paint, black trim, and glass.
Test any cleaning solution in an inconspicuous area and let the spot dry before judging it. This matters especially on black trim, where a change in sheen may be easier to see than a change in color. If the test leaves haze, lightening, or a glossy patch, do not use that method across a visible panel.
Choose one small section to finish before moving on. Heating the whole vehicle gives you less control over trim and attached parts, while adhesive elsewhere may cool before you reach it. Section-by-section work also makes it easier to tell which notes need heat and which will lift without it.
Lift the Sticky Notes Without Shredding Them
Start at a loose corner and peel each note slowly, keeping the pull steady. If the paper resists, apply gentle, moving heat to that small area, then try again. There is no universal heating time: the note, its exposure to weather, and the surface beneath it all affect how readily it releases.
Keep the heat source moving and take particular care near mirrors, badges, and trim edges. Overheating can distort plastic or affect attached trim. If a part feels too warm or the note becomes harder to control, stop and let it cool rather than concentrating more heat on it.
Use the soft plastic scraper lightly to lift torn fragments, without pressing its edge into the finish. Dry, forceful pulling often turns one note into many scraps and leaves more adhesive behind. Lift the paper first; soaking it with solvent tends to produce a pulp that spreads across the panel.
Older, sun-exposed notes may tear even with careful handling. Collect loose pieces as you go so they do not stick to another warm section or get caught in a seam. Once the paper is gone, you can see where the remaining glue needs attention.
Clear the Glue Without Harming Paint or Black Trim
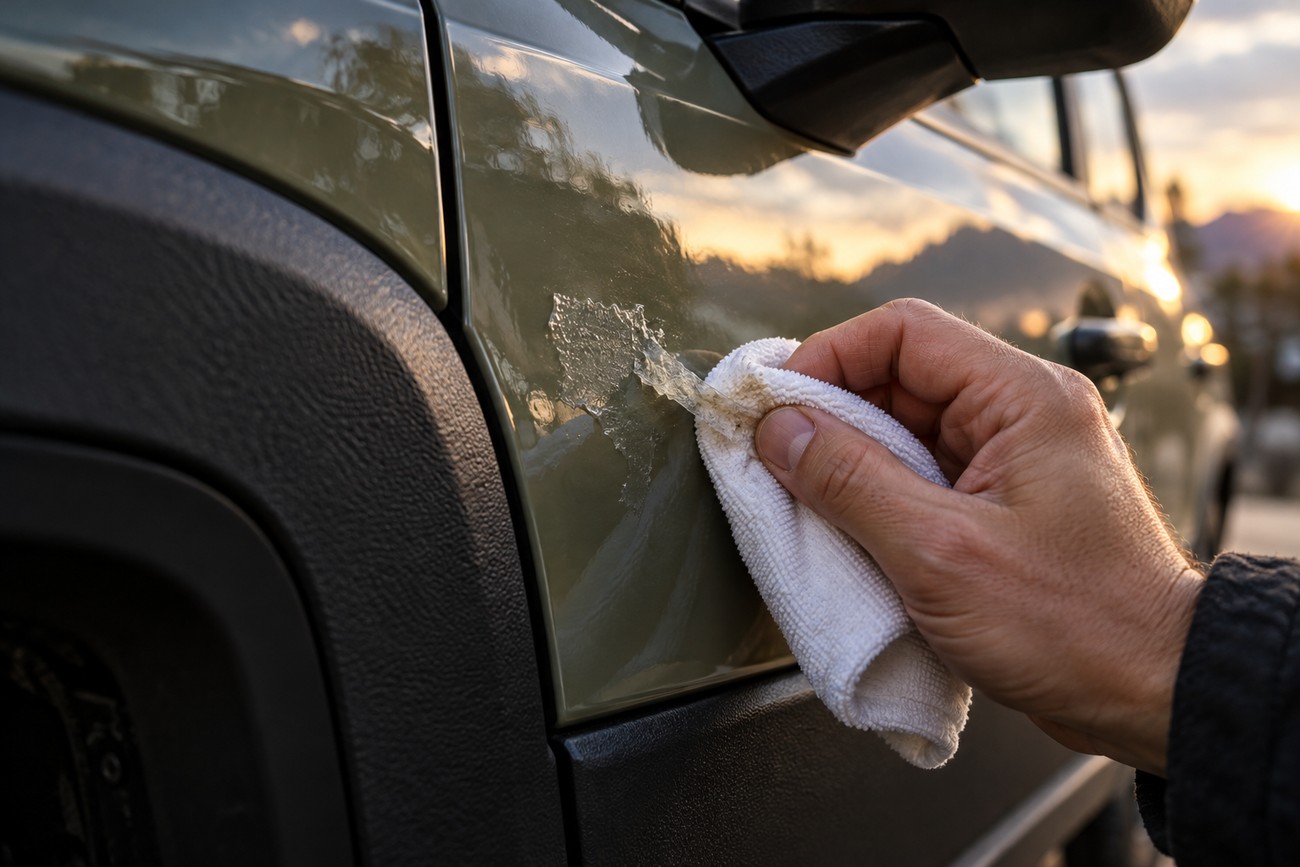
Sticky-note residue is typically pressure-sensitive adhesive. Begin with gentle heat and soft mechanical removal, using a clean microfiber cloth to lift what releases easily. If a compatible cleaner is needed, put a small amount on the cloth rather than pouring it onto a panel, where it could run into seams, seals, or behind badges.
On paint, use light passes and check the cloth and surface frequently. Detailing advice often cites 70–99% isopropyl alcohol, but no concentration is universally safe. Delicate surfaces call for a less aggressive starting approach, minimal contact, and an inconspicuous test; avoid letting cleaner sit on the finish.
On textured black plastic, repeated rubbing can push softened glue into the grain, making the last traces harder to remove. If the adhesive smears or the trim starts to change sheen, pause and reassess the method rather than adding pressure or stronger solvent.
Textured trim needs a lighter touch than a smooth painted panel. Use a clean area of microfiber as adhesive transfers to it, and lift residue rather than working it deeper into the texture. A pale or glossy patch that appears during cleaning is a reason to stop, not a cue to scrub until it looks even.
Glass may tolerate a wider range of cleaning methods, but keep cleaner away from neighboring rubber, paint, and plastic. The same distinction applies around a window’s edges and mirror housings: glass compatibility does not establish safety elsewhere. If glue merely spreads, change to a clean cloth and reassess before making another pass.
Check for Residue and Shadows in Side Light
Make a final pass along panel edges, seams, badge surrounds, and the grain of textured plastic. These are easy places to miss when the broad surfaces look clean. Remove any remaining adhesive gently, then wash the treated areas with mild car shampoo to clear cleaning-product residue.
After the vehicle dries, inspect it in angled daylight. Tackiness or streaks suggest that adhesive remains, even if the panel looked clear in the shade. On dark paint, side light can reveal a thin smear that is difficult to see straight on.
A clean surface can still show the outline of a former note. If the area is no longer tacky and a careful wash does not change the mark, it may be a color difference from uneven sun exposure rather than leftover glue. Avoid repeated solvent passes on a mark that does not behave like adhesive.
Wax or polish may temporarily hide a faint mark without removing sticky residue underneath; warmth can make that residue noticeable again. Confirm the surface is clean before considering any appearance correction. A persistent color difference may need professional assessment rather than more adhesive remover.
Shortcuts That Make a Sticky-Note Prank Worse
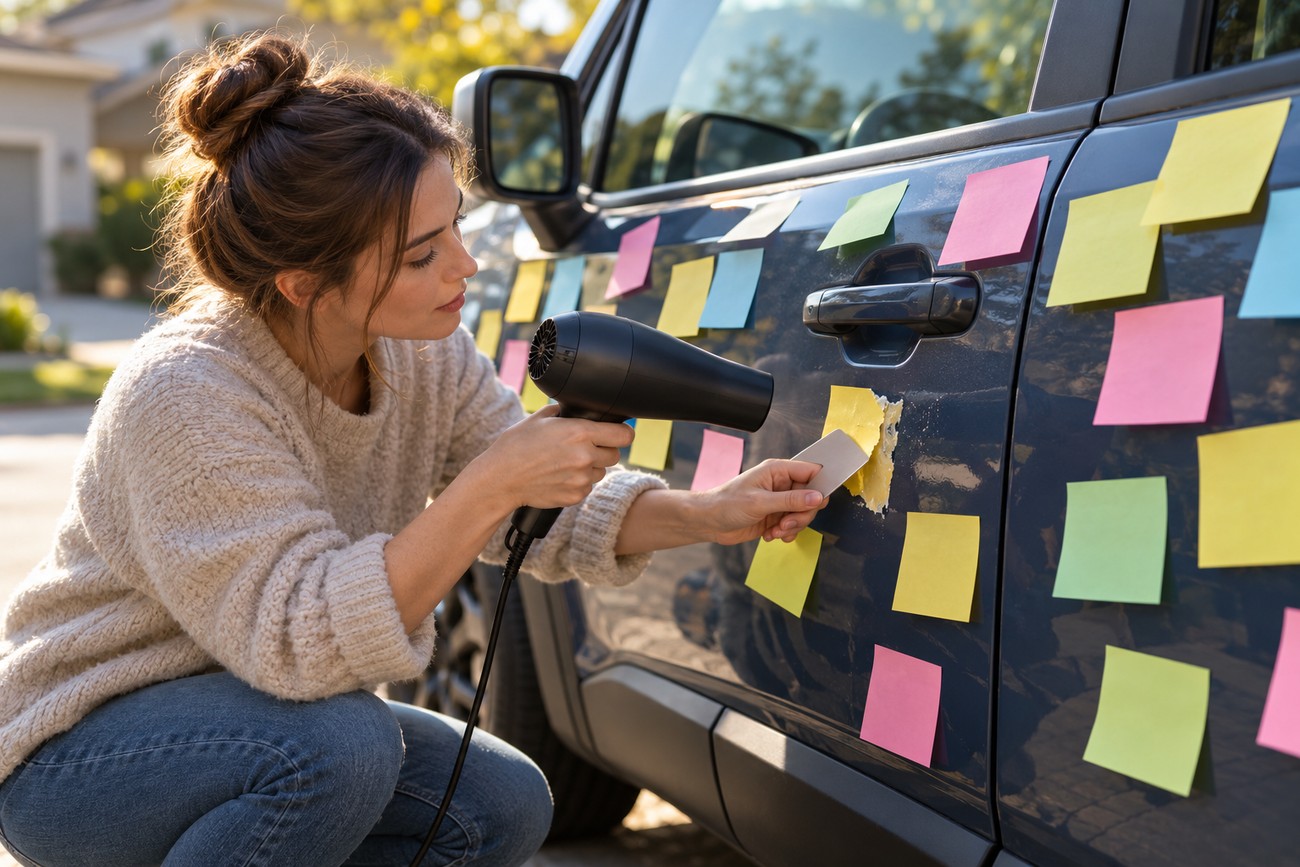
Dry scraping can shred paper and leave more edges to pick away. A knife or metal scraper is a bigger risk: it can scratch paint and black trim, and it can mark glass. Give a stubborn note gentle, moving heat and use a soft plastic tool with little pressure instead.
Pouring solvent across a door or hood may seem efficient when there are dozens of notes. It also lets liquid reach seals, seams, and badges, where cleanup is harder to control. Apply a tested cleaner to a cloth and treat only the residue you can reach.
Acetone is not a universal shortcut; it and other aggressive solvents can damage automotive finishes, plastic, and rubber. Alcohol and WD-40 should not be assumed safe on every surface either. Test first, use minimal contact, and choose the method for the material beneath the glue.
More heat is no shortcut if it distorts plastic or affects attached trim. Likewise, rubbing harder when glue smears can spread it over a larger area. Pause when a method stops making progress, then reassess the surface and residue before continuing.
Frequently asked questions
A few situations need an extra check before the usual removal approach. Interior glass, rain-soaked paper, and marks that persist after cleaning each call for a different next step.
What if sticky notes are attached to the inside of a window?
Check whether the window has tint film before using a cleaner or scraper; a method suitable for bare glass may damage the film. Test a small, inconspicuous area, lift the paper gently, and keep cleaning moisture away from door controls and the lower window edge. If you are unsure whether film is present, avoid scraping until you can confirm the surface.
What if rain soaked the notes before I could remove them?
Lift loose, softened paper without grinding it into the finish, then collect the pieces before addressing any glue. Avoid directing heat or more liquid into seams and around badges. Let trapped moisture dry before judging what remains, since damp paper fibers can resemble adhesive residue.
When should I stop cleaning and call a professional detailer?
Stop if trim changes sheen, scratches become visible, or tackiness persists in areas you cannot reach safely. A mark that remains after the residue is gone also merits assessment before you apply more cleaner or polish. A detailer can help identify the surface condition, though cleaning cannot necessarily reverse scratches or a color difference caused by sun exposure.