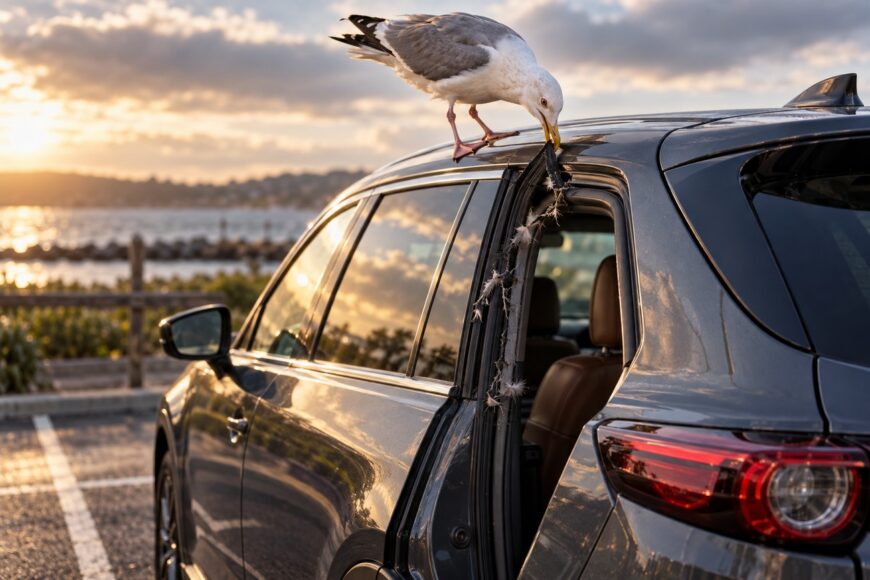
Seeing seagulls pull at the rubber trim on a Mazda CX-9 is unsettling, especially when they leave a once-neat edge ragged and exposed. The cause of the birds’ behavior is unknown in this incident, and the visible damage does not identify the affected part by itself.
The practical decision is whether the damage is a superficial nick or has changed the shape and contact of a sealing component. A torn edge is not proof that the cabin seal has failed, yet missing rubber, a loose retaining lip, wind noise, dust, or moisture deserve inspection before the damage spreads.
- First, identify which piece the gulls pecked
- Check the damage before it becomes a water or noise problem
- Decide whether a local repair is enough
- Order the right CX-9 trim, not just the closest-looking strip
- After the fix, verify the seal and avoid another quick-fix mistake
- Frequently asked questions
- Why would seagulls peck rubber trim on a car?
- How can I discourage gulls from pecking the replacement?
- What are the current recalls on the Mazda CX-9?
- What are the common problems with the Mazda CX-9?
- What year is the CX-9 one to stay away from?
First, identify which piece the gulls pecked
Start by locating the damage precisely. Inspect the perimeter of each door, the liftgate opening, and the rubber or trim running along the window-to-door area. Take photographs from several angles, including the transition into an undamaged section, so the original profile is easier to identify.
Mazda CX-9 parts catalogs list door seals, liftgate seals, and window-to-door seals as distinct replaceable components. These pieces can look similar from a distance while performing different jobs and using different mounting methods. A strip along the glass should therefore not be ordered as a substitute for a door or liftgate weatherstrip.
Look for a hollow sealing section, a molded channel, a retaining lip, clips, or adhesive-backed material. The damaged part may include a visible outer edge that guides the seal into position, so the missing section can matter even when the softer inner rubber still appears intact.
A ragged appearance alone does not confirm a failed cabin seal. Check whether the rubber still sits in its mounting position, whether the door or liftgate closes normally, and whether the seal makes continuous contact. The vehicle year, affected side, and exact location are needed before identifying a replacement part.
Check the damage before it becomes a water or noise problem
Inspect the area in good light after washing away loose dirt. Photograph the torn edge, then gently look for missing material, a detached section, or a retaining lip that has pulled out of its channel. Avoid stretching the rubber during this inspection because that can make a small defect appear larger.
Close the relevant door or liftgate normally and observe the contact pattern. The panel should latch without unusual resistance, and the seal should appear evenly compressed rather than folded, rolled, or pushed away from the body. Geometry and consistent contact are central to sealing performance.
Wind noise, dust along the opening, or water after rain or washing can indicate that a damaged or poorly seated seal is allowing air, dirt, or moisture through. Those symptoms can also come from door alignment, glass adjustment, blocked drains, or another seal, so they do not prove that the pecked section is the sole cause.
A local tear deserves attention even when most of the rubber remains attached. Water and air can follow a small gap, while continued movement may pull more material from the mounting area. If the contact is uneven or the damage extends along the retaining edge, compare the cost and reliability of a complete replacement with a carefully assessed local repair.
Decide whether a local repair is enough
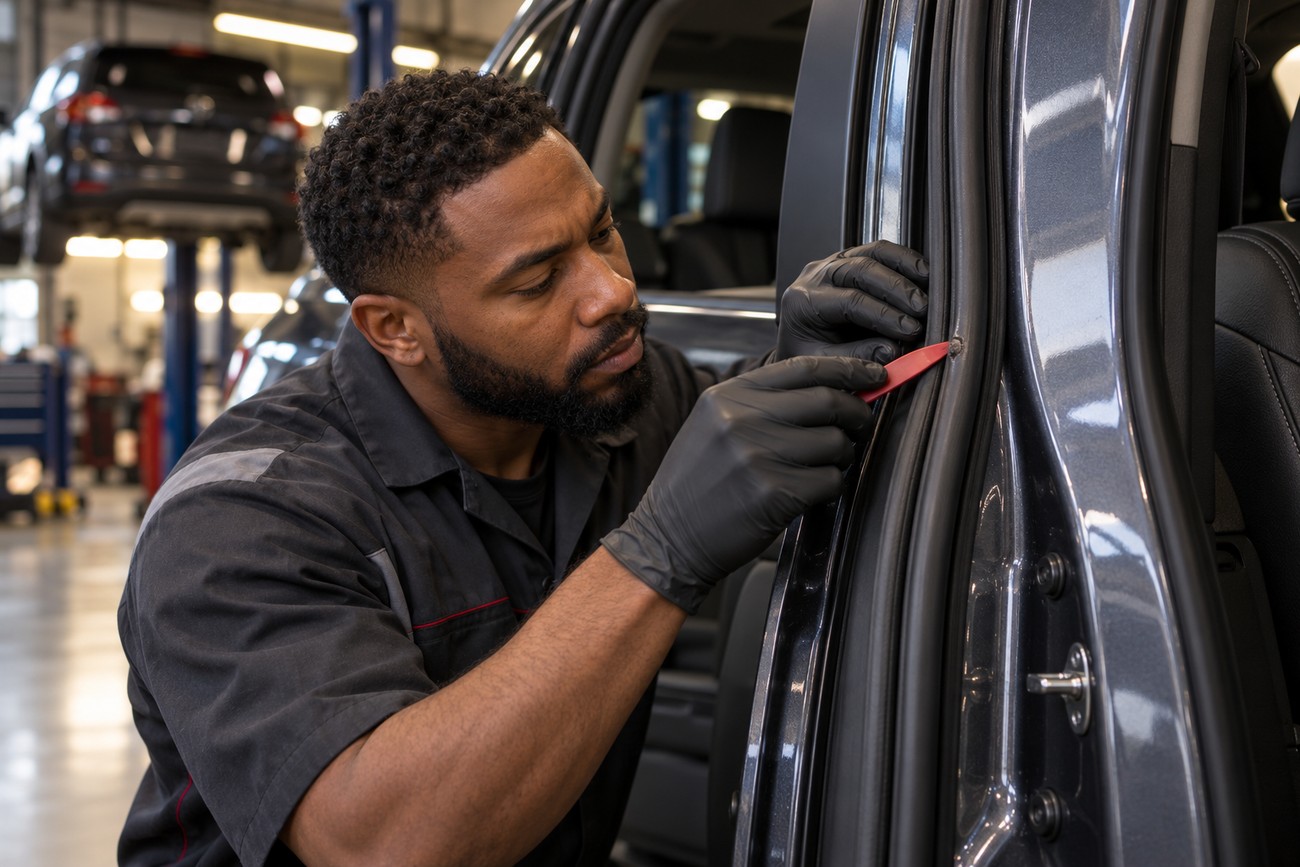
A local repair may be reasonable when the damage is a shallow nick, the main profile is intact, and the seal remains securely mounted. The repaired area must finish smooth enough to avoid lifting, catching, or creating a gap when the door or liftgate closes.
Replacement becomes more persuasive when material is missing, the retaining edge is torn, or the rubber no longer seats evenly. A cosmetic patch can cover the appearance while leaving the original sealing geometry wrong. The same applies to a rubber conditioner: it may help with aging or freezing, but it cannot restore rubber that has been pecked away.
A torn retaining lip can make a neat-looking patch fail the contact-and-closure check because the seal is no longer held in its designed position.
Whether local repair is sufficient depends on the component, the amount of missing material, and whether secure, even contact can be restored. Do not treat adhesive as a universal fix; some products may be incompatible with the rubber, and a rigid repair can interfere with compression or removal.
After any repair, close the door or liftgate several times and inspect the repaired area from inside and outside. Check for a continuous contact line, normal latch operation, and movement of the patch as the panel closes. If the seal shifts or leaves a visible channel, the repair has not restored the required fit.
Order the right CX-9 trim, not just the closest-looking strip
Before ordering, record the vehicle year, affected side, body location, and whether the part is fitted to a door, liftgate, or window area. A VIN-based parts check is useful where available because catalog listings can vary by vehicle configuration and production changes.
Confirm the profile and dimensions rather than relying on a photograph. Door and liftgate seals and window-to-door seals are distinct replaceable parts, and similar-looking strips may use different channels, molded corners, clips, or compression shapes.
Original-equipment and aftermarket parts are both options to verify. An original part can still require careful confirmation of fitment, while an aftermarket part should be judged by its verified profile, dimensions, material suitability, and mounting method. A broad “CX-9 compatible” description is insufficient on its own.
Compare the replacement with the undamaged side or the remaining section before removing the old seal. Check molded corners and end shapes, not only the straight length. The correct profile and seating matter more than a superficial resemblance or a low price because a poorly fitted strip can leave the vehicle noisy or vulnerable to dirt and moisture.
After the fix, verify the seal and avoid another quick-fix mistake
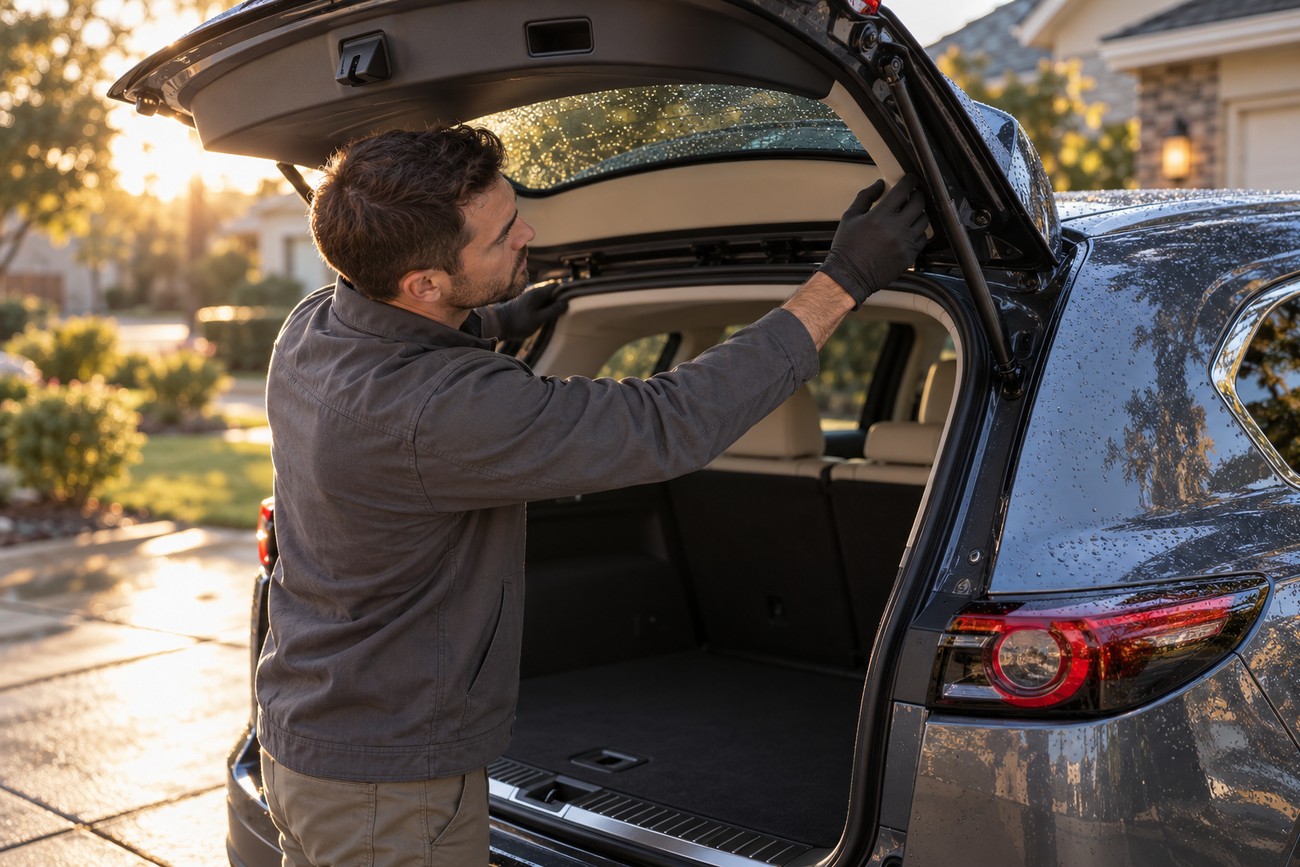
Clean the mounting area before fitting the replacement, removing loose grit and residue without scraping the body or stretching the rubber. Seat the seal evenly in its mounting position and check that corners lie flat. A visible twist or raised section is a fitment warning, even if the panel still closes.
Operate the door or liftgate several times and confirm normal latching, uniform contact, and an even visual gap. Under ordinary driving, listen for new wind noise and inspect the area after rain or washing. A short follow-up check can reveal a section that has pulled free or failed to compress.
Dirt and abrasive grit can contribute to rubber wear, particularly where the seal moves against a dusty surface. Keep the contact area clean and avoid aggressive solvents or unspecified oily chemicals. A product labeled as compatible with automotive rubber may help with aging or freezing when used as directed.
Care products are maintenance, not structural repair. They cannot replace missing material or hold a loose section in the correct position. Do not use a conditioner to conceal a gap; correct the seating or replace the affected component when the profile and contact cannot be restored.
Frequently asked questions
Why would seagulls peck rubber trim on a car?
The reason these gulls targeted this Mazda CX-9 is unknown. Several explanations may be possible in general, but the damage alone cannot establish which one applies to this incident.
You can document the result without assigning a motive: photograph the marks, identify the damaged component by location, and inspect whether the rubber has been pulled from its mounting. That evidence is more useful for repair and prevention than speculation about the birds’ behavior.
How can I discourage gulls from pecking the replacement?
Change the parking spot if a different location is available, particularly if the current area repeatedly attracts gulls. A properly fitted car cover can also shield exposed trim when the vehicle is parked, provided the cover is designed for exterior use and cannot flap against the paint or trap abrasive dirt.
No deterrent can be guaranteed because the cause of the pecking is unconfirmed. Avoid improvised chemicals, sharp objects, or anything that could harm birds, damage the vehicle, or obstruct visibility and ventilation.
What are the current recalls on the Mazda CX-9?
Recall status depends on the vehicle’s model year, market, equipment, and VIN. Check the official Mazda recall service and the relevant government vehicle-safety database for the vehicle’s registration region, then confirm any result with an authorized repairer.
A damaged rubber seal is not evidence of a recall. Recall and service-campaign information should be checked separately from the inspection of the pecked trim, and coverage or remedy availability can depend on the specific vehicle and campaign terms.
What are the common problems with the Mazda CX-9?
There is no single defect list that applies equally to every CX-9. Reported concerns can vary by model year, mileage, maintenance history, equipment, and market, so a general online list should not be used to diagnose the damaged trim.
For this incident, focus on the affected seal’s profile, mounting, and contact. Review the vehicle’s service records, owner information, and applicable technical or safety notices for broader issues, while treating wind noise or moisture as symptoms requiring inspection rather than as proof of one specific fault.
What year is the CX-9 one to stay away from?
No model year should be rejected solely because gulls damaged its rubber trim. The appropriate assessment depends on the individual vehicle’s condition, maintenance history, inspection results, and verified recall status.
Before buying or keeping a particular CX-9, confirm its VIN-specific history, inspect the doors, liftgate, glass seals, and body for water entry, and price any needed repairs. A properly identified and fitted seal can be replaced; a blanket year recommendation cannot replace a vehicle-specific inspection.