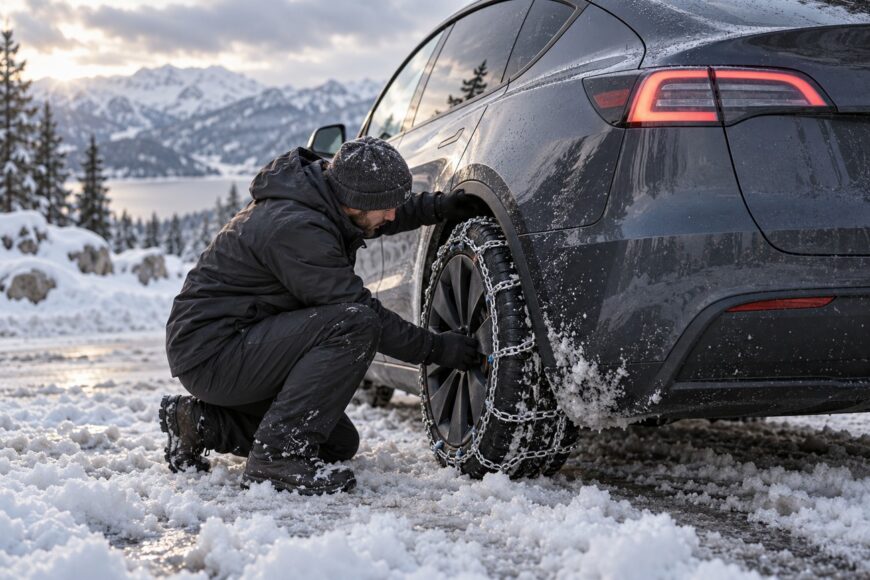
Fitting snow chains on a snowy roadside is awkward even when there is room to work. A Tesla Model Y has limited clearance around its wheels, so a chain that sits poorly can contact the car. Confirm that you have the correct kit before unpacking it beside the road; an approximate tire-size match is not enough.
Once you have a compatible kit, work somewhere safe and follow its fitting instructions. The chain must sit securely on each rear tire, with its fasteners checked before you move. A short, careful drive and a second tension check are part of the installation, because chains can shift as they settle onto the tires.
- Check the wheels and chains before you start
- Prepare the Model Y and lay out the chains
- Put the chains on the rear wheels
- Drive a short distance, stop, and check tension again
- Know when to remove them—and what they cannot replace
- Frequently asked questions
- What should I do if a chain breaks or starts dragging?
- How should I clean and store chains after removing them?
Check the wheels and chains before you start
Read the size markings on the tires fitted to your Model Y, then compare them with the current Tesla guidance and the chain kit’s fit instructions. Check the actual wheels on the car rather than relying on the wheel size listed in an order or an older vehicle document. Tire dimensions and the kit’s specified fit both matter.
Model Y 19- and 20-inch wheels use a different Tesla-specified chain solution from 21-inch wheels. Do not assume a kit sold for one of those wheel groups will fit the other. Confirm that the kit is compatible with your fitted wheels and tires before a winter trip, when an incorrect purchase is easier to resolve.
Limited clearance makes an “approximately right” or universal chain a poor gamble. Unapproved chains may damage suspension or other vehicle components, even if you can initially pull them around the tire. If the fit instructions do not clearly cover your configuration, resolve that uncertainty before installation.
Check local rules for the roads you plan to use. Some places regulate when chains must be carried or fitted, and requirements can differ from Tesla’s vehicle guidance. A legally required chain still needs to be compatible with the car.
Prepare the Model Y and lay out the chains
Stop in a safe place away from moving traffic, on ground where you can work without the car slipping. Secure the parked vehicle, keep clear of traffic, and use the chain manufacturer’s instructions as you lay out both chains. If the roadside position is unsafe, find a safer place rather than working beside the tires there.
Untangle each chain and look for damaged links, bent fittings, or missing fasteners. Identify its tire-facing side and fastening sequence from the kit instructions before reaching behind a wheel. Approved kits can fasten differently, so use the method supplied with yours rather than a generic hook or locking sequence.
Tesla recommends removing wheel covers before chain installation to avoid scratches or damage. Put the covers somewhere secure and keep track of any pieces the cover instructions tell you to retain. Practicing the complete sequence at home in dry conditions also makes it easier to spot a twisted chain before you are handling it in snow.
Consider the vehicle’s load before fitting. A heavier vehicle load reduces clearance between the tire and body, leaving less room for a chain that moves or sits unevenly. Avoid overloading the car, and treat any visible clearance concern as a reason to stop and verify the fit.
Put the chains on the rear wheels
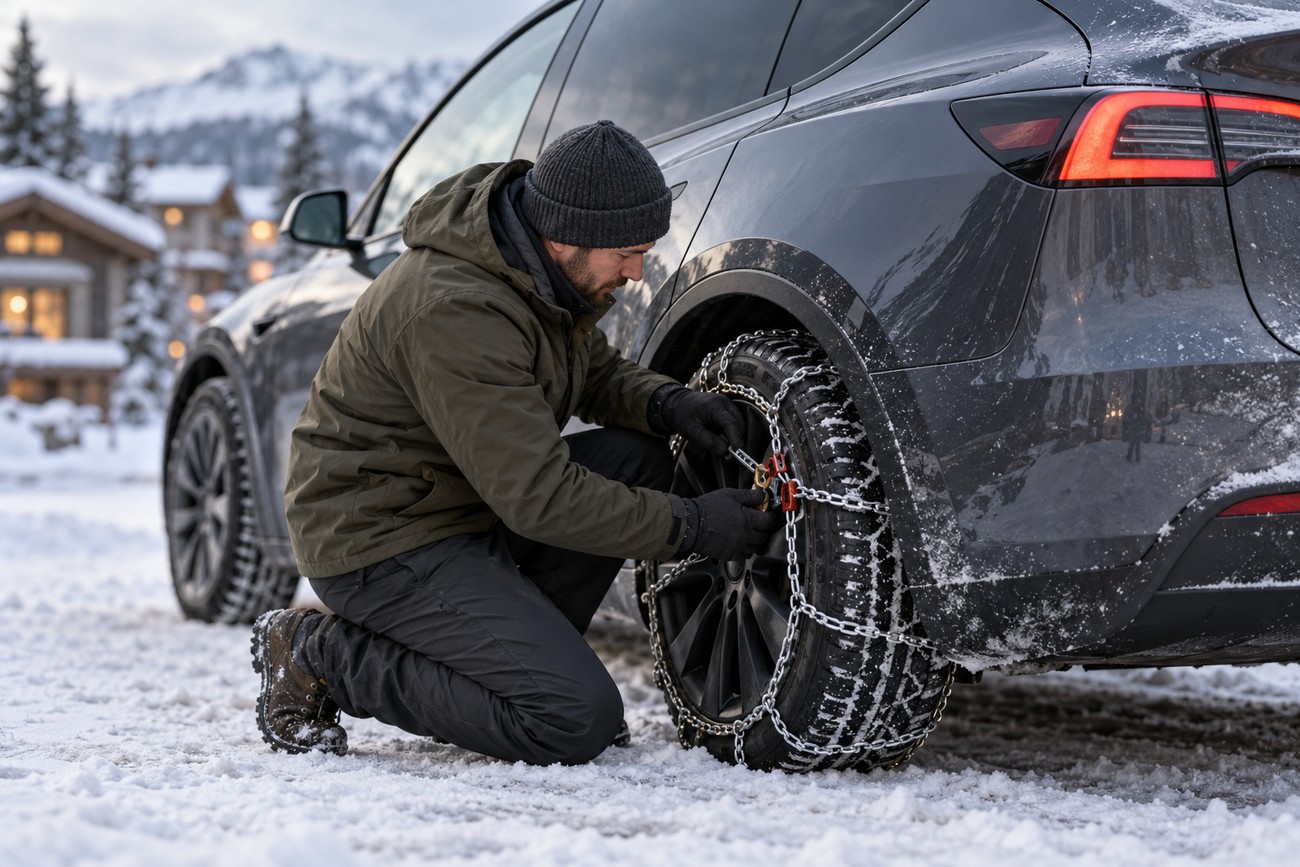
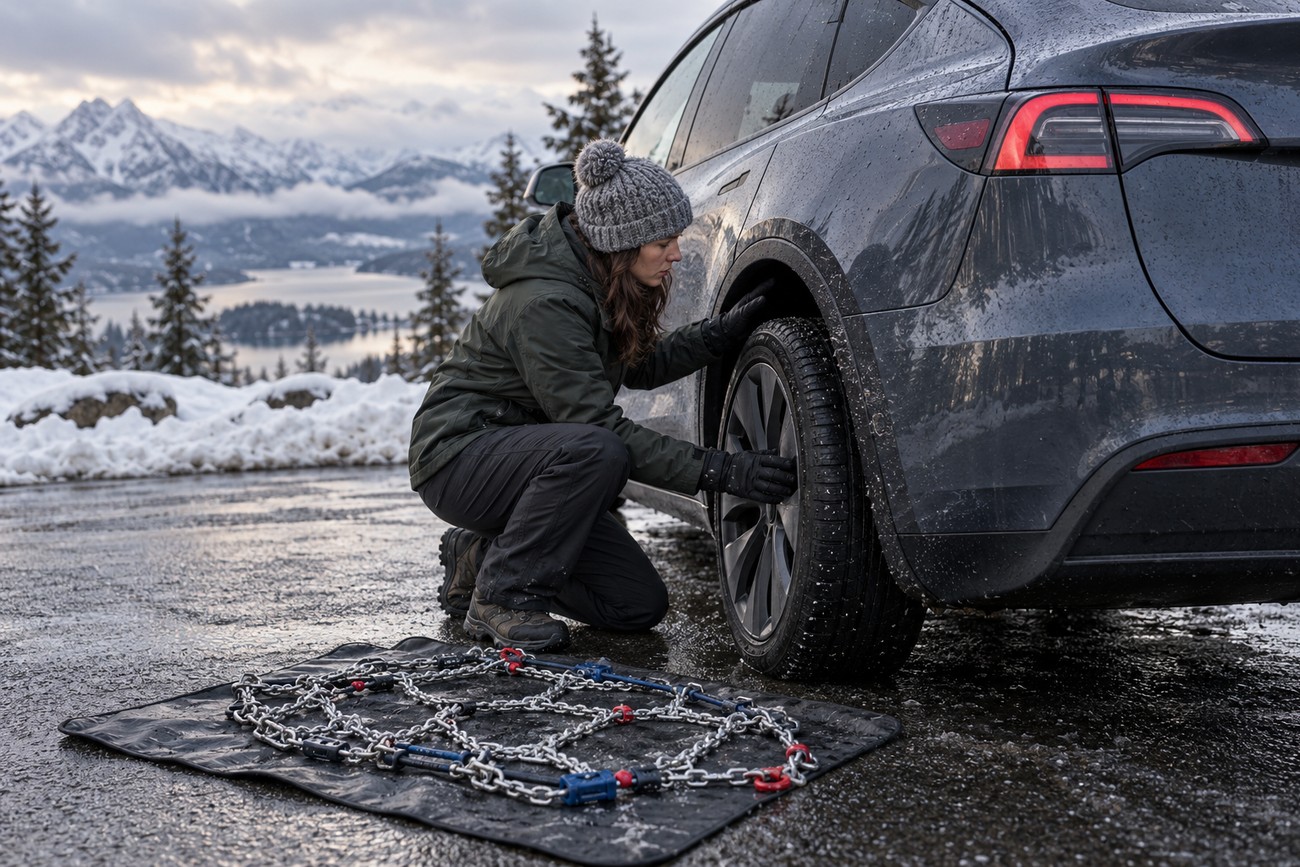
Fit snow chains to the rear wheels only; do not fit them to the front wheels of a Tesla Model Y. Start at one rear tire and place the chain in the position and orientation specified by its manufacturer. Keep it untwisted as you bring it around or over the tire according to that kit’s design.
Connect the fasteners in the order shown in the kit instructions, then tension the chain using its supplied mechanism. Some designs require different access or positioning steps, so do not force a connection that appears out of reach. Recheck the chain’s orientation if the parts do not meet as described.
Look around the tire as far as you can safely see. The chain should sit evenly, without a loose end or fitting hanging near the body or suspension. If it cannot be positioned and tensioned as the instructions require, do not drive on it.
Repeat the same process on the other rear wheel, checking that each chain matches its kit instructions. Before moving, check all accessible fasteners on both chains and make sure nothing is trapped or visibly out of place. Keep the instructions available for the follow-up tension check.
Drive a short distance, stop, and check tension again
Move off gently and drive a short distance, then stop somewhere safe. Inspect both rear chains and recheck their tension using the kit’s instructions. The first fastening check does not replace this stop: a chain can settle into a different position as the tire turns.
Tesla’s maximum speed with chains fitted is 30 mph (approximately 48–50 km/h). Drive more slowly when road or visibility conditions call for it, and avoid abrupt inputs that could disturb the chains. Continue to check them when you stop, particularly if their sound or feel changes.
If you hear repeated striking, notice a loose chain, or suspect contact with the car, stop safely as soon as you can. Do not keep driving in the hope that it will settle. Inspect the fit and nearby vehicle surfaces, and proceed only if the chain can be secured as instructed without contact.
Know when to remove them—and what they cannot replace
Use chains for the conditions that call for them, following local rules and the kit’s instructions. Remove them when those conditions no longer warrant their use, stopping somewhere safe to do so. Driving on a surface where chains are unnecessary can wear the chains and may harm the road or vehicle.
After removal, check the wheels, tires, and nearby surfaces for signs of rubbing or damage. Inspect the chains as well, including their links and fasteners, before packing them away. Damage found now is easier to address than a failed chain on the next snowy trip.
Chains require fitting, a short-drive tension check, and possible later adjustment. They are not a full substitute for winter tires during regular winter driving: winter tires provide traction throughout the trip, including stretches where chains are not fitted. Plan your everyday tire choice separately from your emergency chain kit.
Local laws may accept or require chains as winter equipment in certain conditions, but carrying a box in the vehicle does not automatically satisfy every rule. Check what applies along your route, including whether the equipment must be fitted. Legal compliance and dependable day-to-day traction are related decisions, not the same one.
Frequently asked questions
A damaged chain needs a different response from a chain that simply needs retensioning. Post-trip care matters too, because road residue and hidden damage can make the kit unreliable the next time you need it.
What should I do if a chain breaks or starts dragging?
Stop safely as soon as possible and do not continue driving with a dragging chain. Once you can work clear of traffic, inspect the chain, tire, wheel, and nearby body and suspension surfaces. Remove or secure loose material only as the kit instructions allow; if the chain is broken or cannot be fitted correctly, do not use it to continue the trip.
How should I clean and store chains after removing them?
Remove road residue in accordance with the kit’s care instructions, then let the chains dry before storing them. Check links, tensioners, and fasteners for wear or damage as you pack them. Store both chains with their instructions so you can verify their condition and fit before the next trip.