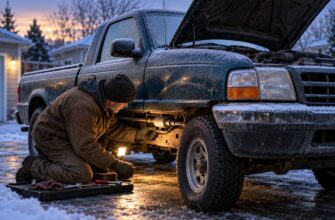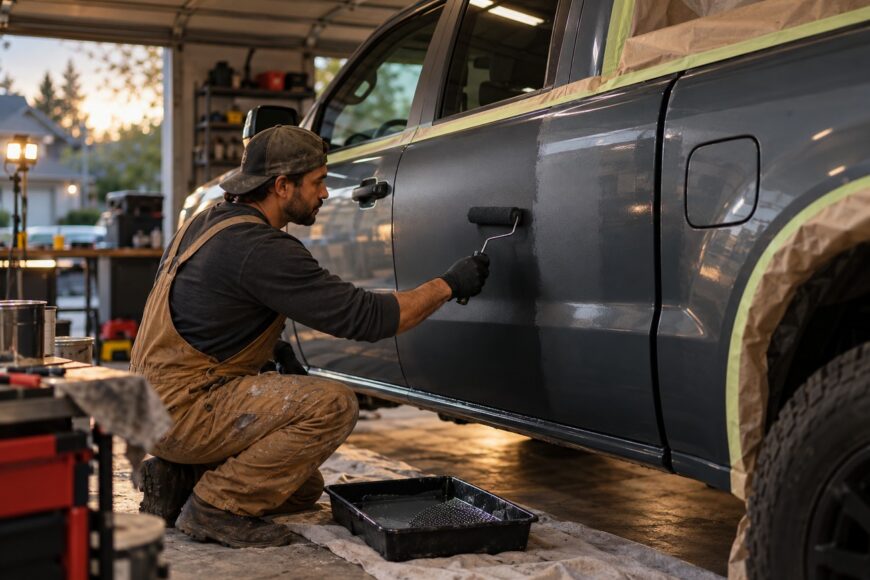
Painting a working Ford Ranger with a roller can avoid spray equipment, overspray, and the need for a dedicated spray booth. That makes the method attractive for a utility truck, especially when the goal is a serviceable color change or matte finish.
The low-cost promise needs a realistic adjustment. Foam rolling can leave texture, bubbles, and visible color variation, while the coating may need a long cure before sanding. Decide first whether the desired finish justifies the preparation, repeated coats, correction work, and waiting time.
- Is a roller finish right for your Ranger?
- Choose paint, rollers, and a workable setup
- Prepare the body so the roller does not preserve its flaws
- Roll thin coats without chasing every mark
- Let the coating cure before sanding and polishing
- The hidden costs and limits of a rolled paint job
- Frequently asked questions
- How much would a paint job cost for a Ford Ranger?
- Should I paint the door jambs when rolling my Ranger?
- What should I do if a test patch wrinkles the old paint?
Is a roller finish right for your Ranger?
A roller finish can suit a work truck where a presentable utility appearance matters more than a factory-smooth reflection. It also makes sense for a matte or low-gloss result, because minor texture is less conspicuous than it would be on a dark, glossy finish.
The Ranger’s broad hood, doors, roof, and bed sides expose every change in texture and color. A panel that looks acceptable from several feet away may show orange peel, roller marks, or a slightly different shade at close range. The difference becomes especially clear beside factory-painted panels that remain on the truck.
A roller avoids spray mist, although it does not eliminate finishing work. Smooth gloss commonly requires wet sanding and polishing after the coating has cured. The application itself may be quick; making the surface look consistently flat can take substantially longer.
Durability also belongs in the decision. A cheap coating can become expensive after repeated sanding, polishing, replacement rollers, and correction of failed areas. Choose the method for the appearance and service life you can accept, rather than assuming every Ranger can receive a universally cheap paint job.
Choose paint, rollers, and a workable setup
Use a smooth, nap-free foam roller. Ordinary wall-paint rollers can shed fibers, and those fibers become trapped in the wet film. A small roller gives better control around door handles, body contours, pillars, and other tight areas; a larger roller covers broad panels faster but can carry too much material into edges and recesses.
Prepare a clean, well-ventilated workspace and follow the coating label and safety data sheet for gloves, eye protection, respiratory protection, ventilation, and solvent handling. Filter the paint before it reaches the tray. Before committing to a visible panel, test the complete process on a removable part or hidden area, including the roller, thinner, primer, and existing finish.
Thinning advice varies widely. Practitioners report roughly 1:1 thinning, around 10% thinning, and no thinning. None is a universal formula: the specific paint’s technical data sheet governs the compatible thinner, application method, mixing limits, recoat interval, and safety precautions.
A test patch can reveal problems that a forum recipe cannot predict. The foam may react with the coating, the thinner may wrinkle the old finish, or the paint may remain soft far longer than expected. Stop and reassess before expanding a small failure across the Ranger.
Prepare the body so the roller does not preserve its flaws
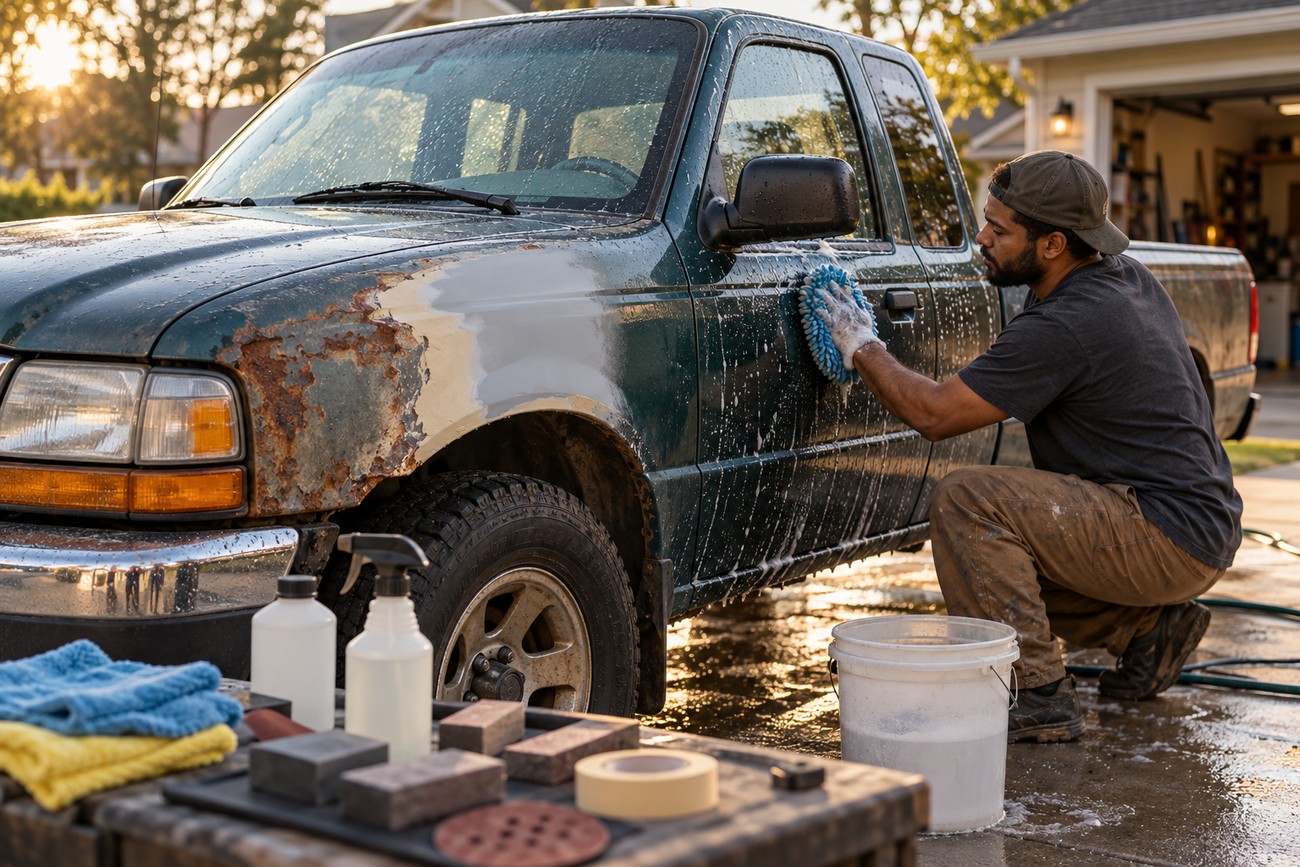
Wash the truck thoroughly, then remove wax, silicone, grease, and other contamination with products suitable for the coating system. Allow the surface to dry before judging its condition. Adhesion depends on a clean, sound base, and a roller will reproduce contamination-related defects instead of correcting them.
Deal with active rust before painting. Remove loose corrosion, flatten damaged areas, and repair obvious dents or scratches. Exposed or repaired metal needs the primer specified for the chosen system. Applying fresh paint over active rust usually hides the problem briefly and makes later repair more involved.
Sound existing paint should be dulled so the new coating has a suitable mechanical key. Glossy, hard areas can cause uneven adhesion, while feathered repairs may show through as the new film settles. The roller does not conceal poor bodywork, sanding edges, or panel waves.
Mask trim, lamps, glass, door openings, handles, badges, wheel openings, and panel gaps carefully. Plan the order of panels so you can keep a manageable wet edge without leaning against fresh paint. Remove or mask parts that would force the roller to drag across narrow, contaminated edges.
Roll thin coats without chasing every mark
Before loading the roller, press fresh tape against its surface to remove loose debris. Load it lightly and remove excess paint in the tray. Work panel by panel with an even wet edge, using the smaller roller where a larger one overloads contours or pushes paint into corners.
Thin coats are easier to control than a heavy attempt at immediate coverage. Thick coats increase the risk of runs, bubbles, prolonged drying, and a soft film. Keep the roller moving smoothly, and leave a section alone once the coating starts to tack instead of trying to restore its shine with repeated passes.
Some projects describe roughly 6–10 thin coats with intermediate sanding, but that is project experience rather than a universal requirement. Coverage, color, primer, product chemistry, and the manufacturer’s recoat window all affect the number of coats. Follow the product schedule even when a different project used another sequence.
Filtering reduces contaminants, and tape can remove loose fibers from a new roller, although neither replaces a clean work area. Watch for bubbles, runs, and dragged edges as you work. A panel that begins to dry should receive no further cosmetic rolling until the coating is ready for the next permitted operation.
Let the coating cure before sanding and polishing
Recoat readiness and sanding readiness are different conditions. A surface can feel dry enough for another coat while remaining too soft for wet sanding. Cure time depends on the product, temperature, and humidity, so use the technical data sheet as the primary schedule.
Test an inconspicuous area before leveling a visible panel. If the abrasive clogs quickly, the paint rolls up, or the paper pulls soft material from the surface, stop sanding. Those signs indicate that the film may still be too soft, and continuing can create low spots that require another round of preparation.
Where the coating instructions permit it, final leveling may progress approximately from P600–P1000 to P1500–P2000, followed by polishing. Use the coarser range only to remove texture and defects that require it, then refine the scratches progressively. Excessive sanding can expose primer or metal, particularly on edges and body lines.
Do not judge the final result immediately after rolling. A coating can show shrinkage, texture, or gloss loss as it fully cures. Polishing a system that does not permit polishing, or polishing before sufficient cure, can soften, smear, or otherwise damage the finish.
The hidden costs and limits of a rolled paint job
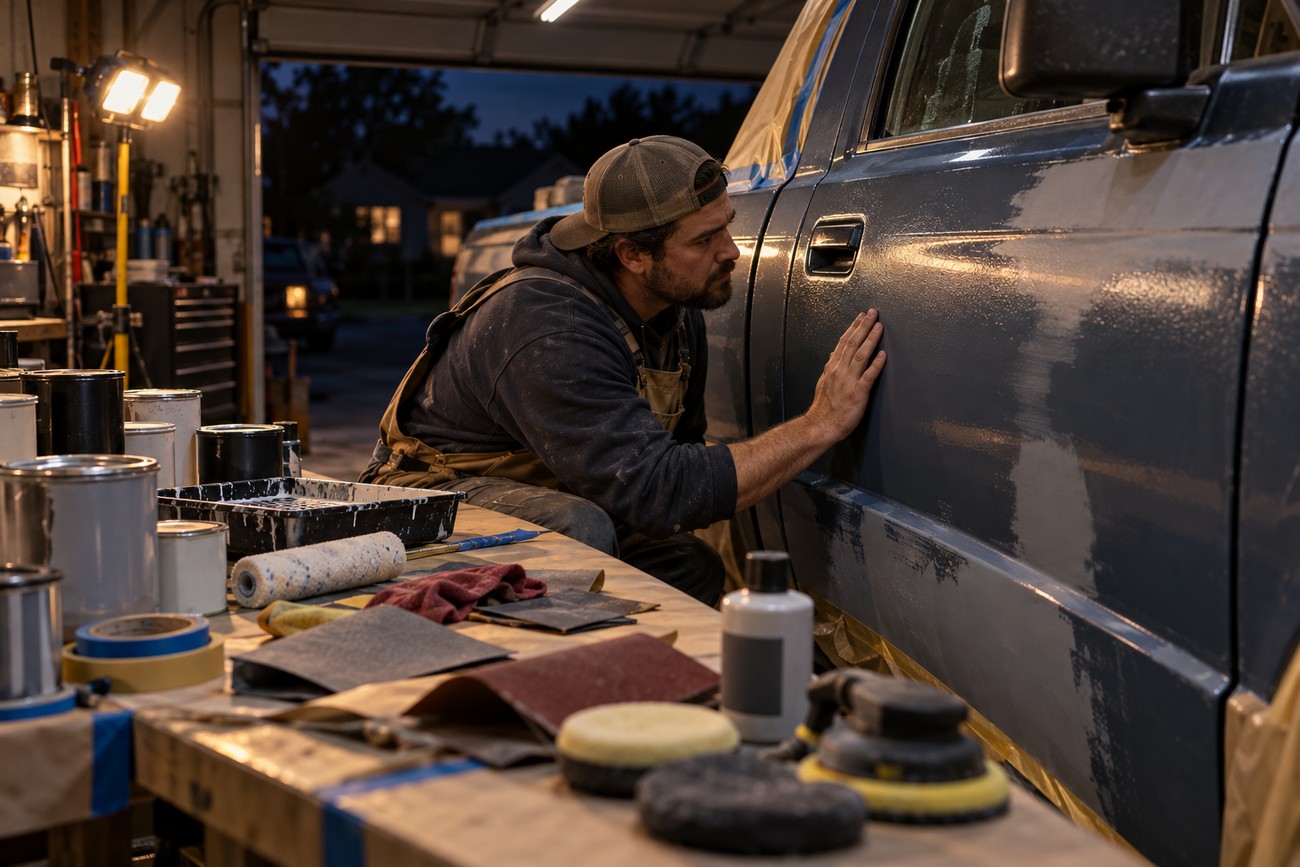
Paint is only one part of the budget. Add preparation materials, primer, rollers, trays, masking supplies, filters, abrasives, compound, polish, and the time required to correct texture. A large Ranger needs many panel passes, and the apparent saving can narrow quickly once repeated coats and finishing work are included.
Household or tractor enamel is not automatically equivalent to a compatible automotive paint system. UV resistance, hardness, compatibility, repairability, and long-term gloss behavior depend on the complete coating system. A thicker film alone does not establish durability.
Some utility enamels can remain soft, clog abrasives, lose gloss, or fade more readily than expected. A finish that looks strong because it was applied heavily may cure slowly and remain vulnerable to marking. Follow the product’s preparation, mixing, drying, and curing requirements instead of treating thickness as a substitute for correct chemistry.
The method remains reasonable for a budget utility repaint, a working vehicle, or a matte finish where some texture is acceptable. A factory-like gloss is a different project, requiring careful bodywork, controlled application, substantial wet sanding, and polishing. Compare that labor with local professional quotes before assuming the roller is the cheaper route.
Frequently asked questions
The practical answer depends on the paint system, the amount of bodywork, and the finish standard. These questions help define the project before materials are purchased.
How much would a paint job cost for a Ford Ranger?
There is no supported universal price for painting a Ford Ranger. Compare the complete DIY budget—coating, primer, rollers, masking, abrasives, polishing supplies, replacement materials, and your available labor—with local quotes for the same preparation and finish standard.
A quote for a basic utility repaint may exclude rust repair, jambs, trim removal, or final polishing. Ask what preparation, coating system, and correction work are included. This comparison shows whether the roller saves money after labor and finishing time are counted.
Should I paint the door jambs when rolling my Ranger?
Leaving the jambs in the original color saves masking, access work, and additional cure planning, but the contrast may be visible whenever the doors open. That can be acceptable on a work truck or with a closely matched color.
Painting the jambs gives a more complete color change and reduces the exposed original color. It also adds narrow surfaces, edges, roller or brush-control concerns, and more opportunities for soft paint to be damaged during reassembly. Include those areas in the test and follow the same coating-system instructions.
What should I do if a test patch wrinkles the old paint?
Stop immediately and leave the patch undisturbed until it is safe to inspect. Do not cover the wrinkled area with more coats; that usually traps the compatibility problem and enlarges the repair.
Remove the failed material after it has stabilized, identify whether the thinner, old finish, contamination, or preparation caused the reaction, and retest on another hidden area. The product data sheet should guide whether the existing coating can be sealed, removed, or used with the selected system.